Skip to content

WPDaddy Documentation

  • Home
  • WPDaddy Builder – Pro
  • Header Builder – Free
  • Help

WPDaddy Documentation

  • Home
  • WPDaddy Builder – Pro
  • Header Builder – Free
  • Help
  • Home
  • WPDaddy Builder – Pro
  • Header Builder – Free
  • Help
  1. WPDaddy Header Builder (Lite)
  2. How to Install Header Builder
  3. Header Builder Options Panel
  4. Select Area to Load Header
  5. How to Add a New Header
  6. Logo Widget
  7. Menu Widget
  8. Search Widget
  9. Cart Widget
  10. Sticky Settings

4.Select Area to Load Header #

The first thing that you have to do is to select area on your website where you want to load your future header. Please do the following steps.

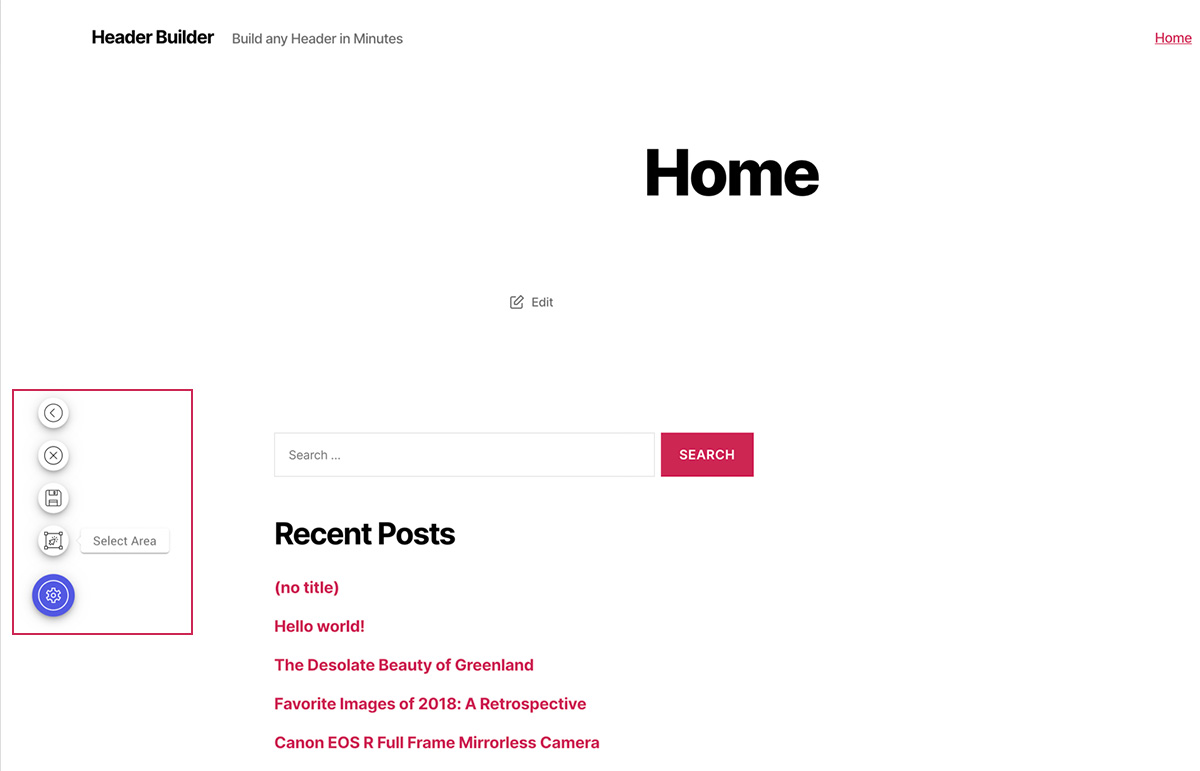
1. You have to click “Select Area” button. You will be redirected to the home page of your website.

2. Click “select area” icon, and move your cursor to the place where you want your header to load. The website structure will be highlighted with the names of the elements in the website structure.

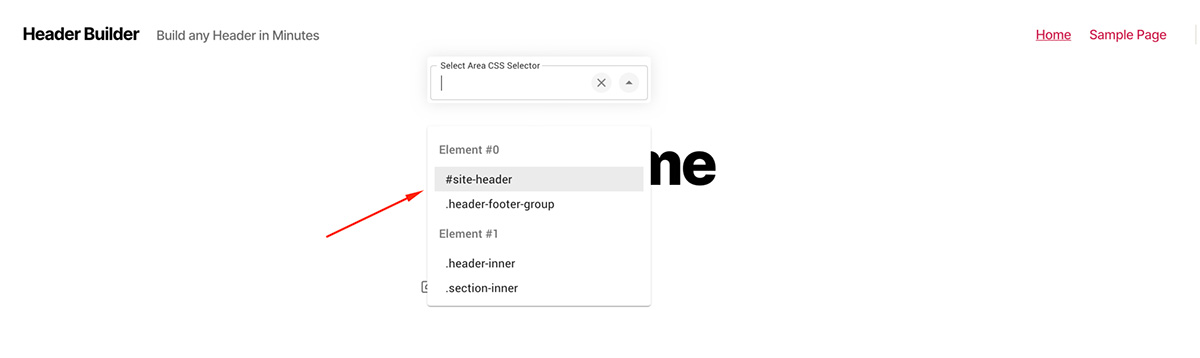
Once it’s selected click “save settings” and return back using “Back” button. Now, this will be your area to load a new header.

Was this helpful? Yes No Suggest edit
« Header Builder Options PanelHow to Add a New Header »
Suggest Edit

Oswald WordPress Theme