Skip to content

WPDaddy Documentation

  • Home
  • WPDaddy Builder – Pro
  • Header Builder – Free
  • Help

WPDaddy Documentation

  • Home
  • WPDaddy Builder – Pro
  • Header Builder – Free
  • Help
  • Home
  • WPDaddy Builder – Pro
  • Header Builder – Free
  • Help
  1. WPDaddy Header Builder (Lite)
  2. How to Install Header Builder
  3. Header Builder Options Panel
  4. Select Area to Load Header
  5. How to Add a New Header
  6. Logo Widget
  7. Menu Widget
  8. Search Widget
  9. Cart Widget
  10. Sticky Settings

3.Header Builder Options Panel #

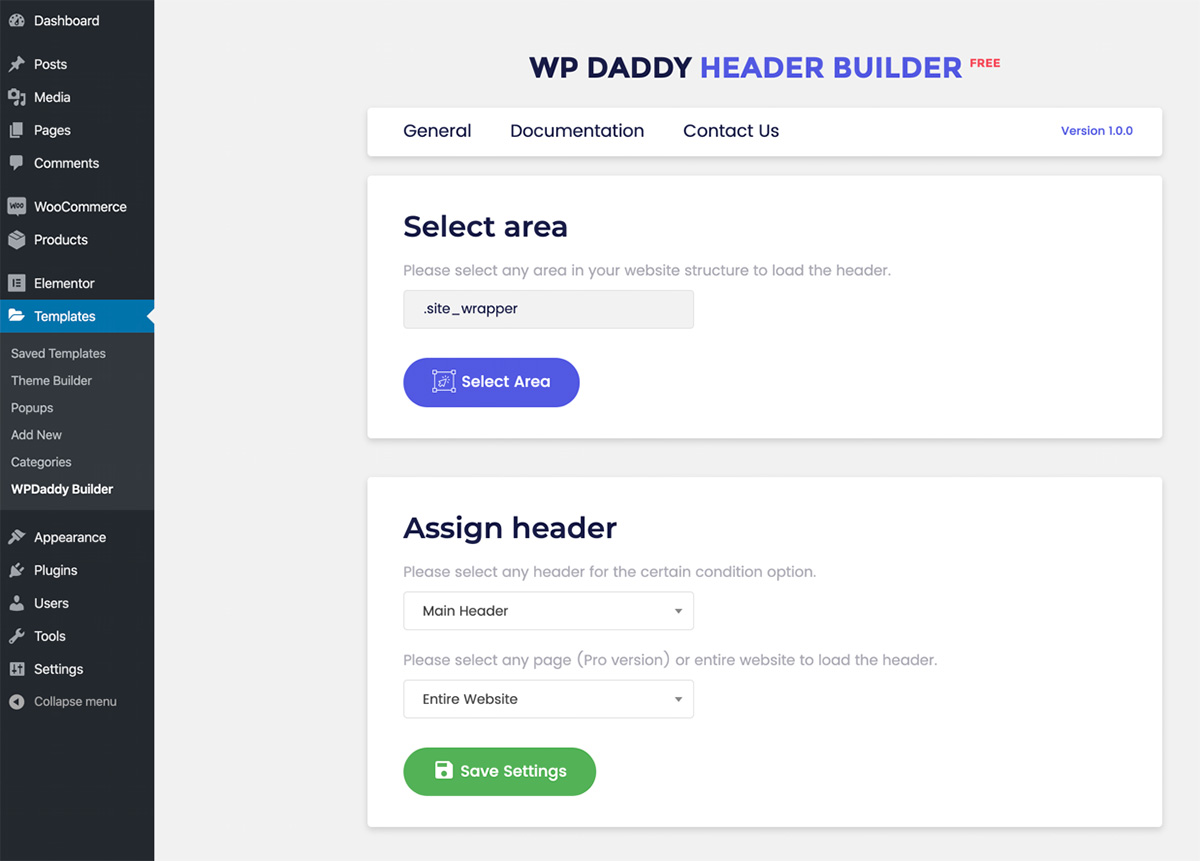
Once the plugin has been installed and activated, you will be redirected to WP Daddy Builder options panel.

In this panel you can select any area on your website to load the custom header and then assign the created header for the entire website.

Please note: you can assign the existing header for the entire website only in Lite version.

Was this helpful? Yes No Suggest edit
« How to Install Header BuilderSelect Area to Load Header »
Suggest Edit

Oswald WordPress Theme