Main menu of your WordPress website creates its navigational structure. This menu helps users quickly reach any key section of your site and find the information they are looking for.
Except for adding the major pages, some website owners also add categories to the navigation menu to lead a visitor to a definite list of posts located in a definite category if they want to promote them. For instance if you’ve got a menu point called “Our Mission” you can easily complement it with such categories as “Our Story”, “Business”, “Our Staff”, or something like that. So people visiting your website will reach those categories as soon as they click Our Mission menu.
Sometimes it’s necessary to add a specific post into a navigation menu of your website. This can be a welcome post, a popular post, or any other post you want your visitors to see during the first several minutes while browsing your website.
So go to Appearance -> Menus and let’s start.
As you know this section of WP admin dashboard allows to create, edit and delete menus with ease.
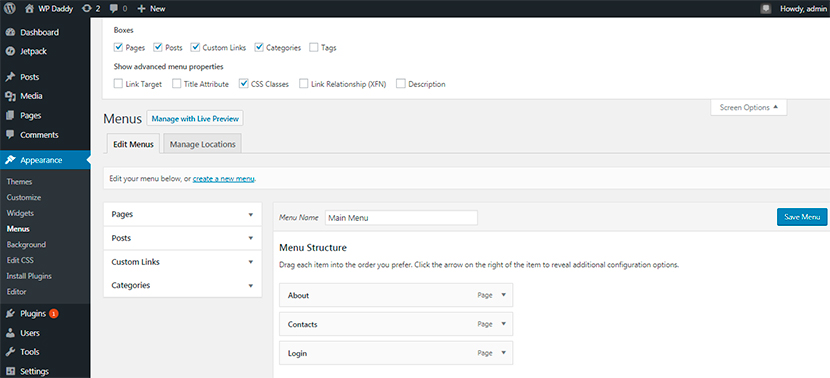
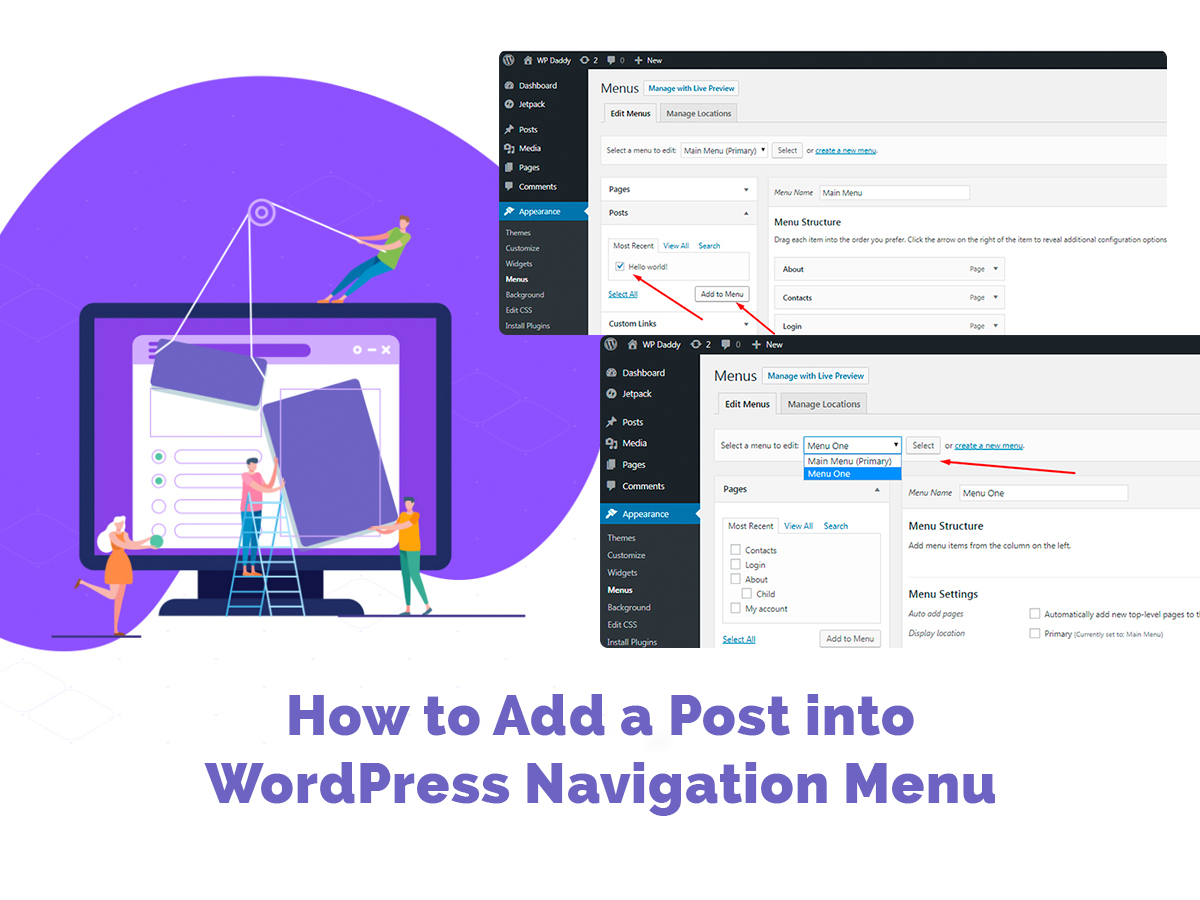
If you’ve got only one menu, you will just see its name in the Menu Name field. And if there are a few menus available, you will see the ‘Select Menu to Edit’ option where you can select the required menu from the drop-down list. In this case, your main menu will be checked as a primary one.
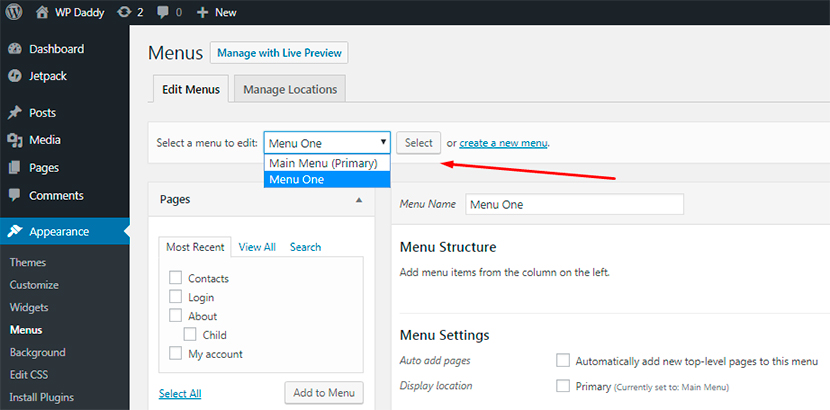
So first select the menu you want to work with and go further.
Near each menu you will see a number of sections including Pages, Posts, Custom Links and Categories. If some of these sections are absent in this list, go to Screen Options and check all the necessary sections you want to be visible.

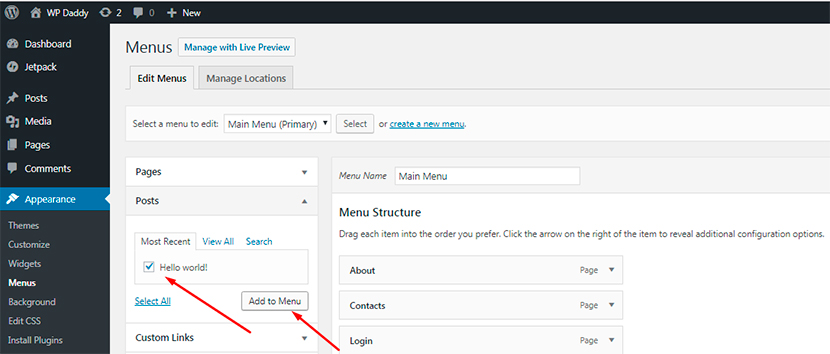
Go to Posts section and select the definite posts you want to be displayed in your menu. After that just click the Add to Menu button.
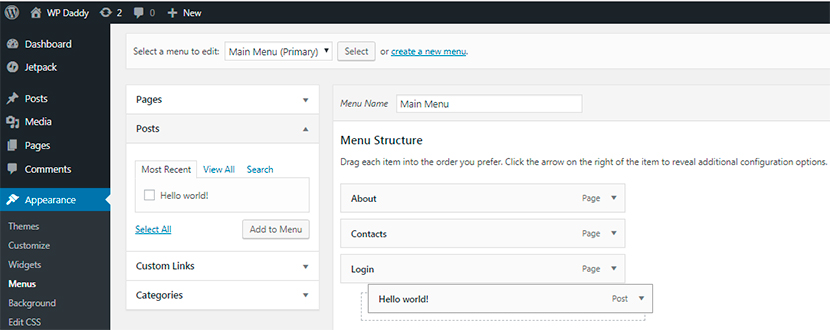
So now you have a specific post added to your menu, and you can move it anywhere you prefer just by dragging and dropping the block.
That’s all.
