Hi, dear friend!
My name is Melany and I am entrusted by our WP Daddy team to create this step-by-step guide on WordPress blogging for you. This is Chapter 1 of our guide where we share our blogging experience based on the first type of blog post — WordPress themes collection or ‘a showcase post’.
So just take a cup of coffee (or just a glass of water if you like :)) and let’s start our warm conversation.
Why’s, What’s and How’s of This Guide
You and us – we are alike! Both of us make our best to develop our blogs, create captivating content and become “the one” for our devotees as well as “the top one” among the rivals.
While running our blog at WP Daddy, we’ve collected some precious knowledge and experience concerning post creation, the structure of posts, the interests and preferences of target users, as well as a few significant aspects of blog promotion.
This is why we are happy to share our unique experience and explain some key facts on how to blog if you are a newbie and start over on your own. We will speak on some difficulties and doubts you are going to face while blogging and we will disclose some practical tips and real examples from our personal blogging experience.
I sincerely hope this guide will be helpful for you to learn some very useful details on how to run a blog with pleasure, confidence, and enthusiasm. Bringing awareness is the current WP Daddy’s mission and this is what we’ve got to offer. Let’s refine ourselves together!
Brief Overview:
WP Daddy — Who We Are?
WPDaddy is a WordPress-oriented blog launched in 2016. Today it includes such posts as showcases, tutorials, reviews, interviews, tips, and inspirational articles.
What is WordPress and why do we like it?
If you are unfamiliar with WordPress, please read the following information:
WordPress is a Content Management System that helps to create a website using the intuitive dashboard and without utilizing any coding skills. You can upload a readymade design, customize it, build the pages of your website, install additional plugins to extend the functionality of your site, add custom content – and all of this is possible through a convenient user-friendly interface of an admin panel.
WordPress helps to completely control your website, create or remove pages and menus, add photos, videos, and build your own universe within a single website. You need no additional or specific knowledge to understand how to work with WordPress.
A readymade design or a theme for WordPress – what is it?
A lot of readymade designs (themes) are created for WordPress by developers from all across the globe. One can choose either free or premium templates to use as the basis for building their debut WP website designs or revamping their existing ones.
The Theme (or design) – Let’s say, it’s the main product we review at WP Daddy. This is a readymade website template that has a pre-defined site structure with a number of pre-made web-page layouts, icon boxes, info blocks, stock photos (as examples), integrated page builders, slider builders, contact form plugins, and more features available for building a full-fledged website.
When a person buys such a template, they save their costs because they now don’t need to address a web studio or a developer to make a website from scratch. The theme also helps to save time because it allows creating a website within a few hours and then easily uploading custom content into it.
That being said, let’s start our guide!
The Collections of Themes for WordPress
The main task of our blog is to share the most breathtaking and freshest WordPress themes ever offered on the market. So let’s see how to properly create a WordPress themes showcase-post.
The structure of such type of post is as follows:
1. A title
2. A few welcome paragraphs
3. 15-25 themes with:
– a theme title;
– a snapshot of the theme demo;
– a few description paragraphs;
– a link to the product page or a demo;
4. Conclusion.
You can click any category in our homepage sidebar to find multiple examples of WordPress theme collections published.
Why share the themes?
If you want to run a blog focused on WordPress themes, you should have 4 main motives:
1. bring people cool content;
2. help website owners choose a design for their web page;
3. increase your website’s traffic rank and win the trust of search engines;
4. earn your affiliate commissions.
What type of content do we call the cool one? I guess this is something we can’t take our eyes off. If we speak of WordPress themes collections, visual appeal is a key factor to focus on. So what is visual appeal when it comes to theme collections? I guess these are the snapshots of the theme demos that should attract attention and convey emotions.
These snapshots should be the quality ones to engage your target users.
Let’s take a Themeforest-based example of a WordPress template. Each theme represented on this marketplace is available on its individual product page with the demo preview you can observe by clicking the ‘Live Preview’ button under the main banner presentation. The live preview shows the real appearance and structure of the theme’s homepage or several pre-defined homepages.
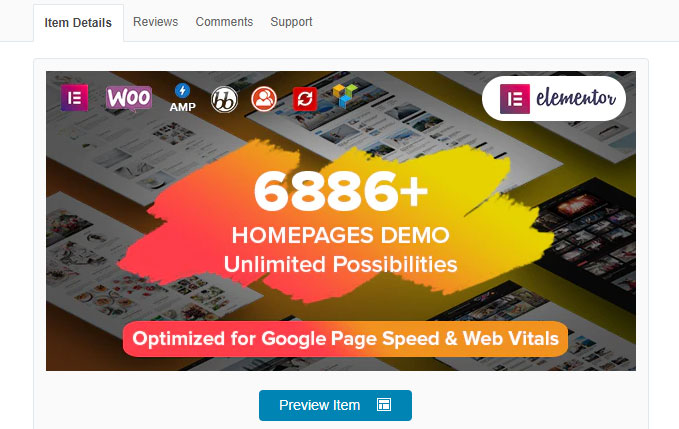
We usually capture the demo preview to show the snapshot of how the theme’s homepage looks live. We put a few of such snapshots into the theme collection for demonstration purposes.
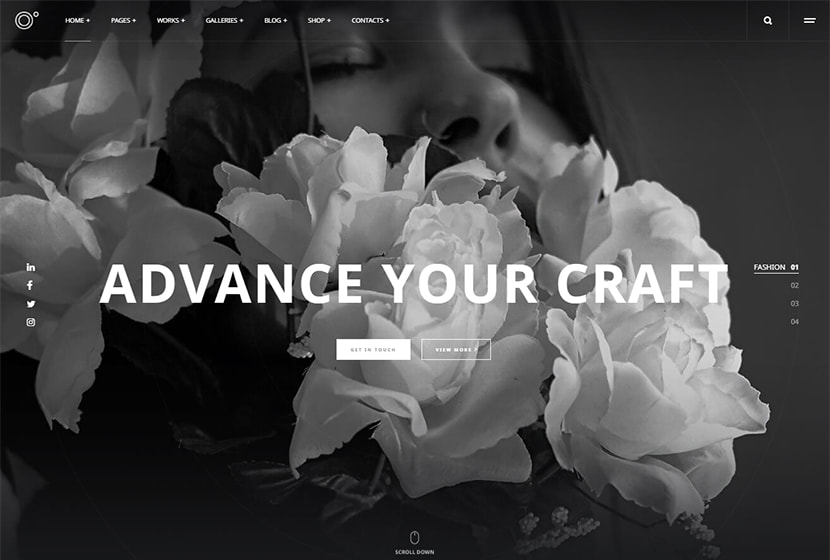
So I’ve resolved to share how we personally make great snapshots for such posts. We prefer the size of 830×560.
To be able to control the height of the snapshot I need a full-page photo of the screen, so I use the GoFullPage (previously Full Page Screen Capture) browser extension available in Google Chrome Web Store. If you use Opera, you can try Joxi Full Page Screen Capture add-on.
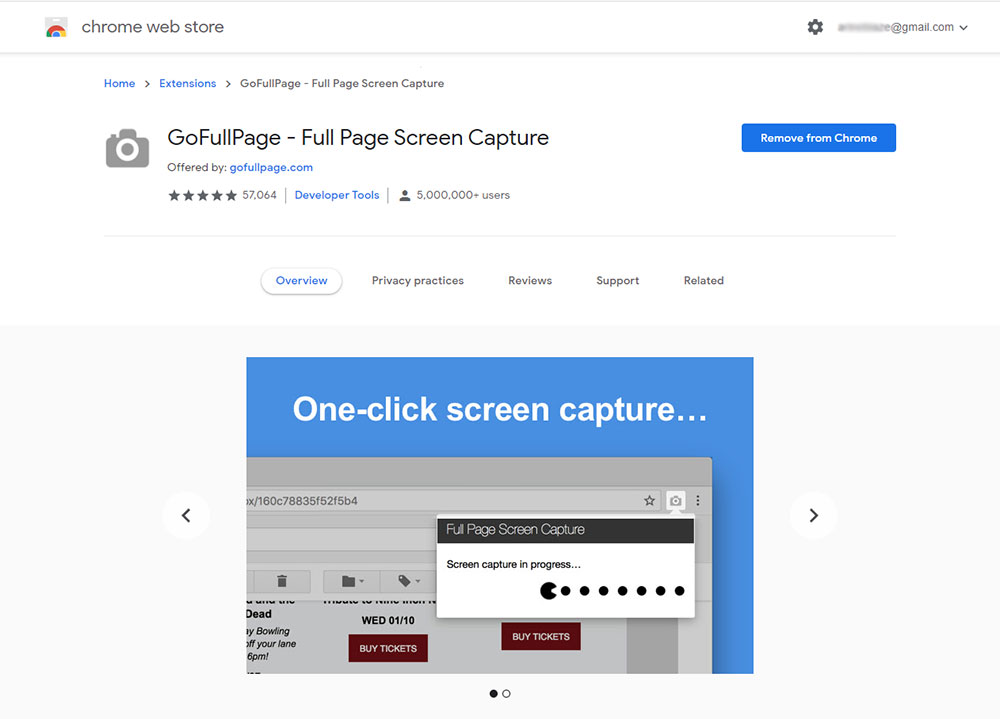
When the extension is installed, you should click the Live Preview button on Themeforest’s product page to open the live demo
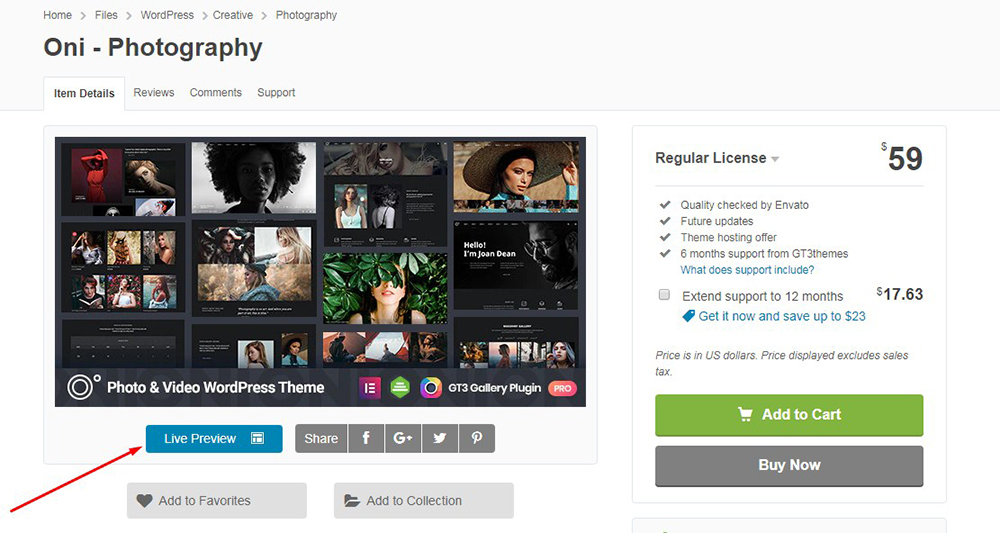
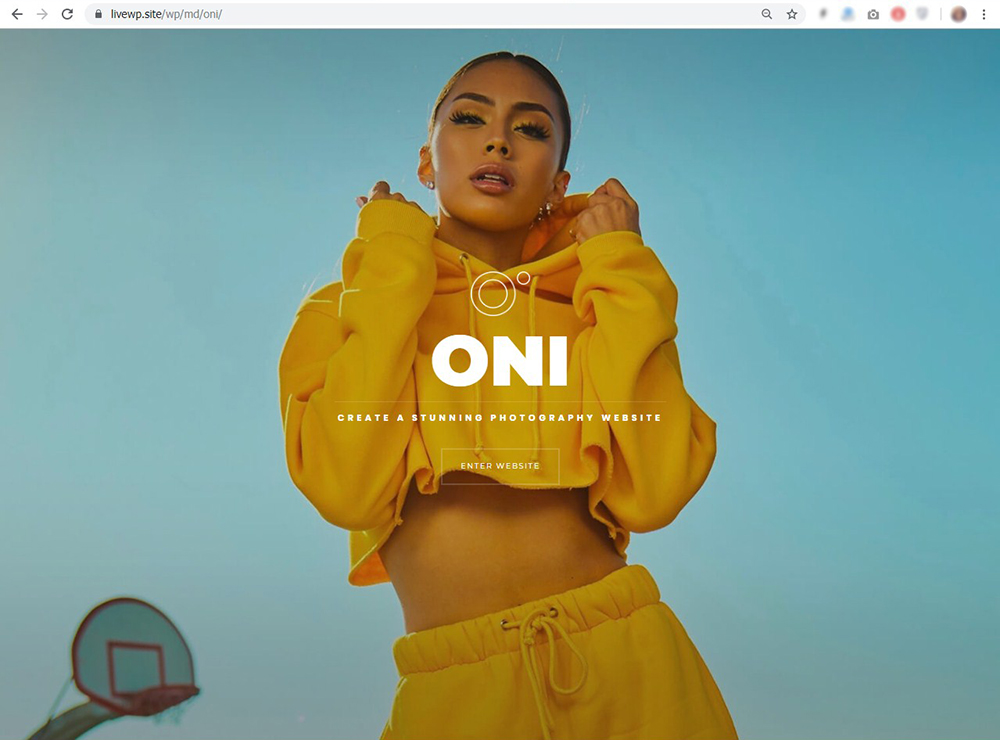
and just click the icon near the address bar.
![]()
Then see the process of capturing the page snapshot;
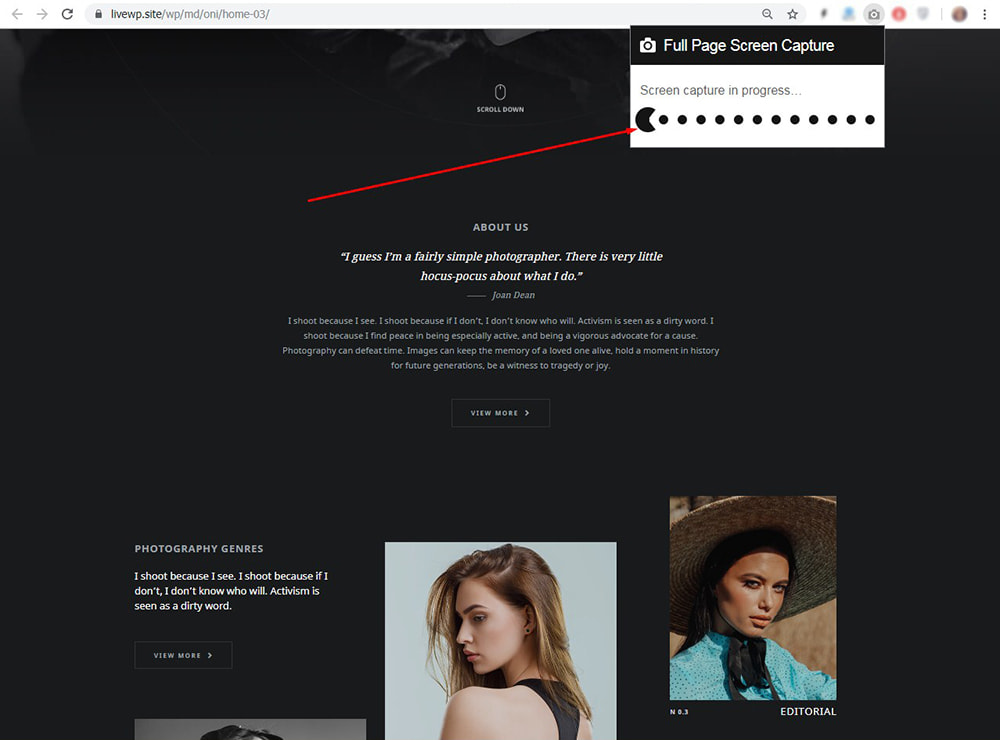
and get the ready full page snapshot as a result.
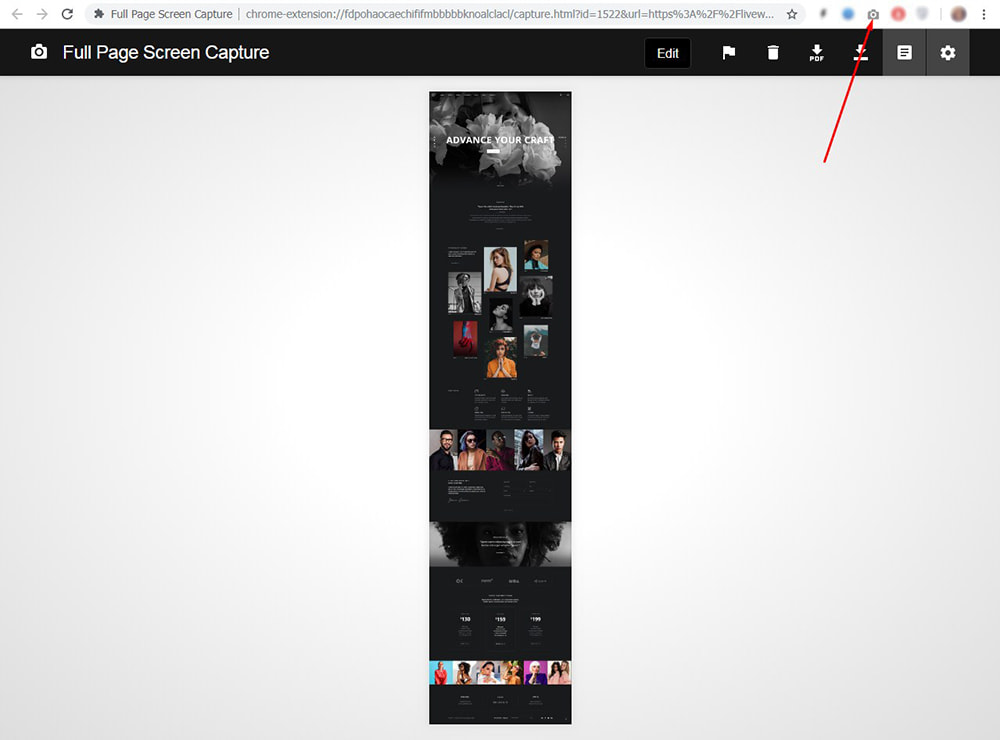
After that, open a full page snapshot with Photoshop;
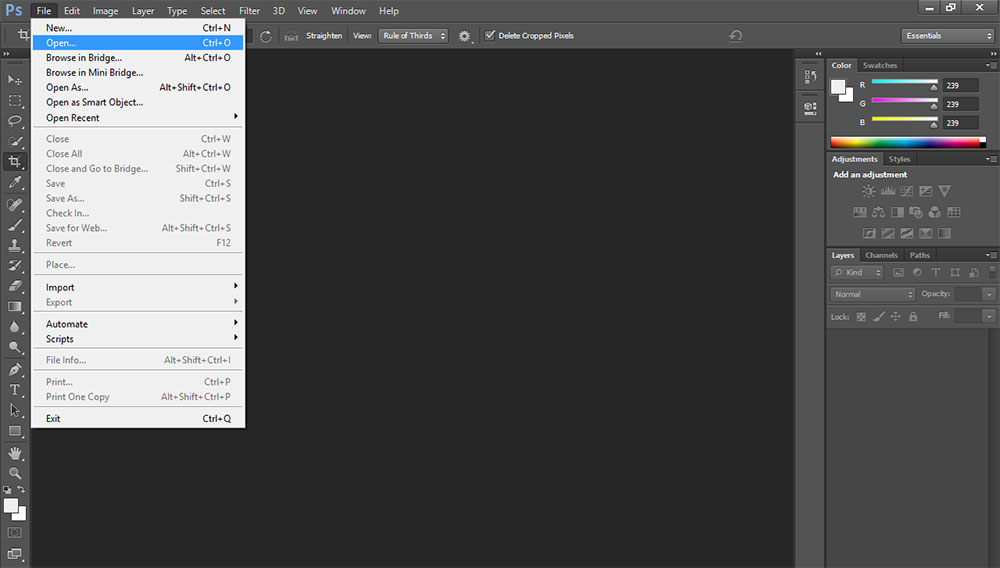
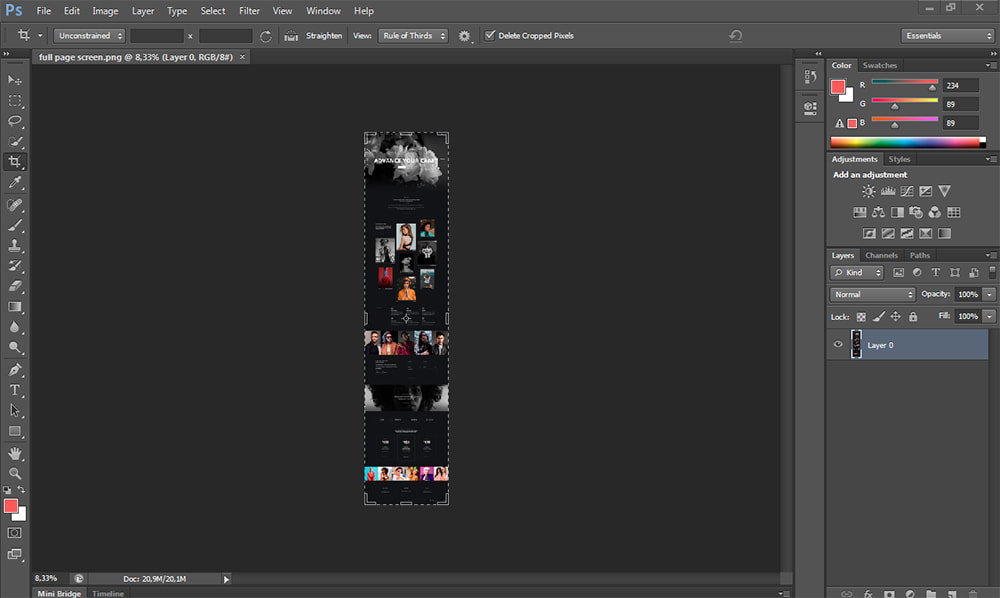
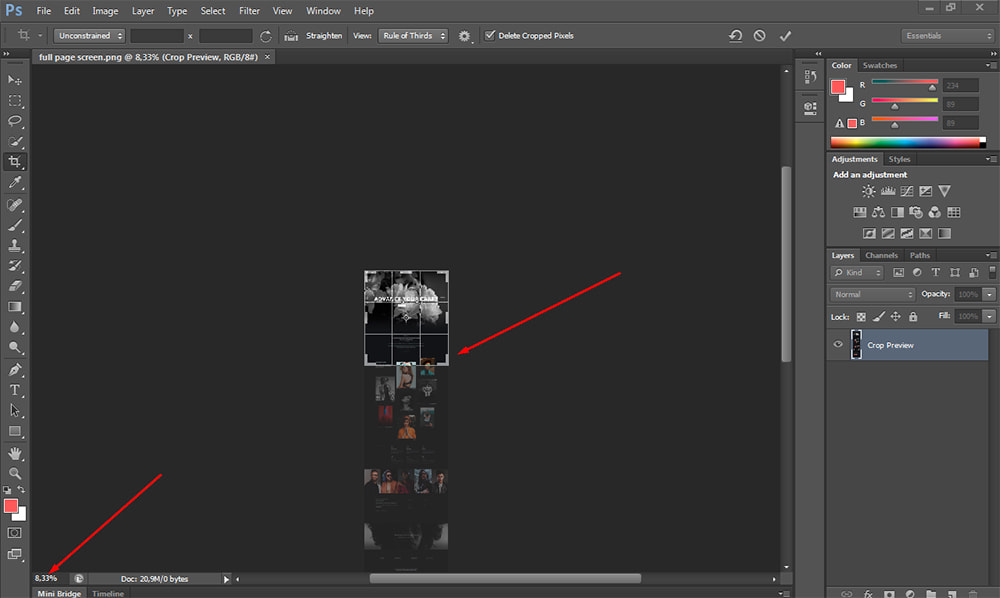
cut it and press Ctrl+ to enlarge its scale;
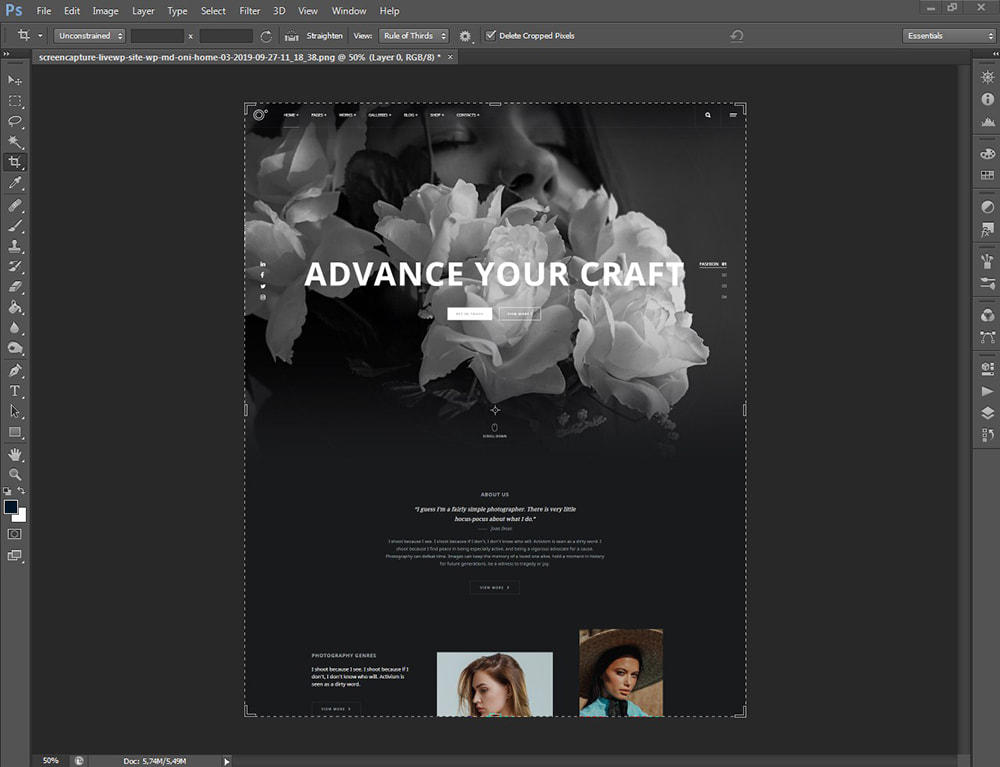
then open Image -> Image Size menu and
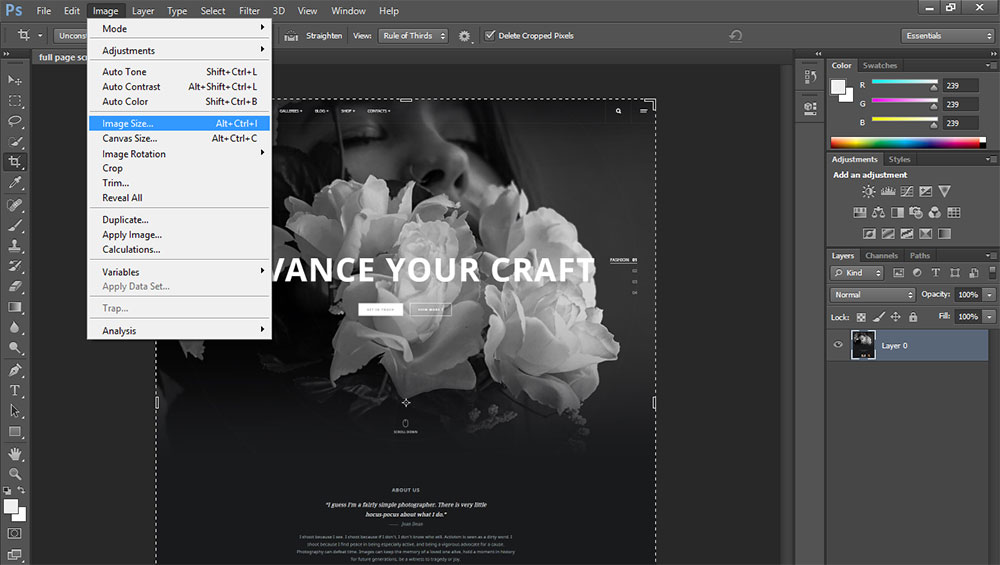
change the width to 830px.
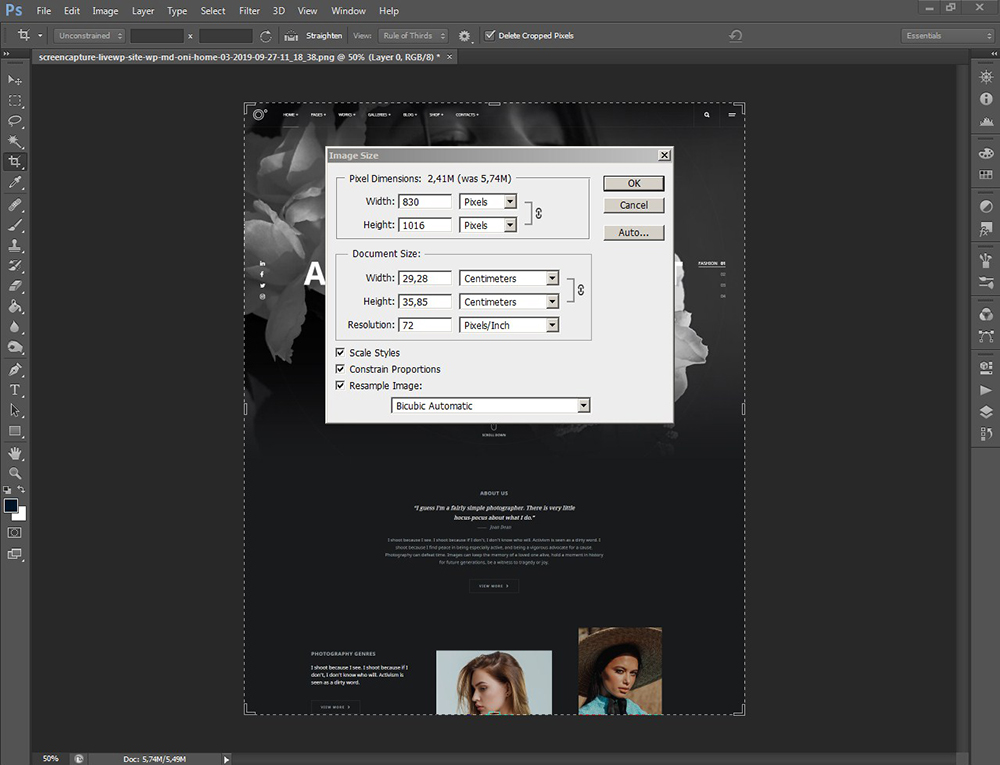
After that, change the snapshot’s height by pulling the sliding bar to the top and cutting the snapshot to the required height.
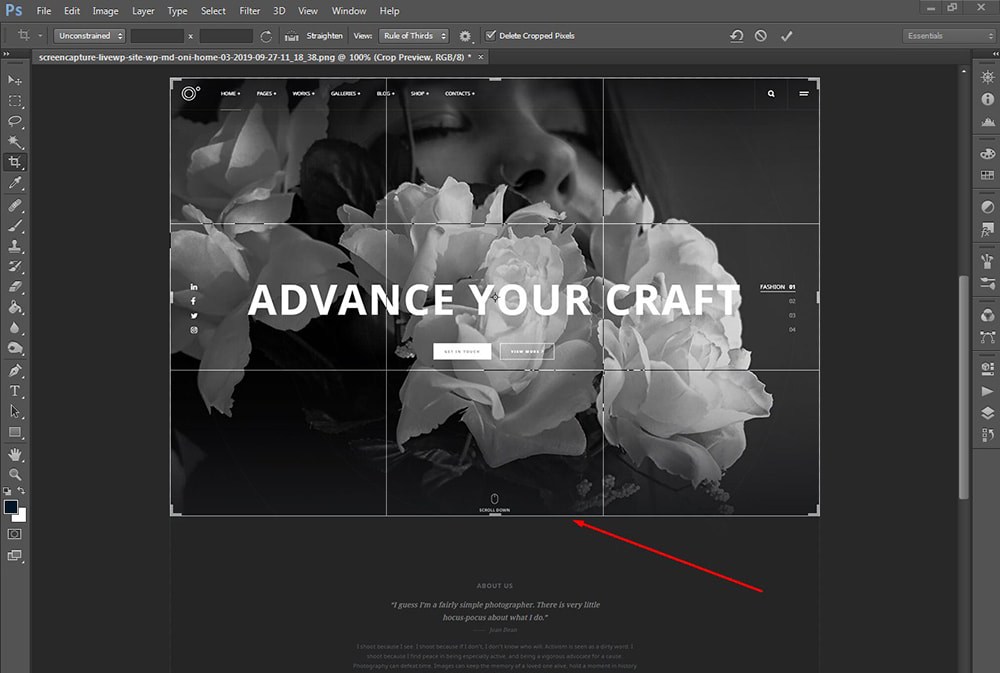
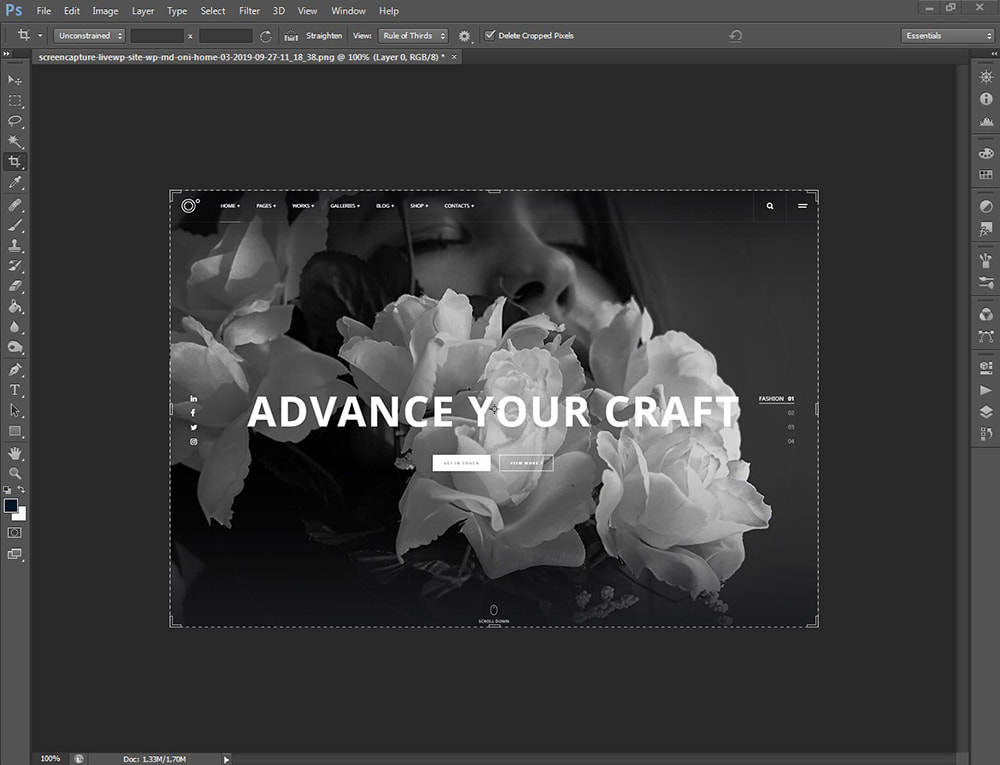
Finally, save the snapshot for the Web.
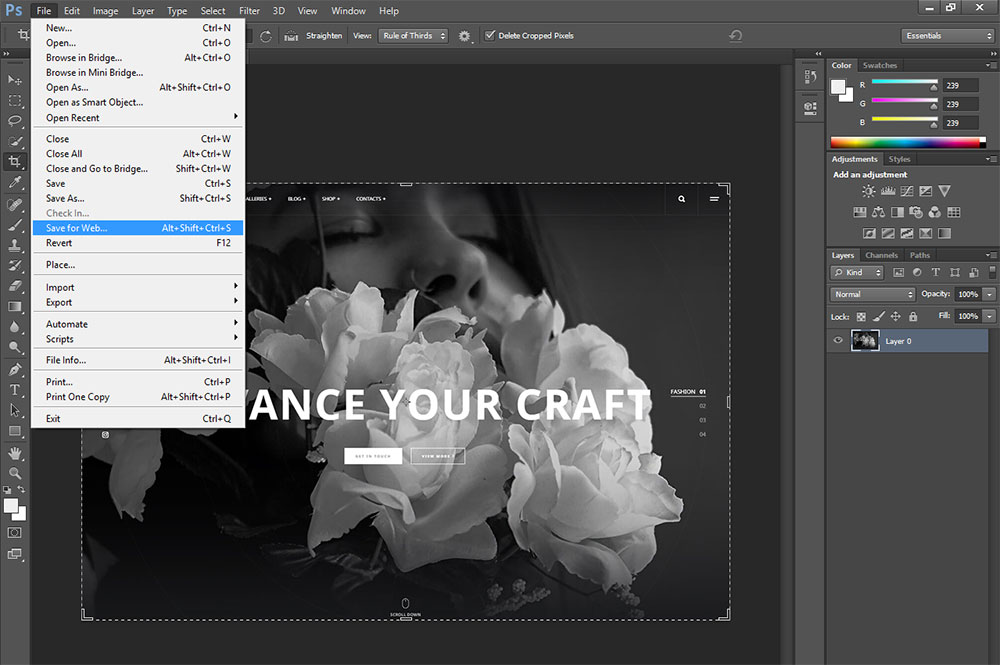
As a result, you get the snapshot with 830px width and 560px height.
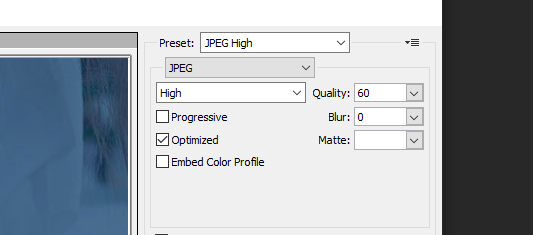
Save the snapshot with quality not lower than 60 to make the snapshot both look good and weigh not more than 200 kb.
This way I make a sharp quality snapshot that is going to show the real look of the theme’s homepage.
Let’s speak of the motives
Everything starts with love. Make people fall in love with your content, make them admire your site, let them consider your site to be irreplaceable and essential for their work, education, or leisure, and become part of your visitors’ everyday routine.
Of course, the financial aspect matters a lot, but it’s nothing without full devotion to what you do. If you want to earn more, you should have good traffic and then, of course, the conversion-> traffic depends on your daily visits and the actions of your visitors -> and this depends on how much people love your site.
The more people you enchant, the better chances to earn you get.
How to earn?
The very first thing you can earn from is affiliate marketing. For instance, you want to become an affiliate of the Envato market:
You sign up as an affiliate ->
-> get the approval and the referral link ->
-> promote the affiliate product on your blog with your referral link->
-> when someone buys a product at your referral, you get commissions.
How it works?
Any collection of WordPress themes is a promotional post that plays the role of an advertisement on your website. You create a showcase of 15-25 themes to promote them and recommend them to your subscribers and blog readers. If you promote these products successfully then most of your visitors browse your posts, read them or just scroll them to see the collections of your hand-picked products with referral links.
They don’t see the links themselves as you can hide them as hyperlinks or you can just make the image clickable by inserting the link into it. A user just clicks any product in such a showcase post and goes to the Envato product page. After that, this user is started to be tracked by the market using cookies of the user’s browser. If a user didn’t turn off the cookies in their browser then after clicking your affiliate link the user is going to be tracked by the Envato market, so if that particular user buys a product from one of Envato’s departments (either Themeforest, Graphicriver, or else) you get the commissions.
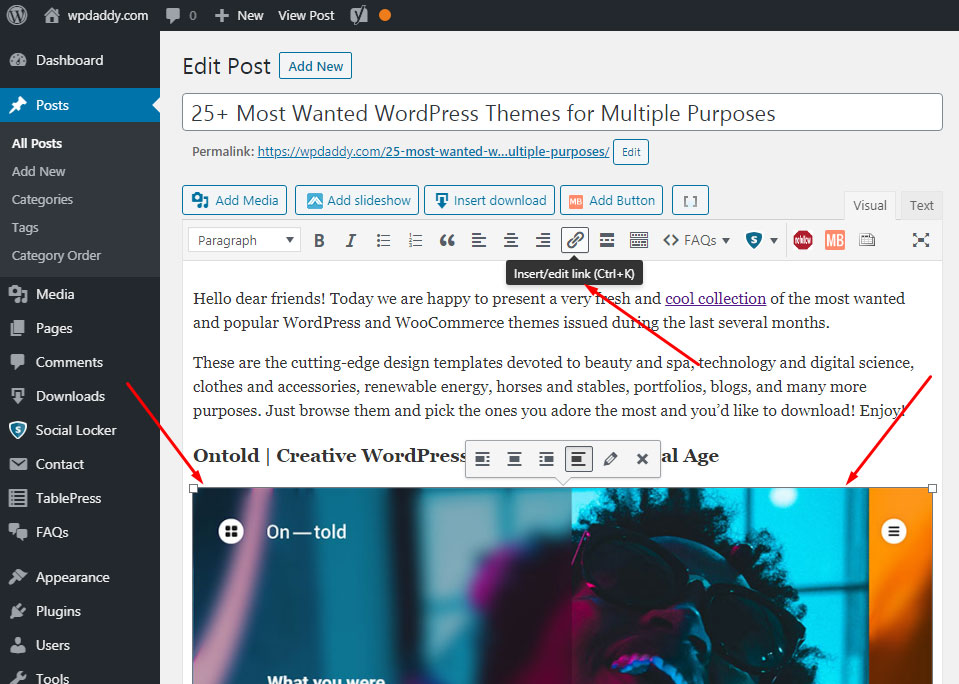
You can create a “Click It to View” or “View Demo” button with the help of a shortcode generator and then insert your personal Envato referral link into the shortcode.
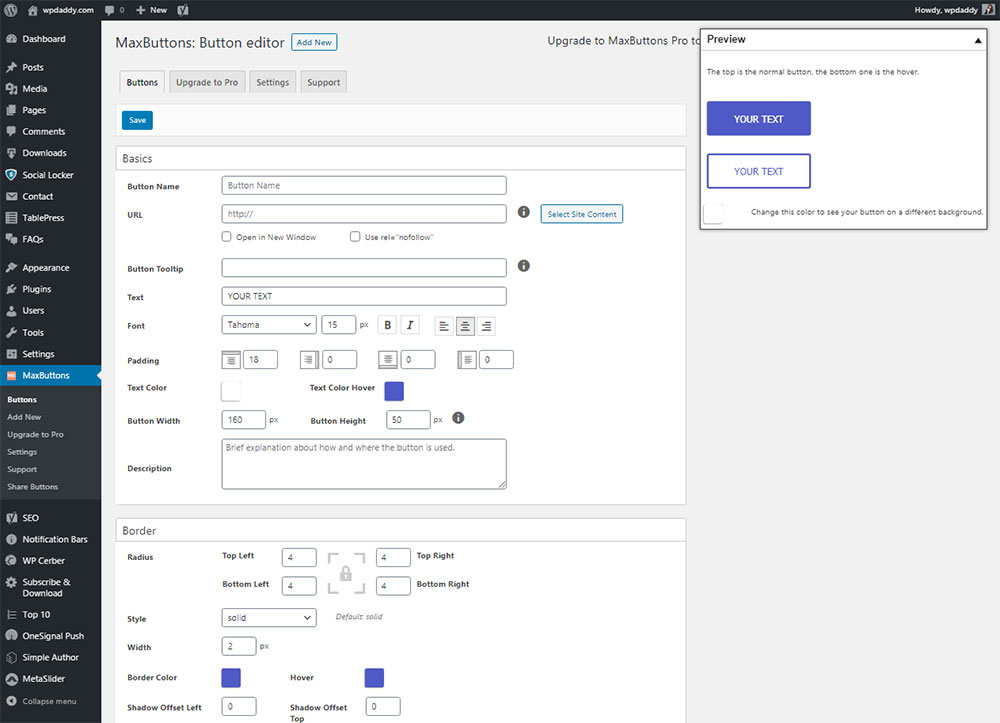
I use the MaxButtons plugin for creating shortcodes and inserting them into posts as buttons.
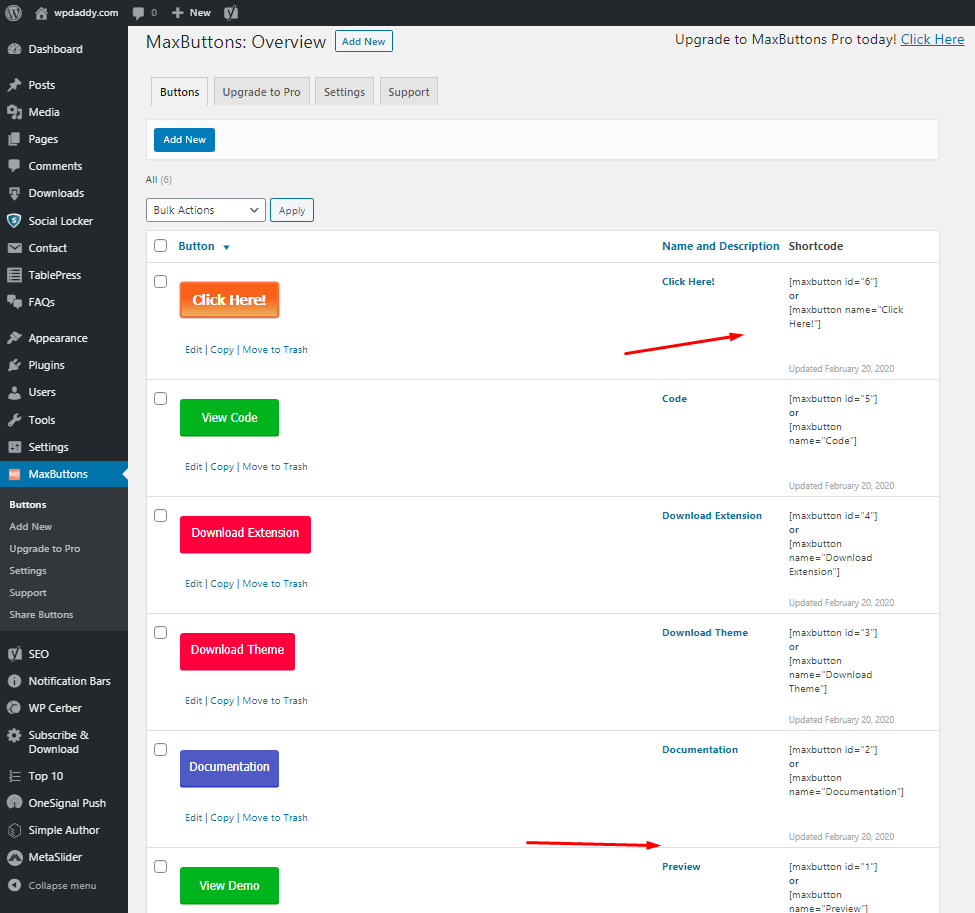
The plugin is very easy to use, you just go to the Buttons -> Add New menu to create a new button, select its text, color and manage more options,
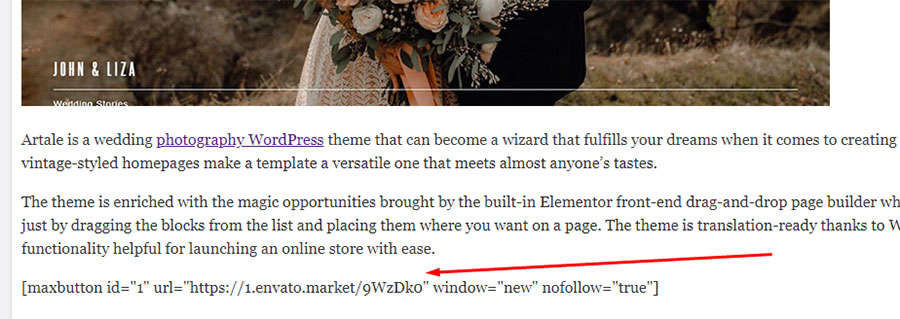
and then you copy the ready shortcode into your post’s text to insert the specific link into it.
On the front-end, this shortcode is going to look like an engaging clickable button.
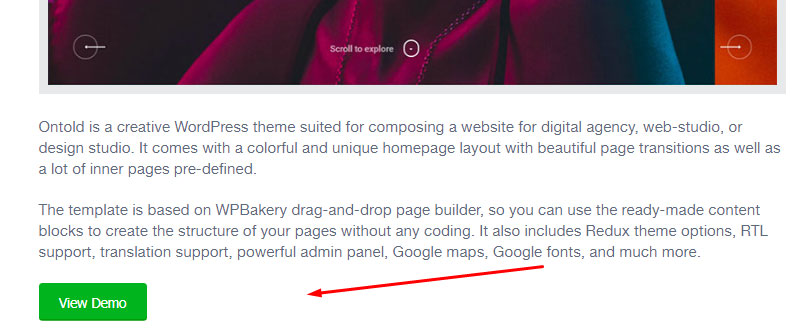
In your case, you should insert the referral link into the shortcode and then go to the front end to see how attractive it looks. Such a call-to-action button is going to make your user click it and get to the Envato product page at your referral with ease.
In other words, you publish a promotional post with an affiliate link, and you get a reward for your effort.
Go here to browse the Envato affiliate programs available and choose the program suited for your particular needs.
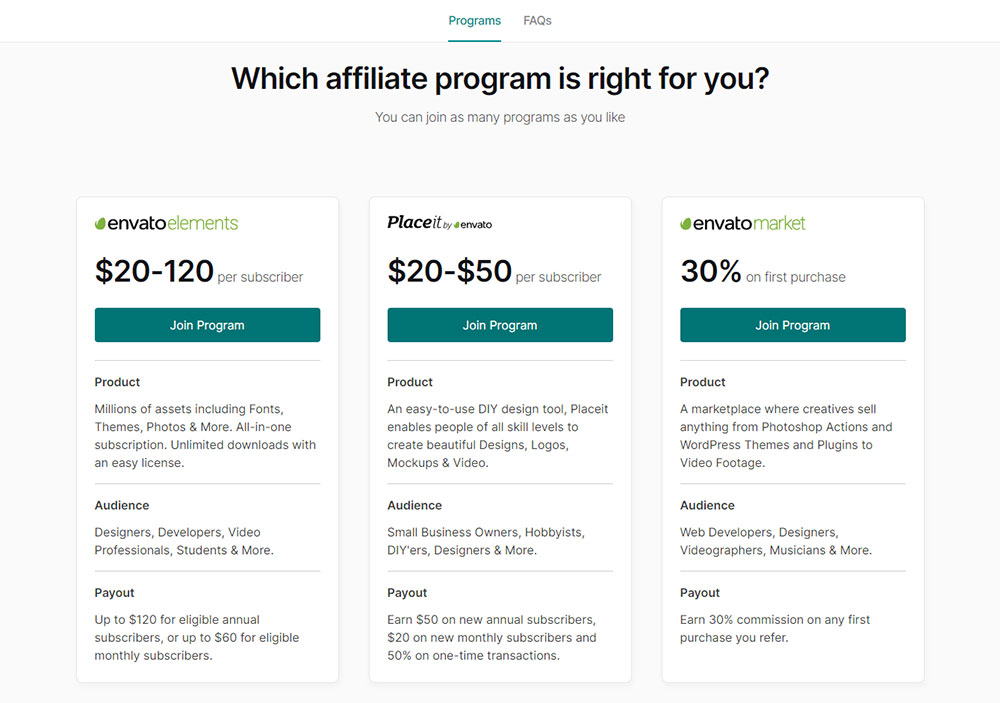
If you’ve got no account, just register it and become the Envato affiliate.
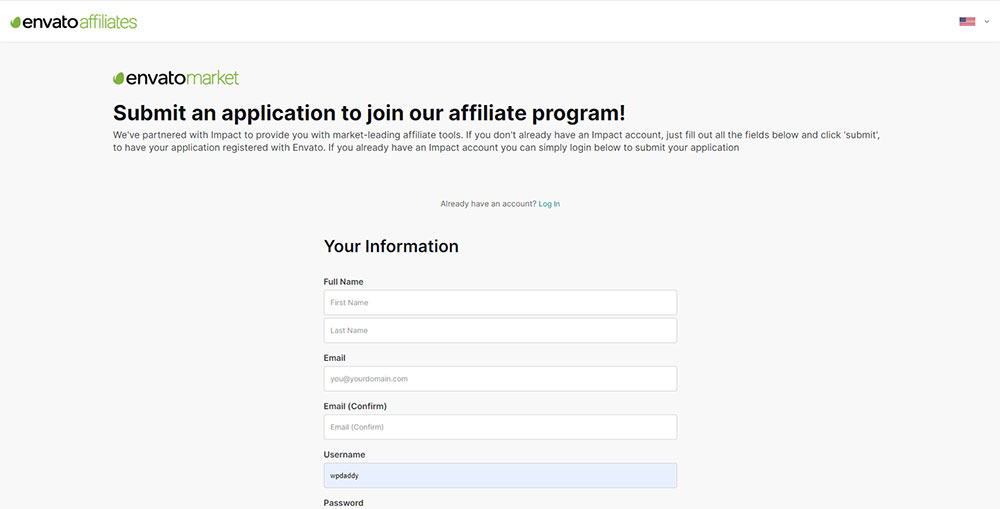
Or click the log-in link and go to your account to start tracking your commissions.
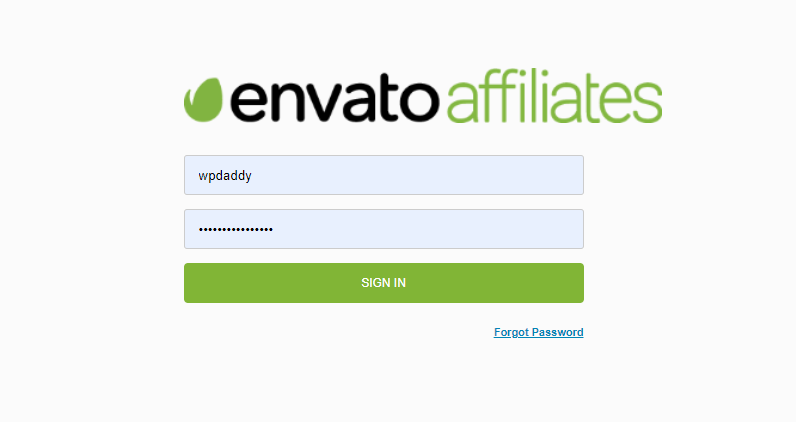
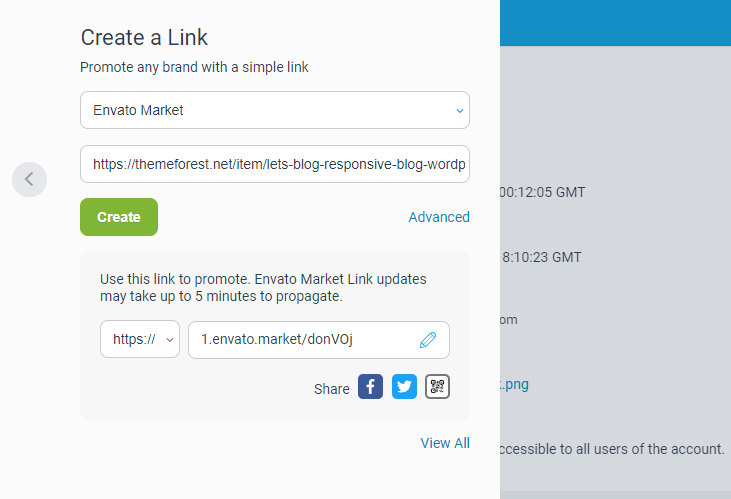
You go here – Impact – this is a website for affiliates where their clicks, actions, conversion rate, and payouts are tracked. And here you have the UI where you can create the affiliate links of any Envato’s product URLs. You just insert a link into the ‘Create a Link’ form field and click the ‘Create’ button to get the ready affiliate link generated. This is going to be the promotional link that you can use to earn your commissions.
To earn enough referral commissions it would be better to create as many selected theme collections with the referral links as possible. Except for the theme collections from Themeforest, you can promote graphics from Graphicriver, plugins from Codecanyon, etc. Please note, that Envato elements are promoted with a different referral link than all the other products, and this referral link should be created in a separate Impact account if you choose a corresponding program.
The Placeit service is now also working as one of Envato’s affiliates, so you can try to earn with the help of promoting this service as well.
In the next chapter, I am going to focus on the creation of texts for showcase posts and tutorials. Stay with me!
Melany H.


