When you run a blog, you obviously publish a lot of posts with images or photos depicting some notions, events, actions, or definite people and products you promote. If you write about digital products, templates, designs, illustrations, eBooks, or any other things from various online resources, you, of course, need to upload their snapshots and probably link them to the original source.
The link you add can also redirect users to another page of your blog you want your visitors to land at. This will be the internal linking.
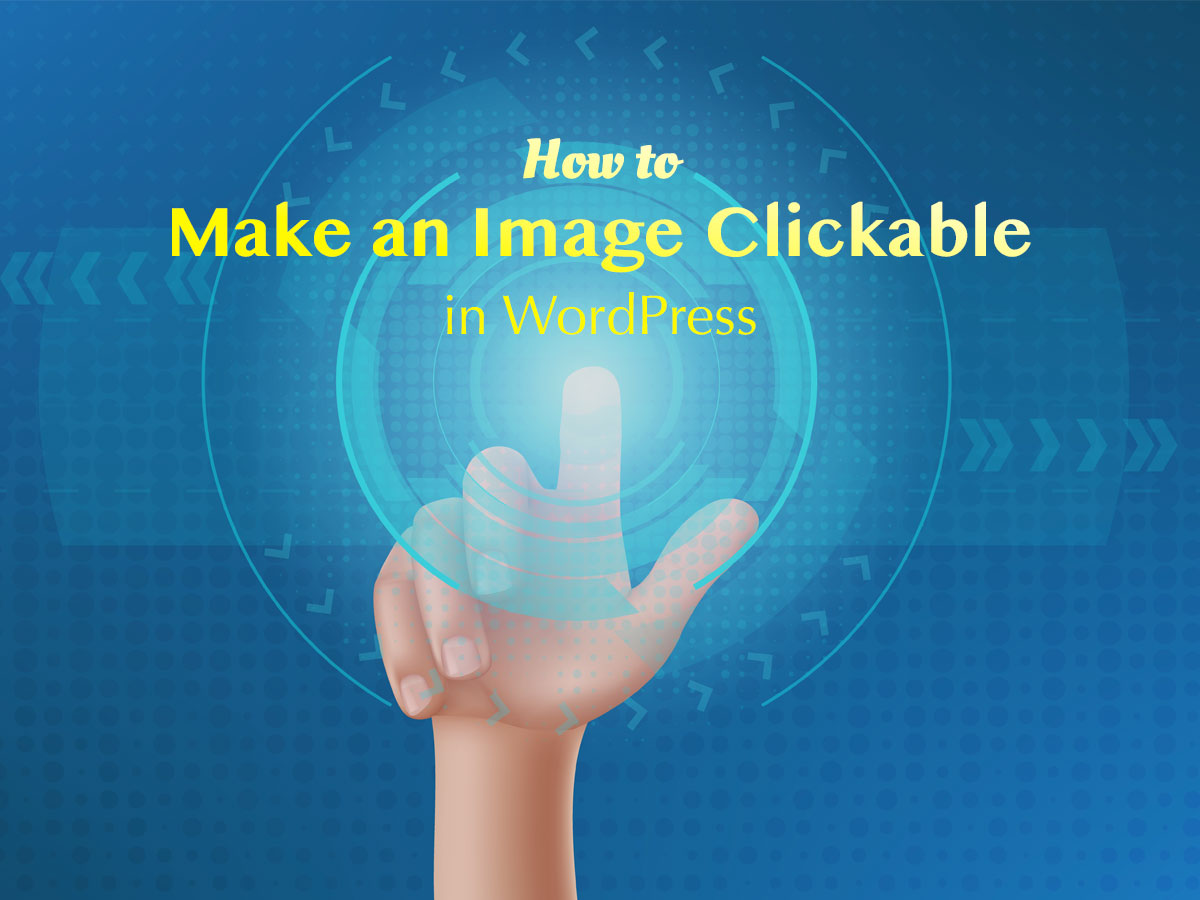
Why make an image clickable in your WordPress post?
- If you create a product review, you can link the image to the landing page or the product page where users will be able to buy it.
- If you write a promotional post you can add a referral link into it. So once a user clicks an image, they will be redirected to the page where they can sign up or buy a product as your referral.
- If you offer a freebie on your blog, for instance, an eBook, you can link the snapshot of its cover to the pdf file with the whole text of the book divided into chapters.
- If you make the image clickable adding just the link to the image itself, users will be able to open it either in the same or in the new tab in full size to examine it in detail.
So how to make an image clickable in WordPress?
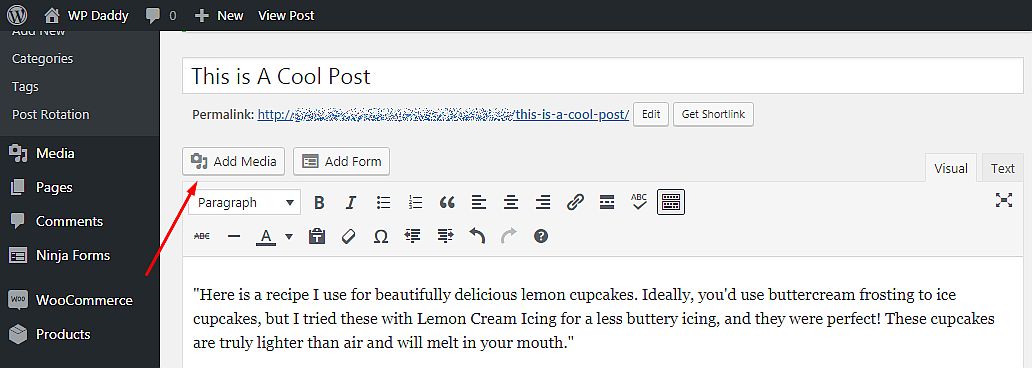
Go to Posts -> Add New or choose any post from Posts -> All Posts menu in your admin dashboard.
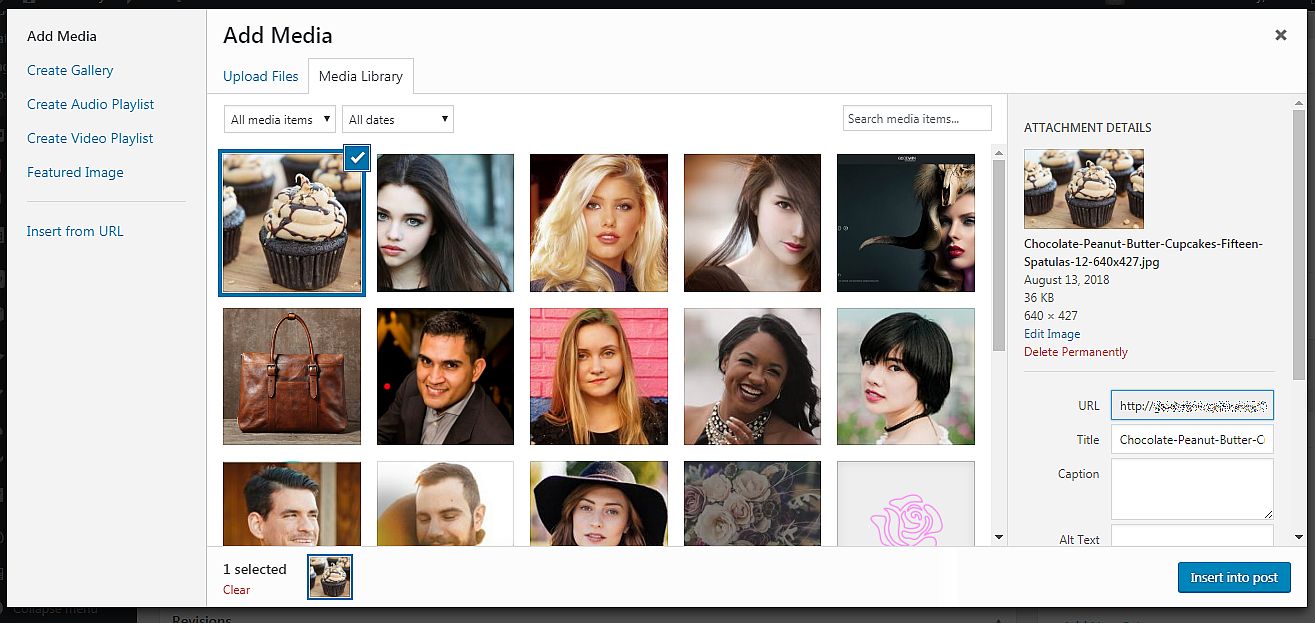
To add an image into the post click the Add Media button, choose a file you want to insert from your media library and click the Insert into Post button.
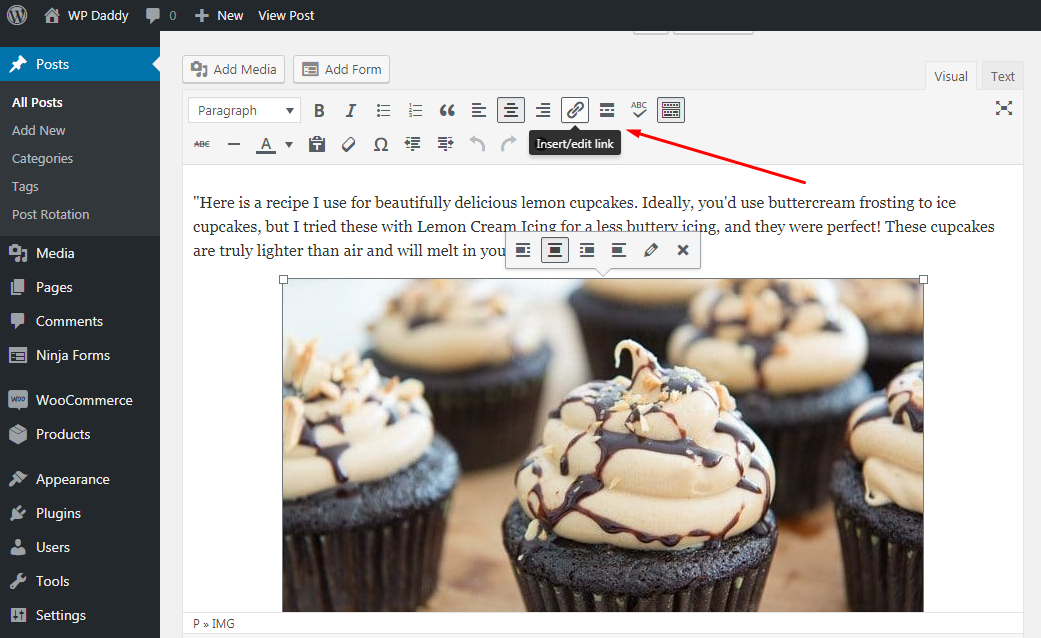
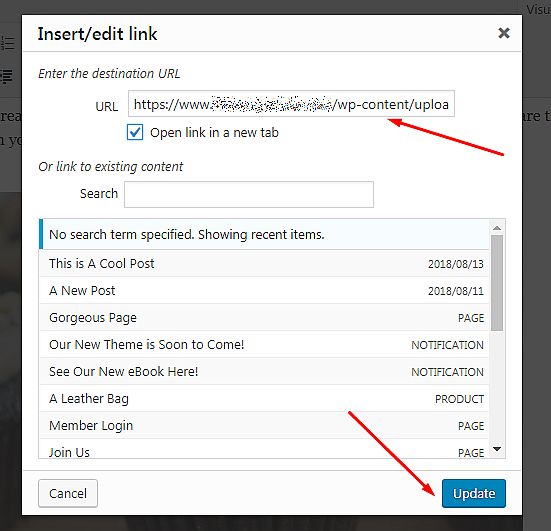
When the image is added, click on it once and select the Insert/edit link option in the visual editor.
Insert the image link into the correspondent popup field and click the Apply button.
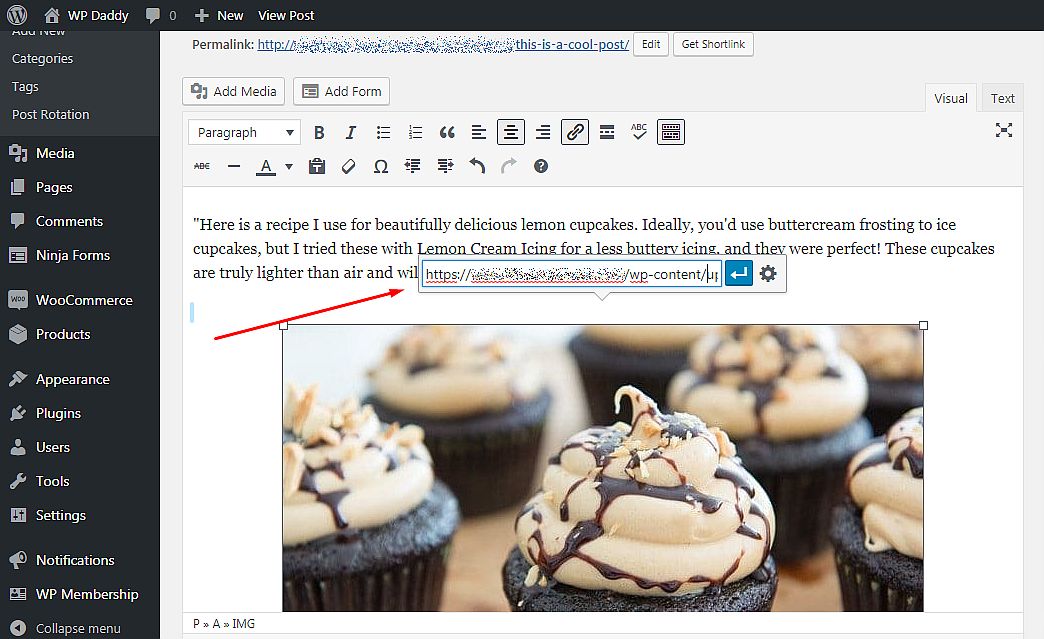
If you want your image link to be open in a new tab, click the gear icon to open Link options, check the ‘Open link in a new tab’ checkbox and click the Update button.
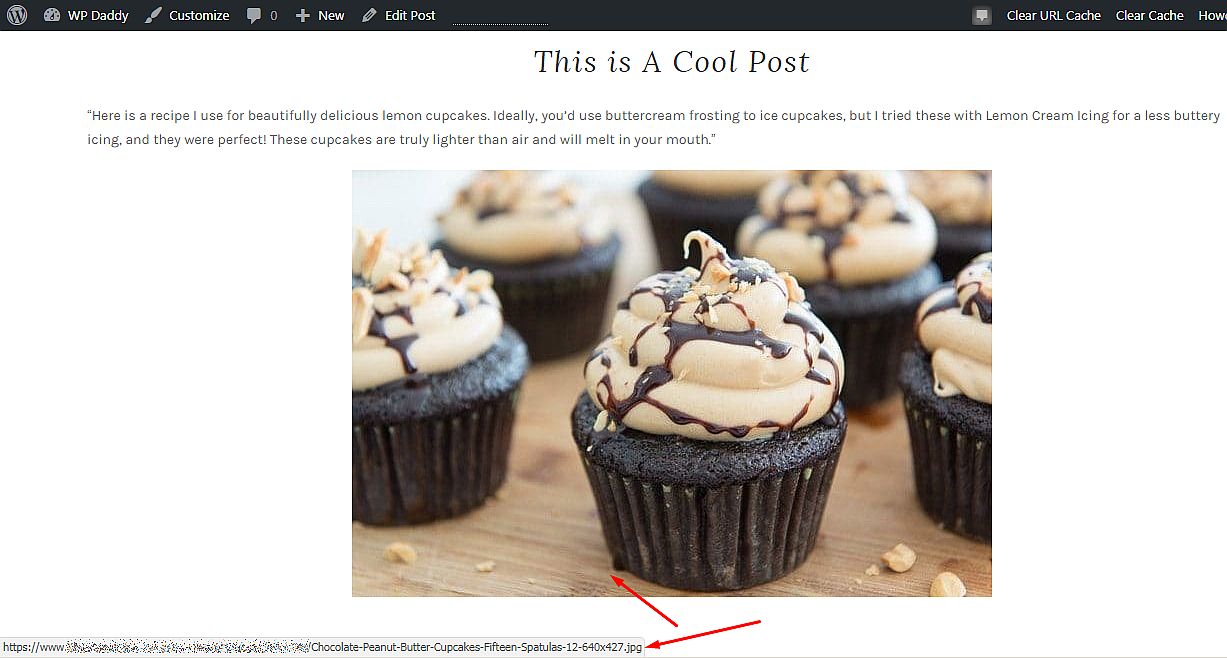
That’s all! Now you can preview your draft, publish or update and view your post to see your image live and make sure it is really clickable.
You can also read our How to Enlarge Images When Clicked tutorial if you want your images to be open in the same tab when clicked.