More than 25% of all the websites across the globe are using WordPress these days. However, many website owners don’t use English for their websites, though English is the default language for many modern WordPress themes (no matter free or premium ones).
People from different countries buy WordPress themes and customize them up to their specific needs and the expectations of their target visitors. Sometimes it’s important to create a website in Spanish, German, or Chinese to meet the needs of the target audience.
In this case, one should make their best to translate a chosen WP theme into the language they need. When looking for a theme to buy for building your website, opt for translation ready ones. This feature should be specified in the features list.
Once you get your theme, open the zip file and find the languages folder which should contain a POT file. This is the file ready to be translated. WordPress Codex allows several different translation options, and we will speak on one of the easiest ways.
WordPress currently uses the GNU gettext localization framework for translation. This framework uses three types of files including POT (Portable Object Template), PO (Portable Object) and MO (Machine Object) files. Every file is responsible for the 1, 2 or 3 step in the translation process.
So in this tutorial we will show you how to translate a WP theme using Poedit software available both for Windows, Linux and Mac OS X.
Please download and install the program as usual. Launch it after the installation.
Go to File -> New from POT / PO file in Poedit.

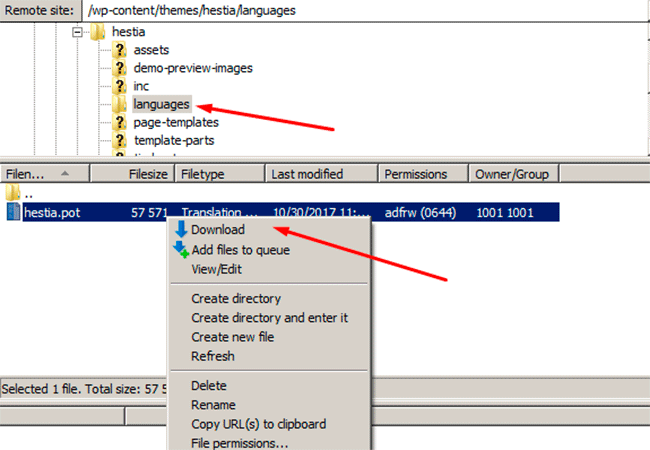
Select POT file from languages folder of your theme. You can also connect to your WordPress install via FTP and download the POT file from the languages folder of your theme.
Choose a language you want to translate your theme into and insert it into the correspondent field in the pop-up window.
![]()
Now you are ready to translate your theme.
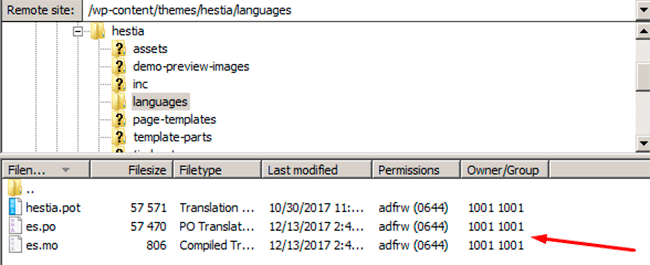
In our case, we’ve chosen a Spanish language, so you will get es.po and es.mo files after your translation is ready (.mo is the machine-readable format).
To translate the theme, select a text line from the upper section. Type the translation in a Translation box under the Source text section. When ready, move to another line of text, and then translate all the lines one by one.
![]()
After the translation is done, go to Catalogue -> Validate Translations to check the errors and then save your translation.
In the end, of course, you should upload your .po and .mo files to your theme’s languages folder via FTP.

Hope this tutorial will be useful for you.