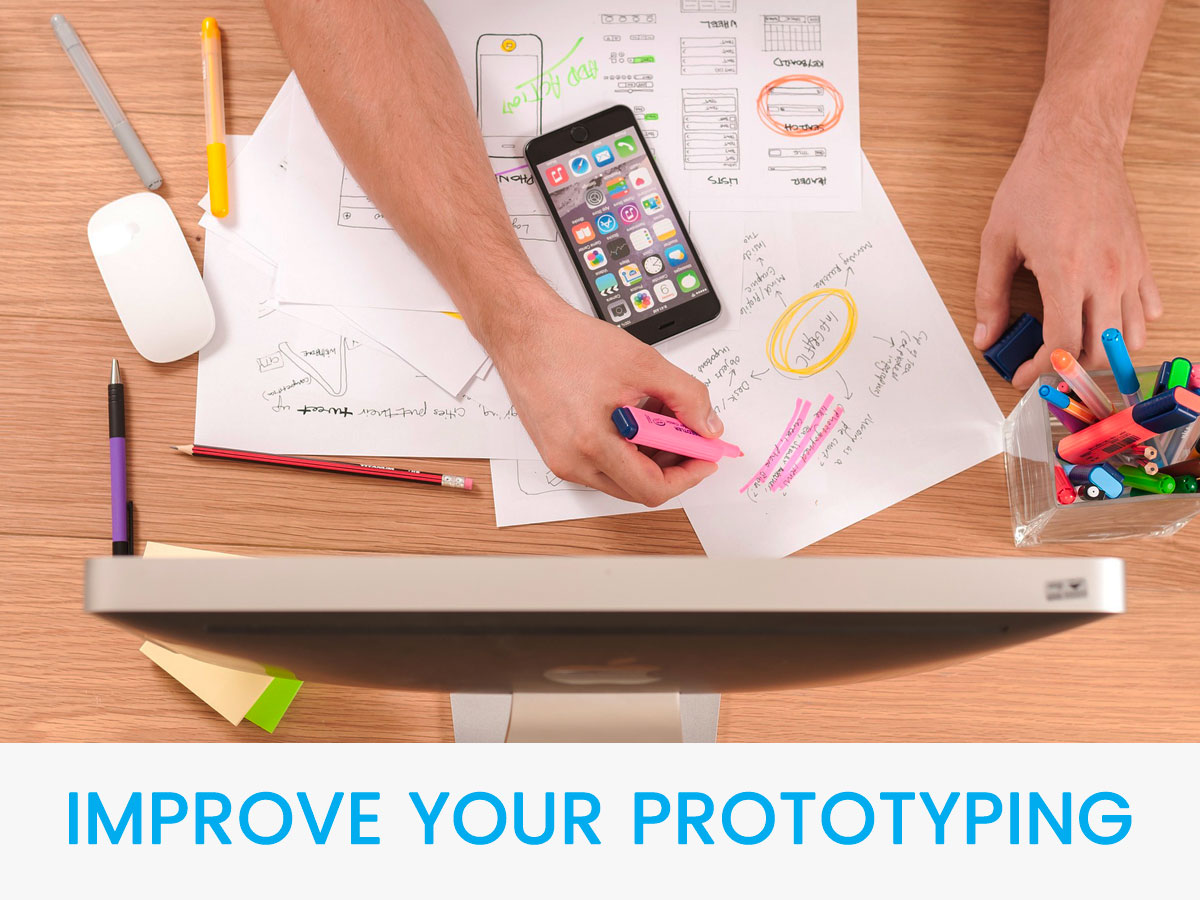
All designers are used to utilize traditional UI prototyping which means they create a design idea and visually present its look and work to try and evaluate (it can be either a website or an app). Besides that, there is another kind of prototyping which is called a rapid one. In this case, a designer creates a quick prototype which is sent to customers to validate and approve.
The mockup of a website or app created with the help of rapid prototyping allows a designer to show the way they think this site or application will work. When a designer enables users to check the prototype (these can be clients, fellow designers, website users, etc.) it allows getting an insight on how convenient its navigation is and how intuitive the tasks to perform are.
Users share and unveil the difficulties they had to face while navigating the website or what aspects were challenging for them while using the app. Depending on the evaluation of every aspect of a prototype which has been tested by users, a designer makes changes and then incorporates them into the new design created depending on the feedback of users.
In this post, we will speak on the main points to consider while rapid prototyping. So, let’s see!
1. Get a Feedback

The feedback on rapid prototype allows to understand the weak points of your work during the design process before it is over. This is a great opportunity to correct and improve the final design without any necessity to make changes when your project is almost complete.
You get an insight on what you have to change on every stage of developing a project (not just when the project is already complete), so you can make a change and then continue to the next stage being sure everything is done right.
2. List The Weak Points
When developing a certain design, you probably know what parts of your project will cause questions of users. Such design areas sometimes create frustration or misunderstanding when using your website or app, so to avoid it, list the parts of your design you are uncertain about and mention they need detailed examination.
This will help to easily identify the weak points of a project that you are about to correct and problems you will resolve.
3. Engage Users With Peculiarities

When sending out your design for testing, try to find users which will be able to estimate your design from different points of view. It would be great to find people with disabilities, visual impairments, intellectual disorders, etc. The wider range of users will be able to test your app or website the better usability results you will get.
If people with some disabilities will be able to easily use your app, then your regular target users are surely going to manage doing this.
4. Limit The Areas of Exploration
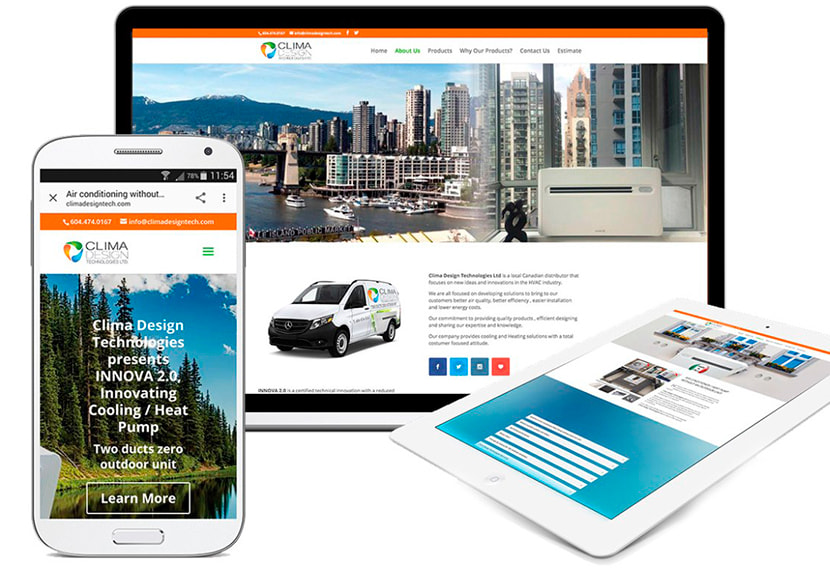
Keep your initial prototype small and easy to explore. After all functionality is tested, you will be able to make necessary changes and extend your design. Your final product will be ready with all the amendments you’ve made depending on the opinions of users.
Rapid prototyping is called this way because the process of its creation should be fast and the changes should be made as soon as possible. When the users are satisfied with your design and their user experience becomes positive, you can consider your prototype to be ready.
5. Make Changes in Time

Designers sometimes start to make changes in a few days before the deadline. Sometimes such changes require a lot of work which is impossible to do in several days. So if you make them in a rush, your final product may lack quality and all feedback you’ve collected won’t go live.
If you make your changes gradually, passing from one stage to another, it will be easier to complete a final product on its final stage before the deadline, instead of making all the work together at the last moment.
Final Thoughts
The responsible and organized approach makes any work successful. The mentioned above tips will make your rapid prototyping process simpler and more effective than ever before.
