
Custom meta boxes are primarily used to provide a convenient UI for adding metadata into your content including posts, pages and post types. Actually, every type of content includes metadata and content. Metadata consists of the information which describes the content’s essence. This information contains the author’s name, title, date and time of publication, etc.
If you require, you can add your own metadata by adding custom fields into your posts and pages. You can do it easier than you’ve probably thought, so in our post, we will be reviewing the process of adding a custom field with the help of the Advanced Custom Fields plugin available for free. This is the easiest and the most effective way to add custom meta boxes in WordPress, just follow our step-by-step guide.
So let’s start!
Of course, you should start by installing the plugin. We’ve already told how to install a plugin, so Advanced Custom Fields is installed the same, and it is very simple. Please check the plugin installation guide here.
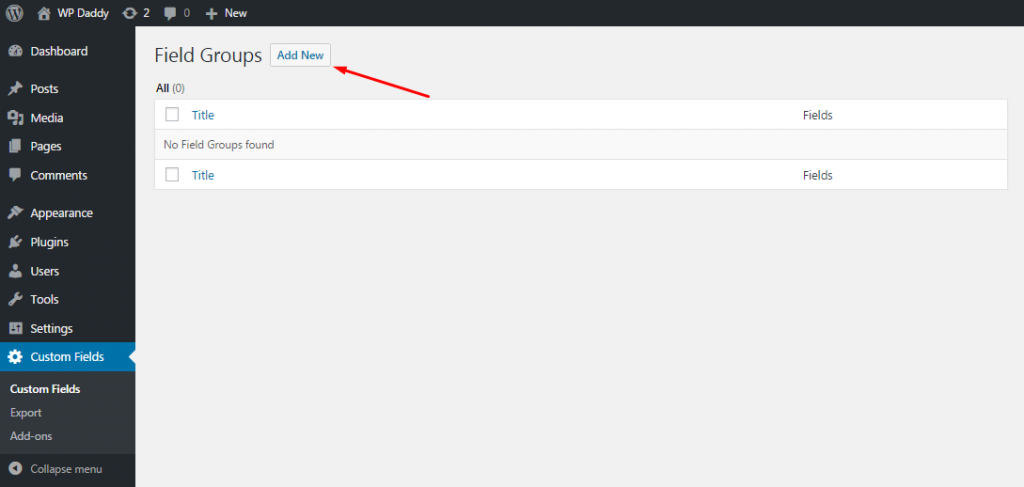
After the plugin is installed and activated, you will see a new menu section titled Custom Fields in your WordPress admin sidebar. Go there and click Add New button to proceed.
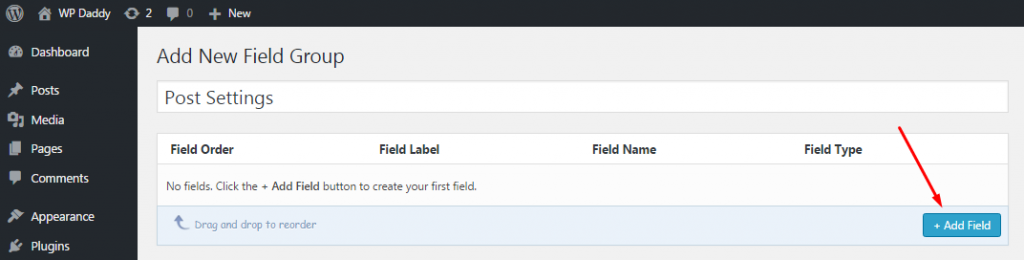
Here you can add a new field group starting from its title. This will be the title of your new custom meta box.
When the title is created, click the Add Field button and start adding your custom field as you want it to.
In the field settings form you will be able to add a field label, field name, field type and field instructions. When you choose a field type, you can select from text, textarea, radio buttons, checkboxes, WYSIWYG editor, images, and more.
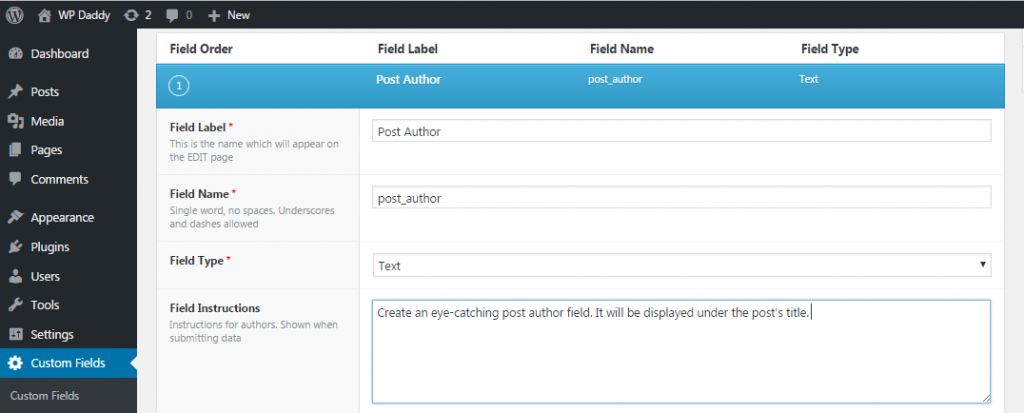
When you provide field instructions, be as specific as possible to explain an author what to add into the field. Review the options for your created field to adjust them up to your requirements.
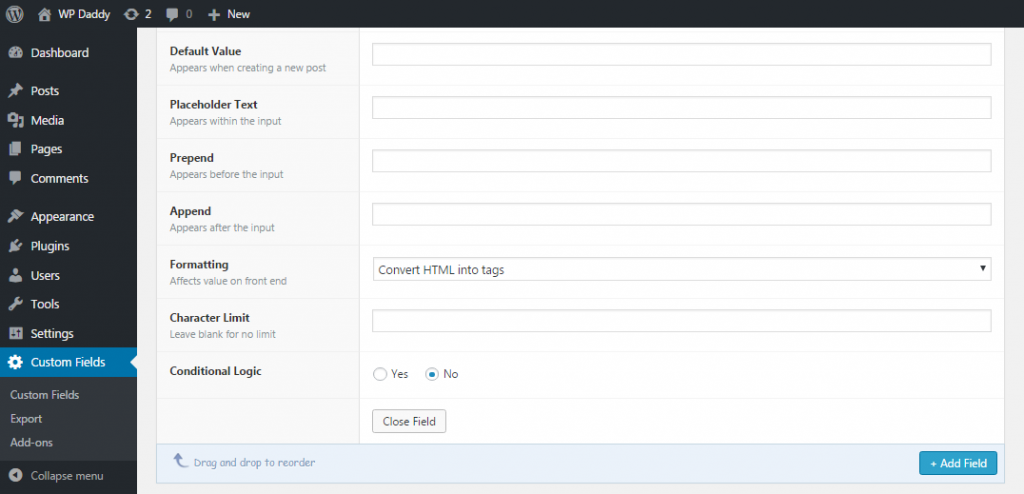
After all is done, click the Close Field button to finish editing it. If you’d like to add more custom fields to your meta box, click Add Field and continue editing your meta data.
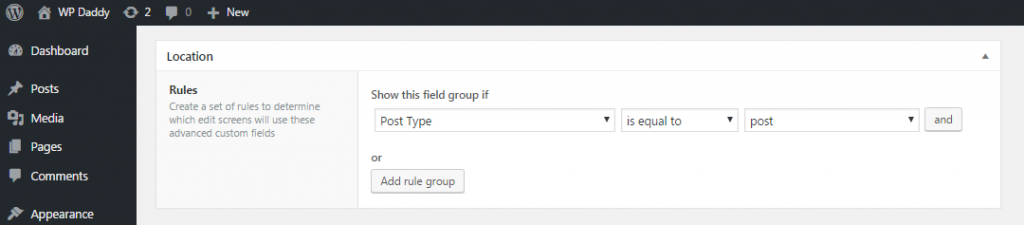
After you are done, scroll down to the Location rules to determine which edit screens will these advanced custom fields use. Here you can select post types, post category, taxonomy, page parent, and more.
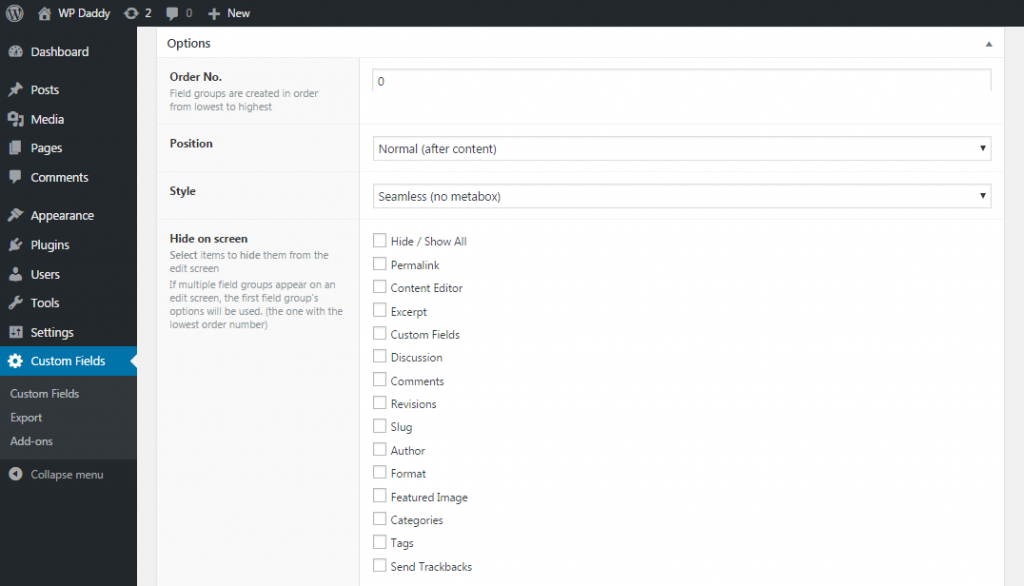
Meta box Options will allow you to set your meta data as you require. If you’ve got a few field groups defined for one location, then select the order number for them to be displayed. If you are not sure, then leave it as 0. Choose the meta box position on the page. It can be either high (after title), normal (after content) or side. Then select either seamless or standard style and check the fields you want to be hidden on a post edit screen.
Once you are done, click on the publish button to make your field group live.
Now when you come to Posts -> Add New you will see a custom field displayed there. Depending on your settings, you will see your custom meta box in action.
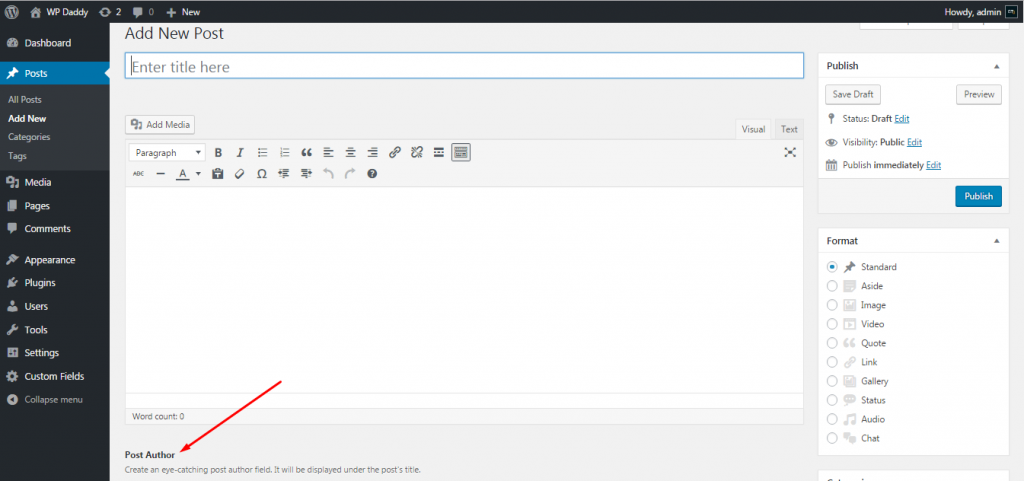
You can use this custom meta box to add meta data into your posts. This data will be stored in your WordPress database when you save or publish the post.