If you run a membership website where you sell premium content or you sell any products online in your web store, then creating a login popup modal will surely come in handy. If you create a login popup modal on your website, your users won’t be taken to another page when clicking the login link.
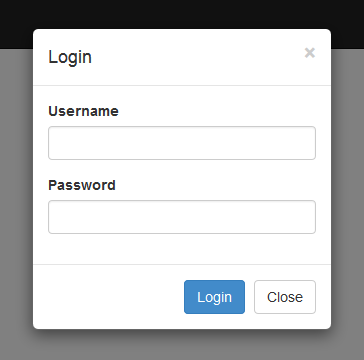
The login form will appear as a pop-up window covering the current content, so the user won’t lose the piece of text or video they are reviewing. It will be possible to login to your website without leaving the page a user is currently browsing. After a user is logged in, they are redirected to that certain page they were on. Building modal login popup will improve user experience and enable your users to stay on your web-page for longer, so you can rely on better conversions.
In this post, we will show you how to create a login or register popup modal with ease. For our purpose, we will use AJAX Login and Registration modal popup plugin for WordPress.
Once the plugin is installed and activated, go to your WP dashboard Settings -> Login/Register modal to start. All is explained in the General -> Installation Steps section.
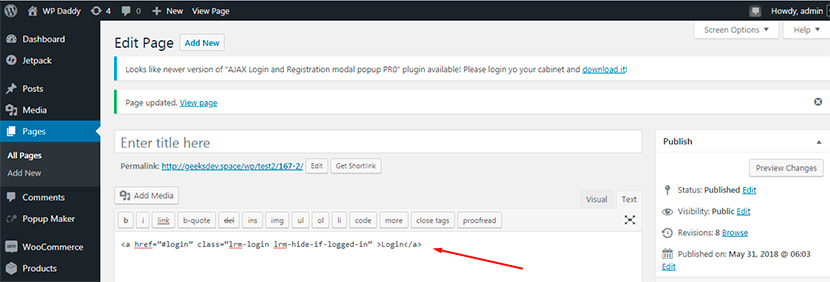
So go to Pages -> Add New or choose a page in All Pages list, then add a class into the <button> tag or a menu item depending on where you want your login form to appear.
So if you want to create a modal login form and then hide the form after a user is logged in, you get a code looking like <a href=”#login” class=“lrm-login lrm-hide-if-logged-in”>Login</a> or <button href=”#login” class=“lrm-login lrm-hide-if-logged-in”>Login</button>. Insert your custom URL instead of #login.
If you want to add a register popup modal, then your class will be .lrm-register, and you can add it in the same tags as well. If you wish to display any link when a user is logged in, then add .lrm-show-if-logged-in class either after lrm-login or lrm-register.
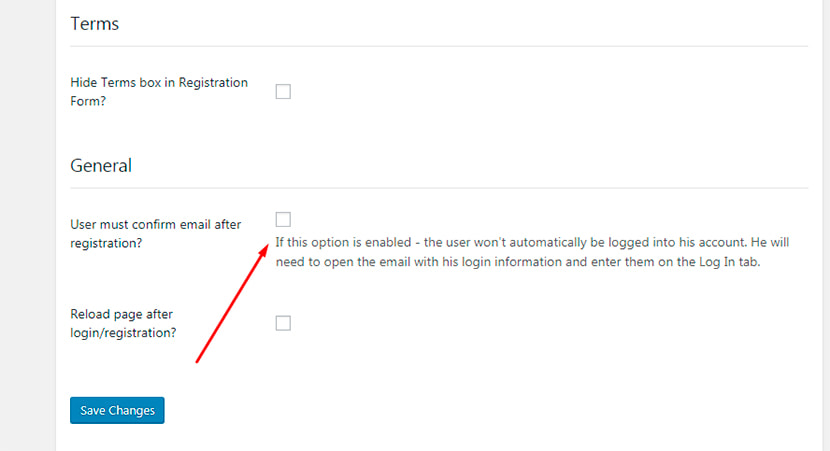
General settings of the plugin also allow checking the option of confirming the email before being able to log into the account a user has just created. Here you can also check the options either to hide terms box in the registration form or not and either to reload the page after login or registration or not to.
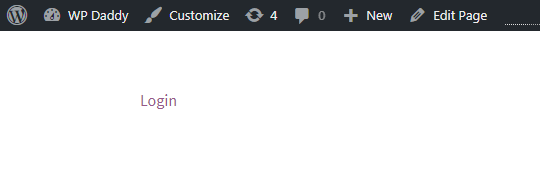
See the login link live. This is clickable.
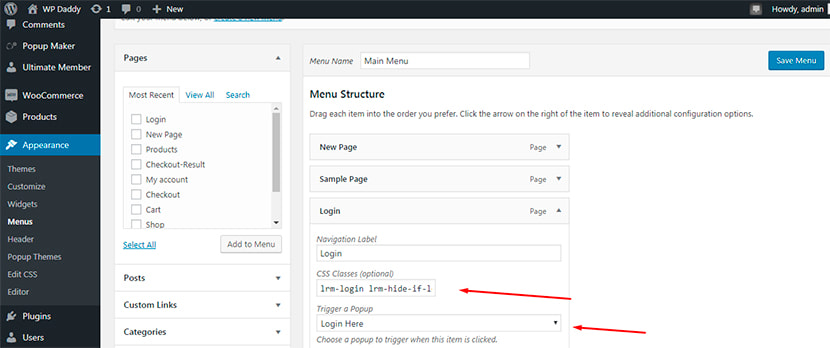
If you want to add your login popup modal into the menu, then go to Appearance -> Menus to select a menu from the list of existing ones or create a new menu. Click the Screen Options and enable CSS classes there.

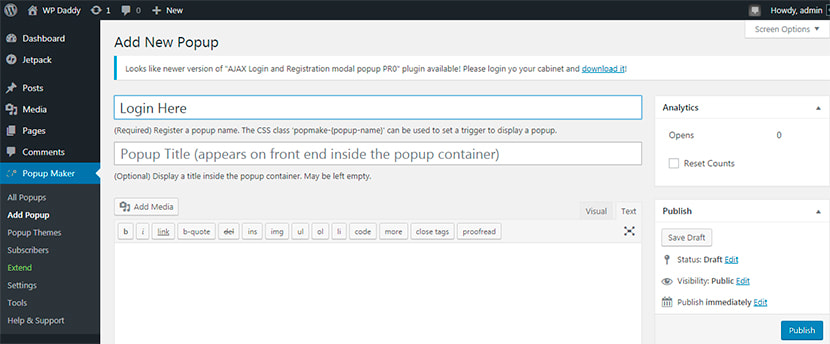
For creating a popup, we use Popup maker WordPress plugin.
So we go to Popup Maker –> Add Popup, insert a new popup’s title and publish the popup just the same as we publish a post or a page.

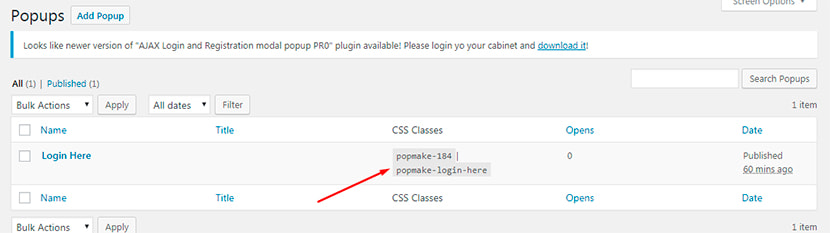
After that add menu items from the column on the left, and then click a certain item you want to be a login link and add lrm-login or lrm-register class into the CSS Classes (optional) field. Choose a popup to trigger when this certain menu item is clicked. You can select a popup from the existing popups list. When you click the Trigger a Popup option in the menu item editing section, you can select the recently created popup from the drop-down list and click the Save Menu button to keep your changes.
To make all of this work, basic CSS knowledge is required.
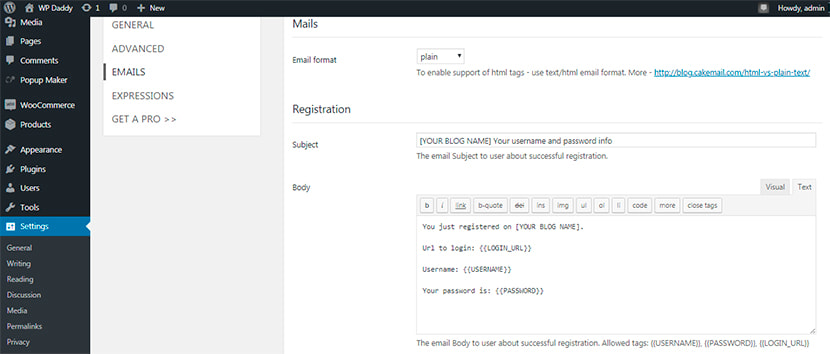
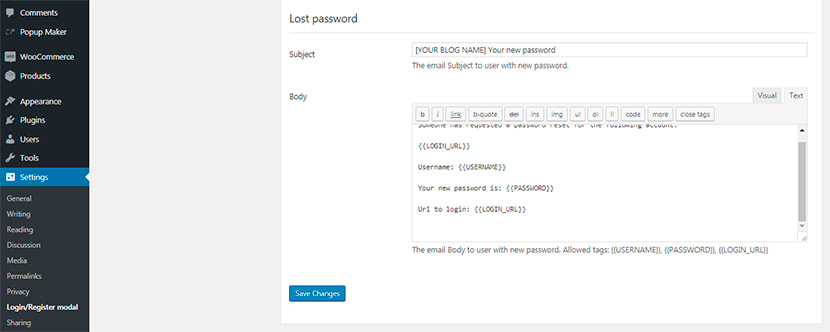
If a user is registered and has to confirm their email before being able to log in, you can also use this plugin to create emails for this user. Go to Settings -> Login/Register modal -> Emails and edit the body text of a letter which will be received by your user after they are registered and after they request a new password.
Much more features are available for this plugin. Please read its documentation to get an insight on how to create login popup modals without efforts.