Do you want to build your landing page with Elementor front-end page builder? read further to learn how.
It goes without saying that every business owner who has a website wants to get more visitors and convert most of them into loyal customers. A landing page is one of the best ways to draw the attention of target users and get their interest.
A landing page is a purpose-oriented web-page built for a definite product or service promotion. It is created for marketing campaigns and allows to collect leads from search engines, social media, and more resources.
If you use email marketing for your product promotion, you can send the promotional materials with active URLs to the emails of your subscribers. When a subscriber clicks the URL, they will get to your landing page; so the more visitors land on it, the more chances to find a lot of customers you get.
If you launch a unique campaign for every single product, you can create a separate landing page for every product. There is no limit in this case; you can create as many landing pages for your every product as you want to.
So how to create a landing page in WordPress?
For our purpose, we will use Elementor page builder – one of the most popular visual builders with a drag-and-drop interface and front-end editing possibility.
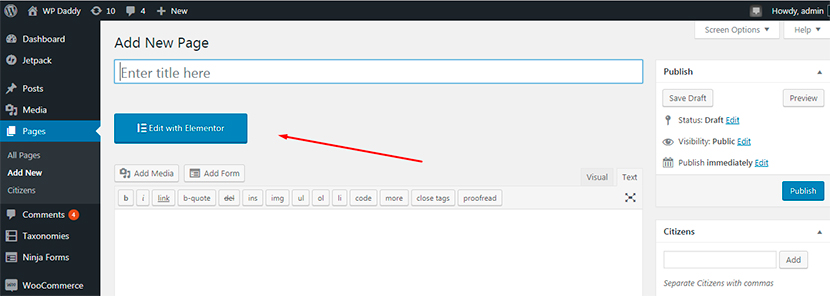
After the plugin has been installed and activated, go to Pages -> Add New and click the Edit with Elementor button.
Here you can start creating a landing page from adding a template.
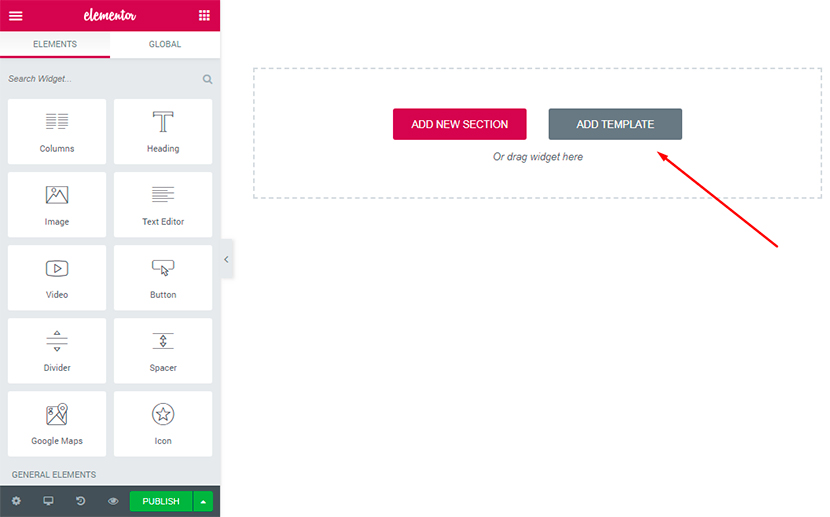
When you get to the library and search for a landing template, you will see a lot of themes available for the Pro version, but you’ll be also able to find some free ones.
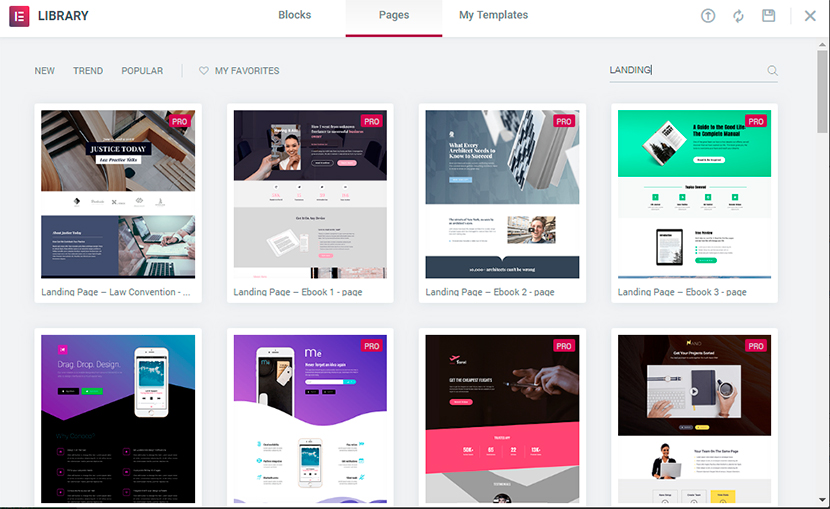
Let’s try to insert a free template and work with it further.
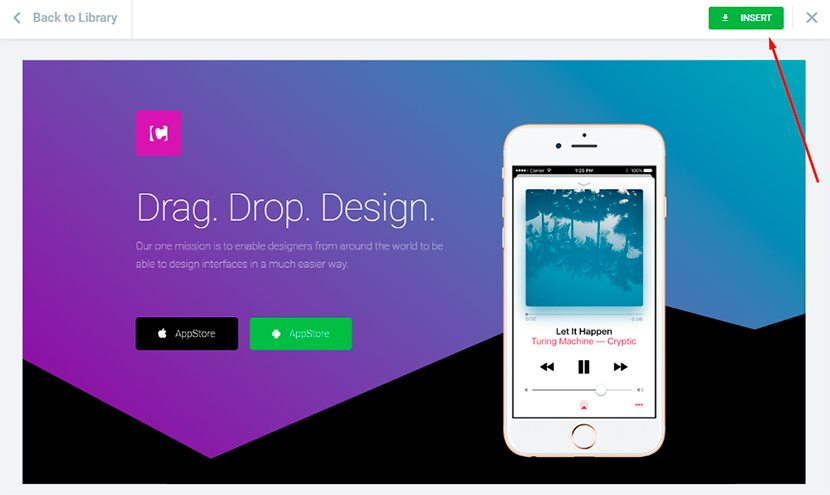
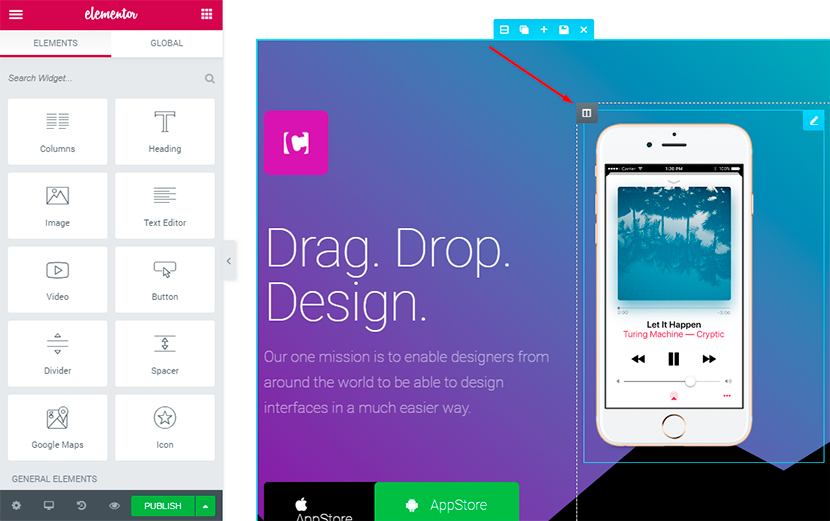
Once the template is inserted, you can now move, change and edit the image, text, title, and other blocks.
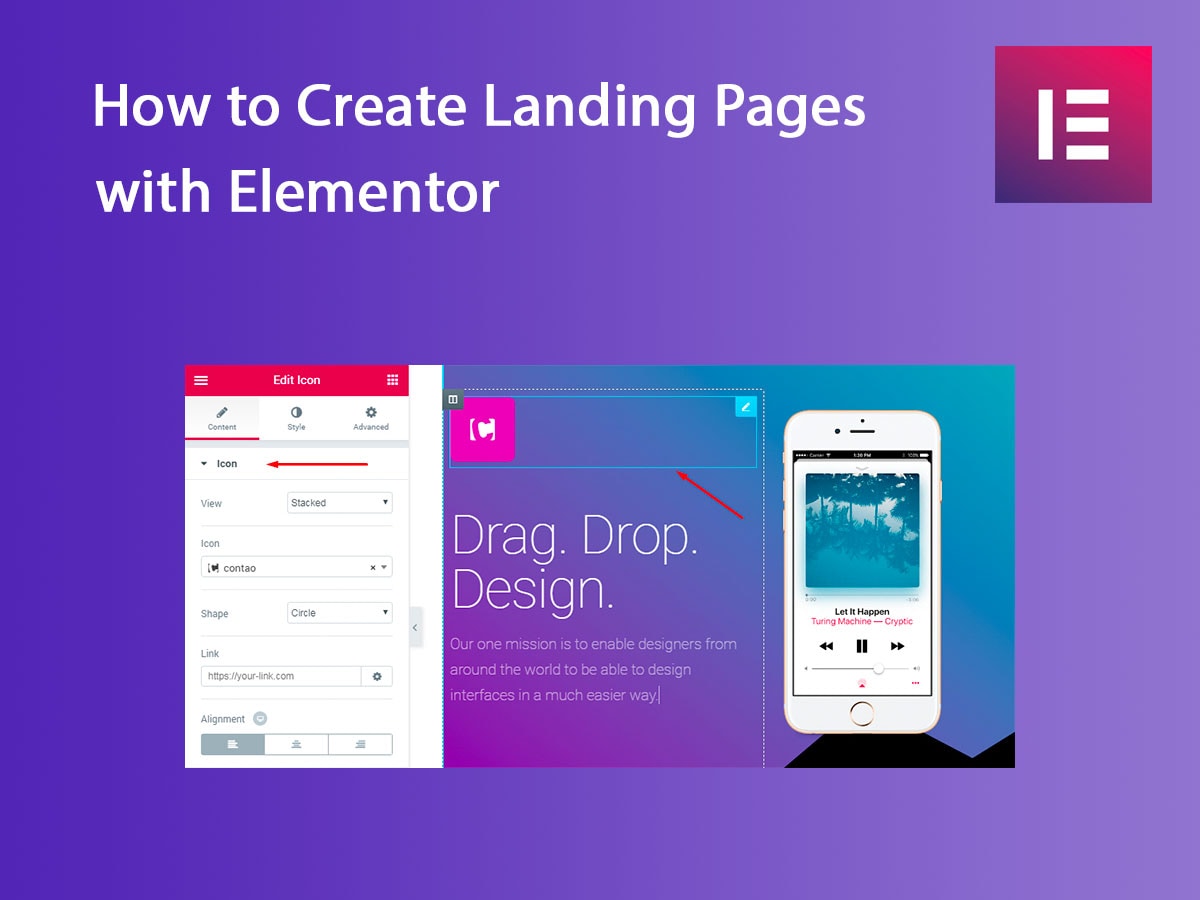
So in this template you can change the landing page’s logo. Here it is possible to edit its view choosing from stacked, framed or default variants.
![]()
![]()
The appearance of the icon itself can be also changed.
![]()
You can make it clickable by inserting the link. And you can choose its shape and define its alignment either at the left or right side or in the center.
![]()
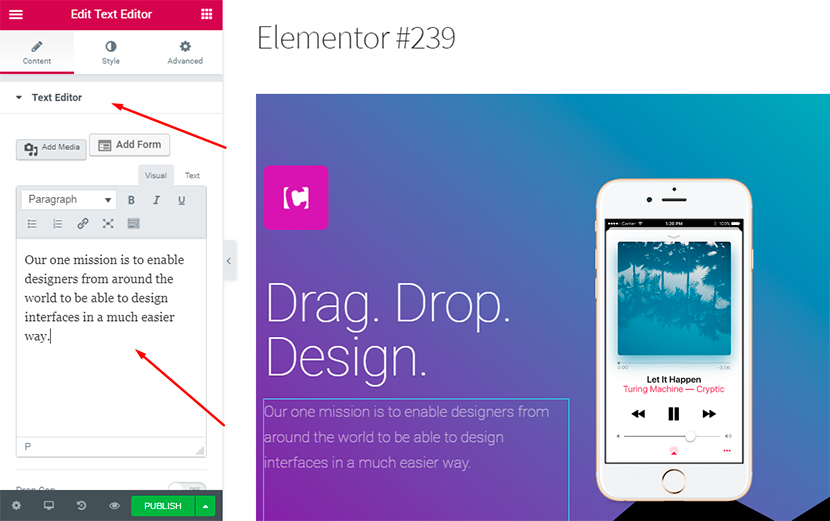
You can easily change the text blocks’ content and insert your any custom text. Visual and html text editors are available.
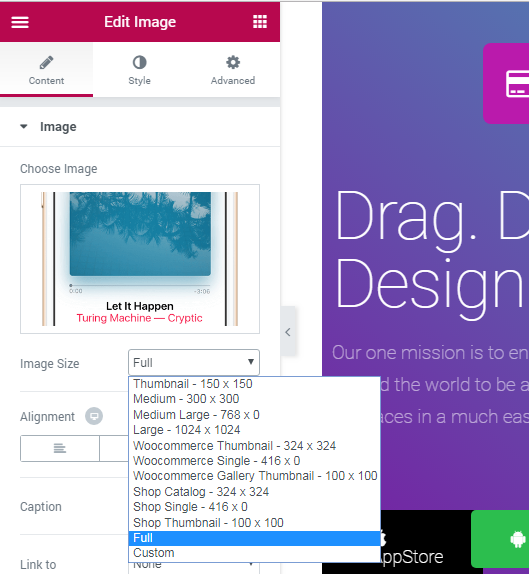
If you want to edit the image block, here you can change the image size choosing the one from the drop-down list. You can manage the alignment, enter caption, link, and make some more changes.
The same way you can edit the icon boxes,
![]()
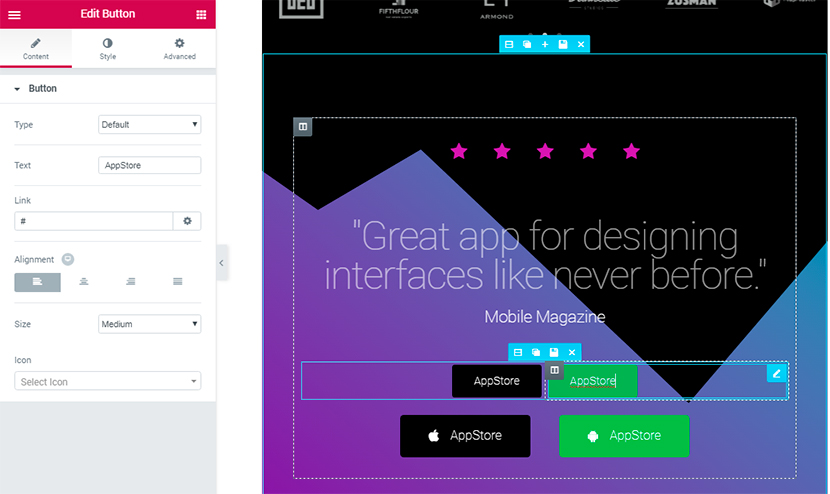
and edit the buttons.
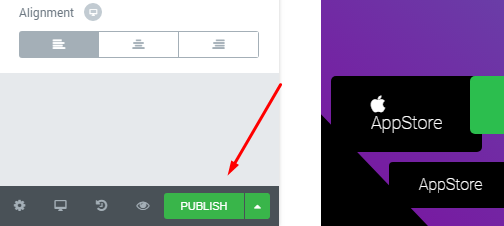
After all changes are made just publish the page you’ve created to see it live.