Do you use MailChimp for sending your email campaigns? And do you want to create and send postcards to your subscribers without buying any additional premium options from MailChimp or other email marketing services? In this post I will show you how to create and send postcards free of charge. So, let’s start!
Getting Started With Designmodo Postcards
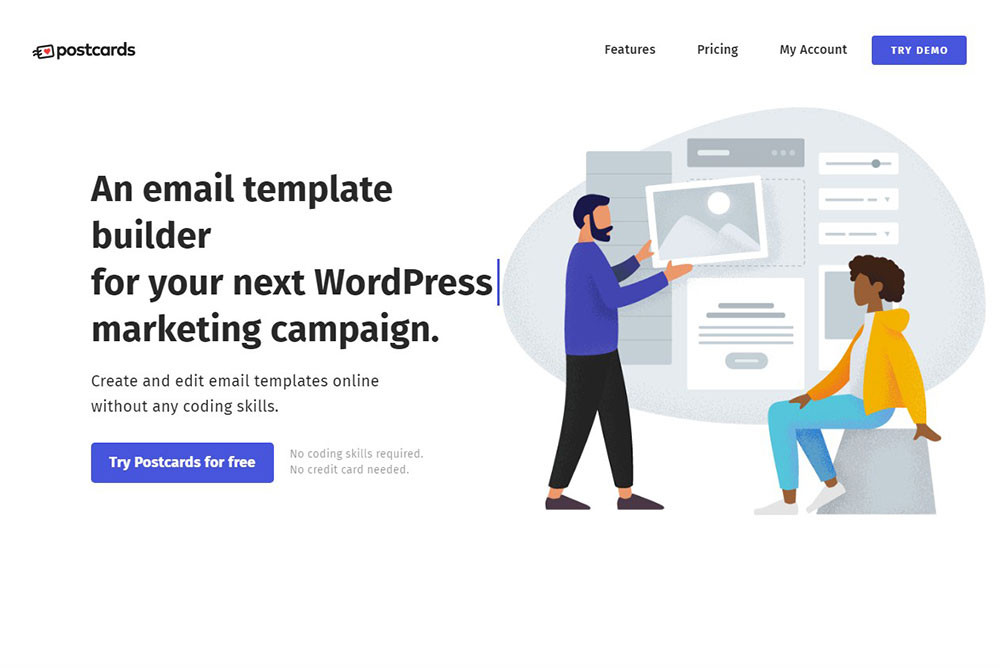
For creating a postcard I will suggest you use a new cool service – Postcards from Designmodo. This is a convenient drag-and-drop email postcard builder which allows creating a postcard by dragging-and-dropping its components like header, content, call-to-action, and more.
So, to get started, just go to the official landing page of Designmodo Postcards and click the “Try Postcards for Free’ button.
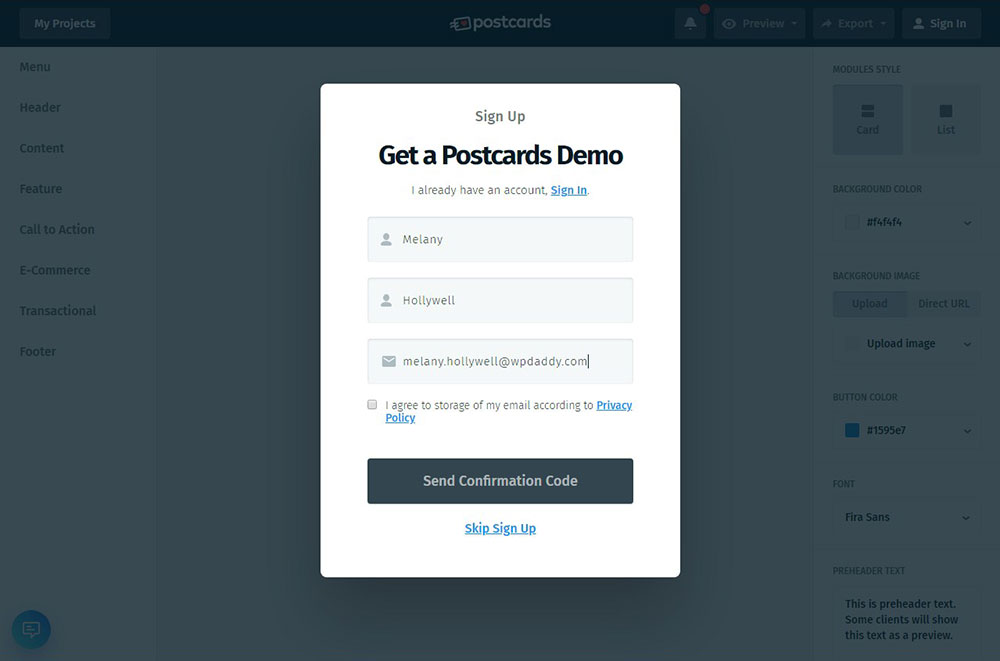
Now you will have to enter your first and last name as well as insert your email address to get a Postcards demo. Just enter the data and click the ‘Send Confirmation Code’ button.
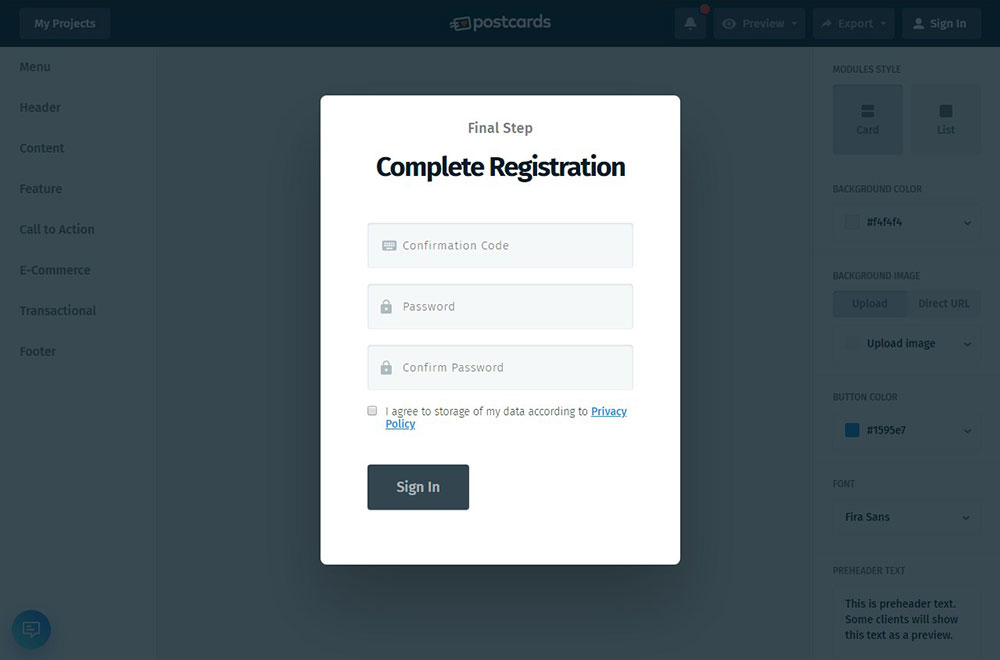
You will get a confirmation code by email,
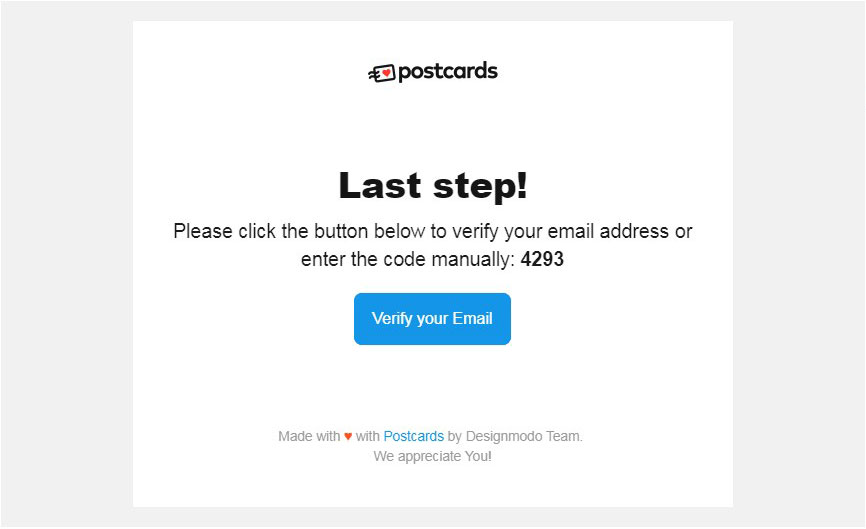
so just enter this code into the correspondent field in the next window, insert the password and click the ‘Sign In’ button.
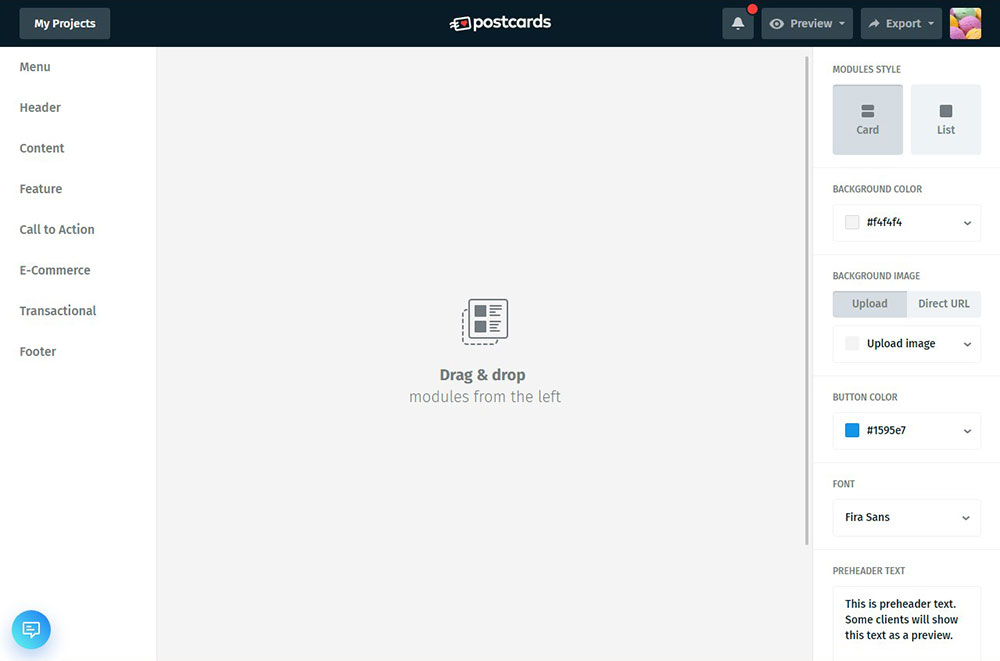
Now you’ve entered the Designmodo Postcards dashboard where you can easily build your first postcard absolutely for free.
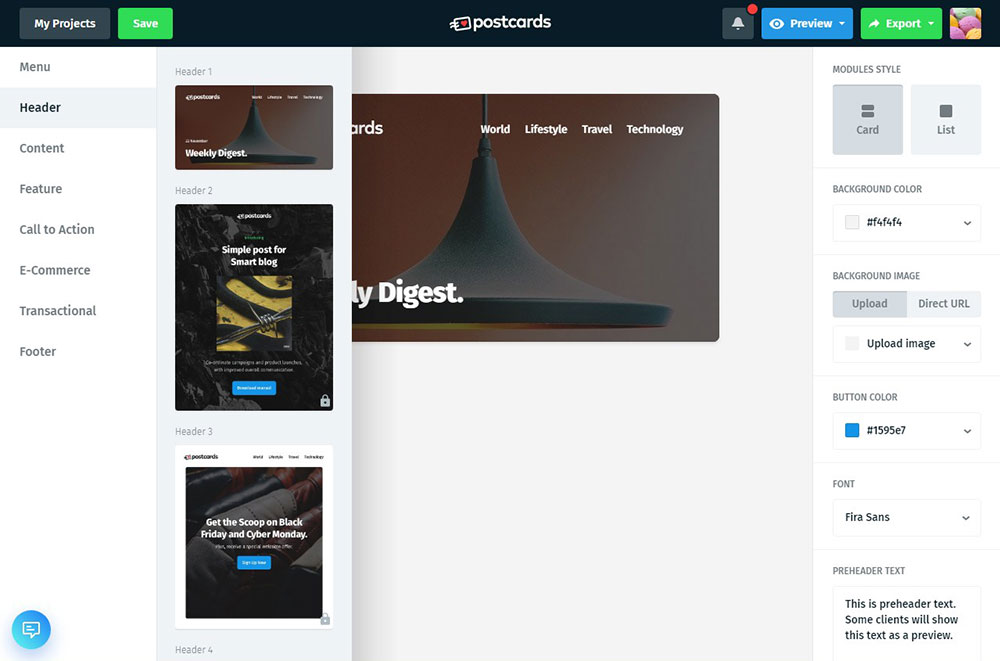
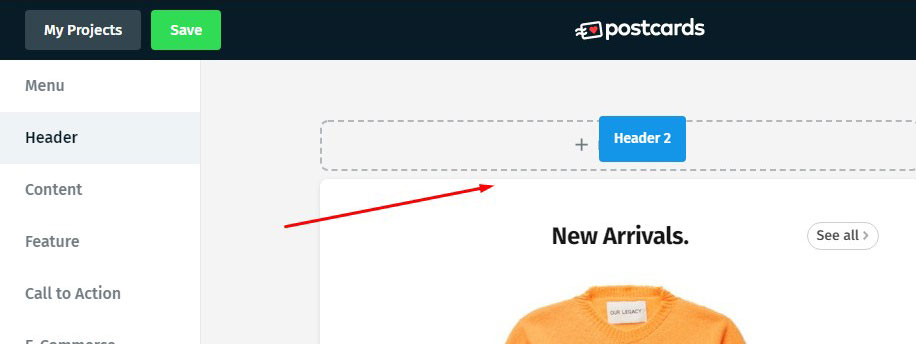
You can select a header for your card;
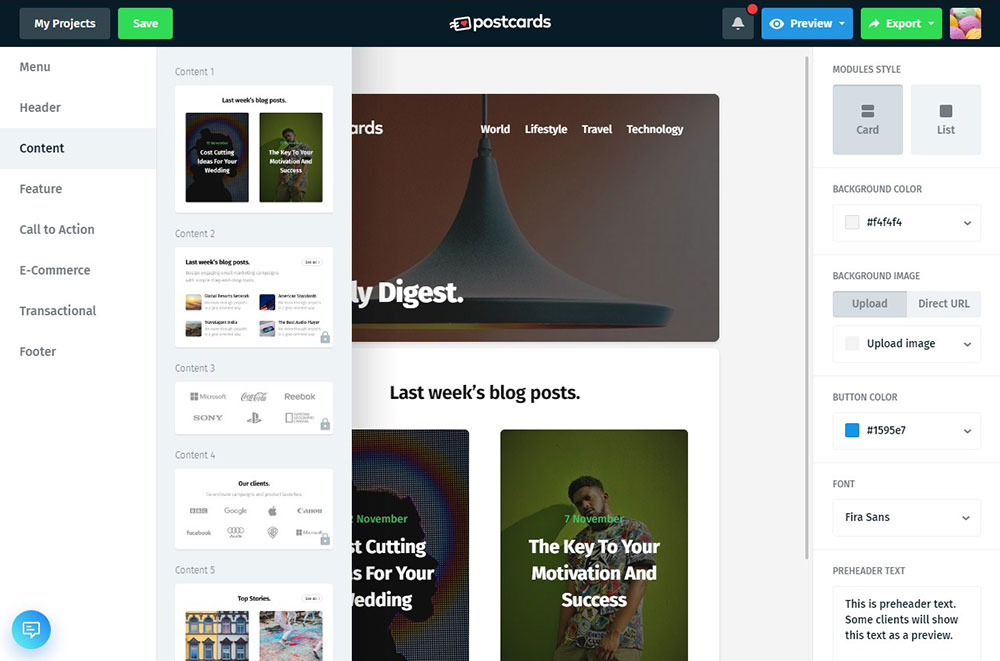
edit its content;
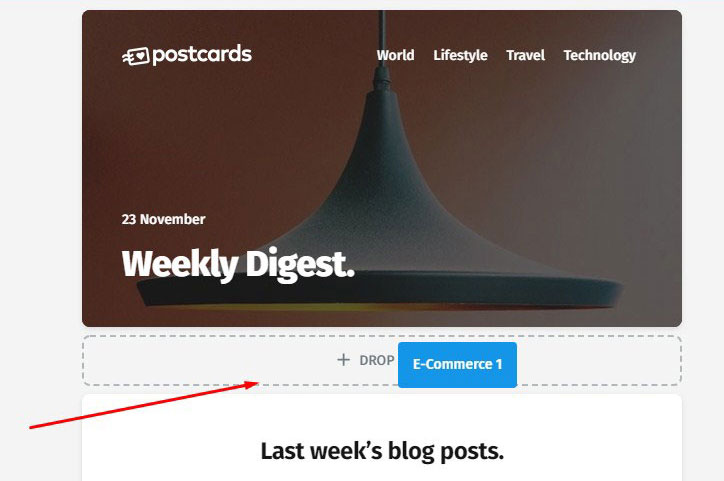
add some eCommerce features;
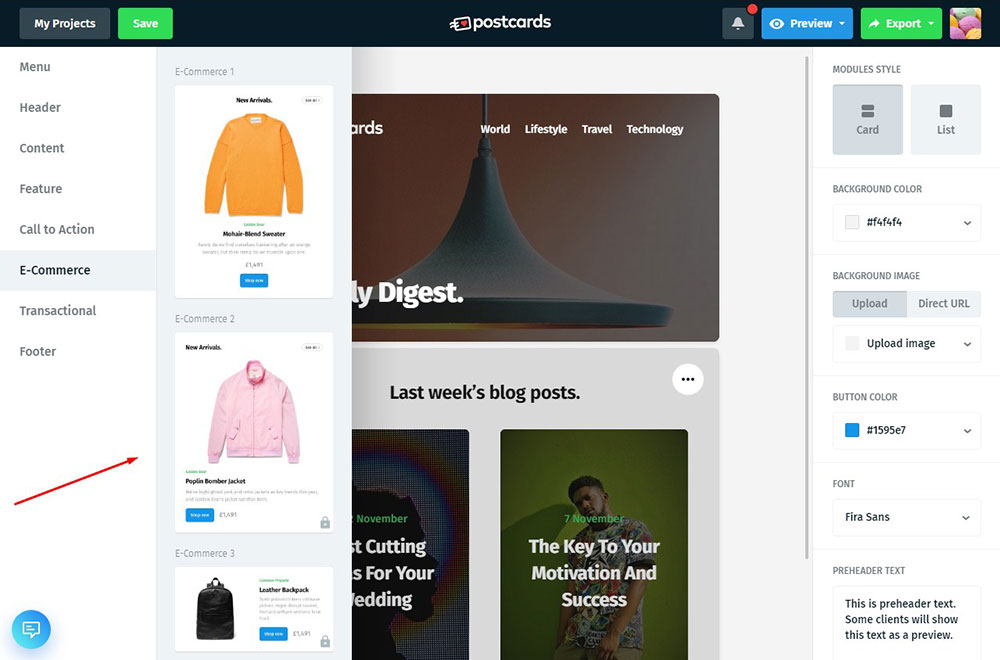
add call-to-action or any other block just by easily dragging-and-dropping it to the content area.
You can use some of these elements for free or upgrade to a premium account to get more possibilities.
Exporting a Postcard to MailChimp
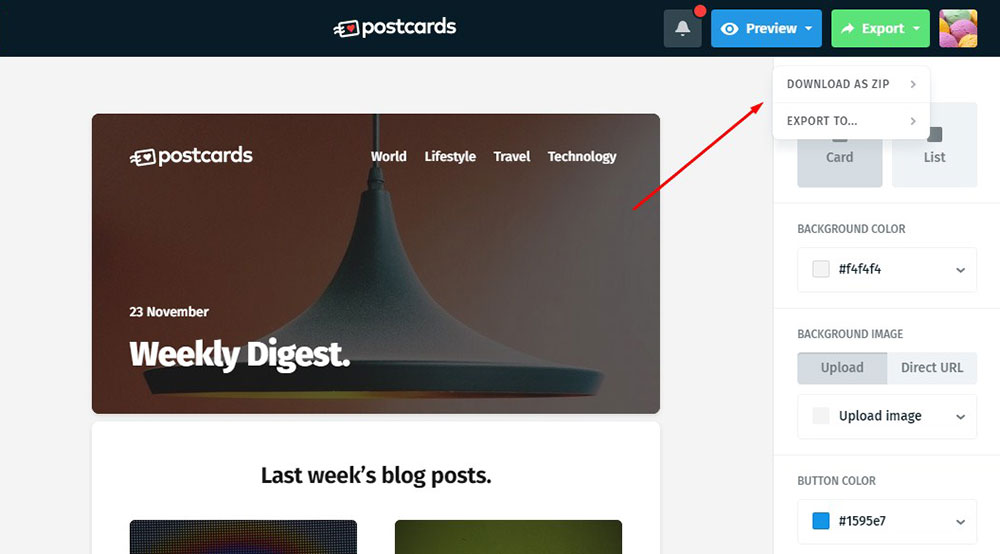
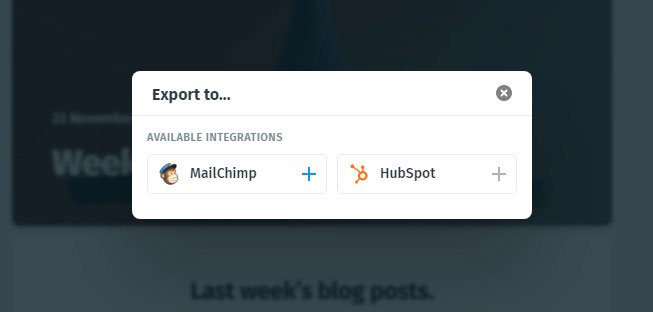
When your postcard is complete you can instantly export it either in the zip format or – directly to MailChimp or HubSpot.
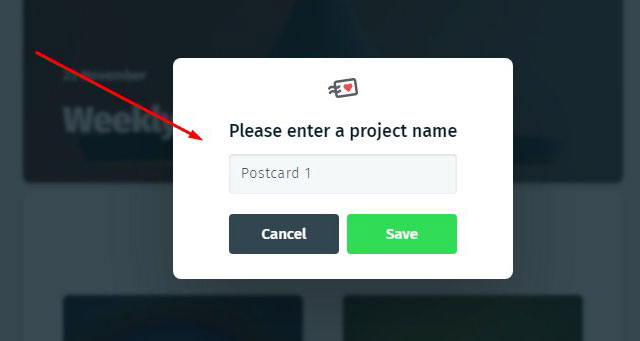
Just insert the name of your postcard project and click the Save button to be able to export it further.
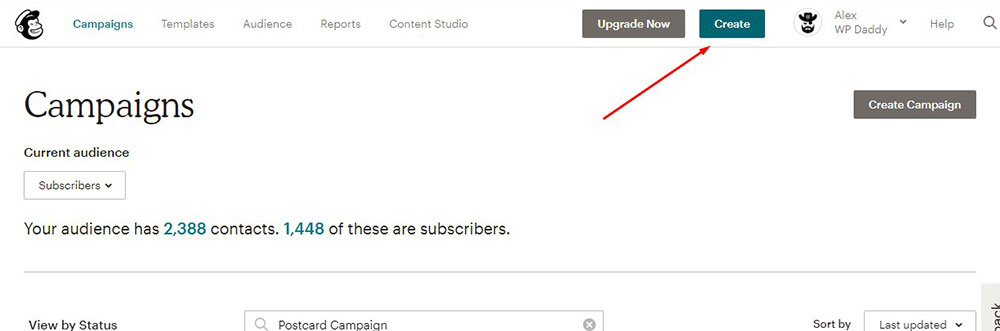
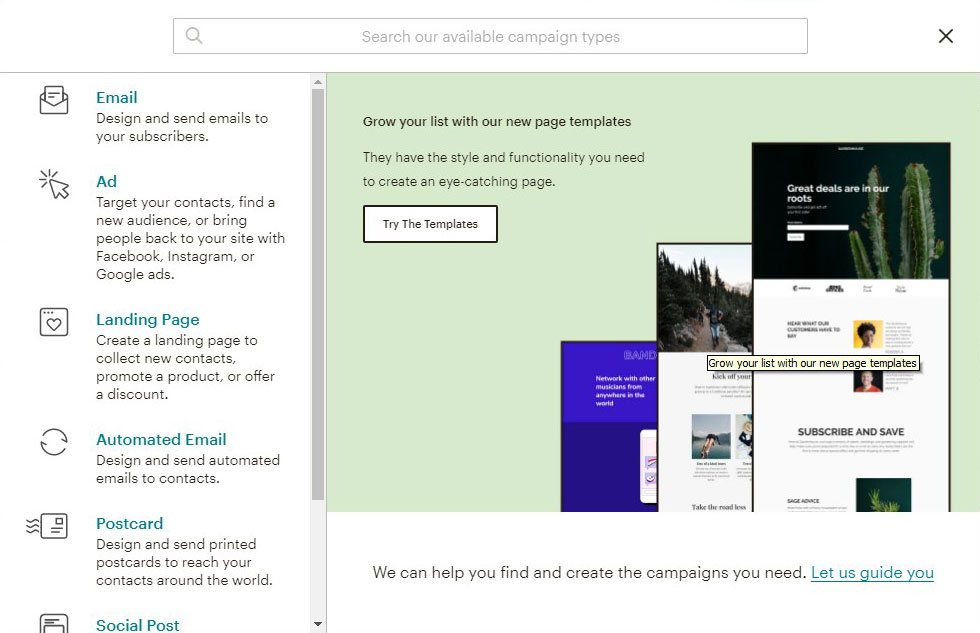
If you’ve selected to export the newly created postcard to MailChimp, let’s check how it will work. Go to your MailChimp dashboard -> Campaigns and choose to create a new email campaign by clicking the ‘Create’ button.
Select the Email campaign
and start to create your newsletter as I’ve described in this tutorial on how to build your email newsletter using MailChimp.
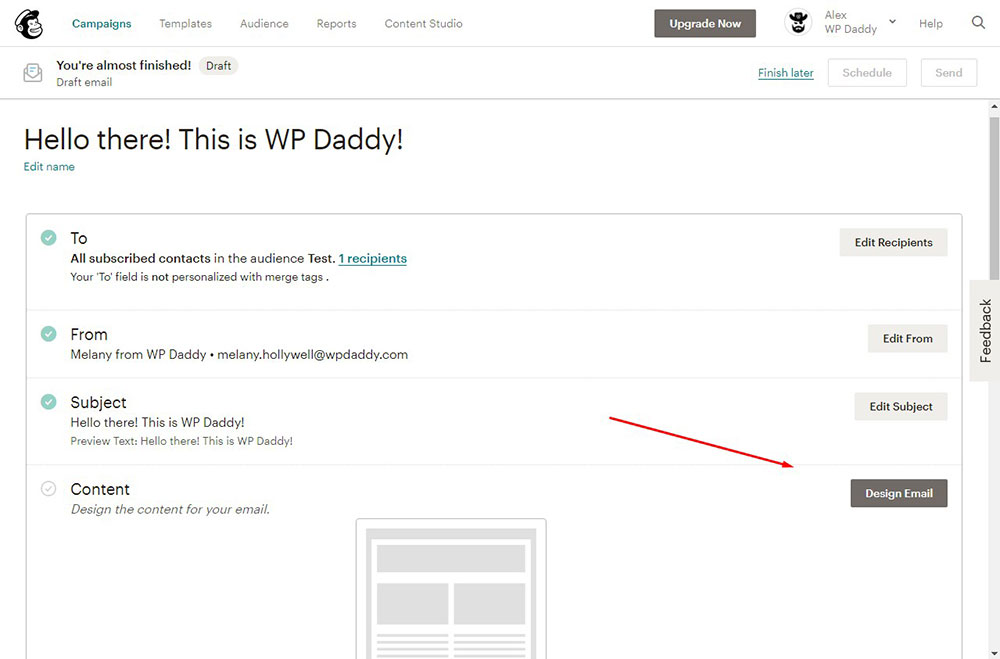
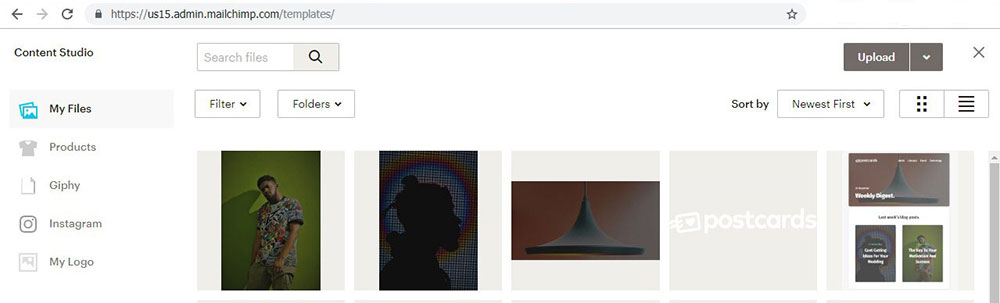
When it comes to designing the content of your newsletter, just go to the ‘Saved templates’ section, and you’ll find the imported template from Designmodo.
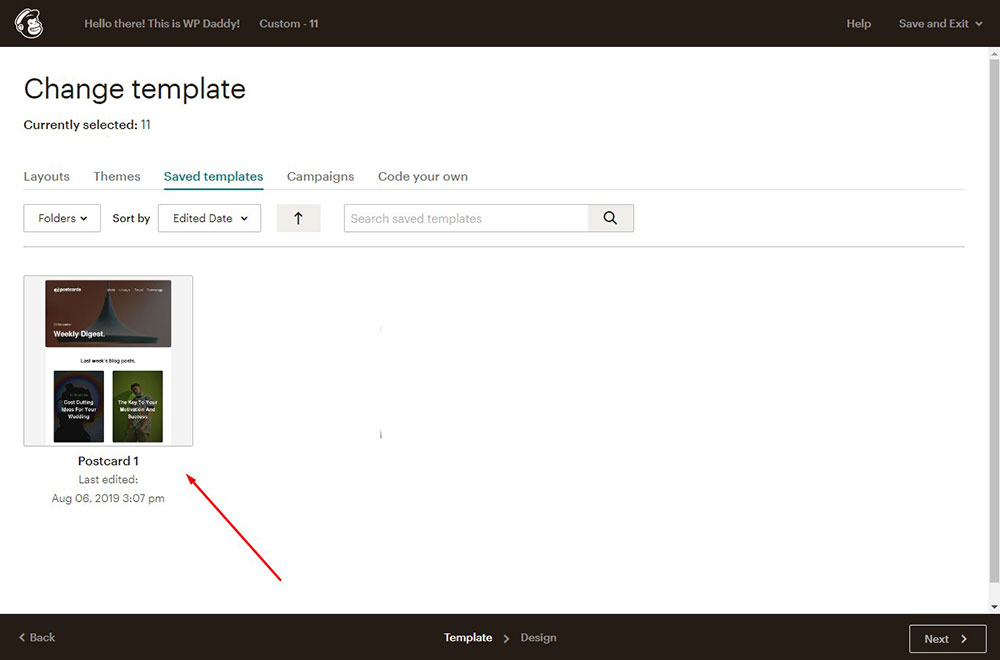
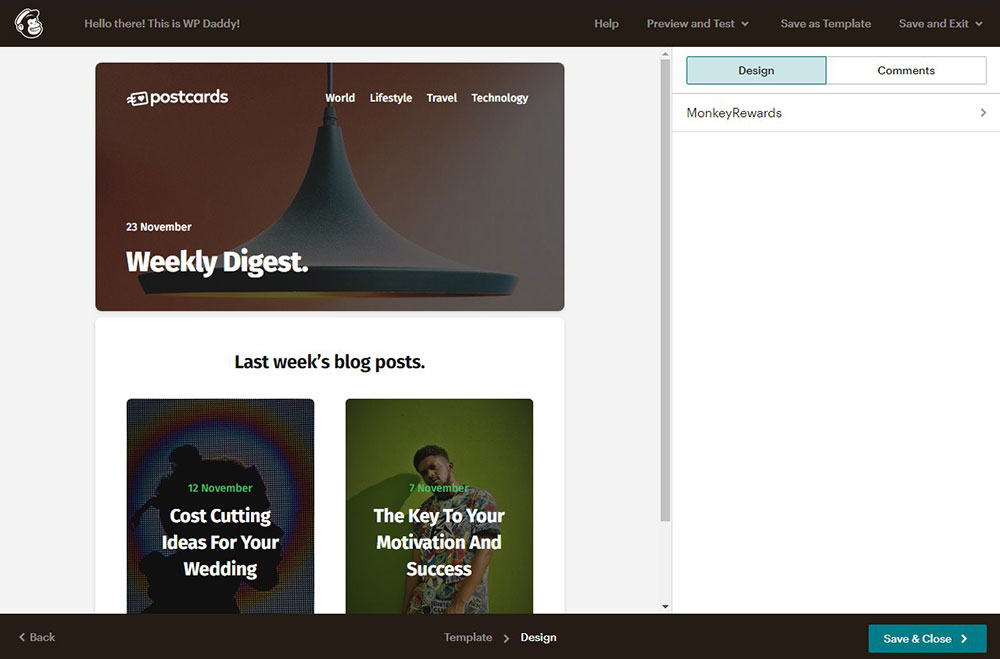
Just click the template to select it and insert it into the content area when designing your email newsletter. Now you can Save & Close the content editor and send your email campaign just as you always do using MailChimp.
You can also easily find the imported template in the ‘Templates’ section of your MailChimp dashboard.

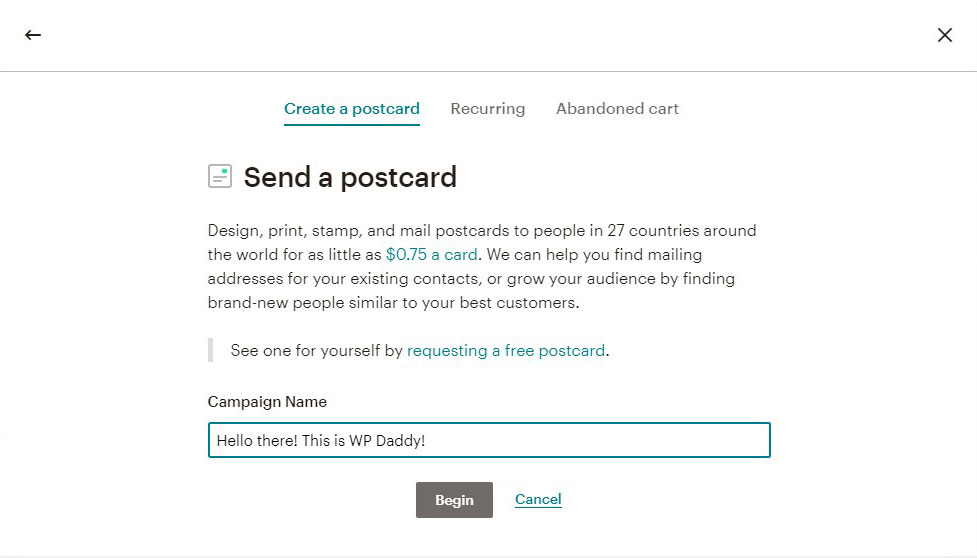
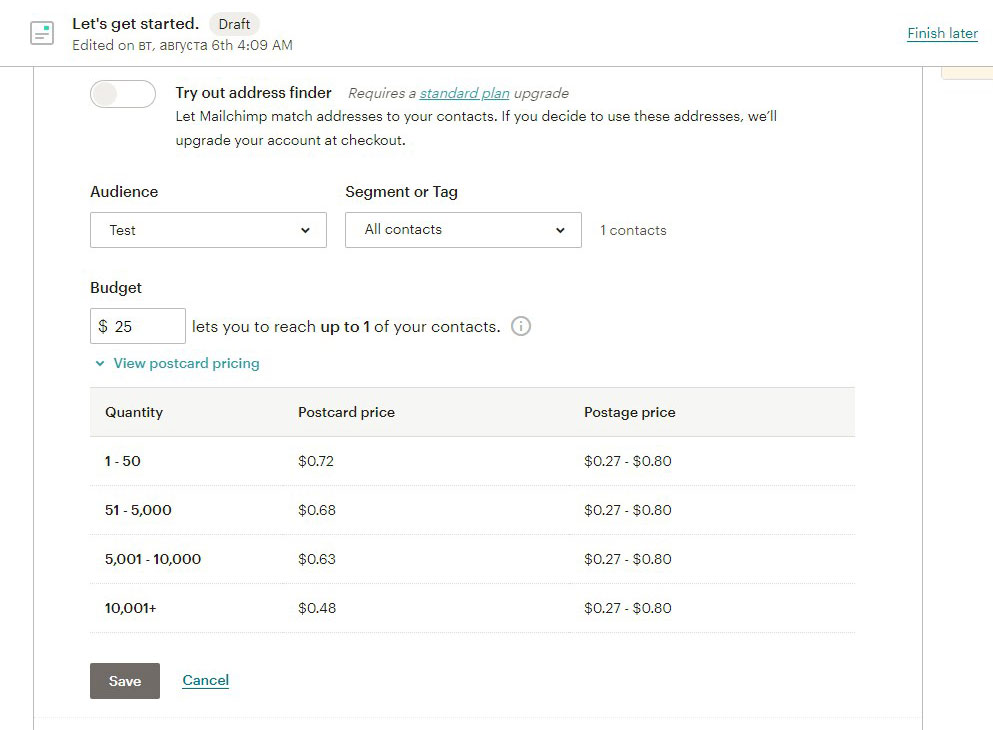
Of course, MailChimp provides its own Postcard Campaign service but it is a paid-for offer.
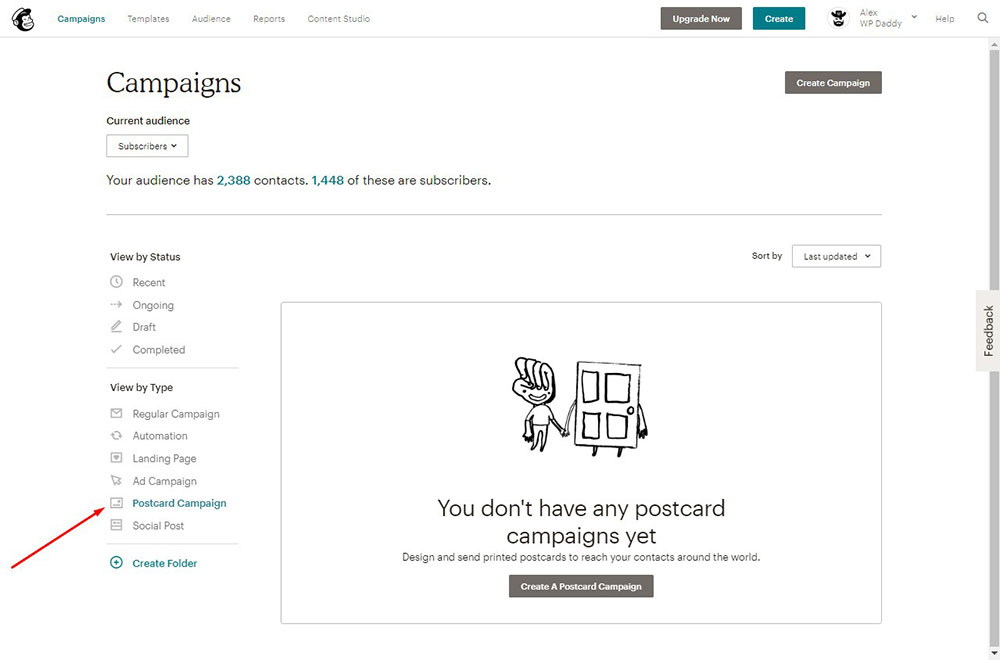
You can try any postcards service you like depending on your needs.
Well, hope this tut was helpful.