Lots of free and premium WordPress themes support custom headers and allow to set and change header images up to your taste. If promotional and business websites look great with sliders, then a blog will look quite awesome with a static header image. Why not? You will be able to focus your readers’ attention on content and never distract it from the context of your posts.
As one of free default WP themes supports header images, we will use it as the example to show you how easy it is to set the header image, crop it, change it, randomize it and publish it on your website without any efforts. No specific knowledge or coding skills are required.
Let’s start!
There are two methods of adding a header image to your WordPress blog. You can do it either with the help of Live Customizer or using the WP Display Header plugin.
The first method is a very easy one:
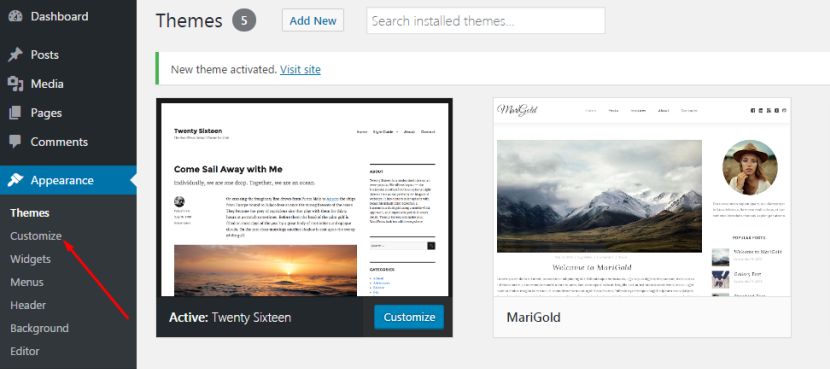
Go to Appearance -> Customize and launch a WP Customizer.
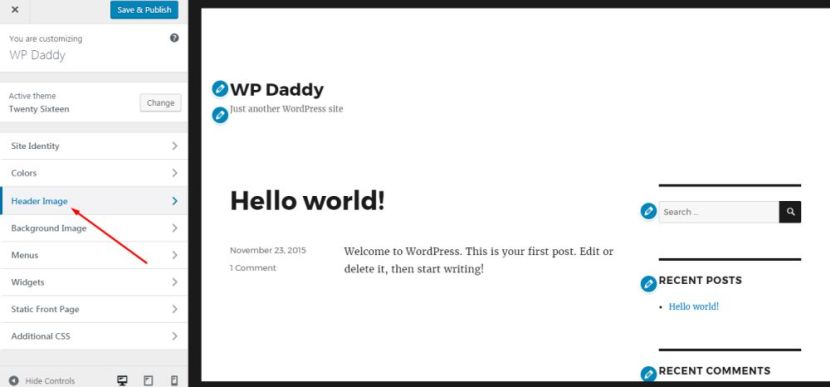
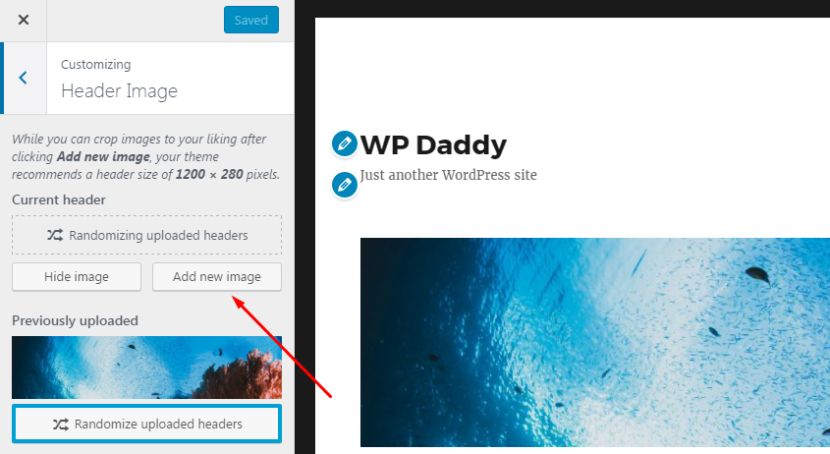
Click on a Header Image tab to expand it.
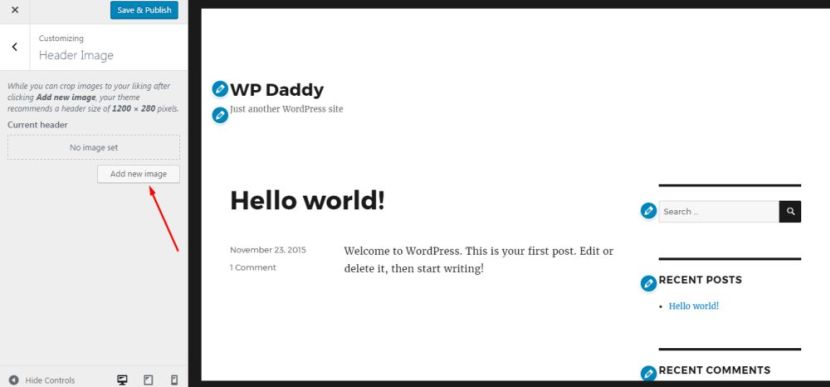
Click the Add New Image button and open media library either to choose an existing image or upload a new one into it.
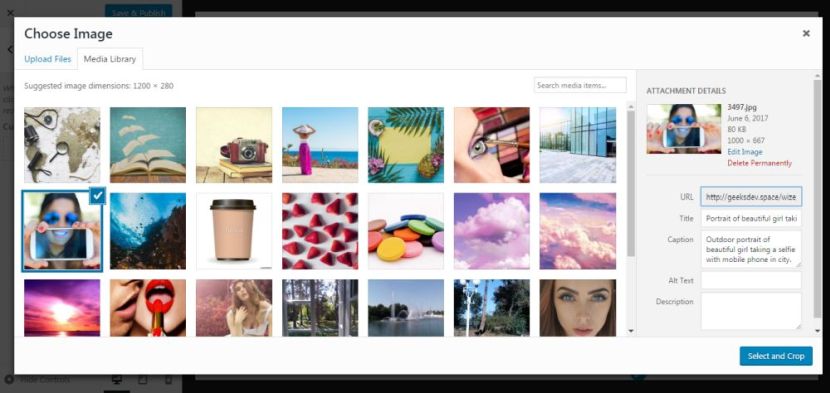
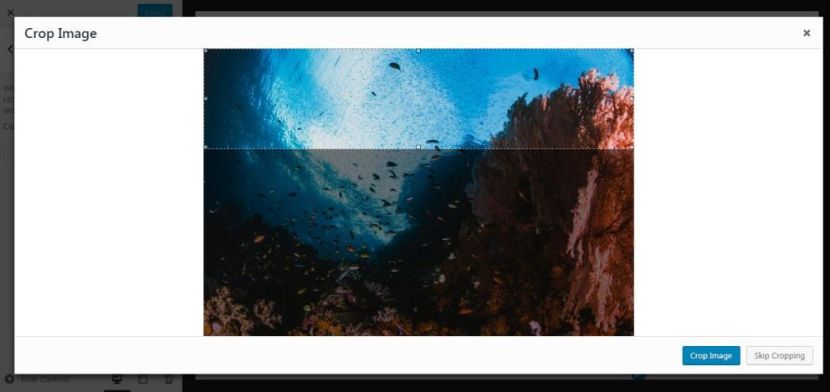
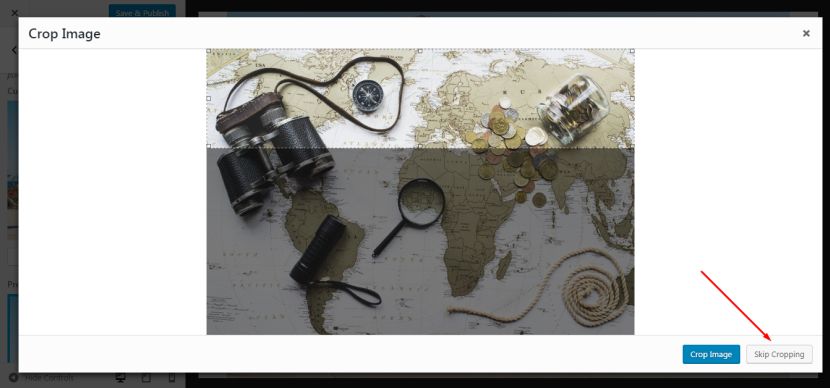
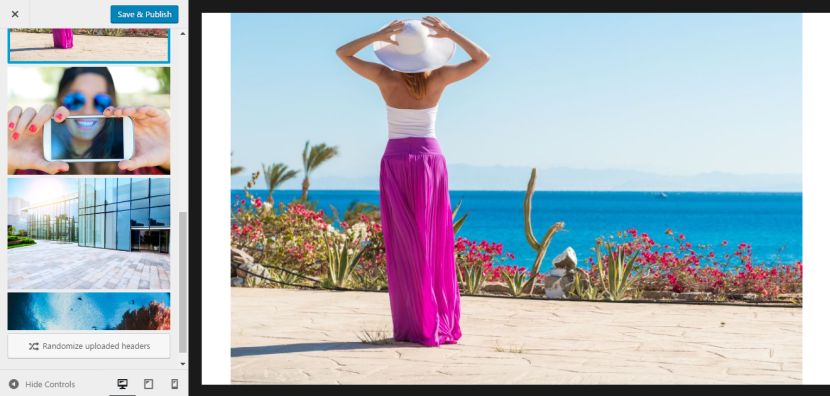
Once you’ve chosen the image and clicked the Select and Crop button, you can either leave the image as it is or crop it up to your required size.
Your uploaded image will appear under Previously Uploaded title.
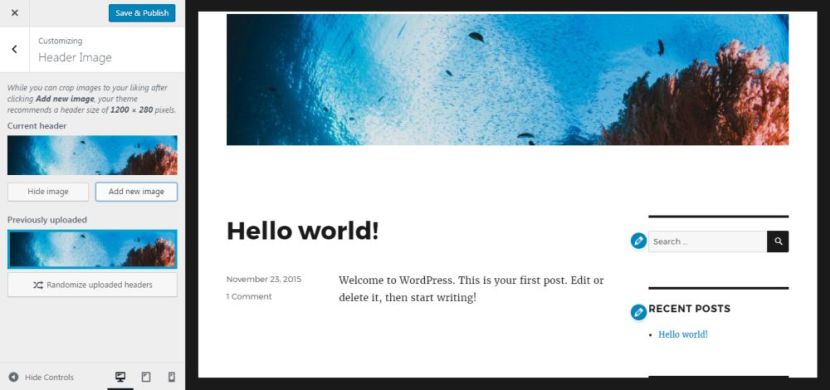
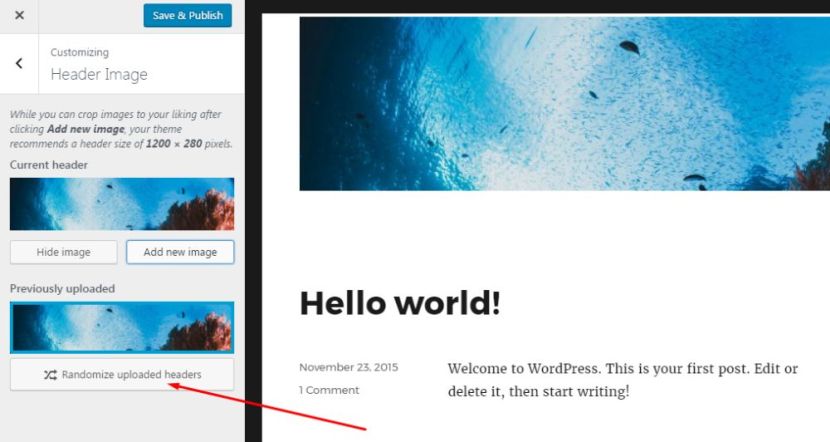
Click the Randomize Uploaded Headers button in the Previously Uploaded section and save your changes by clicking the Save and Publish button above.
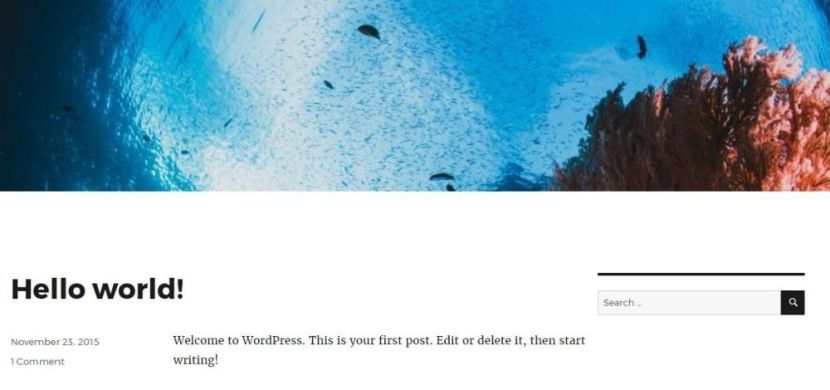
Now you can see the uploaded image on your website. You can start creating menus and make them appear under your static header image.
The second method supposes the plugin installation. This technique allows to show various or random header images for posts, pages, categories, and tag archives.
Here you can see the detailed explanation on how to install a plugin (most of plugins for WordPress are installed similarly).
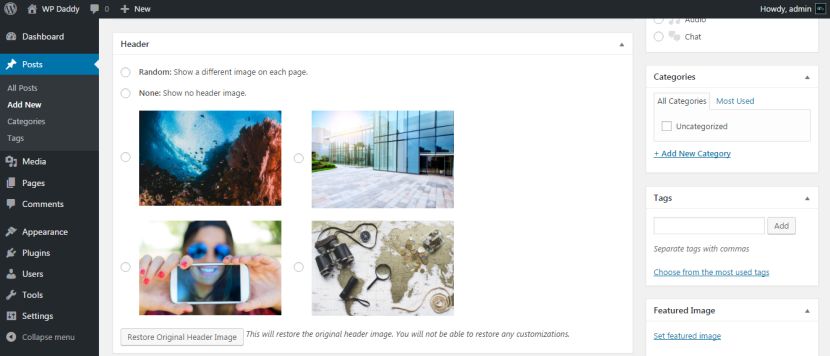
After the plugin is installed and activated go to Posts -> Add New. Here you will see a Header meta box appeared under the post editor. You can either select a random header image, show no header image or restore an original header image if you require.
If you need more header images to be displayed here, go to Appearance -> Customize, launch a WP Customizer again, click the Header Image tab and then upload images with Add New Image button.
You can skip the cropping if you want your headers to be displayed in a full size.
If you don’t want to replace the chosen header image you’ve already set for your website, you can randomize the header images and then exit the Customizer without saving the changes.
Let’s see how to change the header image for your category archives page.
Go to Posts -> Categories section and click the Edit button below the category you want to change.

On the category edit page, you will notice a new header section where you can either select a header image, show random header images or disable the header image at all.
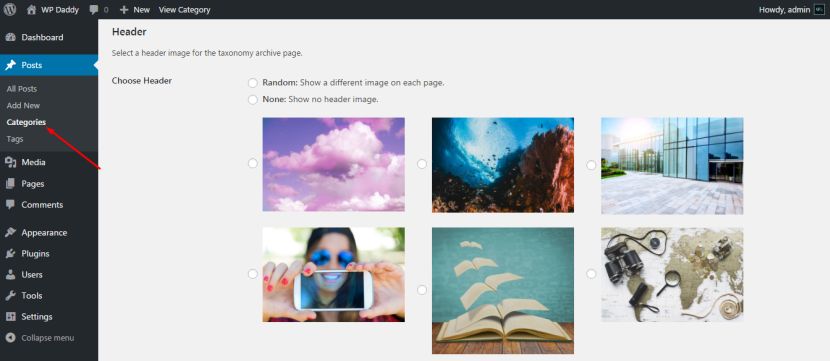
Don’t forget to click the Update button to save your changes.
As you see, all of this is quite simple and effortless. Stay tuned for our new tuts!