When you run a blog, you obviously want to get subscribers and widen your mailing list. The more people subscribe to your newsletter the more popular your blog becomes. As a result, you get more traffic and better ranking.
The eternal fight for subscribers never ends, and blogs make their best to win the hearts of their target users with various curious tricks, unique content, exclusive solutions, useful tips, gorgeous giveaways, and much more all-fired data.
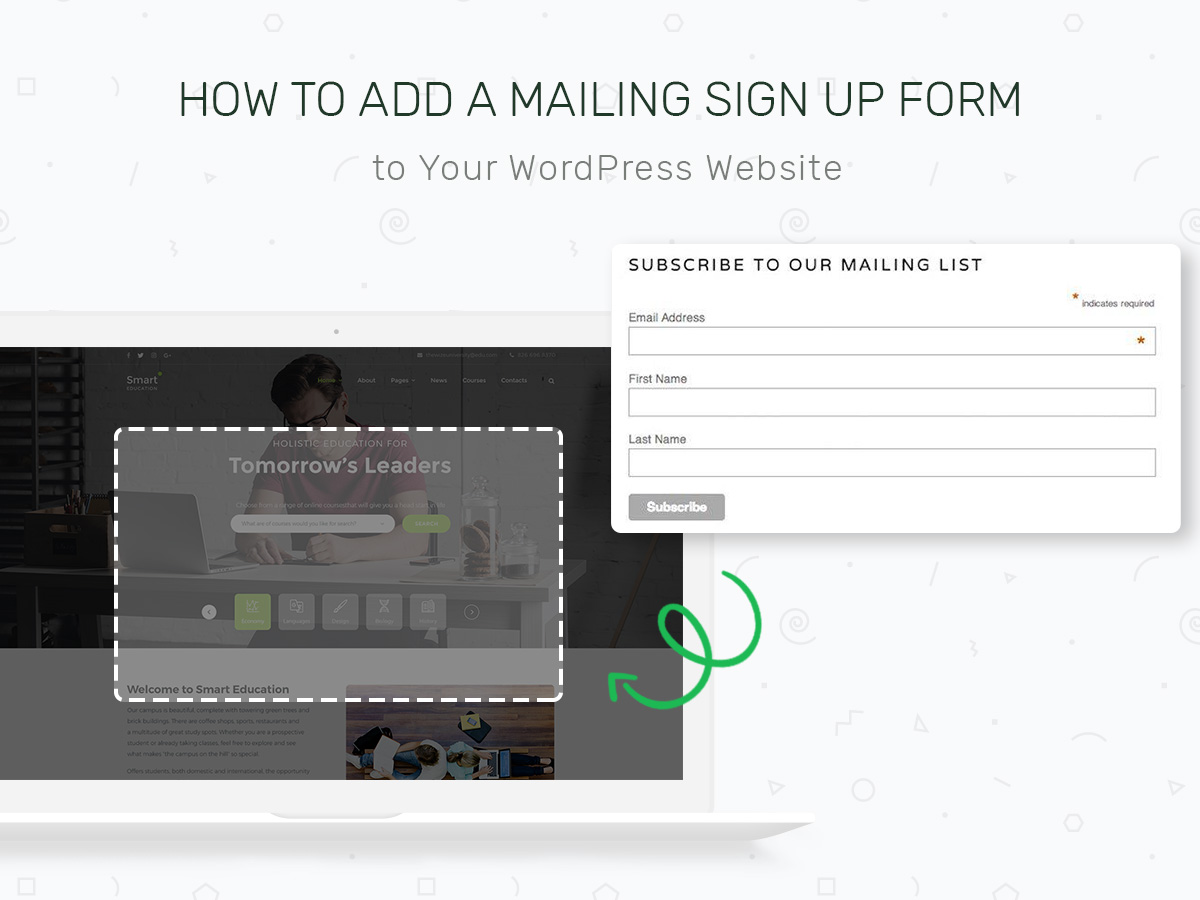
Before you start to communicate with your users and convince them you are a bet to trust, think about the functionality which will allow your subscribers to stay with you. These means think of a way to add a signup form on your WordPress website.
In this tut, we will speak on how to do this using MailChimp – an email marketing service and an effective solution for creating your mailing list.
So let’s start!
1. The first thing you’ll have to do is to install the MailChimp widget plugin. Before you start to install it, make sure you haven’t got any custom-coded sidebar or another feature disabling widgets.
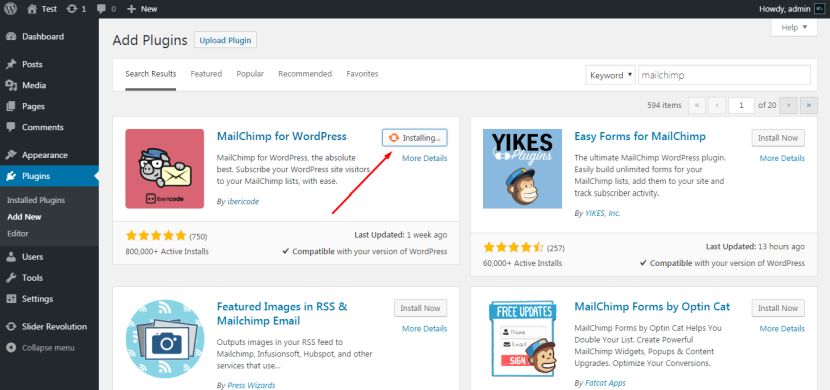
2. After that, go to “Plugins” in your WordPress dashboard and click Add New to start the installation.
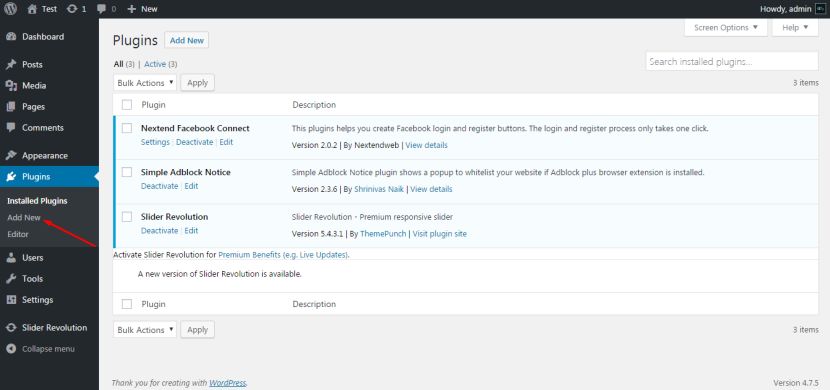
3. Type MailChimp in the search box and submit the search. Select an appropriate MailChimp plugin, click the install button and wait until the plugin is installed.
4. After the plugin is installed, you can either activate it at once, or return to the Installed Plugins section and activate it from there.

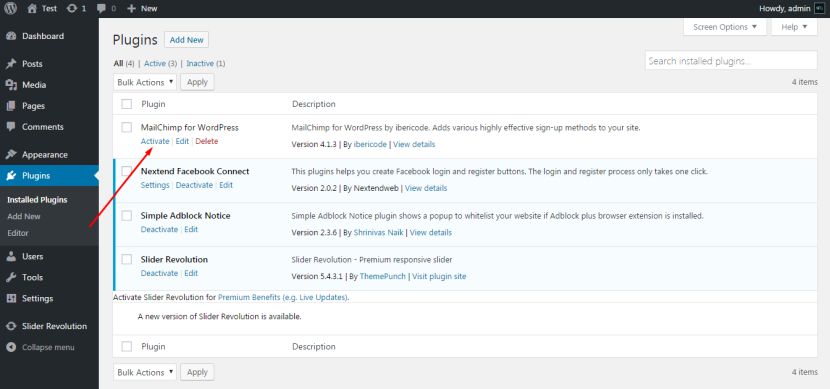
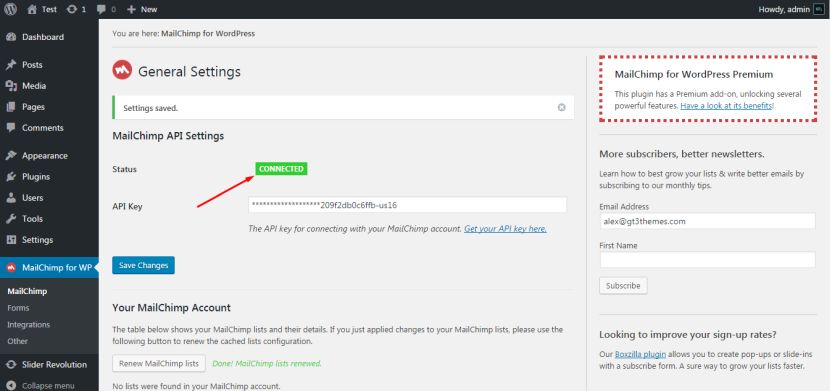
5. After the plugin is activated, you will see a new entry titled MailChimp for WP in the navigation menu on the sidebar. Click this new menu entry to set the plugin up. To connect your MailChimp account, you will have to enter your API keys into the correspondent field. The plugin provides a convenient link below the field, which will direct you to the API key in your MailChimp account.

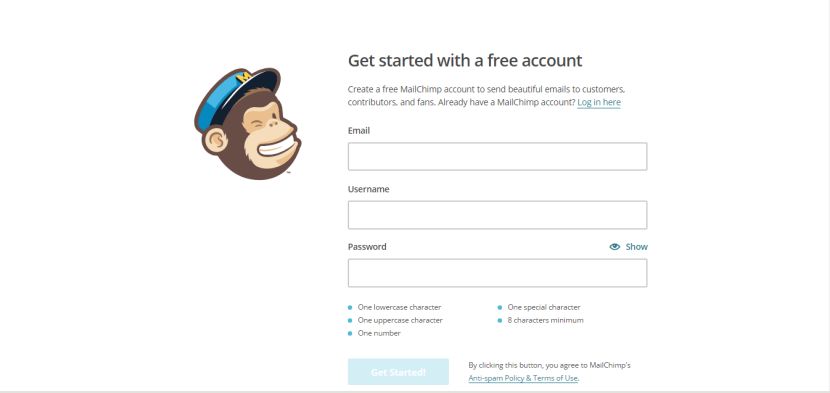
6. You must be logged into your MailChimp account for the link to work as expected.
7. If you haven’t got a MailChimp account yet, just create it following a few easy steps.

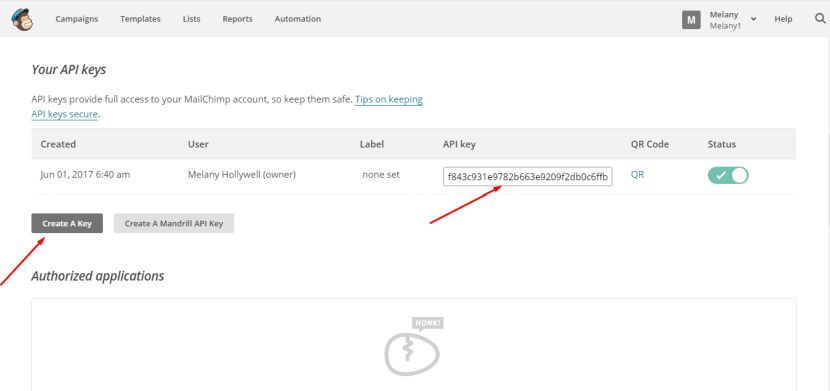
8. After all is done, get back to the MailChimp settings and click on “Get Your API-Key Here” link under the API-Key field, you will be redirected to the page where you’ll be able to automatically generate your API-Key clicking on “Create a Key” button.
9. Copy the ready API-key to insert it in the necessary field on The MailChimp settings page.

10. Once the API-key is added and the changes are saved, you will see the MailChimp API Settings connected status. Now your list information will populate in the MailChimp Data area.
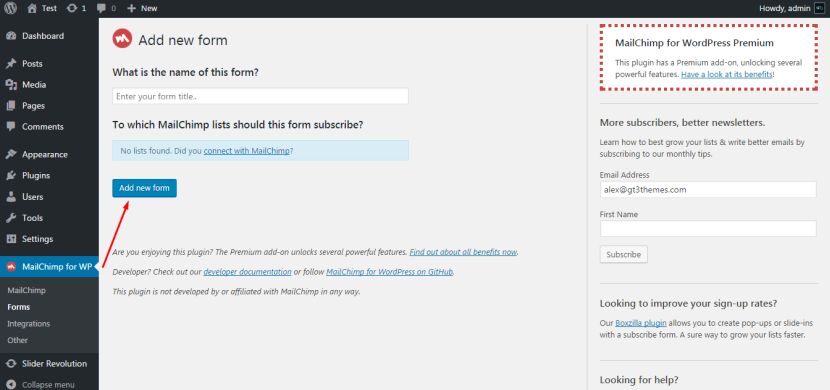
11. Under the “Forms” menu, you can create and customize the HTML for the signup form to place on your WordPress website.
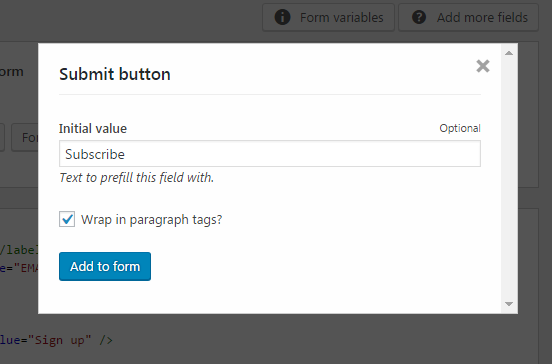
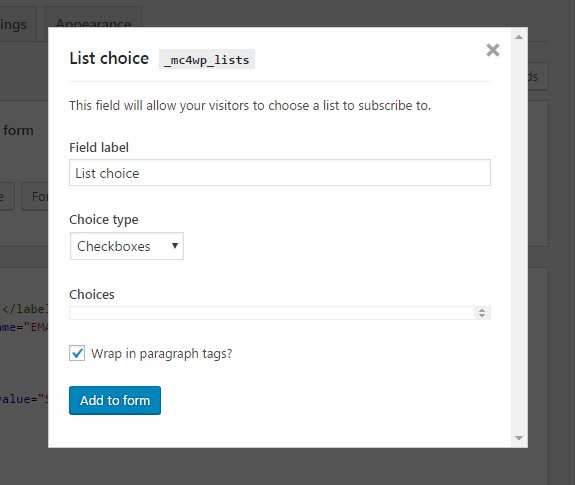
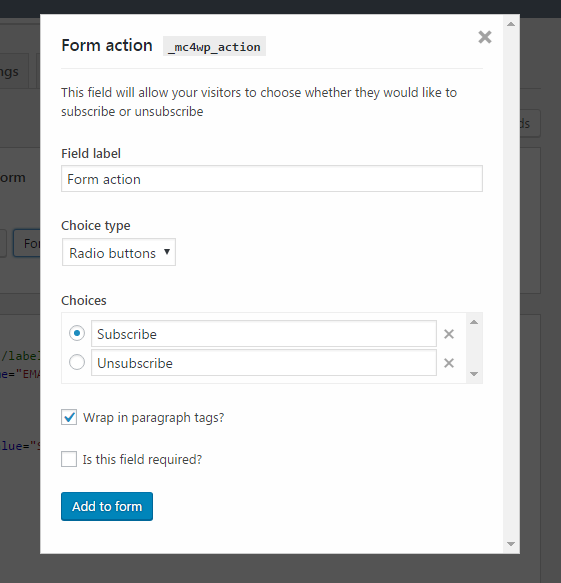
Here you can choose a field to add to the form.
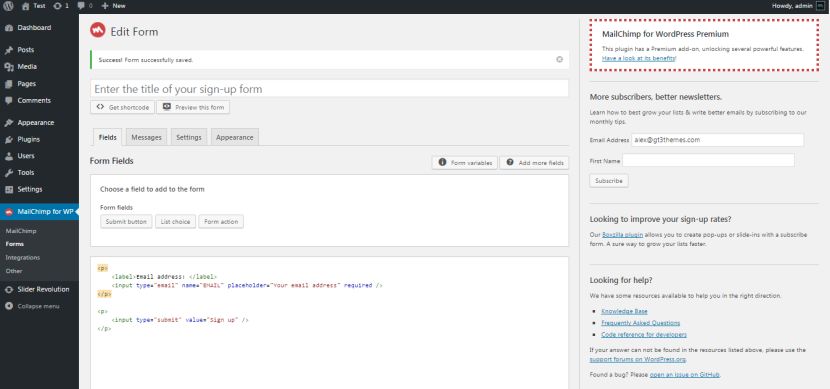
The form fields will allow either to submit a button, choose a list or manage a form action.
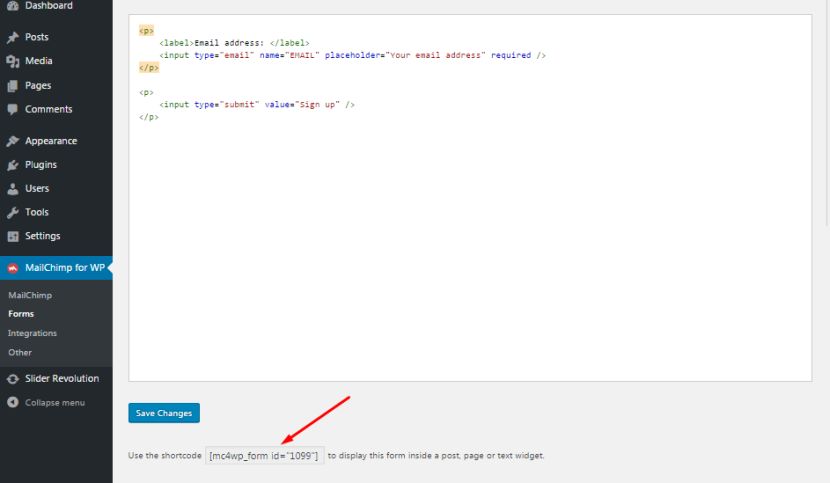
12. Once you’ve finished customizing your form and all the changes are saved, you can publish it to your WordPress website. To add the form to you web-page, either copy the HTML generated in the form mark-up or copy the shortcode provided below the code. Click to edit the WordPress page or menu you wish to use and paste in the code where desired.
That’s it! If you’ve got any questions, feel free to ask in the comments.