Modern WordPress themes come with tons of features and options which allow to change and customize the design for any customers’ needs. The option which helps display posts in grid layout instead of a list one is not available for all of the themes, ‘cause this considered to be a custom option. In this tutorial, we will show you how to create the desired layout for your posts on your website.
Why choose a grid layout?
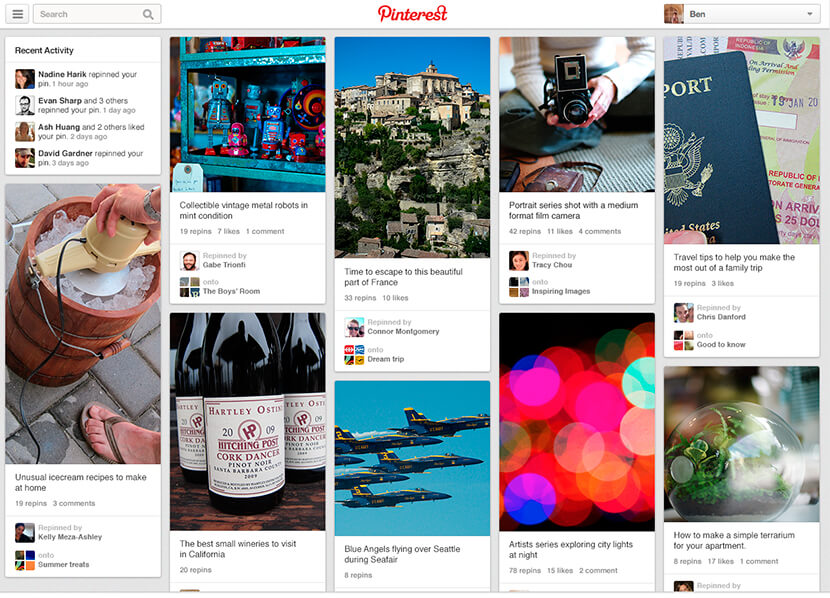
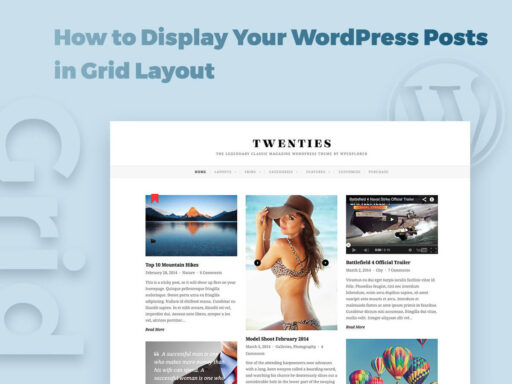
If you run a blog, magazine or portfolio website, then a Pinterest style design, which is a grid type, is a great choice for the appearance of your web-page. Of course, this is not compulsory to select this layout type if it’s not to your taste, and you can just display the posts as a list or in a vertical layout. But in some cases, if you like this card-like design, you can easily make your posts be displayed in a grid style and make them look gorgeous.
Grid display type will get posts to look visually appealing, it will allow displaying the thumbnails of featured images and a short description of every post which will make users click to open and read it. This layout type will help you stand out from the crowd.
How to display posts in a grid layout?
So if you’ve got no coding knowledge at all, you’d better use a free Post Grid plugin which will help you reach your aims without the necessity to have any special skills. Just install and activate the plugin to start working.
After the activation, you will see a new Post Grid menu in your dashboard.
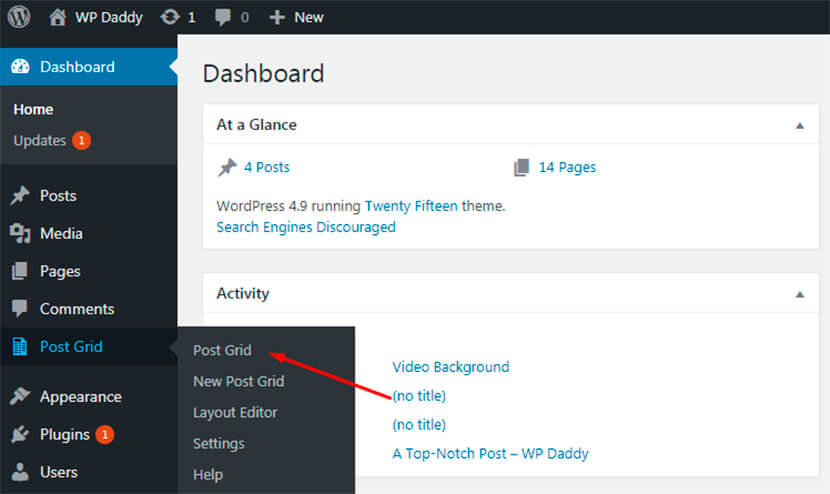
Go to Post Grid -> New Post Grid to create a fresh one. Then just type in the title of your post grid. You will also notice a few different tabs available there.
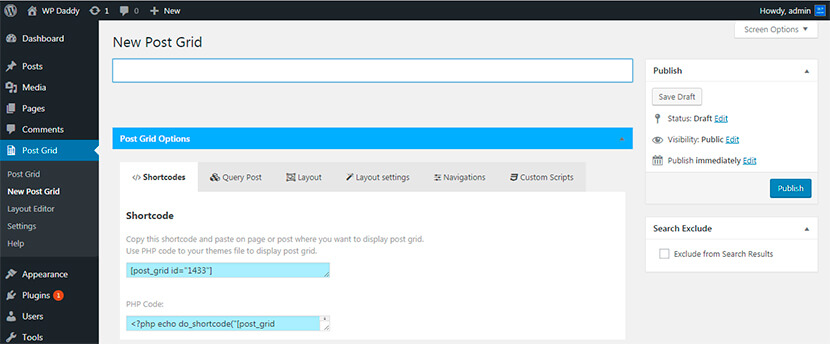
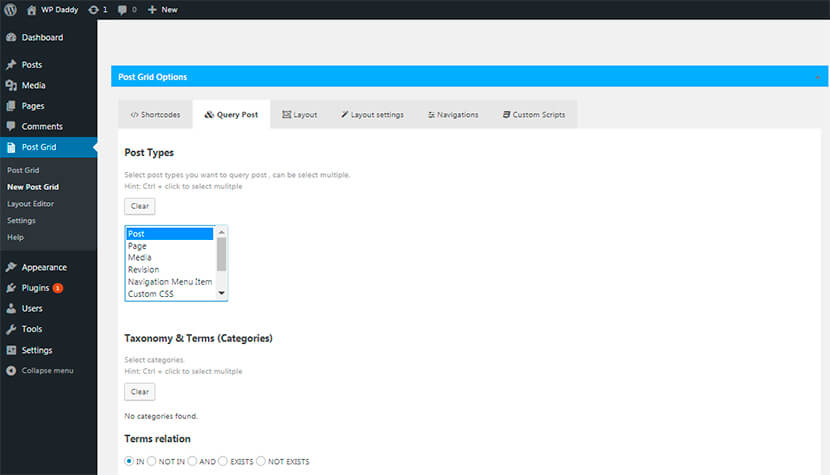
In the Query Post tab, you can select the post types you want to be displayed in a grid. You can choose from a post, page, media, revision, navigation menu item, and more. This section also includes the options like posts per page (where you can specify the amount), post status (pending, publish, draft, etc), taxonomy and terms (categories), etc.
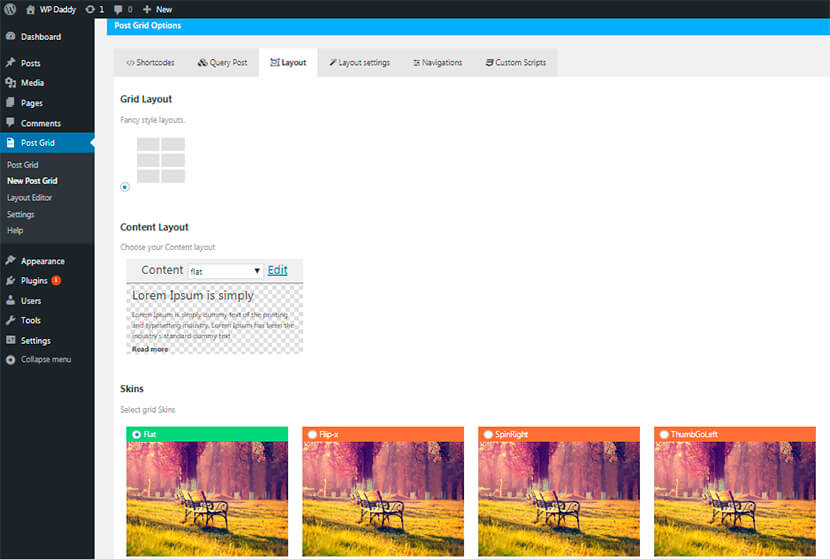
The Layout tab will allow choosing a fancy style layout and a content layout (flat, flat center, and more). Here you can also preview and choose a grid skin – the effect which will be shown when you hover a mouse over the thumbnail.
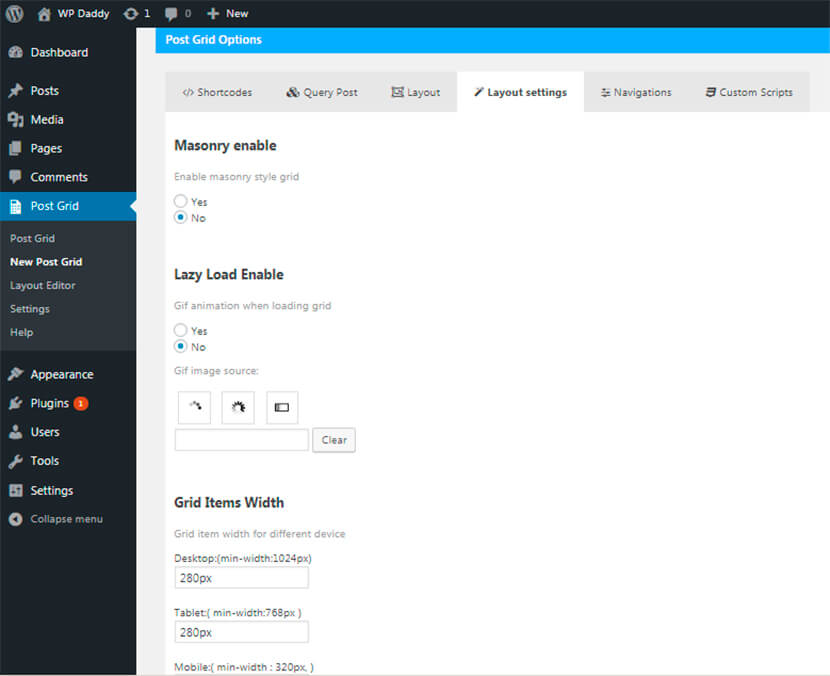
The Layout Settings tab allows changing the default settings into custom ones if you require. Here you can either enable or disable masonry and lazy load, select the grid items width, choose the grid items background color, their height, margin, media height, etc.
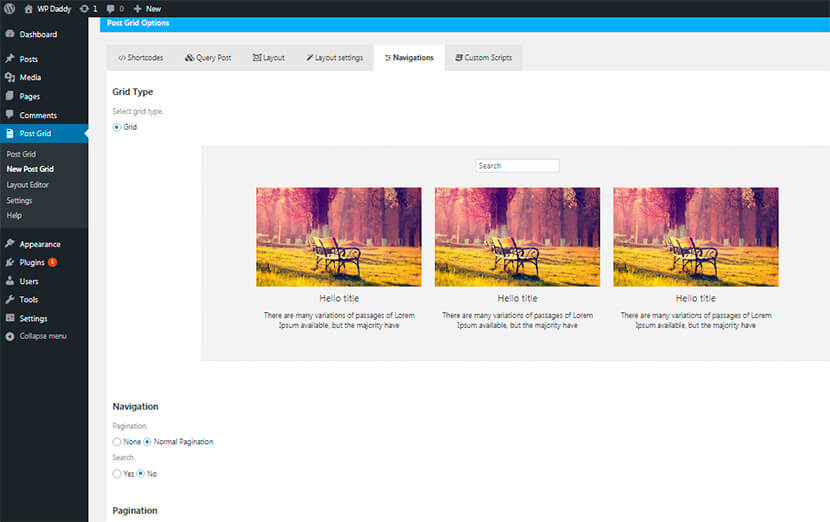
The Navigations tab will help you select a grid type, the maximum number of pagination, pagination previous and next text, and either light or dark pagination theme.
After you’ve made all the necessary changes, click the publish button to make your new post grid live.
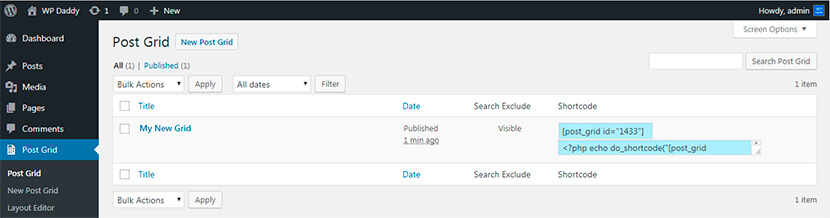
You will see the generated shortcode which you can copy and paste to any page where you want to display your posts in a grid layout.
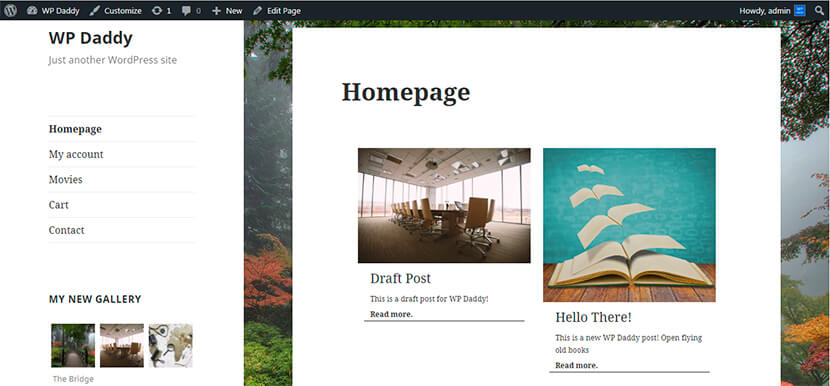
For instance, you want your posts on the homepage to be displayed in a grid, so insert this shortcode into your homepage content area and update the page. Then go to your website and check out the look of all the posts from this page live. You are done!
As you see, this is quite easy. You can try to work with any other free or premium plugin up to your needs. No coding knowledge is required.