Hi fellows!
Today’s WordPress tut is about your website content, to be more specific, we will speak on how to export and then import a WordPress site content if you’re about, for example, to move to another WordPress hosting or you need to have a fresh WordPress install but want to keep the entire content safe. Most people suggest to do that via MySQL database backup but this method has a lot of disadvantages and it’s more complicated.
In my tut I will explain you how I did this with my own website. The only concern was if I would get the same layout and content after all those exports/imports 🙂 Big thanks to guys from GT3themes.com who develop premium WordPress themes. I had no problems while moving my website which is based on their WP theme to another hosting and setting up my website using WordPress import tool. Let’s get started.
The first thing you have to do is to install the Import tool which allows you generate .xml file with your website data. To do that, please follow these steps:
1. Log into your dashboard and navigate to Tools > Import, and then navigate to the ‘WordPress‘ importer.

2. Click Install Now, this action will automatically install the WordPress Importer plugin package from the WordPress.org repository and you will see Run Importer tab.
3. The plugins have been installed and actived. Now you can export all the information available on your website into .xml file. Please click Tools -> Export and select “All Content”. Once it’s selected, click “Download Export File” button. Save the generated WordPress .xml file to a folder on your PC.

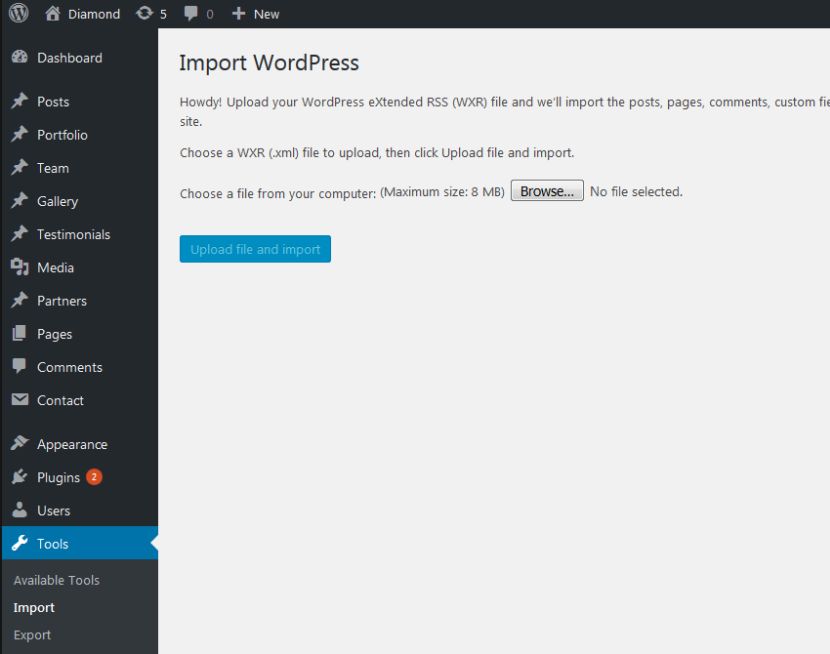
4. Now it’s time to import the content on your fresh WordPress install. Please open Tools -> Import, choose the .xml file that you’ve generated and click “Upload file and import” button.
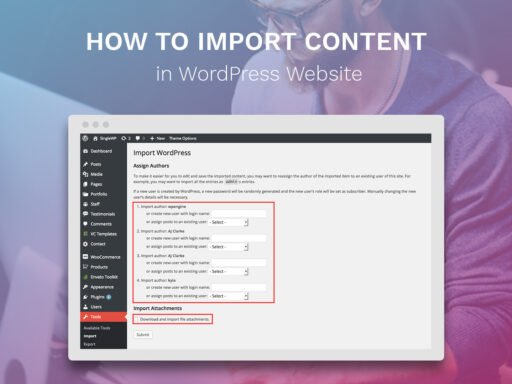
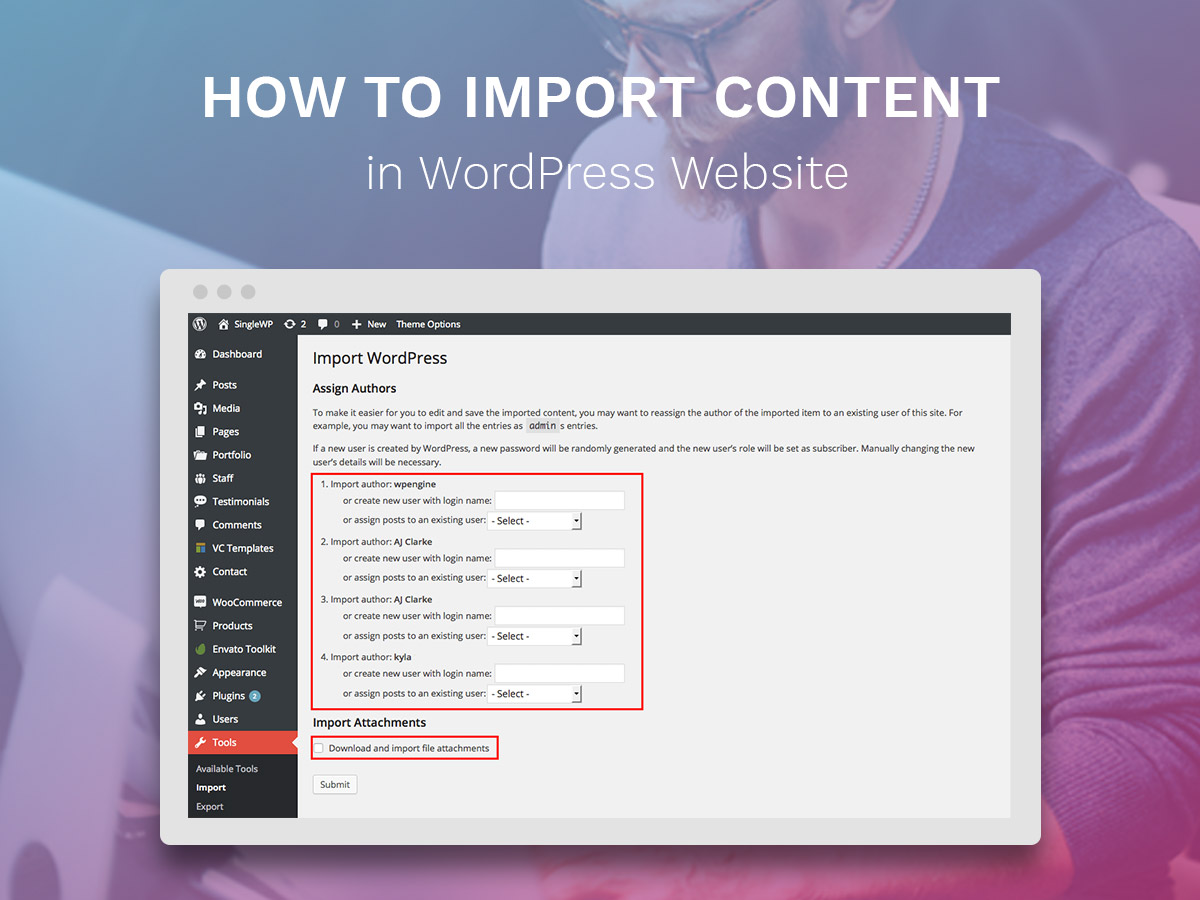
5. You will be redirected to the Import WordPress area with two options: Import Author and Import Attachments. The “Assign Authors” option will let you import the original username of the author who created the content or assign the author in your WordPress installation. Click the “Download and import file attachments” option to include all existing media in the import.
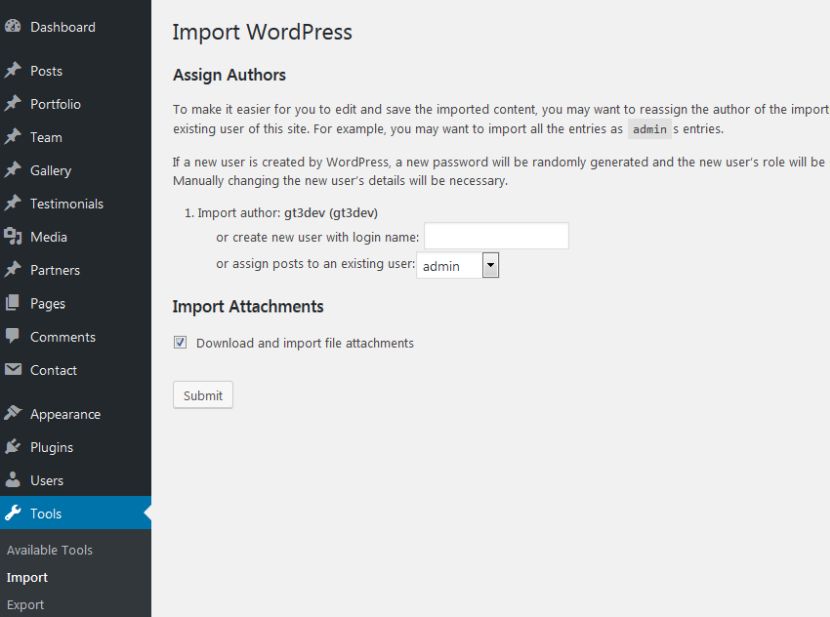
6. Click the “Submit” button to start importing the data. After waiting for a few minutes, you will see a confirmation message that the process has been finished successfully.

After all of these steps the entire content will be available on your WordPress website.
