We’ve been already talking on adding animated GIFs in WordPress but this was only related to uploading ready GIF animations into the posts. However, sometimes it’s required to create a custom GIF by your own, for instance, when you write a user’s guide.
It would be great to create a “how it works” tutorial with just one or several images instead of uploading a big bunch of photos for a very long and boring step-by-step tut.
Note: Don’t use too many GIF animations on your website not to harm your site speed.
So in this post I’d like to speak on how to create a GIF animation from anything you want and what services to use for this purpose. After you are done, you’ll be able to upload your GIF files into your WordPress posts. Let’s start!
Converting is Our Everything
Any GIF animation displays motion which is the main feature that makes it differ from a static JPEG. Actually, you should use something like a cartoon which means there should be a few static compressed images used as frames to create motion.
Well, this is quite possible to make using online services as, for instance, Giphy. But if you’ll be creating motion from a few static snapshots, you’ll have to take snaps of every single move of a certain object and then convert them to GIF animation, for instance with ILoveIMG service. It is a really time-consuming task.
So today we’ll speak on how to create a GIF animation from a video.
Capturing the Screen to Show How to Make a Slider
I need to make a GIF animation on creating a slider post in WordPress dashboard. This means I should capture the screen of my PC in video format to show all my actions to a user.
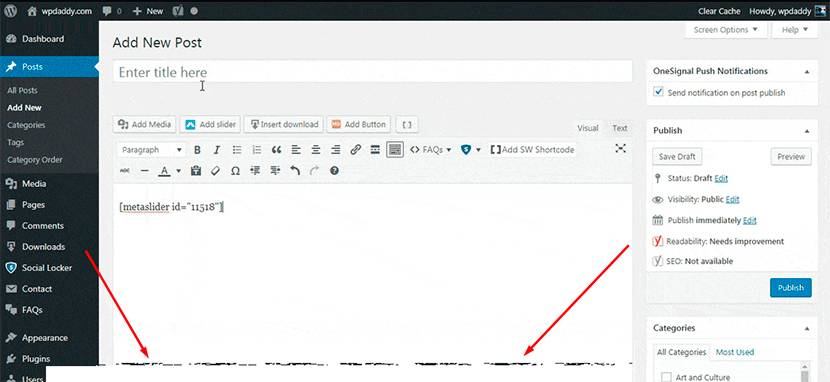
So first I create a slider, copy its shortcode and
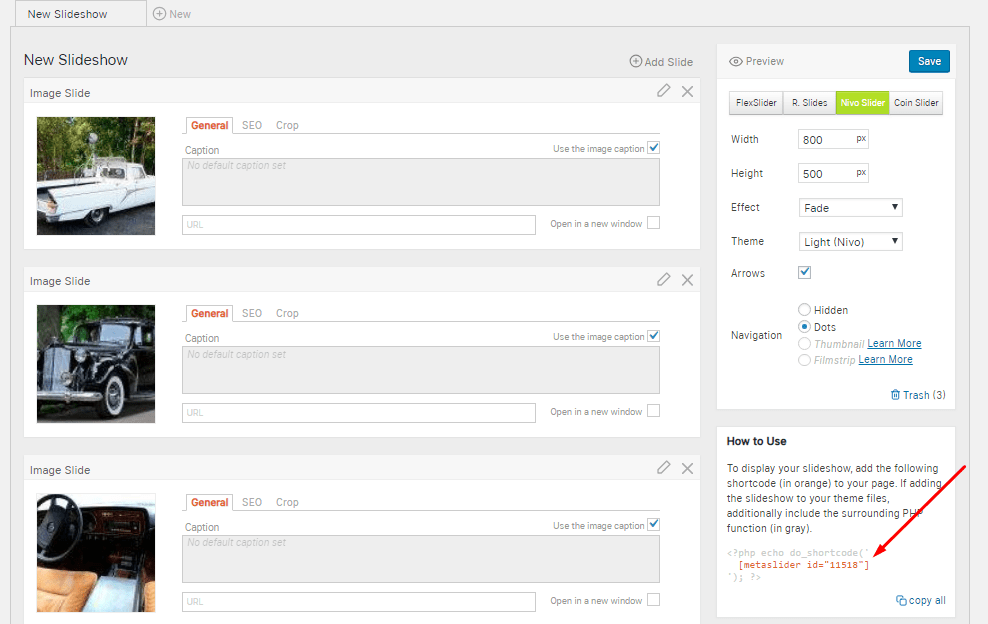
insert this shortcode into a post.
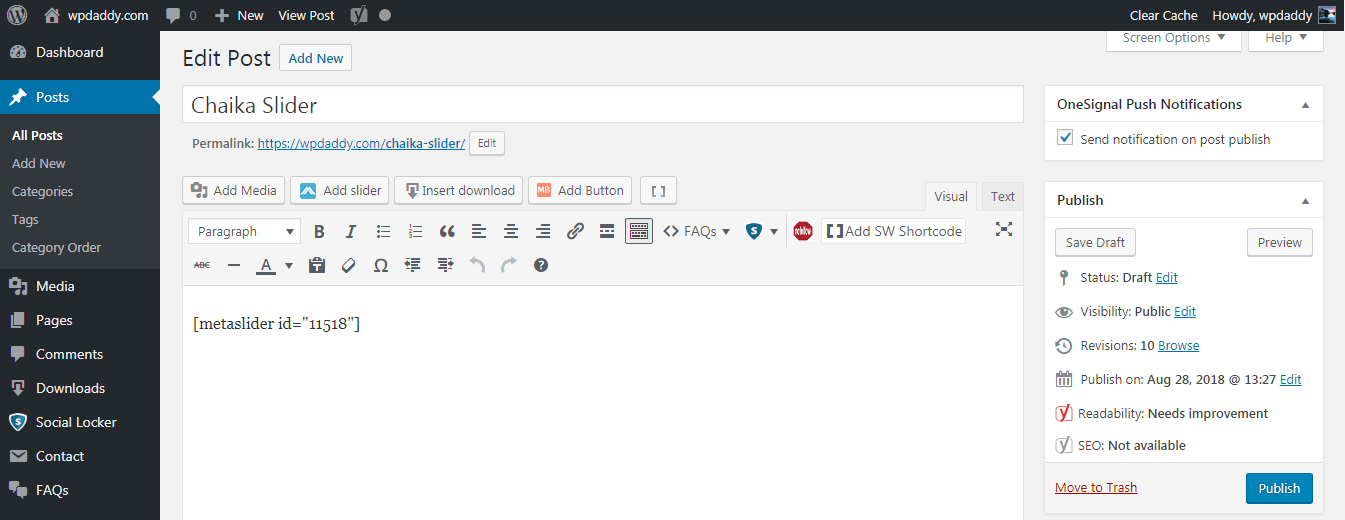
I save the draft and preview my post.
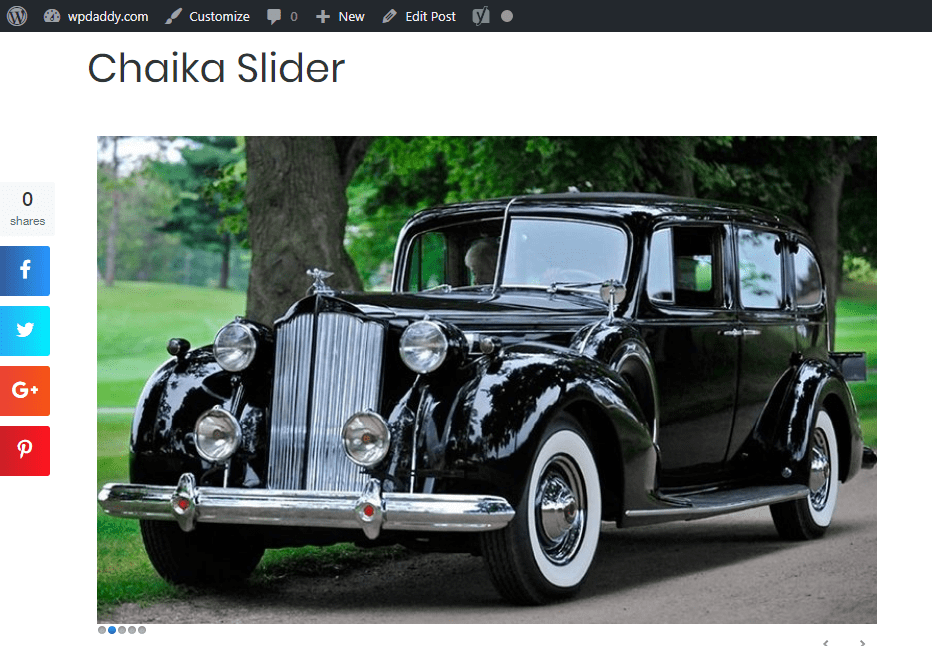
Now I want to make a video on how I create a slider step by step.
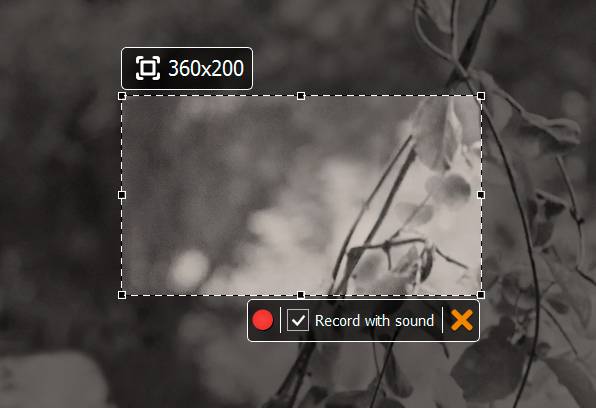
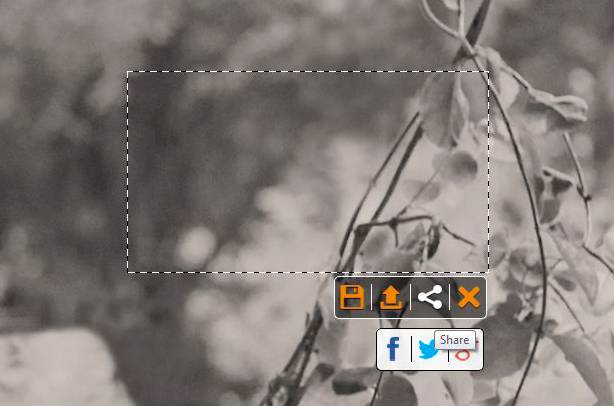
For this purpose, I use SRecorder – a free and easy screen recording software. You just need to download and install it, then launch it and highlight the area on your screen you want to be recorded.
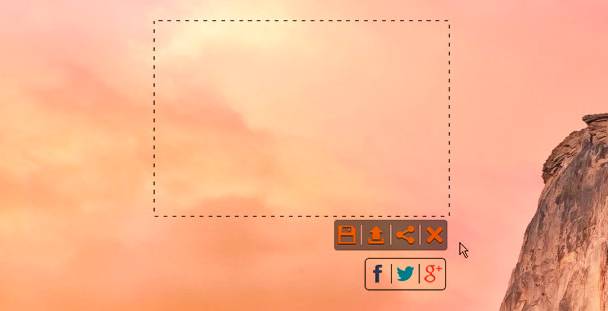
Don’t check the ‘Record with sound’ checkbox if you don’t require any sound to be present in your video. And then click the red round button to start capturing your clip.
When all is done click the flexible disk icon to save your video to any folder on your PC.
Make GIFs from Your Videos
There are lots of services that allow to convert your clip into GIF animation. Here are some of the most used ones:
Ezgif
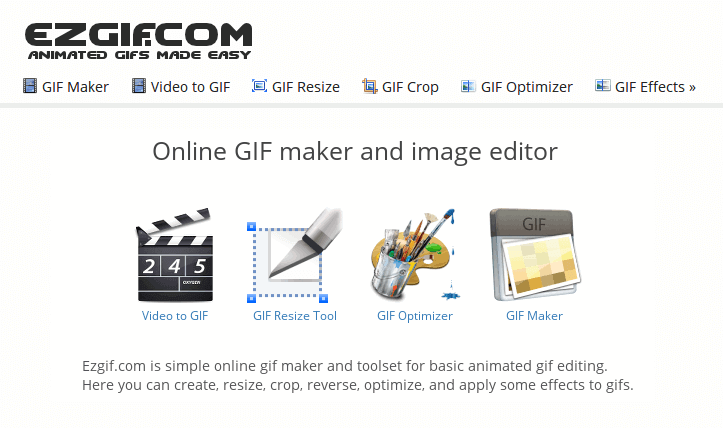
This converter has unlimited possibilities of converting images, videos and animations. Here you can make GIFs out of videos, optimize GIFs to compress them for the Web, crop and resize your images, convert them to WebP format, upload WebM videos, etc.
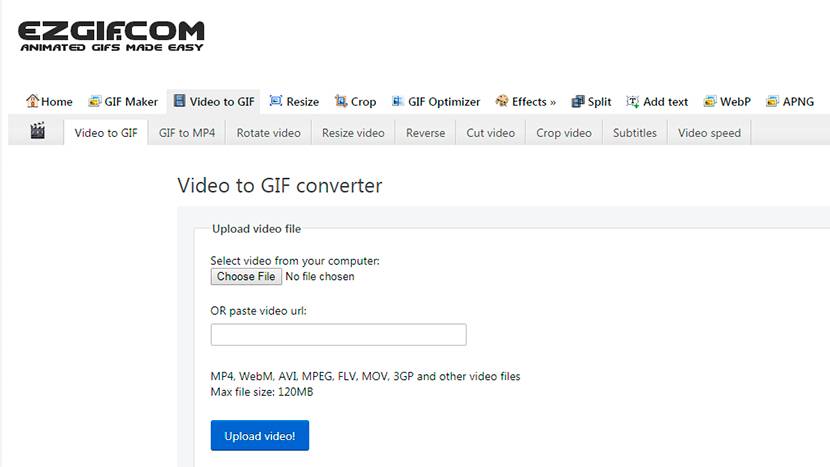
To make GIF from your video, you should just upload it and then manage its options before converting it to GIF.
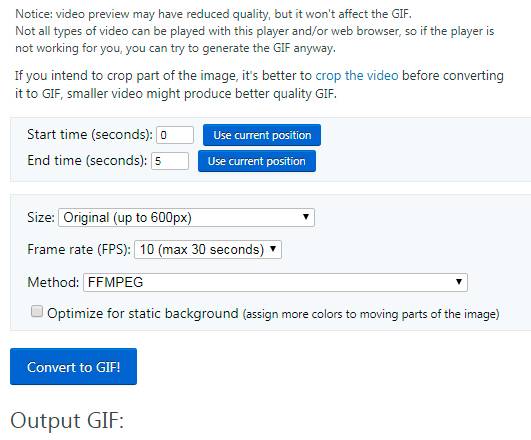
Here you can select Start and End Time in seconds depending on your clip duration, manage the File Size, choose a Frame Rate which also differs depending on your video duration and even select the compression method. You can also check the ‘Optimize your GIF for static background’ checkbox and the service will assign more colors to the moving parts of the image.
When your video is converted, you can easily save your GIF by clicking the flexible disk icon.
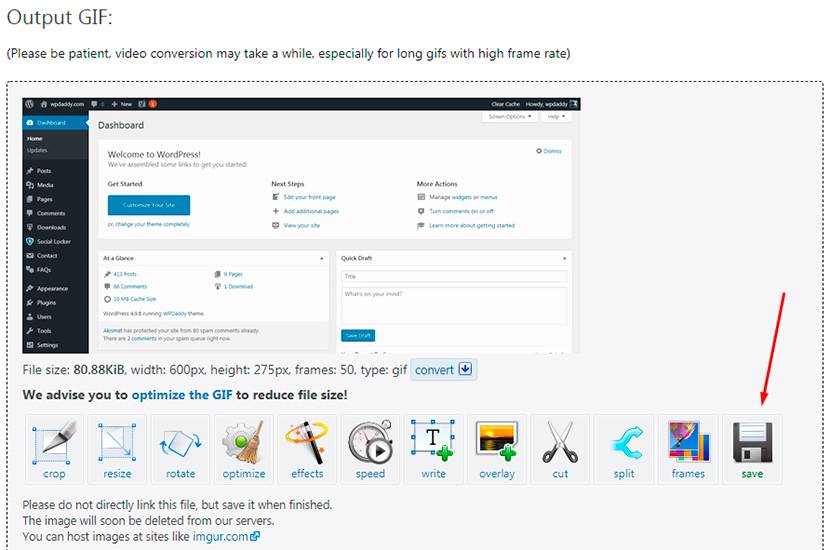
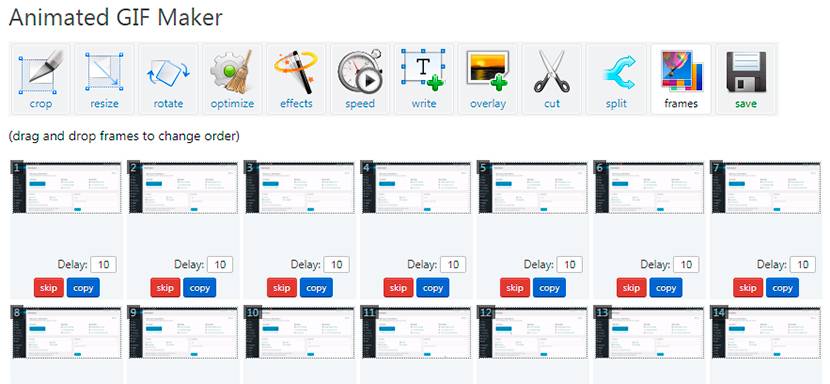
If you think that your GIF is too heavy ‘cause there were too many frames used for creating it, click the Frames icon and manage the frames to your liking. Feel free to remove them, change their order, etc.
Despite the fact that this service offers the lossy compression, I don’t recommend to optimize your GIF files here. Of course, it’s cool that you can select the compression level here…
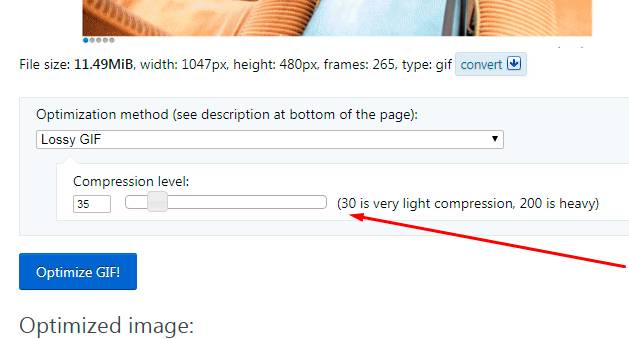
But the heavy and even the middle compression really make the quality of your GIF image worse. Some additional elements appear on the GIF animation.
Light compression level, in its turn, is useless for optimization, because it doesn’t compress much.
Online Converter
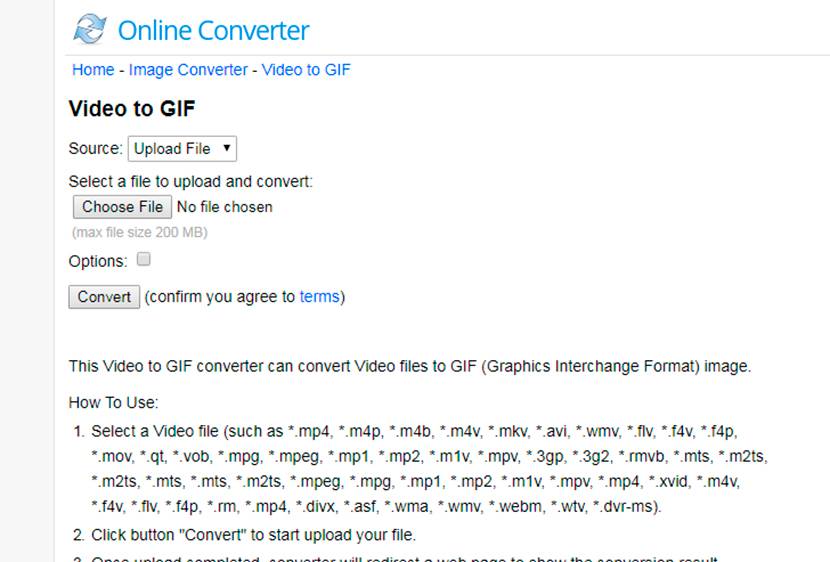
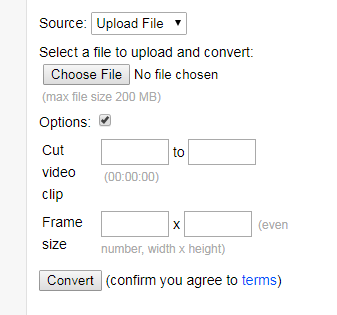
This is another great service which has no endless settings and checkboxes. It is very simple and clear for any user. You just choose a file on your PC, either leave it by default or manage the options to crop the video, select the frame size, and then click the Convert button to launch the converter.
Nothing special, all is easy and intuitive. The service also has the related converters list which includes the possibilities to transform JPEG to GIF, BMP to GIF, AVI to GIF, and more.

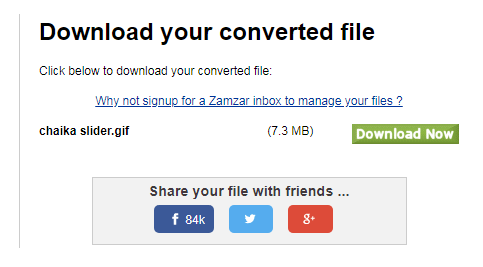
ZamZar
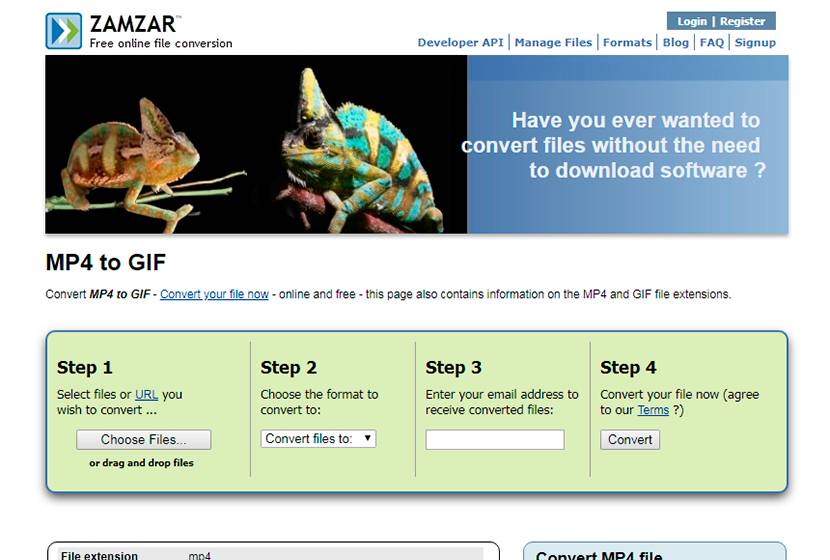
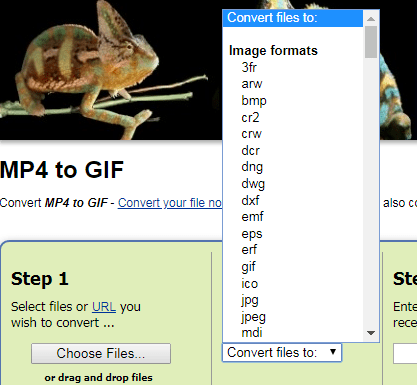
This is another simple-to-use service which includes a 4-step converting functionality. You upload a video, choose an image format you want to transform your clip to, insert the email to receive the ready file to, and then click the Convert button.
Your ready download link will be sent to you by email.
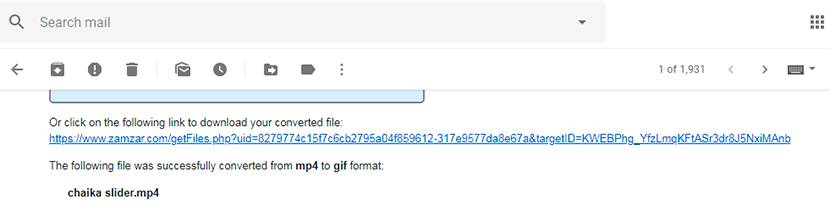
You’ll have to download your files clicking this link in your inbox and being redirected to the download page.
Convertio
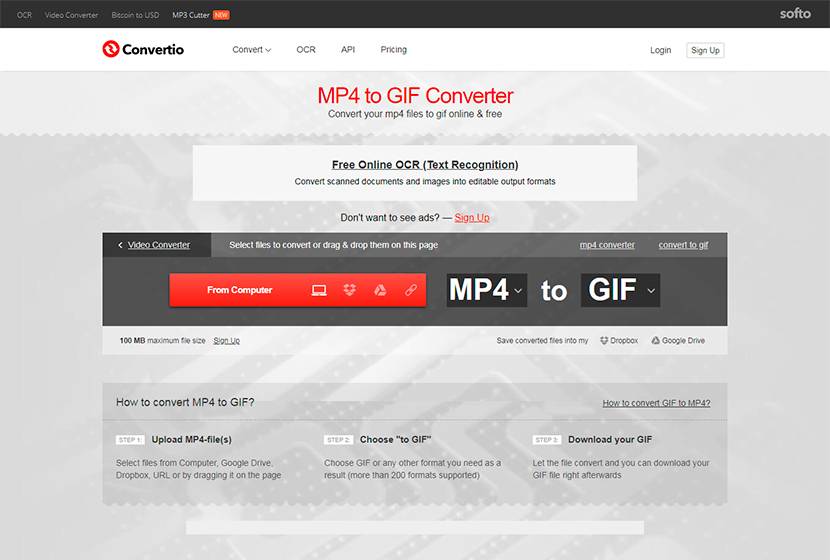
This service allows to convert your video clips uploading them either from your PC, DropBox, Google Drive, or inserting the file URL. This service also offers an extension available for Google Chrome browser.
Convert Files
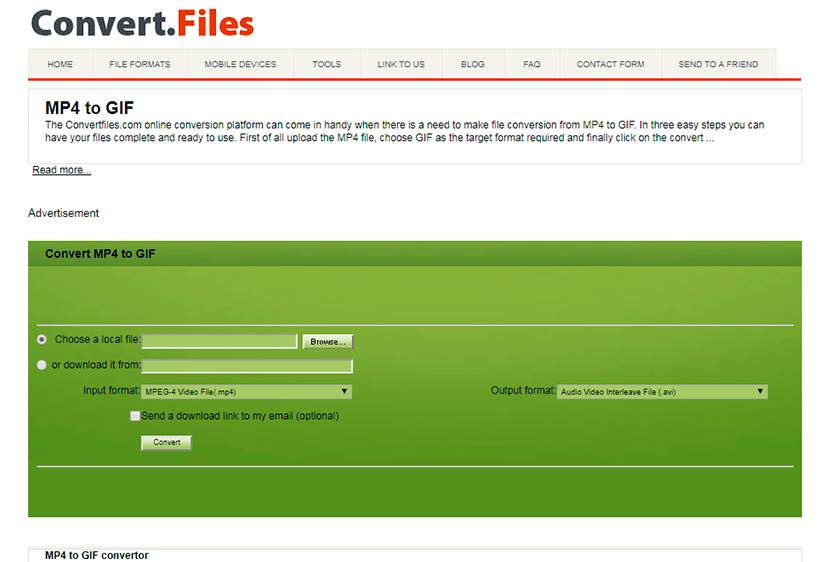
And this one is a simple-to-use conversion platform which will transform your clip into GIF animation in three easy steps. All you need is to upload a file, select GIF as a target format and then click the Convert button to launch a process of conversion.
Well, finally your video is converted into GIF and now you can upload it to your WordPress post.
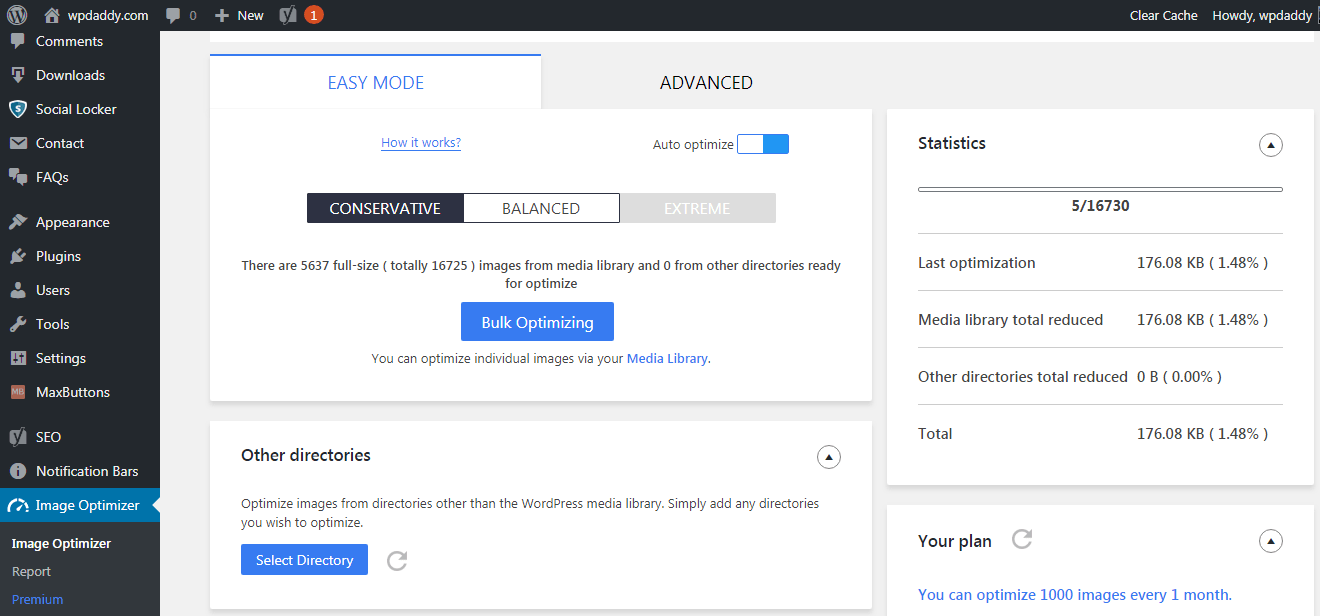
If your GIF image is too heavy, use any image optimization solution you prefer. Personally, I use Image Optimizer by 10 web WP plugin which promises to automatically optimize all of my uploads.
I hope this post was useful for you, but if there is something I should add or correct, please inform me in the comments. Let’s have a discussion. See you soon!
Melany H.