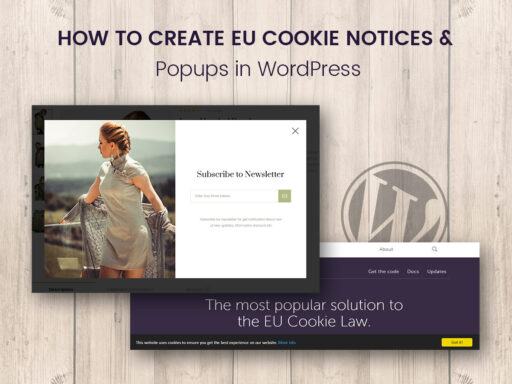

We know that our readers live both in the US and many countries of the European Union, so this tut will probably be interesting for all of you. This tut will show you how to easily create EU cookie notices and popups on your WordPress website.
Why Do We Need PopUps?
For example, you run a blog and you want to get a good amount of subscribers for the shortest period of time.
Most bloggers just create a newsletter subscription form and place it in the sidebar waiting until someone signs up. As the practice shows, many visitors just ignore this subscription form and never sign up for any newsletters.
But other bloggers add one-time pop-ups which appear only after a user stays on a website for about 30-60 seconds and only once after a definite amount of days. This makes a user notice the subscription form and most of the users sign up for getting the newsletters. Why not?
Of course, someone is annoyed with popups, but others don’t consider it to be something more than a prompt. It’s important to show your popups just to the users that stay on your website for some time, this means they are really interested in your content.
Online store owners also use popups, and they do it to create an unforgettable branded experience for consumers, generate buzz and brand awareness, etc. Popups are a great way to announce seasonal sales, holiday discounts, and more.
EU Cookie Notices in European Union Countries
There’s an article 5 Section 3 of the European Commission’s ePrivacy Directive which enables all UK websites that use cookies, warn visitors that cookies are being used. A message or warning must be displayed so that the visitor is aware of them.
So if you live in the UK and you run a WordPress website, you are sure to find some useful information in this tut.
This post starts a series of tuts devoted to popular free WP plugins and their abilities to extend the functionality of your website. So let’s start!
We will start by installing the Popup Maker plugin which will help us to reach our first goal – creating a popup window. Please read the detailed guide on how to install and activate a plugin here.
After all is done, you will see the Popup Maker menu in the admin dashboard as usual.
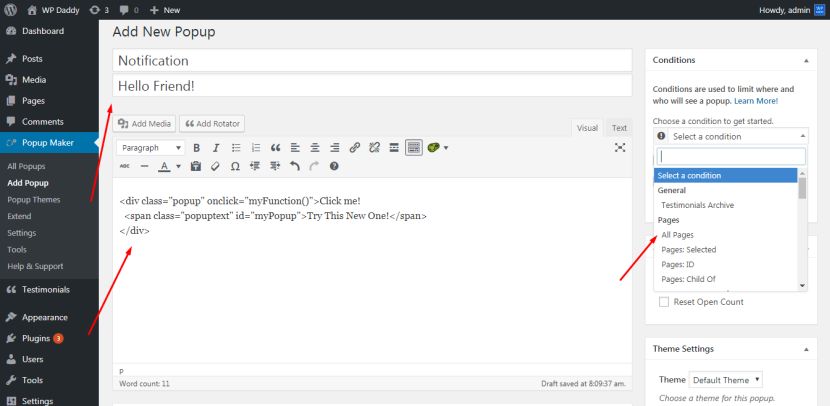
Go to Add Popup menu to start creating your popup.
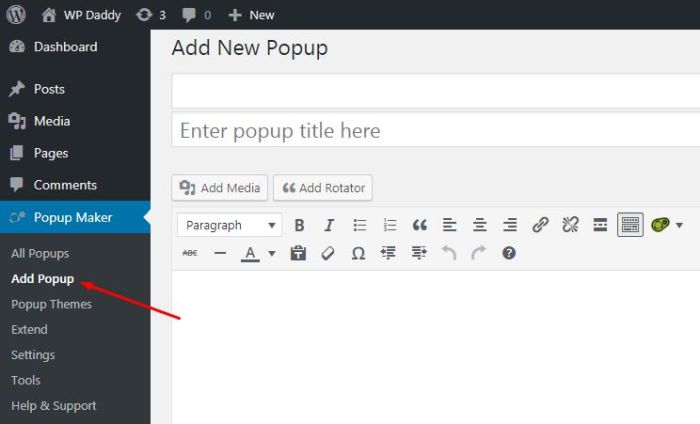
Here is your visual editor where you can add your popup title and insert your custom text. Here you can select Conditions which allow to decide where to show the popup and who to show it to.
If you choose All Pages you are only enabling the plugin on the WP post type pages.
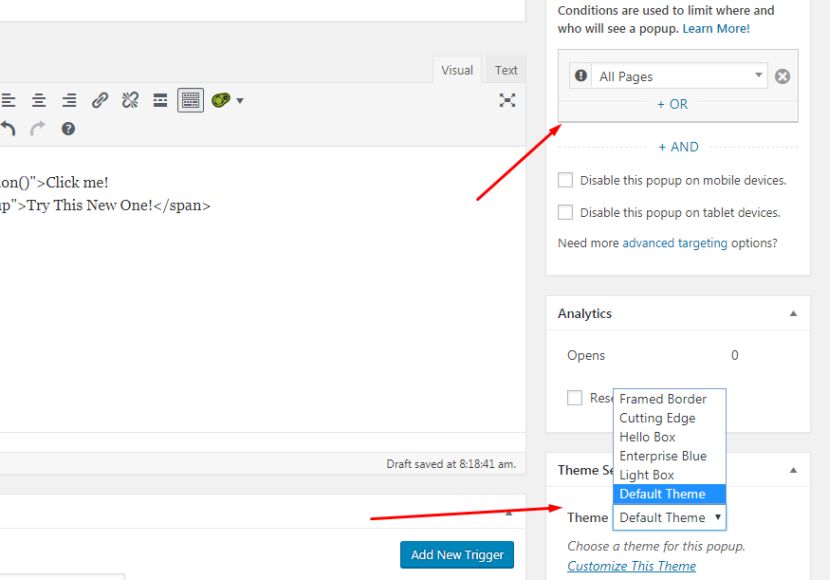
Advanced targeting options are the premium feature, though in the free version you can choose any pages, posts, categories, and other sections of the website where you want your popup to be shown.
In the Theme Settings section you can choose from the list of themes available for creating the appearance of your popup. You can test each of them and then see it live to decide which one suits your website design the most.
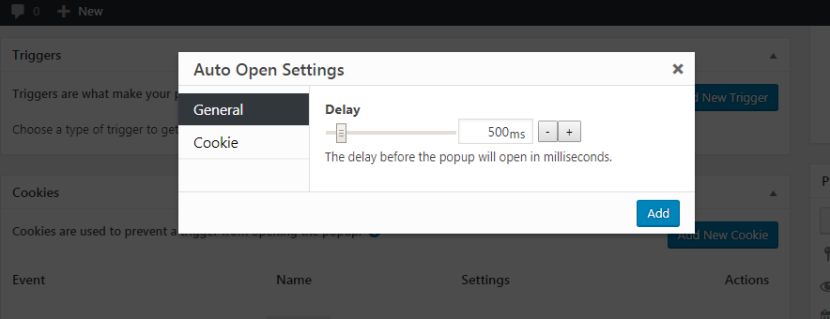
In the Triggers section you can select either click open or auto open trigger type when adding a new trigger.
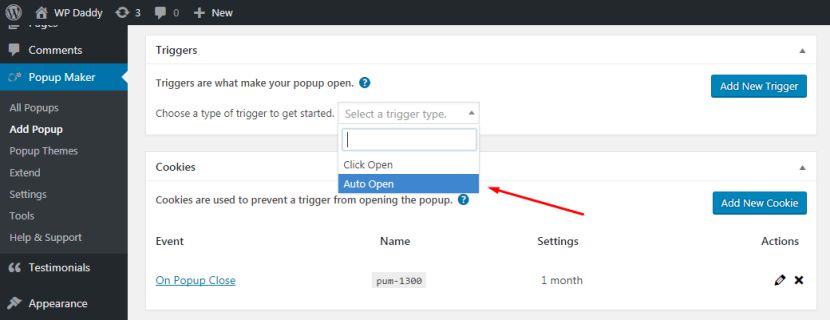
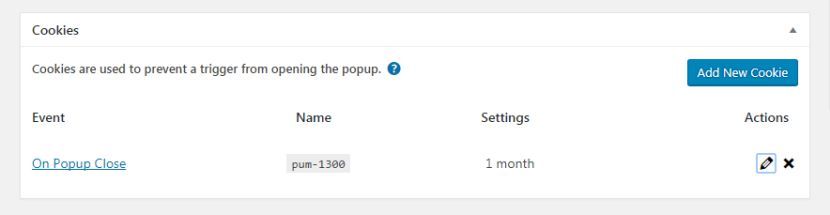
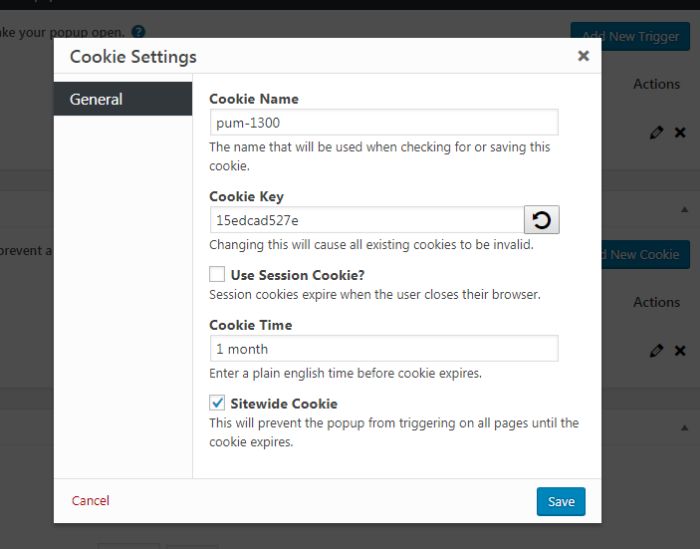
And in the Cookies section you can choose when you want to set a cookie to get started (on popup open, on popup close, or add any manual Javascript).
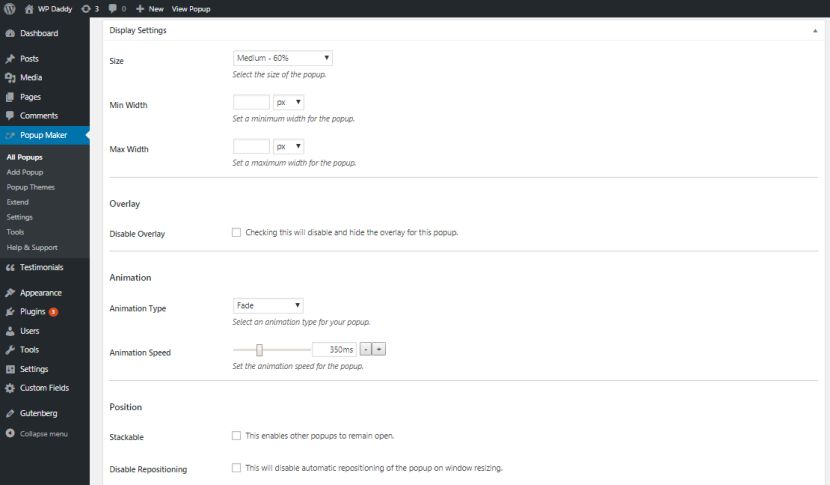
You can also scroll down to manage the display settings, for instance you can set the popup in a way not to make it reappear after a certain user has closed it.
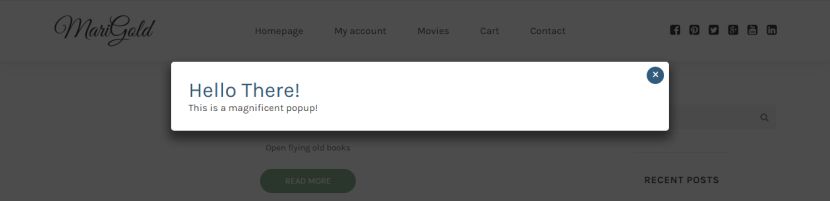
After you are done, click the Publish button and go to your website to see the popup in action.
The easiest way to create a cookie notice is to install the Cookie Notice plugin into your WordPress. When the plugin is installed you will find it in the Settings section of your dashboard.
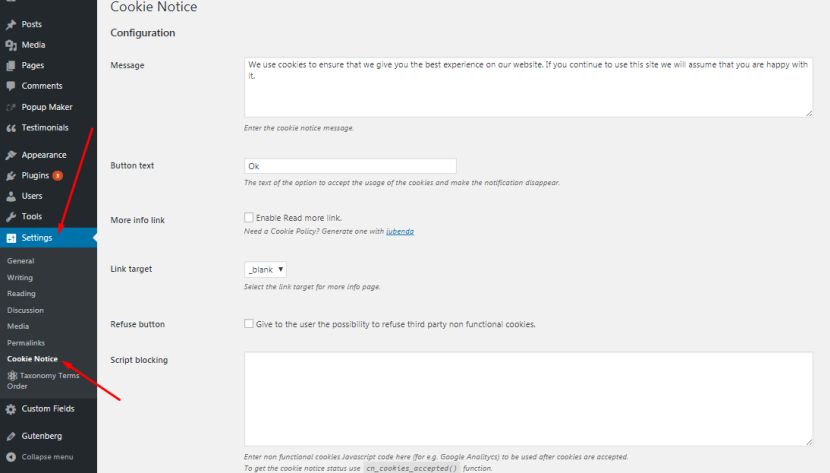
The message here is available by default but you can change the text of the message as you want it to. You can also manage the button text (that is the text of the option to accept the usage of cookies and make the notification disappear).
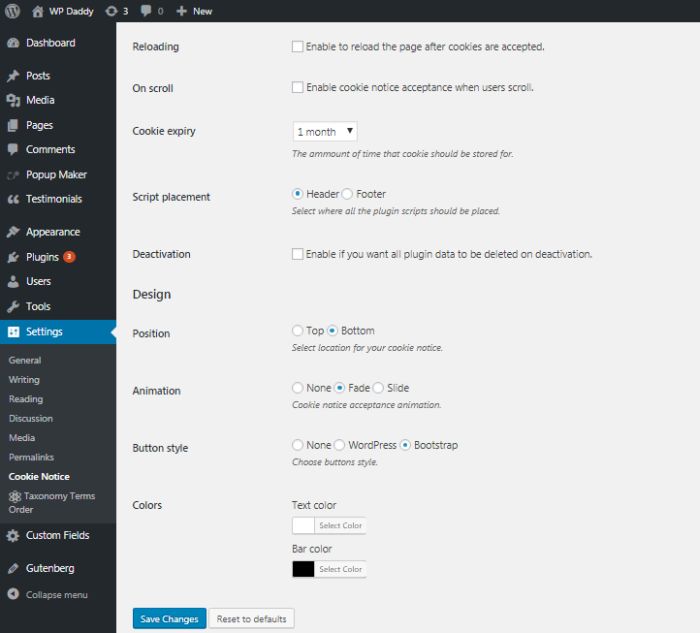
You can either enable or disable reloading the page after cookies are accepted, enable or disable cookie notice acceptance when users scroll, delete or deactivate all plugin data, and manage other settings in the Configuration section.
The Design section allows to choose the message text color, the bar color, the position of the notification, the animation, and manage more settings.
After you are done, you can see your notification live on your website.

There are more ways to create cookie notifications but we’ve shown you the easiest one.
Please tell us what you want us to write about, we’ll be happy to see your comments.