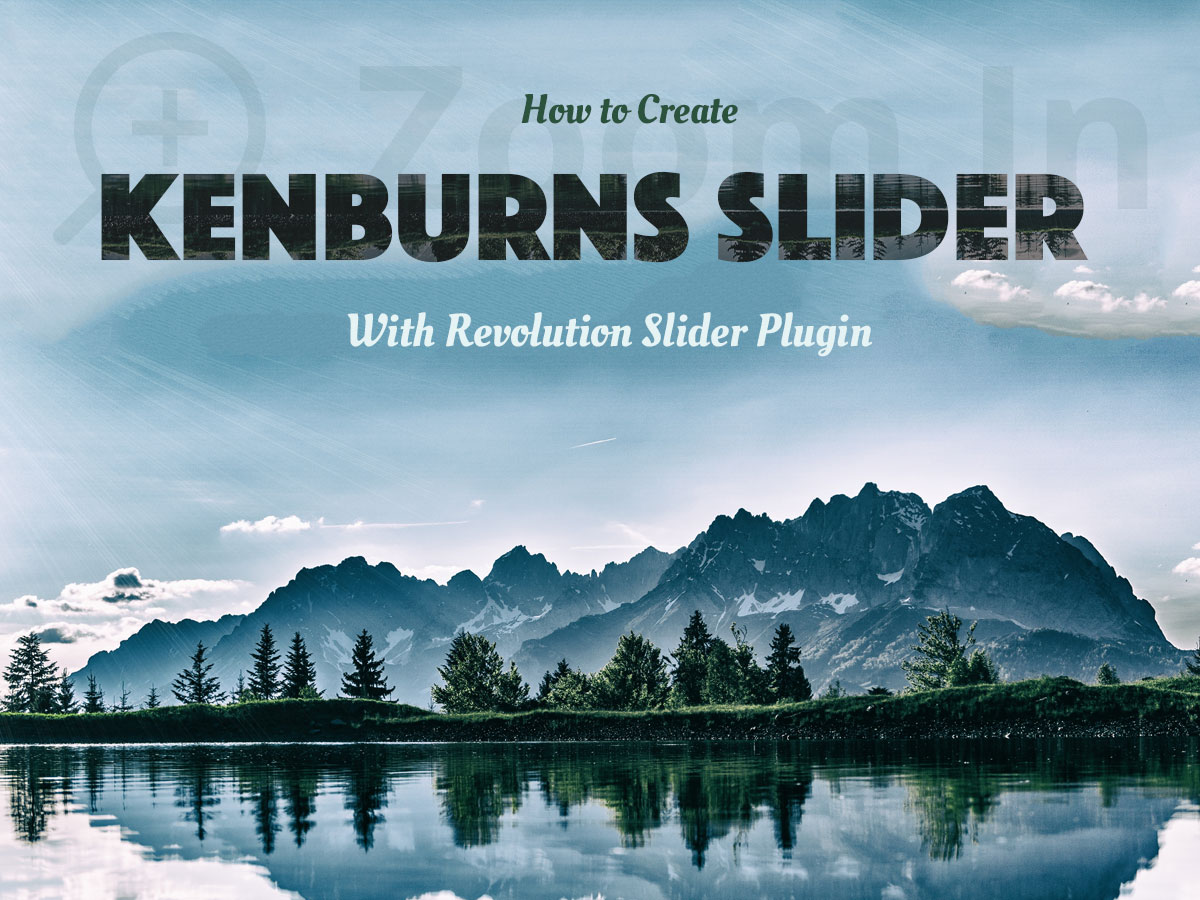
Ken Burns slider is a solution that shows the natural motion of objects and allows to examine them in detail. Its options include the possibility either to zoom in or zoom out the images to create stunning photography portfolios and breathtaking showcases on the Web.
Revolution Slider is a widely recognized premium plugin that is used by almost all WordPress website owners and comes in the pack with plenty of premium photo, blog, portfolio, and eCommerce WordPress themes available on modern marketplaces selling digital products, templates, code, and graphics.
Update February 21, 2021.
This is an example from one of the websites I currently customize for a certain clinic. I use Slider Revolution 6 with a different interface which has been updated and complemented a lot since 2018. Now it is new, comprehensive, and as easy to use as it has always been. So, as you see, Ken Burns slider is simple to create with the help of Slide Options -> Ken Burns -> Pan Zoom Settings menu of the slider editor.
You just select the position of your background image and select the percentage of zooming. I’ve selected the ‘Zoom From’ options from 100 to 130%, saved the changes, and that’s all. Read the post to learn the details.

Post-2018.
In my today’s post, I will try to create an awesome Ken Burns slider with the help of the Revolution Slider plugin and show you how easy it is. So let’s start!
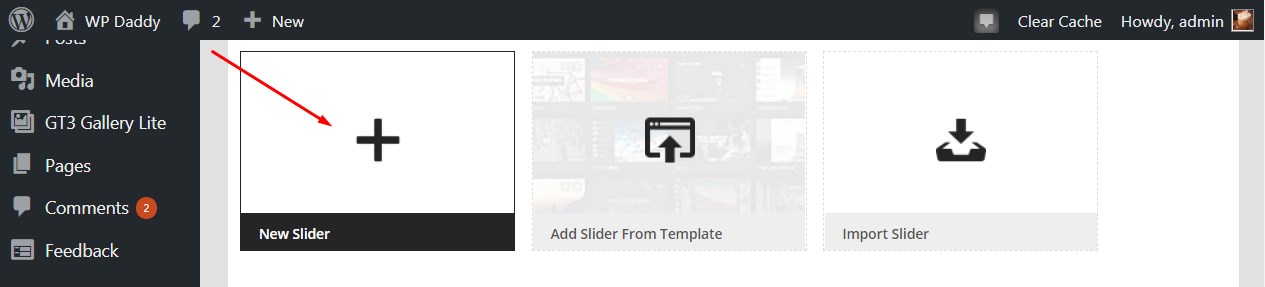
Go to Slider Revolution installed and activated in your admin dashboard and click the New Slider option. (Please read my detailed guide on how to create sliders with Revolution Slider here.)
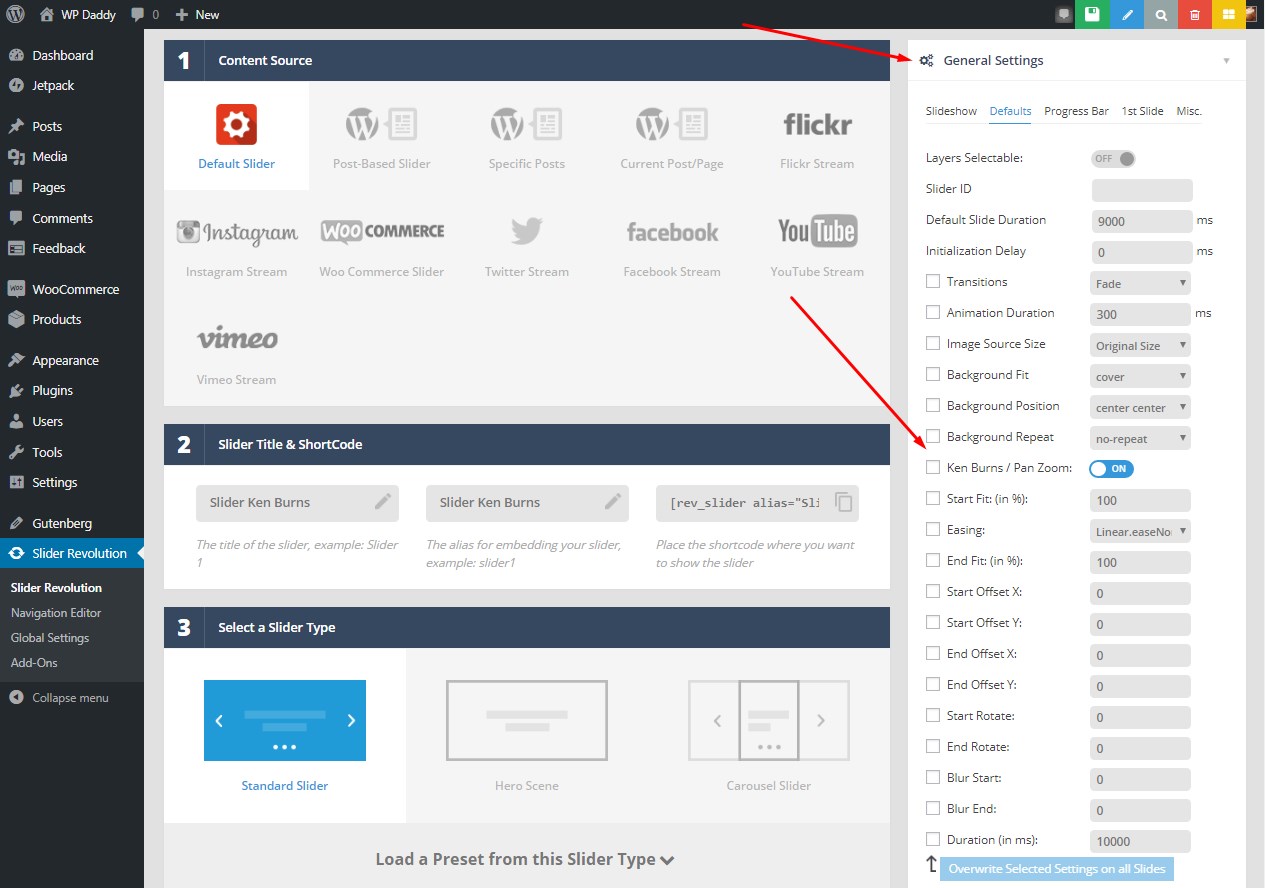
After that, you will get to the Slider Settings section and will be able to manage the appearance and behavior of your slider, so go to General Settings -> Defaults -> Ken Burns and turn this option on to activate the Ken Burns effect for your slider.
Here you can also manage the options like start, easing, duration, and more. Those options can be also managed for every slide separately.
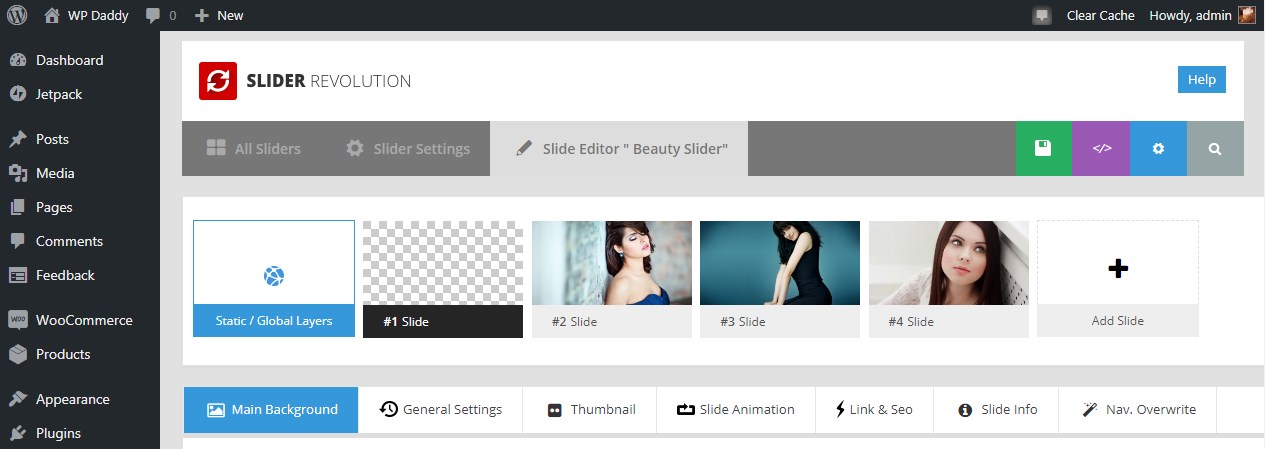
Save your changes and go next to the Slide Editor.

Click the Add Slide option and choose bulk slides from the media library.
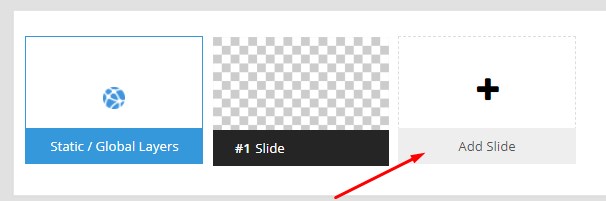

When all slides are picked, click the Insert button and now your slides are inserted.
In your Main Background section, go to Ken Burns and manage the options for every slide. I want my slides to zoom in, so I select the Scale from 100 to 120%, horizontal offsets from -100 to 300, vertical offsets from 0 to -100, and leave all other options by default. You can select any other numbers you prefer.
To see how your Ken Burns slider will look when you are done with managing the options, you can Play the small preview.

I save the changes and go to the Slider Settings to copy the shortcode from the Slider Title & ShortCode section.
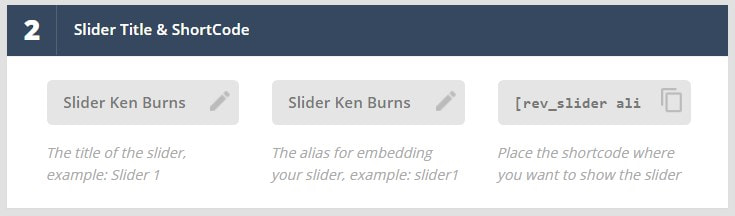
Now I insert it into the newly created post, save the changes and view my post.
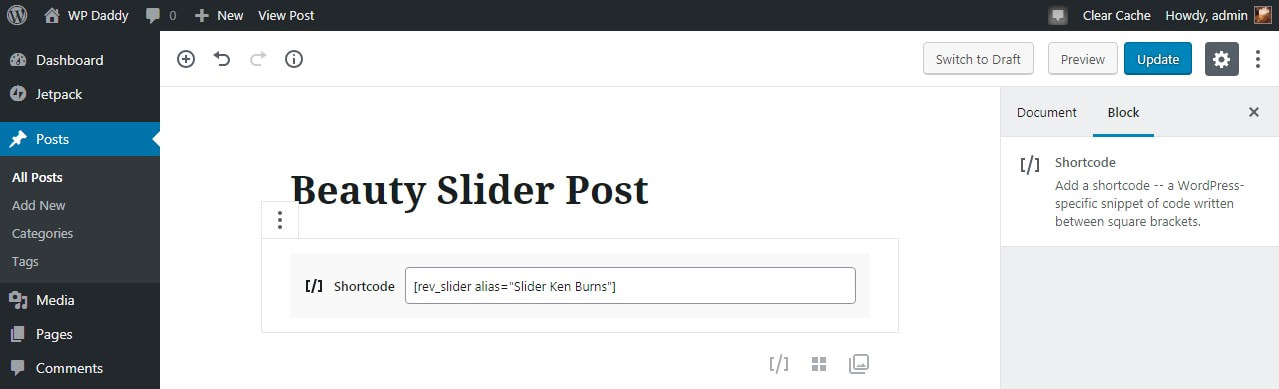
That’s how my Ken Burns Slider looks like.
Probably the movements in the video are not as smooth as they really are in my original slider, but you can try to create Ken Burns by yourself and see the difference. This type of sliding images is a really gorgeous one. It will transform any photography showcase or presentation into an impressive online show. So don’t hesitate to make your portfolio look splendid with Ken Burns.
Hope this was helpful.
Melany H.