Every website supposing login and register functionality has the ‘Remember Me’ feature which allows a user to save their password on that definite computer and stay logged into their account to enter it later.
If we speak of WordPress, we should mention it uses cookies to identify a logged-in user but they don’t include a user’s password. However, WordPress allows the same username log in from different locations, so if you use the ‘Remember Me’ function on a public computer and forget to log out, you get into a risk that any other user will be able to get access to your account and use your personal data.
If you run a membership website, you also can face a situation when a premium member who has access to a paid content, forgets to log out on a public computer, and any other user can get access to this protected content and share it anywhere.
Such a situation is not secure for a membership website, so it is required to be changed. It is necessary to prevent users from staying logged in the same account from multiple places. It is also important to limit users’ concurrent login attempts.
In this post we will discuss how to make it possible.
User Login On a Membership Website
First, let’s make a membership website and create a member who is going to register and login into his account.
Simple Membership WordPress plugin has been specially developed to add membership functionality to your website.
After the plugin is installed and activated, go to WP Membership -> Settings and check the Enable Free Membership option in general plugin settings section.
When this option is enabled, you should also specify a free membership level ID in the field below. To get such ID, you should first create a membership level.

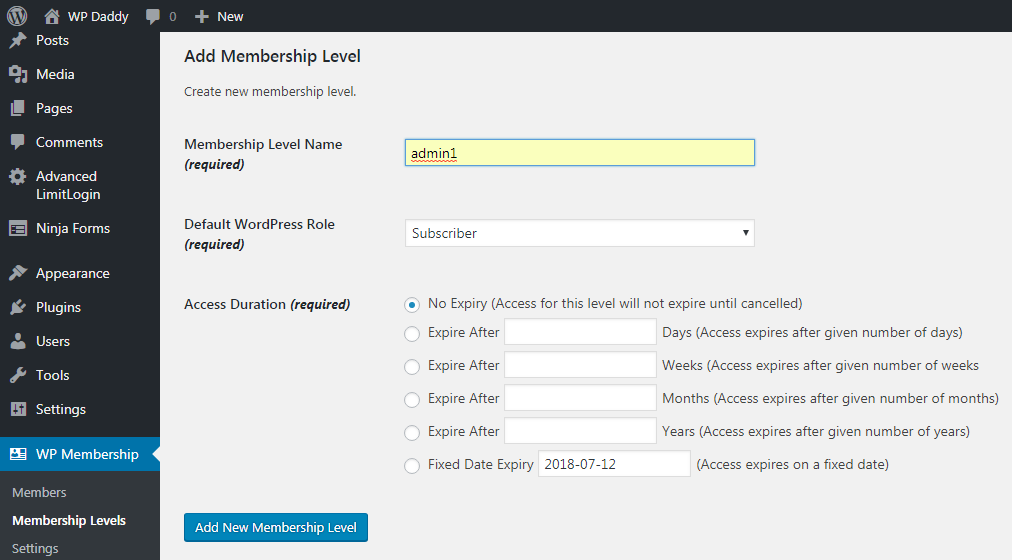
Go to WP Membership -> Membership Levels menu and click the Add New button. Here you should identify the Membership Level Name, its Default WordPress Role and its Access Duration. After that, click the Add New Membership Level button and you are done.
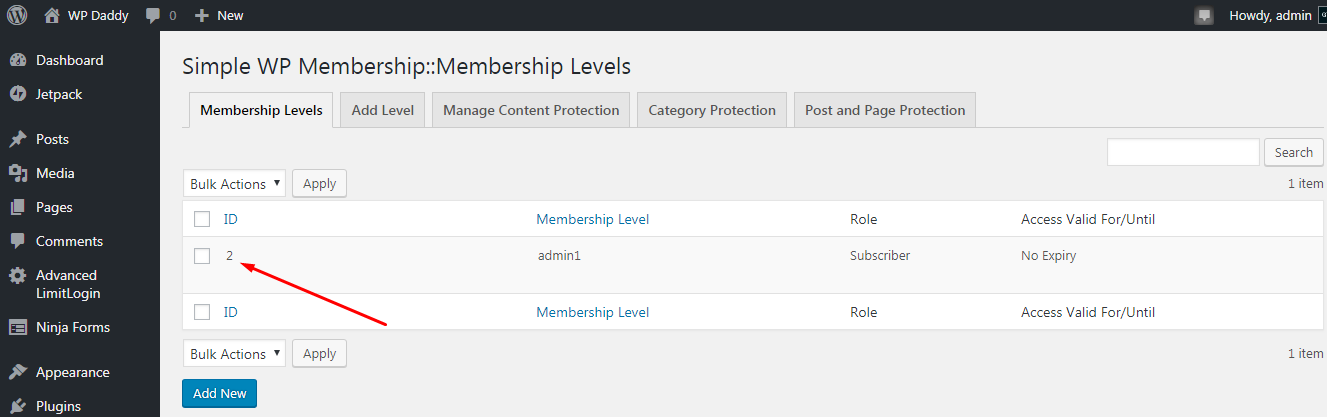
Your newly created membership level will be visible in the Membership Levels list, so you will be able to see and get its ID there. This ID should be inserted in the WP Membership -> Settings -> Free Membership Level ID section. After you’ve assigned a free membership level ID, go to the registration page to sign up as a new user.
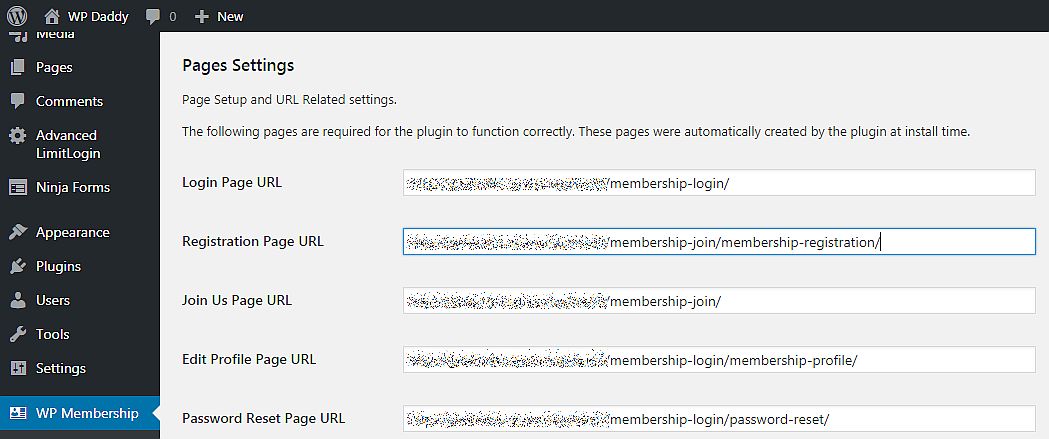
In my admin dashboard I’m logged in as an admin, so I log out and go to the registration page. Its direct URL is available in WP Membership-> General Settings -> Pages Settings.
On the registration page I put in a username, email, password, and some other data and click the Register button.

The registration is successful and I click the Login button to continue.
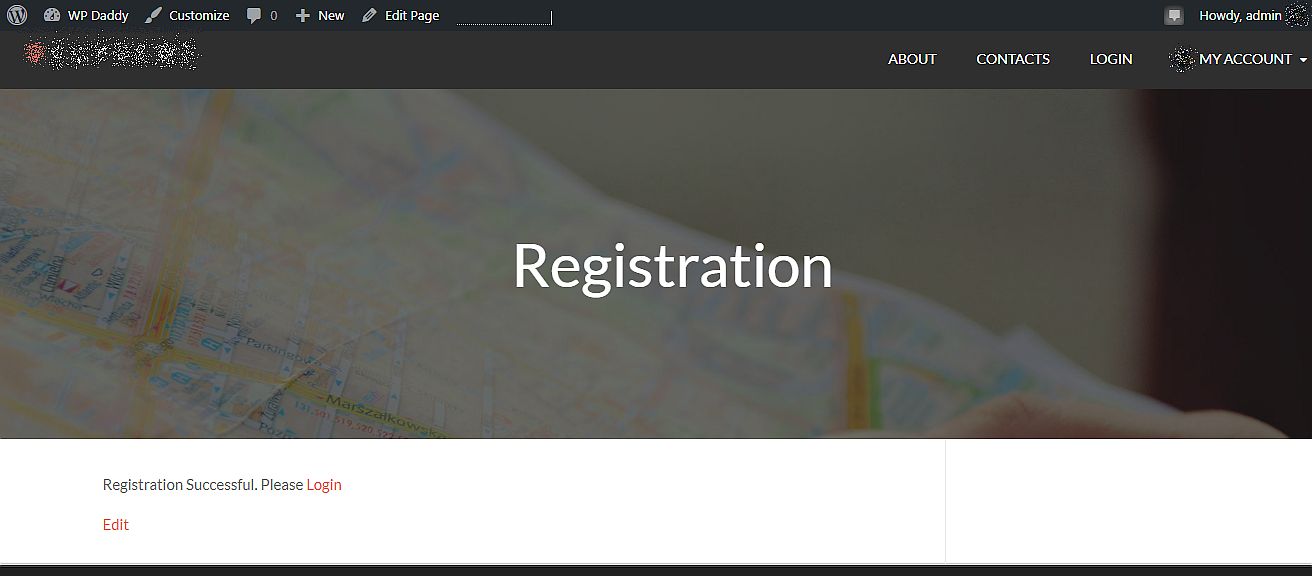
Here I insert the username and password, click the Login button,
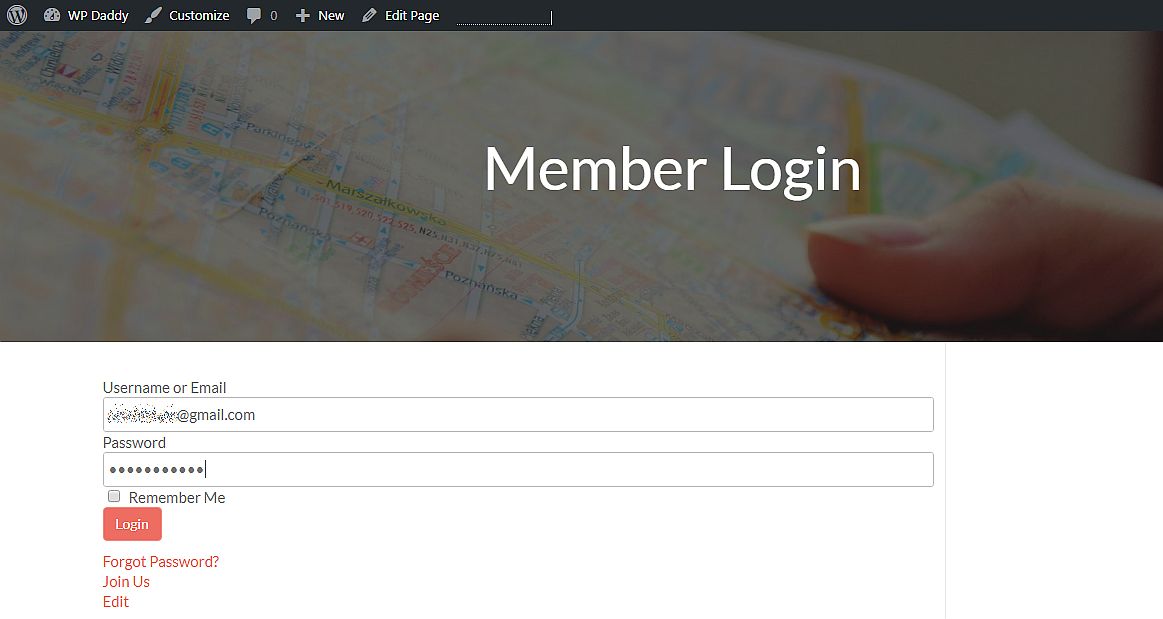
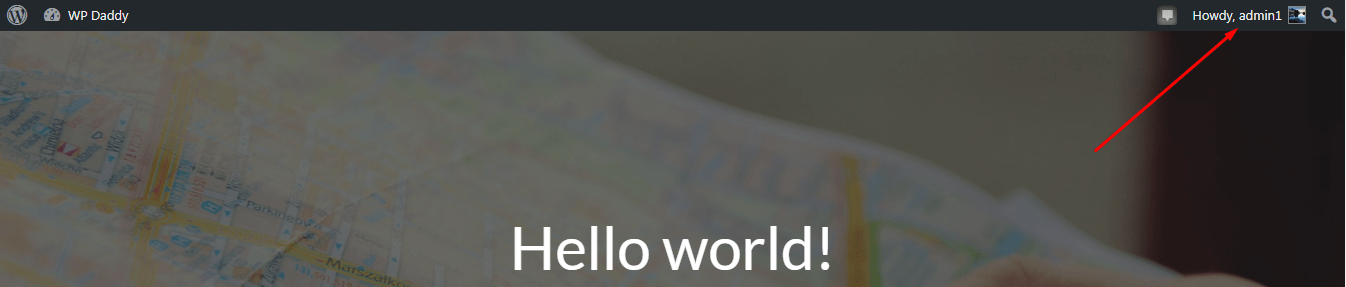
and finally I reach my member account with the admin1 membership level.
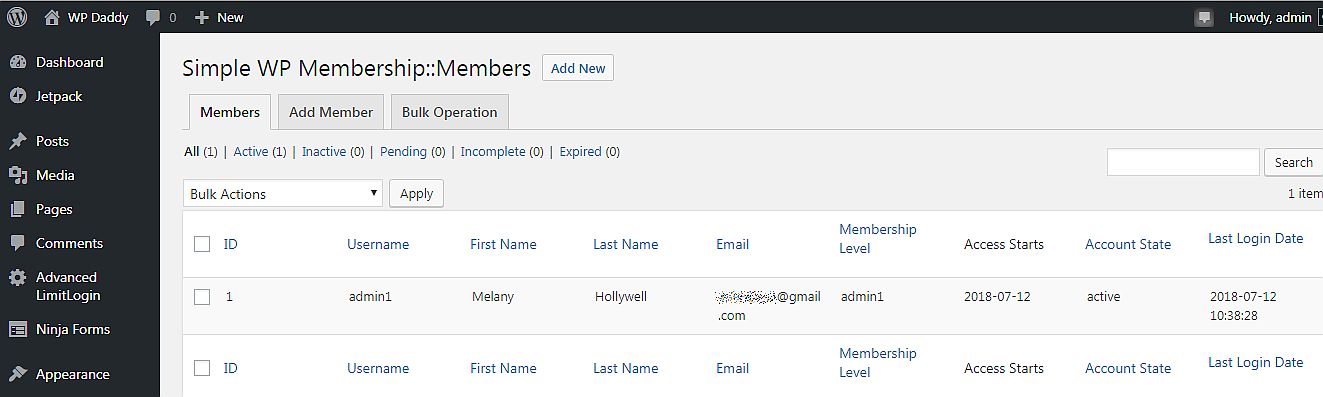
Admin can now see my account in WP Membership –> Members list.
Let’s limit the login attempts for this definite user. Limiting the maximum concurrent login attempts is going to increase the security of your membership website. I login into my admin account and go on.
Limiting Login Attempts for a User
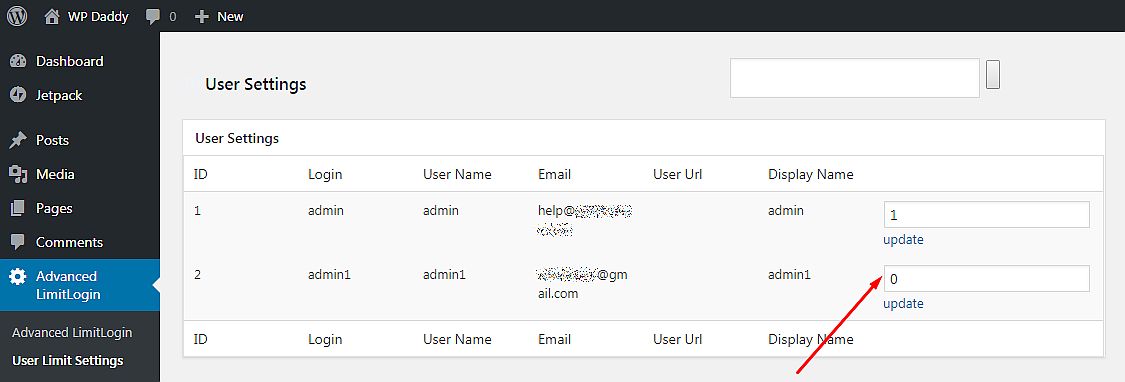
Advanced Concurrent Login Limit WordPress plugin is going to help me limit the user concurrent logins. After installation and activation, go to Advanced Limit Login -> User Limit Settings and you will see the admin1 membership level ID displayed in the list. So here you can put any number which will limit the login attempts for this definite user. After that, click the Update link.
Restrict a User Stay Logged in the Same Account from Different Places
Another WordPress plugin which is called Prevent Concurrent Logins is made to prevent users from staying logged into the same account from multiple places. You just install and activate a plugin and it works out of the box. No settings are required to configure.
Test the plugin in action. Sign into your WP membership website from different browsers or with the help of incognito mode in Chrome. You will be allowed to successfully login to your account in the second browser using your username and password, but the plugin will terminate the previous session. So if you try to click any links and take any actions in the first browser window, you will be taken to the login page.
Limiting Maximum Number of IPs per User and a Login Log
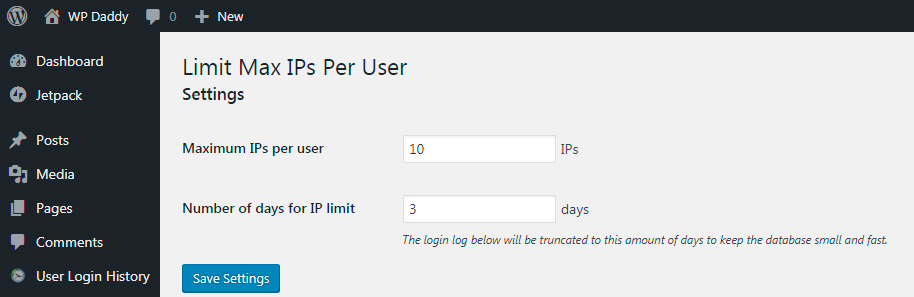
Limit Max IPs Per User is another WP plugin which allows to limit the maximum number of IPs a user can log in from. Using it you can set the maximum IPs per user and a number of days for IP limit.
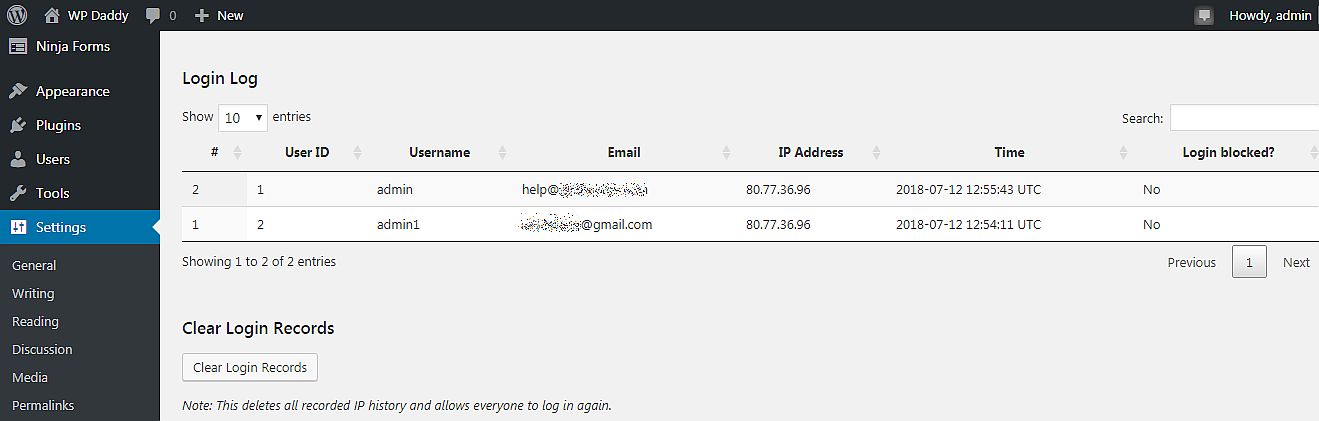
You will be also able to see the login log which shows the user ID, their username, email, IP address, and time a user spends being logged in.
Hope this tut will be useful for you. Thanks for staying with us!