If you run a business website or an eCommerce site, then adding a live chat to your web-page will be a compulsory thing. By adding a chat to your website you show your customers that you appreciate their interest and you are always ready to help them with any question they have concerning your product or service.
Why adding a live chat to your website?
There are a few main reasons for adding a live chat to your web-page. Here are some of them:
1. Customer Satisfaction
Every time a customer enters your website they want to get an immediate resolution for their problem if they want to:
- find a product they want to buy;
- decide which product from the available inventory is better to select;
- learn the pros and cons of a definite product, its specifications;
- search for “how it works” guide on a definite service;
- get immediate assistance with product use;
- get an instant reply for the pre-sales question;
etc.
So if the live chat is available on your website, you get the chance to get better customer satisfaction results by resolving the most important questions of your customers as soon as possible.
2. Conversion
We often speak about conversion in our posts, but let’s define its exact meaning to make it clear. So, what is a conversion?
Every day you get a certain amount of visitors on your website, some of them just browse a few pages and then leave after a few minutes, others stay for longer to read a post or learn the characteristics of a product to decide whether to buy it, and others visit your site to fulfill a definite aim, for instance, buy a product.
So when a visitor comes to your website and completes the desired task (reaches the desired aim), this is called a conversion. So, the percentage of total visitors that convert (a number of visitors that complete their task in relation to a number of all visitors per month) is called a conversion rate.
If the aim of your visitor is to find out the required information while talking with the support agent in chat, this visitor stays on your web-page for longer and this visitor converts. If a visitor leaves your website being satisfied with your customer support service, he or she is surely going to come back again to buy a product or even become your repeat visitor and, as a result, a loyal customer.
What is the main problem to resolve before launching a live chat on your website?
If adding a live chat to your website is pretty easy (we will confirm this with a step-by-step guide below), then finding professional customer support agents to greet the visitors and have a conversation with the customers – is much harder.
There are multiple companies out there offering well-trained customer support and sales agents you can hire for an affordable fee.
We will share a few resources where you will be able to find professional customer support agents for your specific needs.
After you decide whether to hire an outsourcing customer service agent or find experts to work within your team, it’s the very time to add a live chat to your web-page.
So how to integrate a live chat on your website?
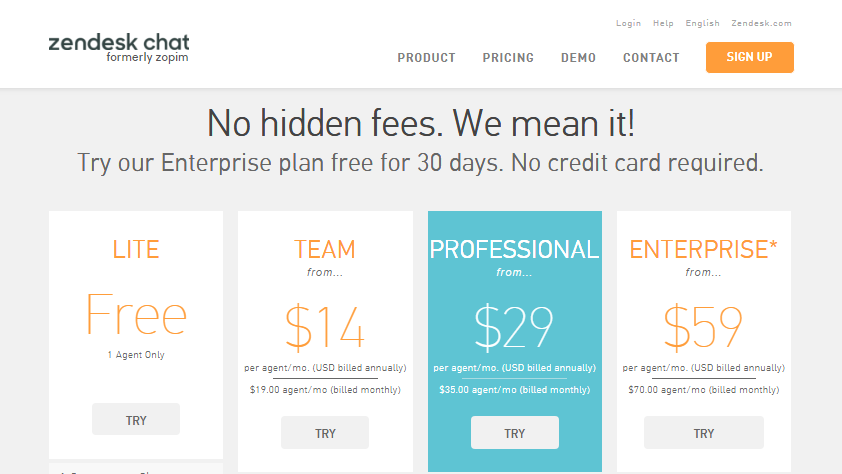
For our purpose, we choose a Zendesk chat offering an easy-to-integrate and use live chat solution compatible both with WordPress and some other popular platforms.

This service allows to sign up for a 30 days trial, so we are going to do it with pleasure. If you like the chat after the trial, you can select any of the available pricing plans or opt for a Lite free plan to go on.
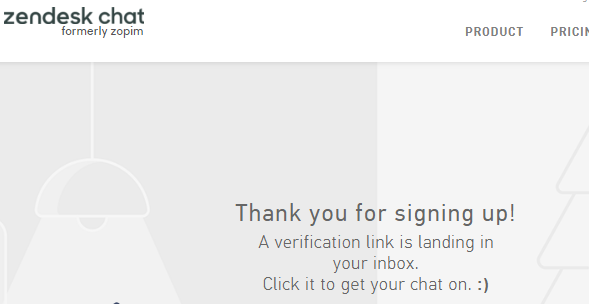
We just put the name and working email into the correspondent fields on the homepage, and the confirmation link is now sent to the inbox.
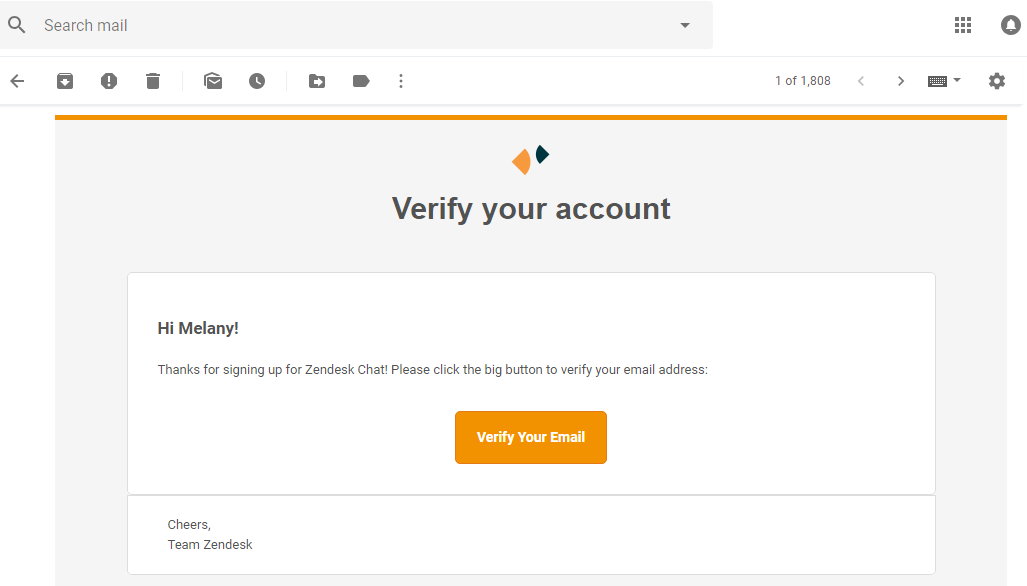
We click the Verify Your Email button in the email box and we are now redirected to the registration page of Zendesk chat.
Here it’s required to fill out a couple of fields in the sign-up form and then click the Save and Go to Dashboard button.

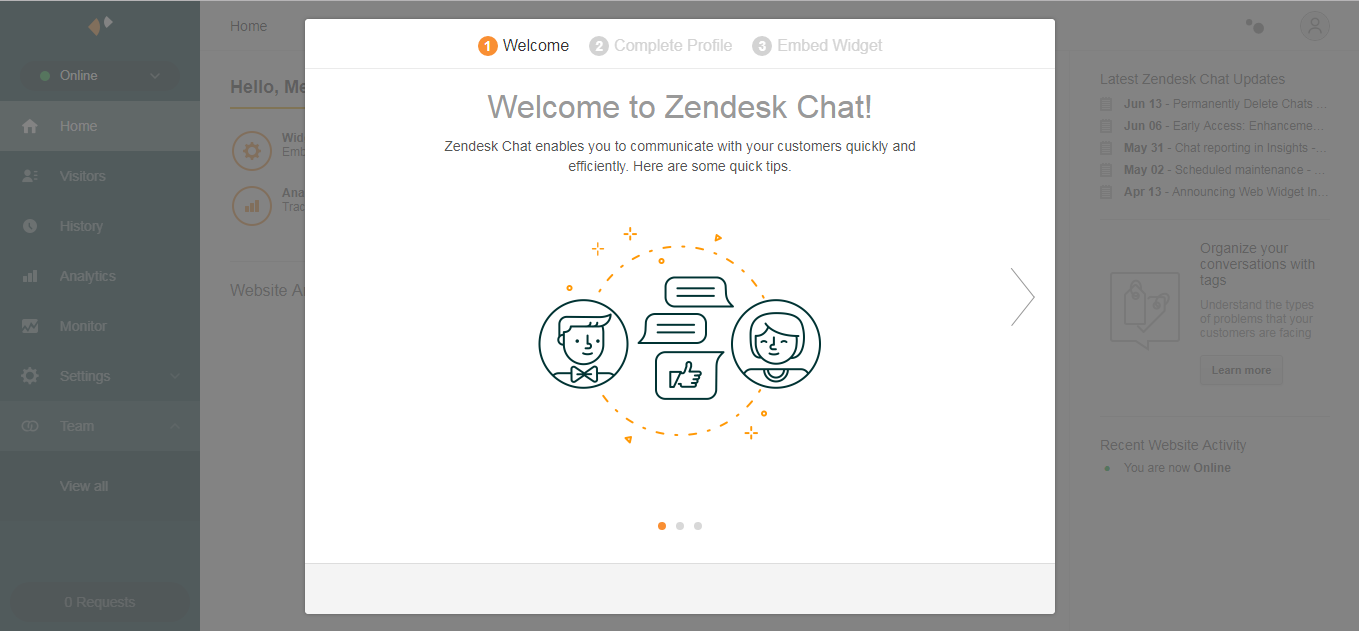
The welcome message will be the first thing you see when entering the dashboard.
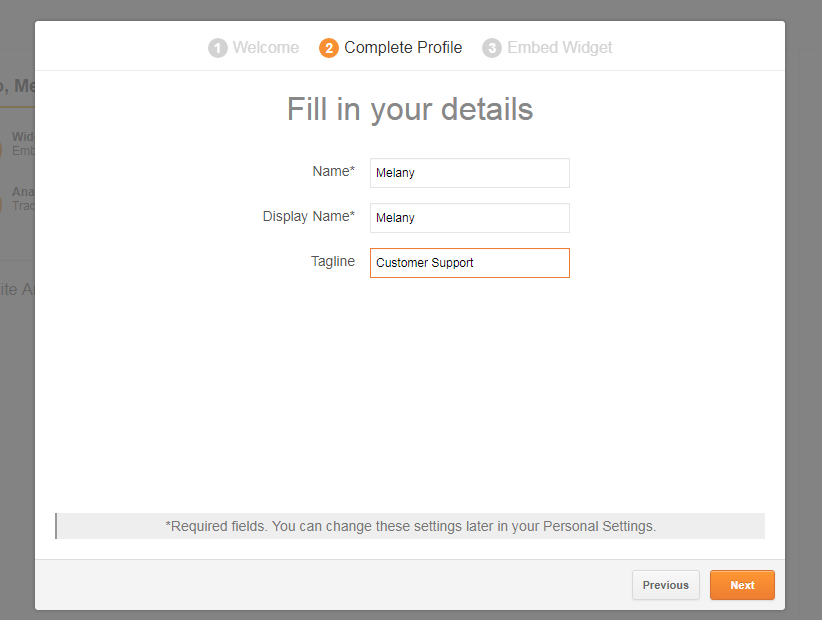
The next step is completing your profile: here you should enter your name, a display name and a tagline. The tagline may sound as “Chat with Us!”, “We are Online!”, etc. In our turn, we just use the default name – Customer Support.
The next step includes the embed code to integrate the chat widget into your website.
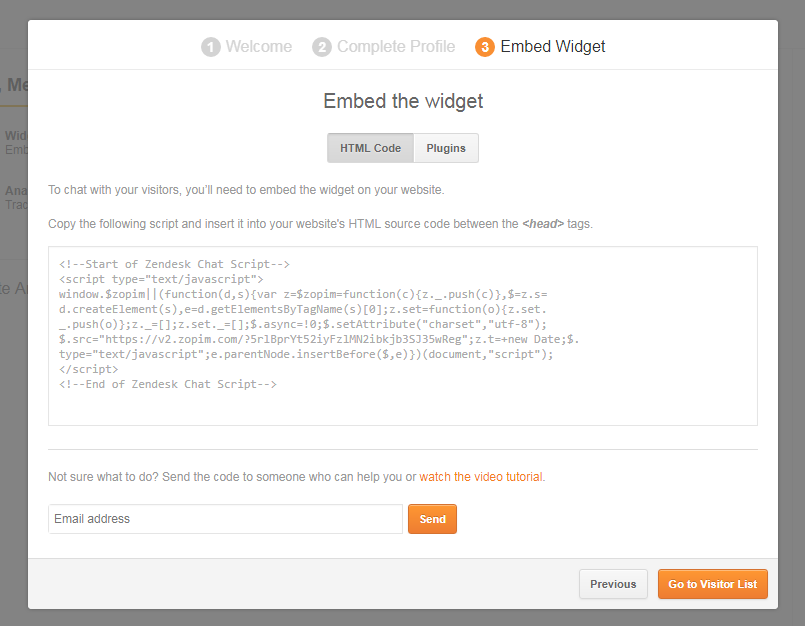
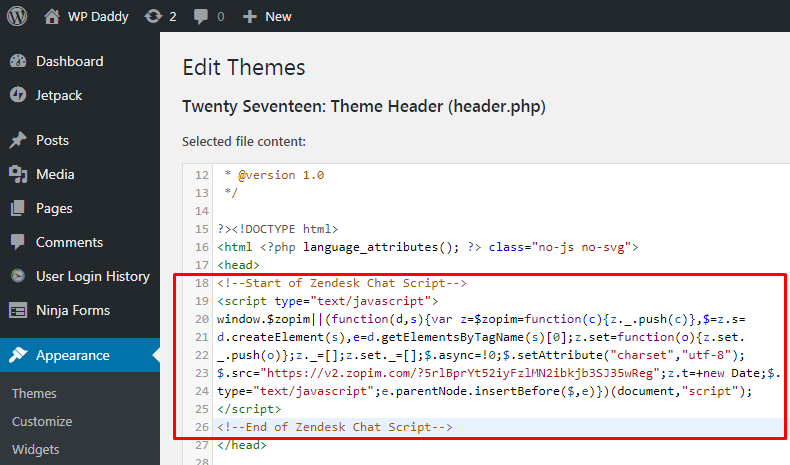
So just copy this script to the clipboard, go to the Appearance -> Editor menu in your WordPress admin dashboard, find the Theme Header file in the Theme Files section and insert the script between the < head > tags, see the snapshot below. After that, click the Update File button.
Now you can go to your website and refresh the page to see the live chat available for conversation with your users and future customers.
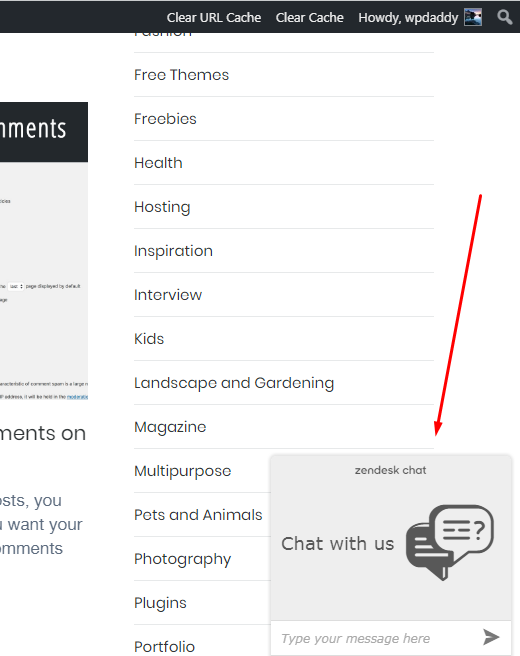
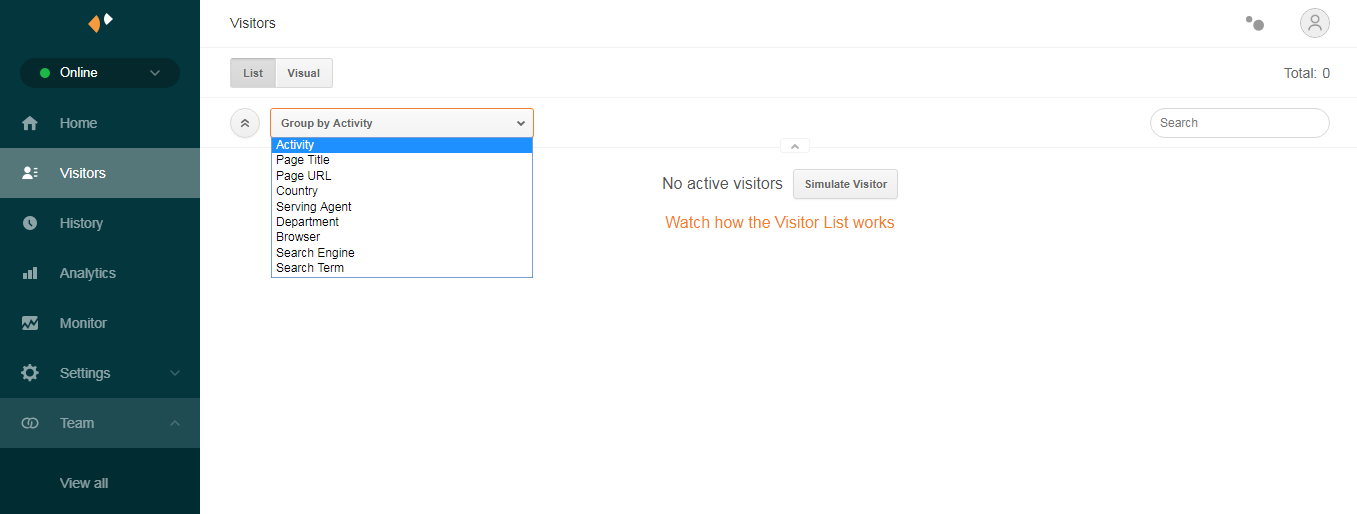
You can also monitor your chat visitors activity in the Zendesk dashboard.
That’s all! Hope this tut was helpful for you.