In one of our recent posts on starting an online store, we’ve been speaking on how to purchase, activate and install the SSL certificate for your website.
Usually, if you want to get the SSL certificate, you have to generate a CSR and submit it to the Certificate Authority. The CSR (Certificate Signing Request) includes such information as your organization name, common name (domain name), locality, and country.
Except for the domain name and additional contact information, a CSR contains a public key and it is generated together with the private key.
Today we will unveil the main steps on generating a private key and a CSR using the OpenSSL software and a command-line tool. In addition, we will speak about creating self-signed certificates.
Why SSL is required today?
If you’ve got the SSL certificate installed, your website address starts from https instead of HTTP, so your website is indicated as a secure one. This means your SSL ensures secure connections between a user’s browser and a web server.
One of the latest Google updates called Chrome Security Warnings (July 24, 2018) was the reason for Chrome to start marking all HTTP websites as insecure ones, so if you don’t want to lose your traffic, moving to https is compulsory.
Generating CSR, Private and Public Keys by Your Own
For our purpose, we will use the OpenSSL software developed by the OpenSSL Project to use in the OpenSSL Toolkit.
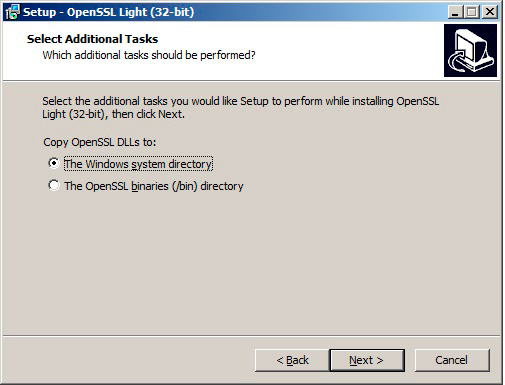
When installing the app, you’ll be offered to either select your system directory or OpenSSL binaries directory (/bin). First, choose the system directory when installing the software and then you’ll have to replace your OpenSSL directory with the /bin one. This is required to run the command for generating the CSR and keys.
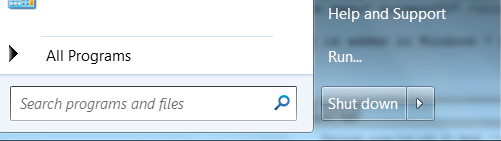
So after OpenSSL has been installed restart your computer. If you use Windows, click Start -> Run and type CMD in the Open box and press Enter. The command-line tool window will appear.
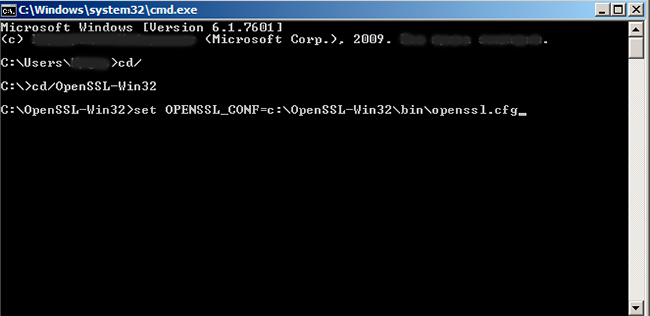
Now you should change your default directory into /bin.
Insert cd/ and press Enter, and then insert this command to change the directory:
set OPENSSL_CONF=c:OpenSSL-Win…binopenssl.cfg
(indicate either 32 or 64 file system instead of ellipsis after “Win” in the command)
After that, restart the computer.
Now let’s see how to generate a CSR to proceed to certificate enrollment.
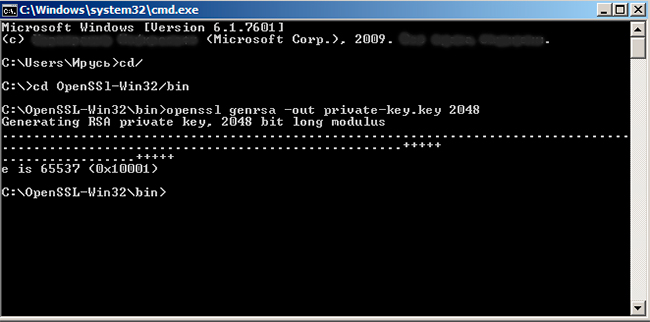
Please open your command line tool again clicking the CMD in your Start -> Run Open box field and click cd/ -> press Enter -> cd OpenSSL-Win32(or 64)/bin -> press Enter.
Now copy and paste the following commands one at a time:
openssl genrsa -out private-key.key 2048 -> press Enter ->
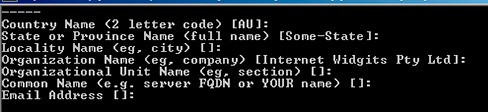
openssl req -new -key private-key.key -out csr.txt -> press Enter ->
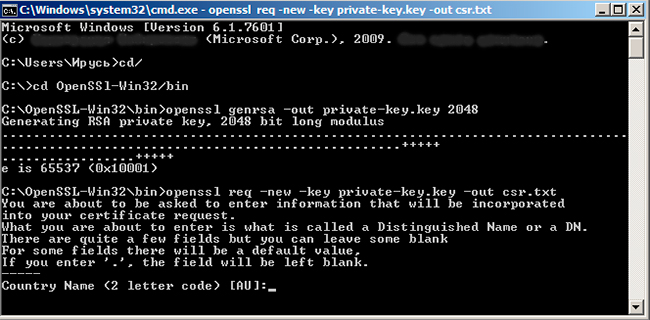
After pressing Enter here, you’ll have to insert the following data: country name, state or province name, locality name, organization name, organization unit name, common name and email address. (You don’t have to enter the email address when generating the CSR). -> Press Enter, and you’ll be asked to insert a password and optional company name – this is not required when you generate a CSR.
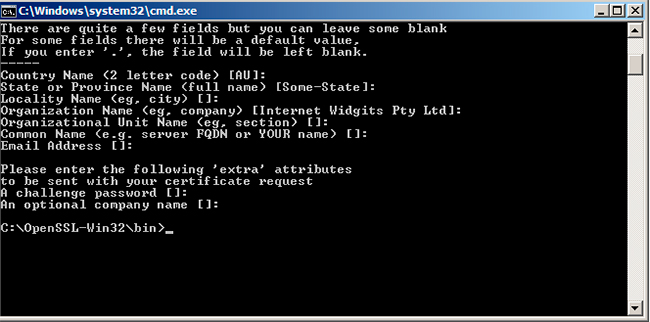
A public/private key pair has been created now. The private key is stored locally on your PC and it will be used for decryption. The public key is located in the form of a CSR, and it will be used to enroll a certificate.
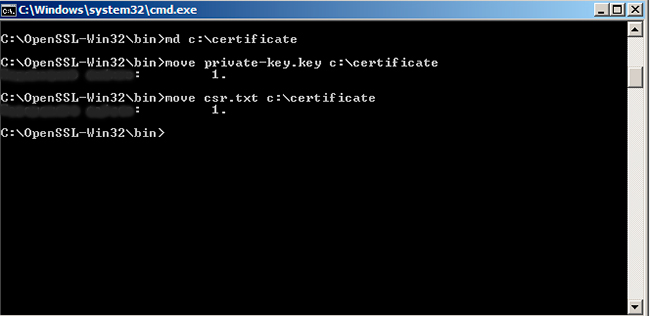
Now you should move the private key and CSR from your PC to a centralized directory. For that, type the following command and then press Enter.
md c:certificate
move private-key.key c:certificate
move csr.txt c:certificate
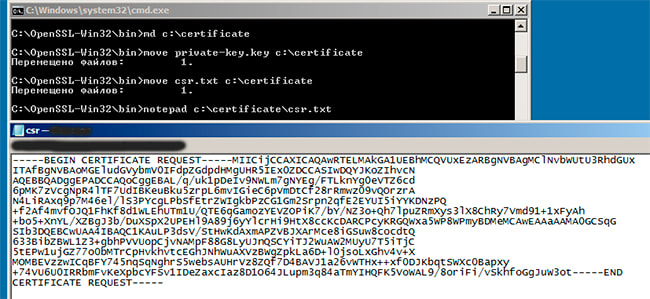
Now your CSR is ready. To open its file with Notepad, you can also use the command-line tool. Utilize the following command and then press Enter:
notepad c:certificatecsr.txt
You will have the notepad with your CSR open, so you can copy it and then use it to get your SSL certificate.
Another way to generate private and public keys is as follows:
Start -> Run –> CMD -> press Enter ->
-> cd/ -> press Enter ->
-> cd openssl/bin -> press Enter ->
-> openssl genrsa -out privatekey.pem 1024
(PEM is a Privacy Enhanced Mail and it is an X.509 encoding format utilized for security certificates. In other words, X.509 is a standard which defines the format of public-key certificates.). The genrsa command generates a private key. ->
-> openssl req -new -x509 -key privatekey.pem -out publickey.cer -days 1825
This command creates a X509 certificate containing your public key. Here you will be also asked to enter your company credentials, so if you’d like to skip this step, you can just press Enter. ->
-> openssl pkcs12 -export -out public_privatekey.pfx -inkey privatekey.pem -in publickey.cer
This command will export your X509 certificate and a private key to a pfx file. It is required if your wrapper library doesn’t use PEM file for signing requests. After this command, you will be asked to enter the password.

Now your private and public keys are generated.
Self-Signed Certificates
Actually, creating and using a self-signed certificate is a risk for a website owner because such a website is usually a target for hacker attacks. That’s why we won’t make any custom instructions on how to create such certificates for your site, however, you can easily find them on the Web.
For instance, someone offers to use some apps for Windows. Others still use the command-line tool, and someone installs OpenSSL to also make some magic through the command-line tool.
If you realize all the risks but your desire to create a self-signed certificate is still strong enough, you can also try to use some automatic self-signed certificate generators.
Just make sure you accept all the possible risks and you are ready to be responsible for possible disastrous results. Responsibility is only yours, so good luck!