
Our new small review is devoted to WP Job Manager Field Editor plugin which is going to become a good solution for any directory website or a job board. The purpose of this plugin is to allow you fully customize all form fields for WP Job Manager as well as create new custom fields if required.
So let’s install and activate the plugin to observe its main advantages.
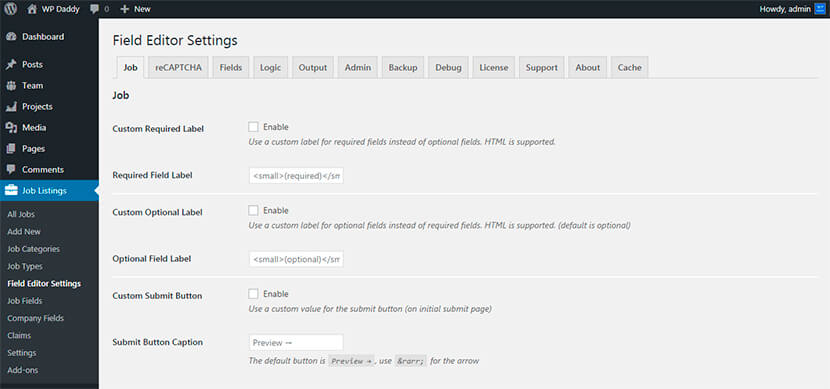
Once the plugin is active, you can go to Job Listings -> Field Editor Settings and see how you can manage the work of this plugin and what functions it can provide your directory website with. Initially, the features of this plugin allow to add, edit or disable any default or custom fields. But you can also manage its reCaptcha, output, logic, admin, and other settings. Just review the settings to see what you can do.
How to Create a Custom Field?
Go to Job Listings -> Job Fields to Add Job Field or Edit one of the existing ones up to your needs.
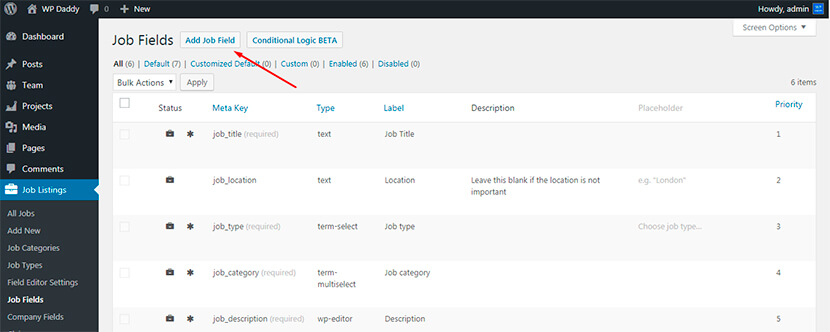
So let’s create a field:
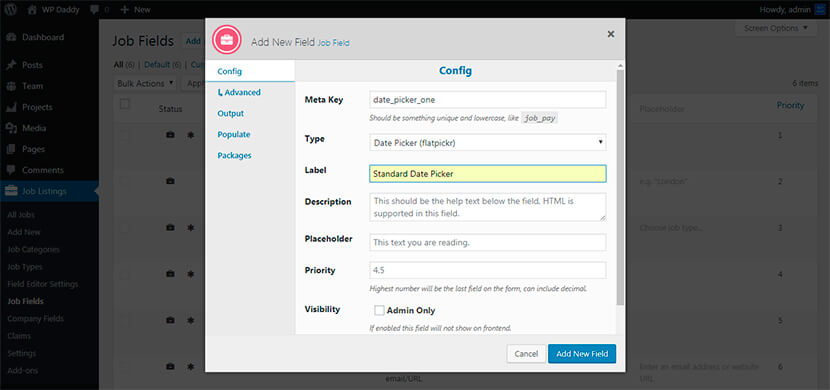
Click Add Job Field button, here you will see the config section. You can select a field type from the available drop-down list.
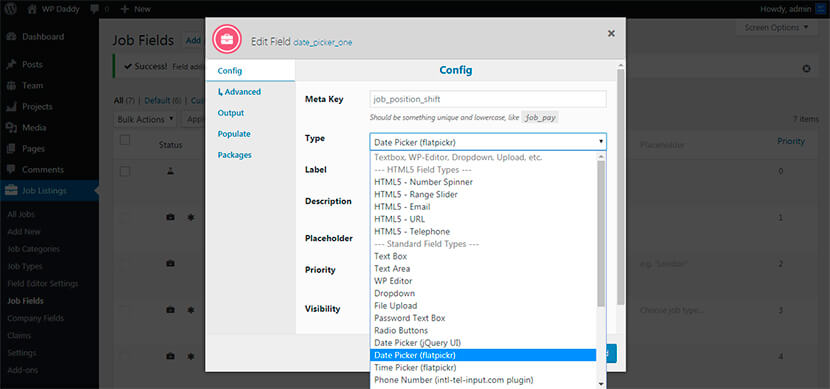
Let’s select a Date Picker. After selecting the type, choose the Meta Key (it should be something unique and lower case), and then type in the Label you want.
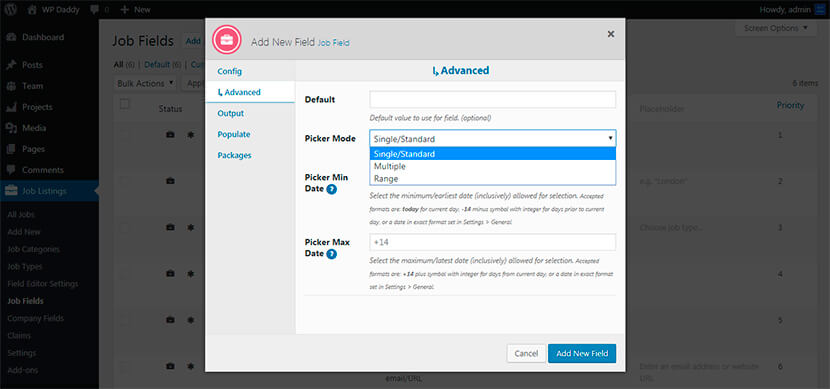
If you go to Advanced section in the same window, you’ll be able to select a Picker Mode including a Single or Standard (which can be a basic date picker) one, Multiple (to select multiple dates), and Range (to select a range or dates from…to).
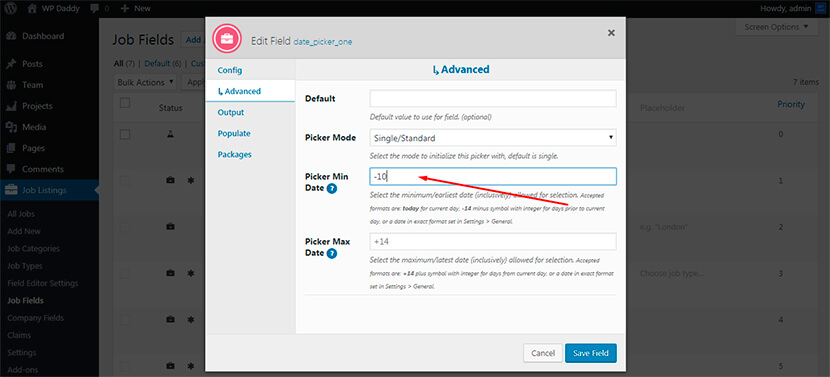
In the Advanced section you’ll be also able to select the Minimal and Max date allowed for selection. You can leave the minimal date as Today or, for instance, if you want to set 5 or 10 or any other amount of days previous to today, you can specify a number like -5, -10, etc.
If you want to select up to 10, 14 or any other amount of days from the date of listing, set the maximum date allowed for selection like +10, +14, etc.
If you want to link to the submit listing page from another page, go to Populate section in the Edit Field window and check the URL Populate option. Here you can also check the Auto Populate option if you need to. A small explanation is available under every option you work with, so read it to understand what the option is for.

More Abilities of the Plugin
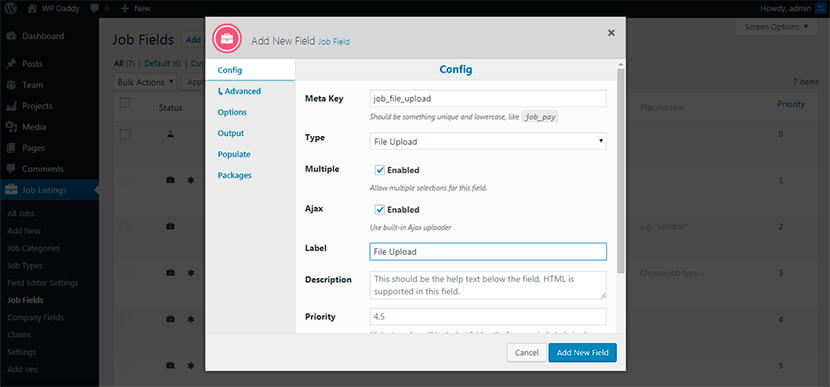
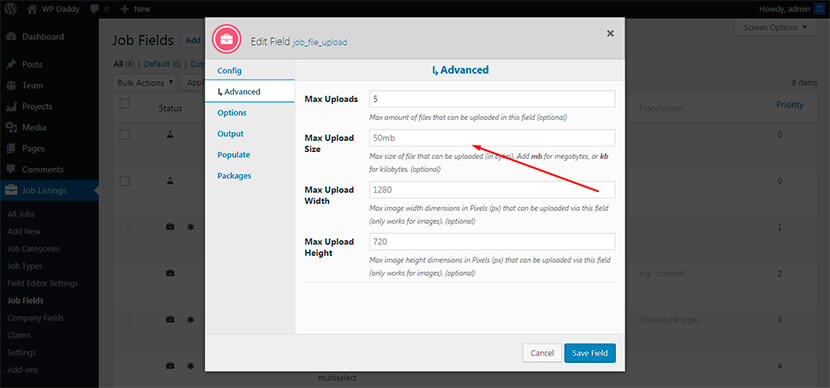
There are some other abilities of the plugin you can use. Let’s try to create a File Upload field type.
Click the Add Job Field button, select the File Upload type, create the Meta Key and the Label, and then go to Advanced section to set the Max number of file uploads.
This functionality allows to limit the amount of uploads as per your needs as well as set the maximum upload size.
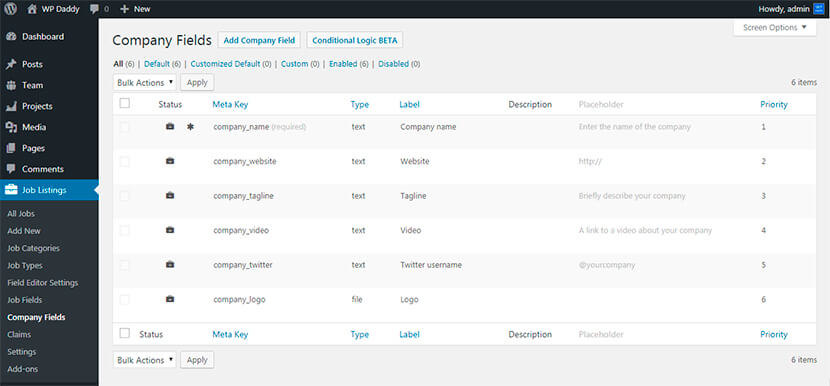
The plugin also includes the ability to add and manage Company Fields with ease. All is done as easily as with adding a custom field and editing its preferences.
This plugin is constantly developed, so new features, bug fixes, and updates are added on a regular basis.


Thanks for posting this great tutorial, feel free to open a support ticket with me referencing this tutorial, and i\’ll be happy to provide you with discounts and maybe even a copy of other plugins, just for writing these tutorials 🙂
Hello, Myles. We\’ll of course get in touch with you as soon as we resolve to create another tut for all of the interested folks. Thanks for your offer.