Most of the currently available free and premium WordPress themes support background images. If this feature is supported, you can easily add a custom background image to your website via Live Customizer, if not, there are more ways to do it. For instance, you can either install a plugin or edit CSS to gift more possibilities to your active theme and your website.
In this post, we will speak of three ways to change your default blank background into a more attractive custom background image. You will see it is very easy, and even a newbie can do it without much effort. So let’s start!
Method 1 – WordPress Live Customizer
Go to Appearance -> Customize to launch a WP theme customizer. You will find the Background Image option in the customizer menu.
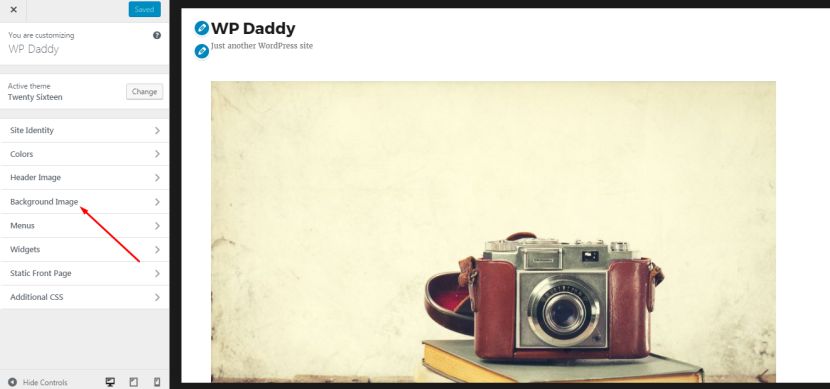
Click it and you will see the Select Image button right there.
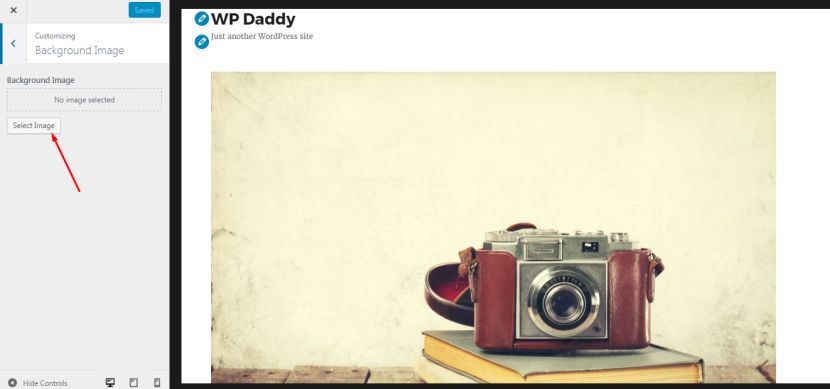
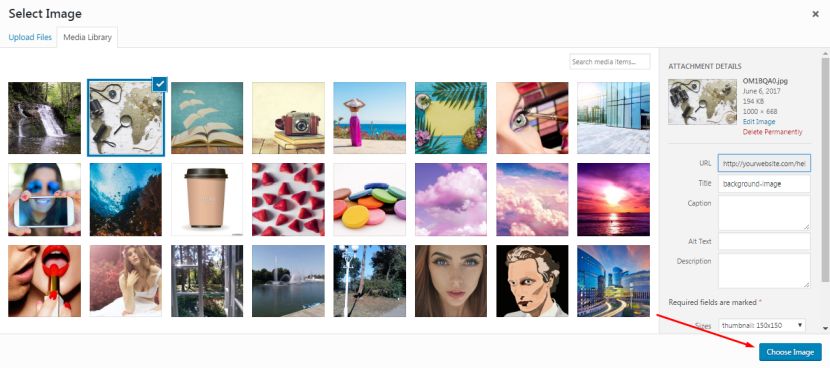
Just click the button to open the media library and choose any image you want to set as your website’s background.
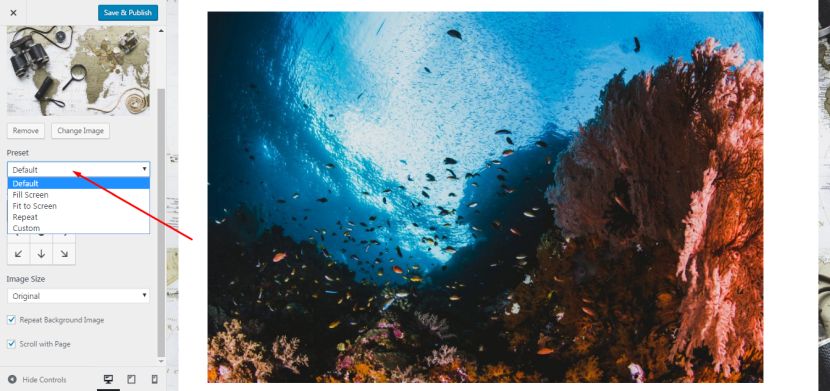
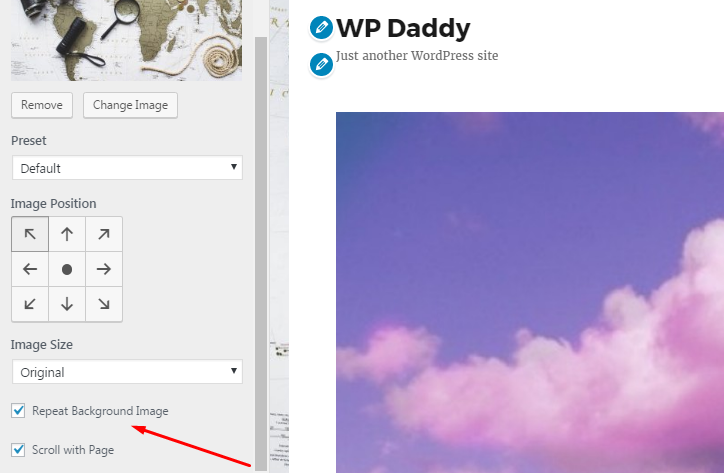
Select the image Preset from the default, fullscreen, fit to screen, repeat, or custom types.
You will be able to adjust the Image Position, select the Image Size among original, fit to screen, and full-screen variants.
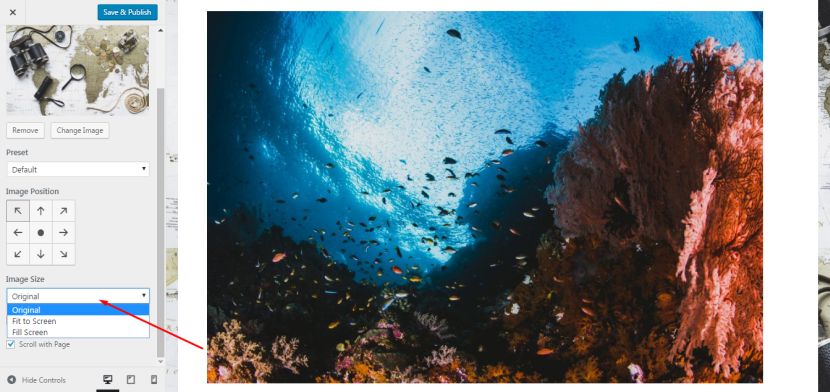
You will be able to decide either to scroll your image with the page or not, and either to repeat the background image or not.
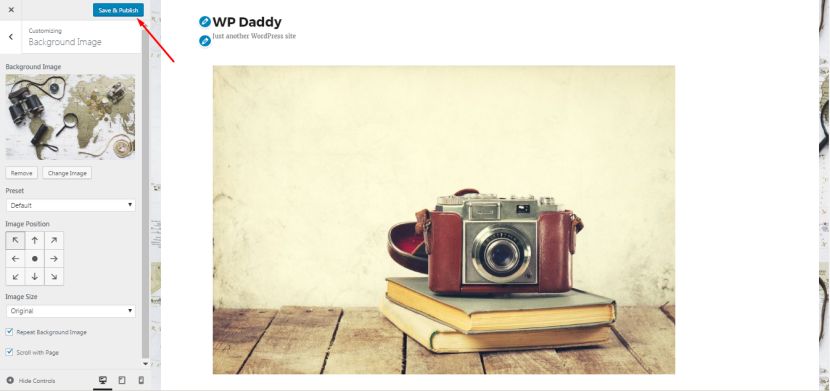
After you are done, click the Save & Publish button to save your changes. Visit your website to see the changes in action.
Method 2 – Use a WordPress Plugin
If your WordPress theme doesn’t support a custom background image, you can install a plugin to expand its functionality. Start by installing a Simple Fullscreen Background Image plugin. It is installed very easily, but if you need more details, please see the installation guide here.
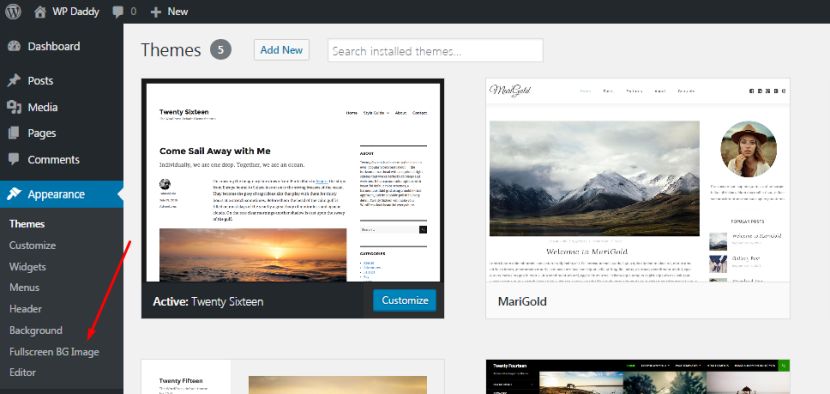
Once the plugin is installed and activated, you will see it appeared in the Appearance menu.
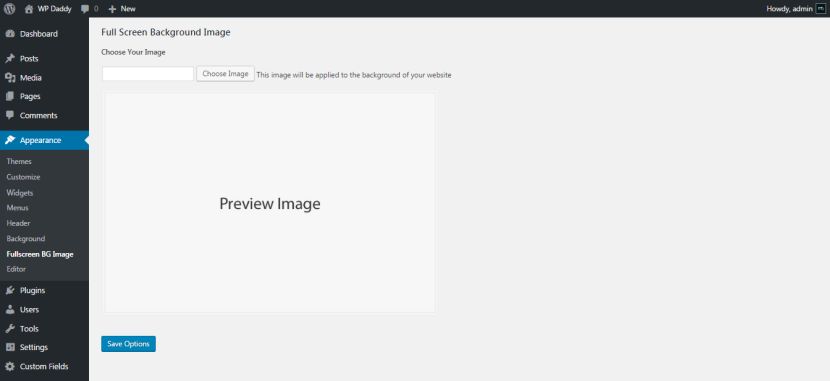
You will just have to choose your image from your media library, preview it and save your options.
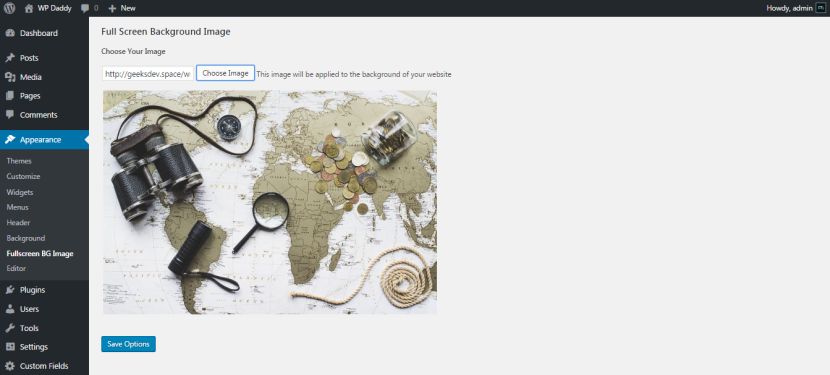
After that, you can visit your site and see the background image live.
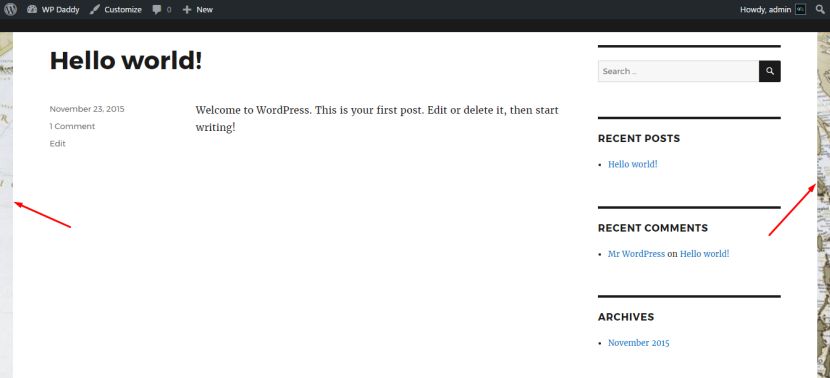
You can also install any premium plugin and change the background images for different posts, pages, categories, and other sections of your website.
Method 3 – Add Custom CSS
The third way of adding a custom background requires some little CSS knowledge. Or you can just follow our guide and make it easily yourself.
By default, WordPress adds a few CSS classes to different HTML elements throughout your WordPress website. You can add your custom CSS to change background images for different posts, pages, categories, and more.
For instance, if you’ve got an Images and Photos category on your website, WordPress will automatically add the following CSS classes to the body tag when someone views this certain category.
<body class=”archive category category-images-and-photos category-4″>
There are different inspection tools that help to exactly see which classes are added to the body tag. You can use either category-images-and-photos or category-4 CSS class to style just this category page differently.
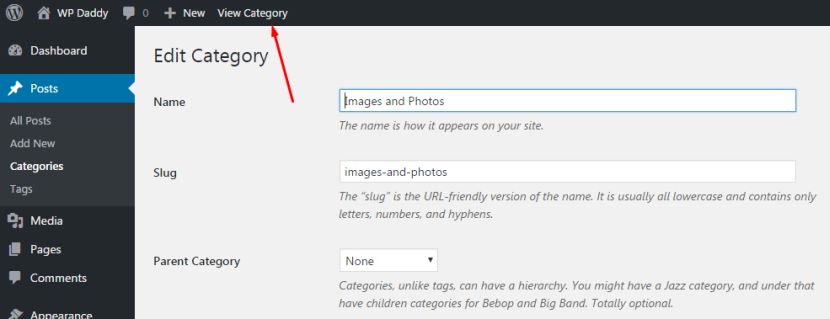
Let’s add a custom background image to a category archive page. This category is called Images and Photos.
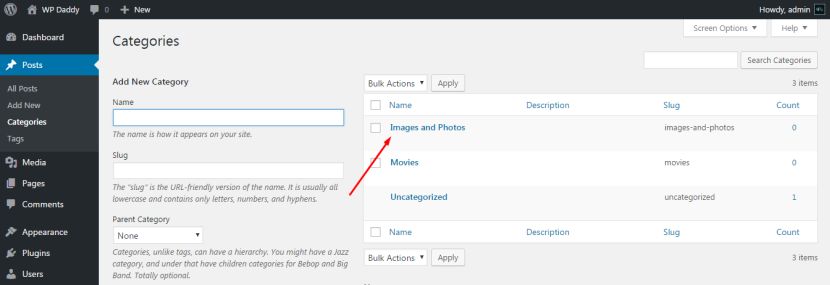
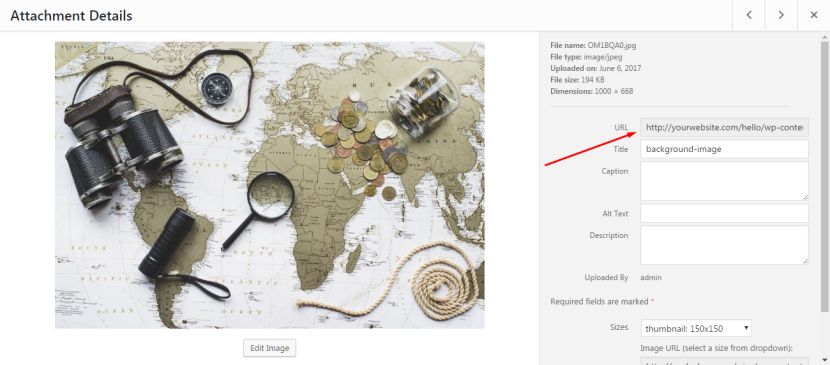
You can choose an image from your media library and copy its URL.
Go to Appearance -> Customize and choose the Additional CSS option.
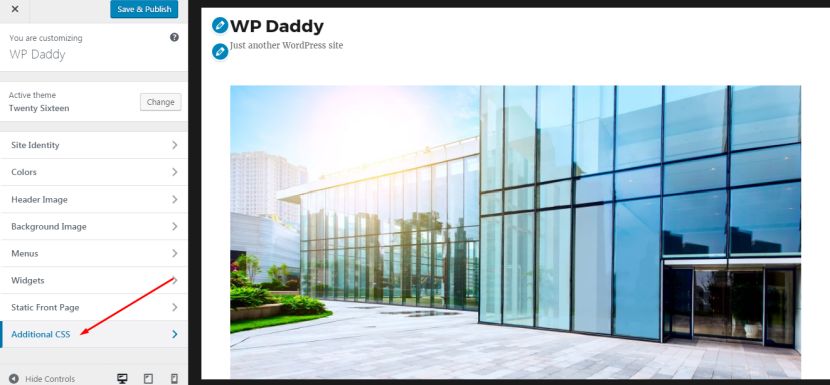
Then put the following custom CSS into the necessary field. Just replace this default category with your own one and add your image URL. See the snapshot.
body.category-images-and-photos {
background-image: url(“http://yourwebsite.com/hello/wp-content/uploads/2017/07/background-image.jpg”);
background-position: center center;
background-size: cover;
background-repeat: no-repeat;
background-attachment: fixed;
}
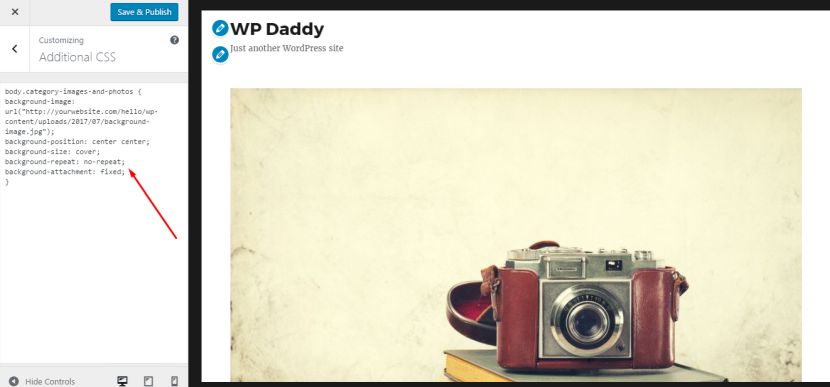
You can also add custom backgrounds to different posts and pages. WordPress adds a CSS class with the post or page ID in the body tag. Use the same CSS code just replacing .category-image-and-photos with the post-specific CSS class.
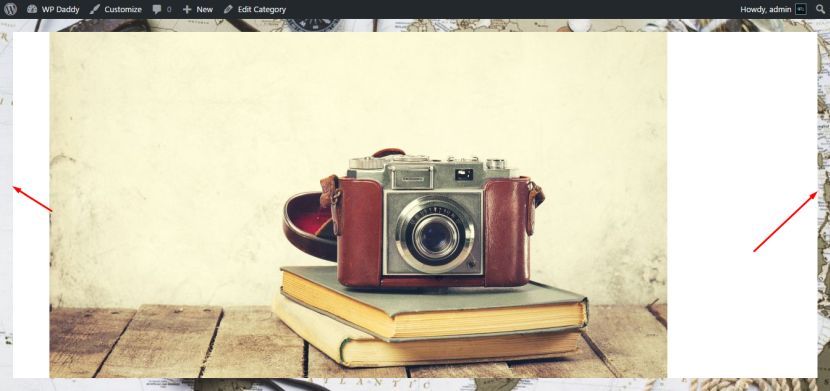
Click the Save & Publish button after you’ve added the custom CSS and then view the category to see the background live.
If there are any suggestions or concerns you’d like to share, please leave your opinion in the comments. Thanks!
