Affiliate marketing is a perfect way to earn extra money for your needs and desires. In addition, this is one of the greatest methods of driving traffic to your website and developing a profitable online business.
Any affiliate program supposes that you follow such steps as:
- Sign up
- Receive approval
- Get an affiliate link
- Place an affiliate link on your site
- Wait until a customer makes a purchase through one of your links
- Get the commission
As you see, all is easy, but first, you should create a website and attract enough target audience to visit your web-page on a regular basis.
Well, today I will speak of the two most popular affiliate programs provided by Amazon and eBay. Hope this small guide will help you take your chance to start your small business on the Web.
What is Amazon Associates? How to get started?
This is the official page of the Amazon Associates program.
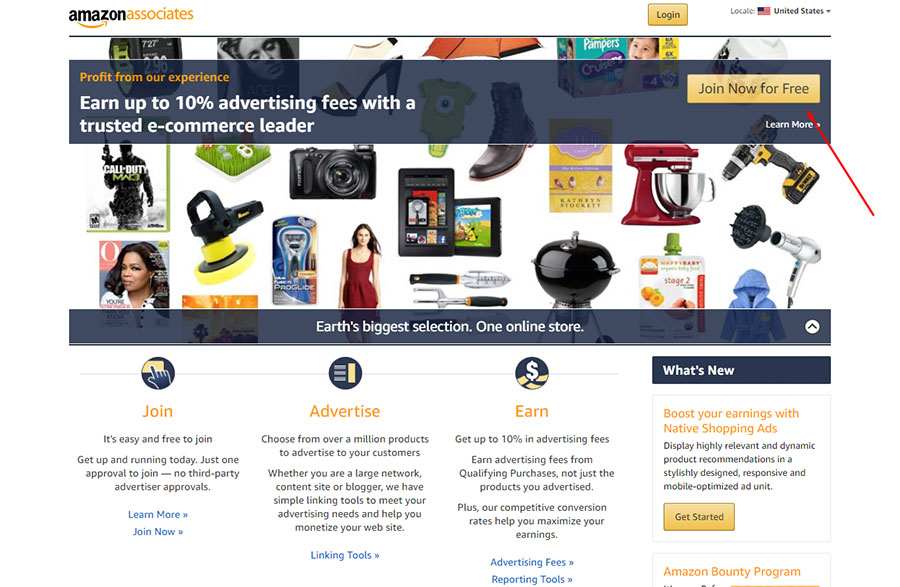
Here you can learn more on how to join, advertise and earn with the help of Amazon and then click the ‘Join Now for Free’ button to register your account.
Note:
Before you start, you should have a live website, a blog or social media channel pre-populated with content. It would be better if your site is known among your target users and has enough visitors. It’s possible to start collaborating with Amazon only if this condition is observed.
I recommend creating your website with WordPress + WooCommerce to start earning. Please read this guide on how to create an online store with WordPress and browse this tut to find the information on how to install and set up a WooCommerce online shopping plugin to sell your products on the Web.
So, let’s start!
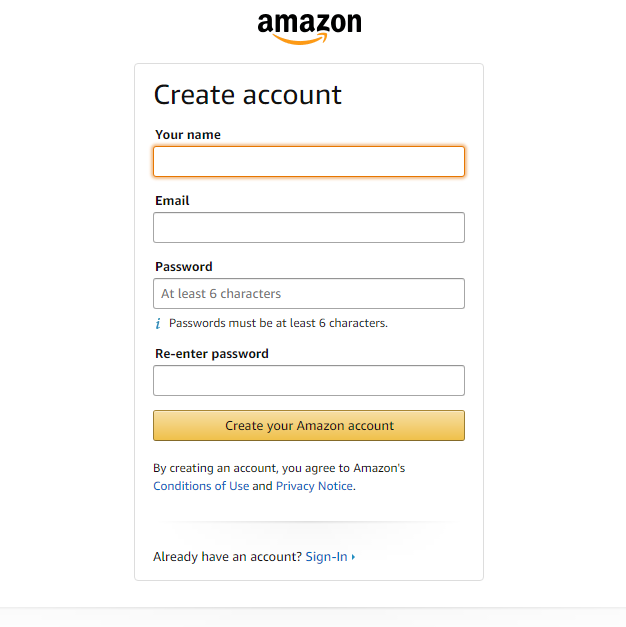
1. Sign Up and Enter Your Account Information
When you get to the ‘Create Account’ page, enter your name, email and password (twice) and then click the ‘Create your Amazon account’ button.
After that, you should insert your account information like name, address and phone number of the payee (you or anyone else who will receive a payment).

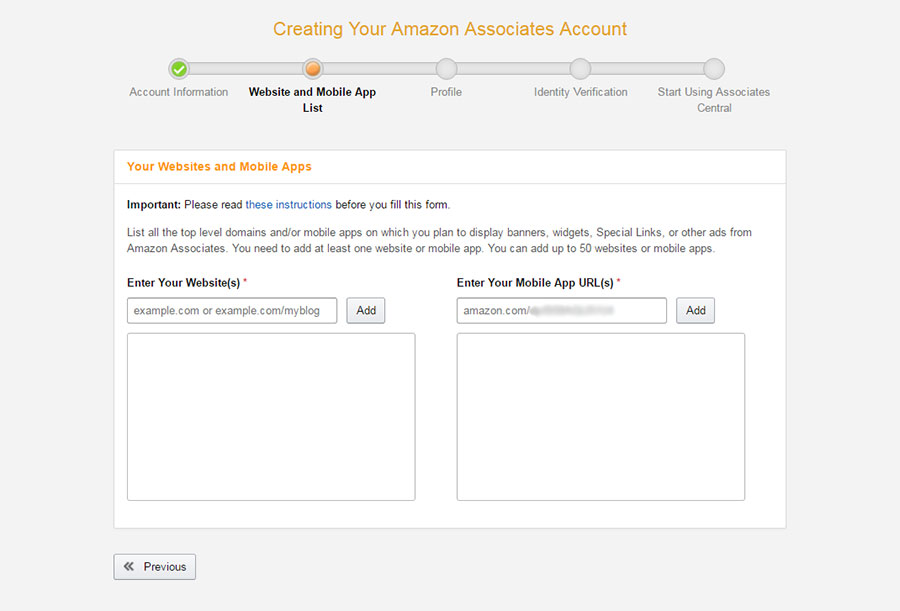
2. Enter Your Website or Mobile App Link
The next step will require inserting the address of your website, social media channel or a mobile app.
3. Choose Your Store ID
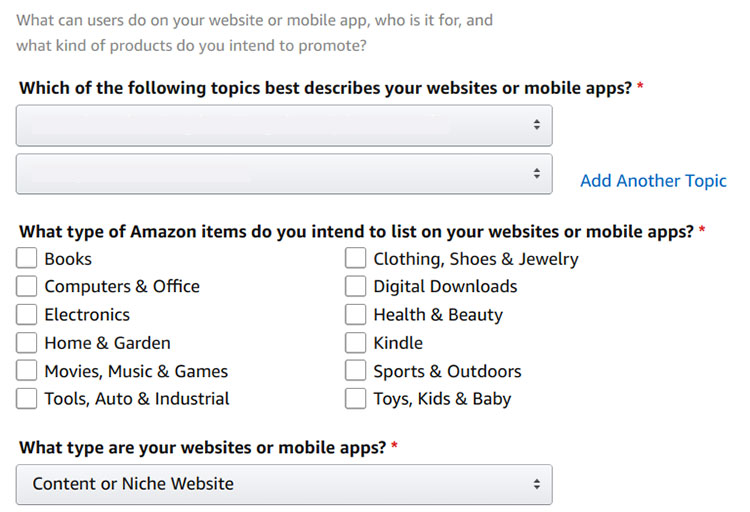
The Profile section will suppose you entering a preferred store ID, you can call it the same as your store domain name or select another one. Speak on what is your website or mobile app about and choose the topics that best describe your site or app.
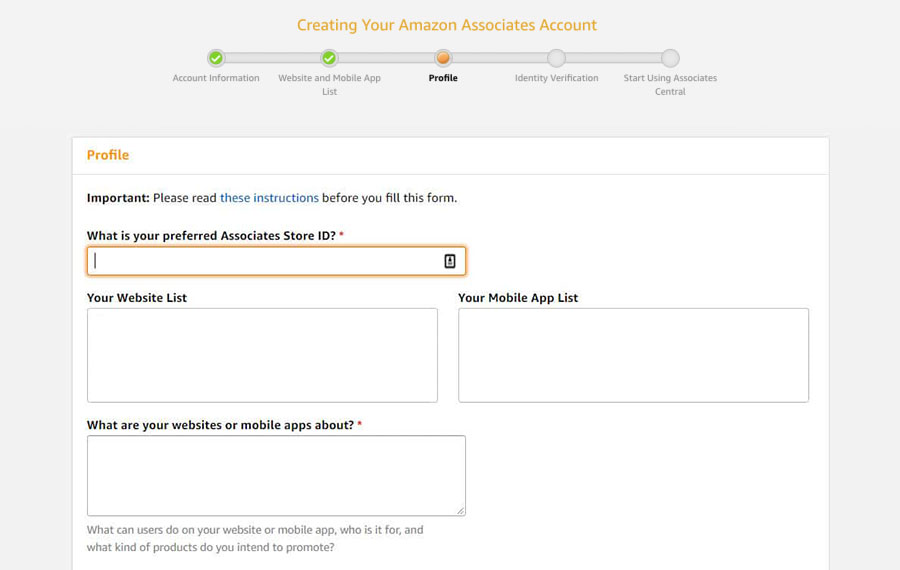
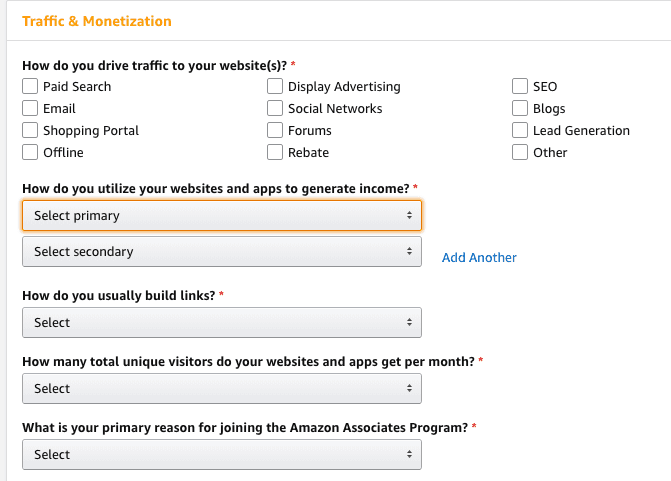
Here you should also check the methods you use to drive traffic to your website, indicate how you utilize your website or app to generate income and provide a total number of your website’s unique visitors per month.
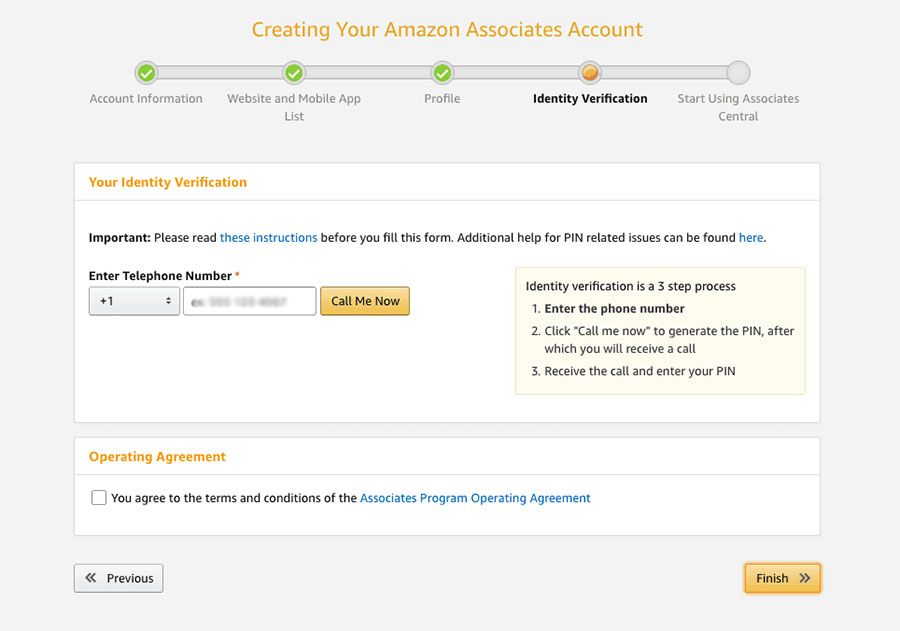
4. Verify Your Identity
Here you should enter your phone number and click the ‘Call Me Now’ button to get the instant call from Amazon. They will give you a short 4-digit code that you will have to put in to get your account approved.
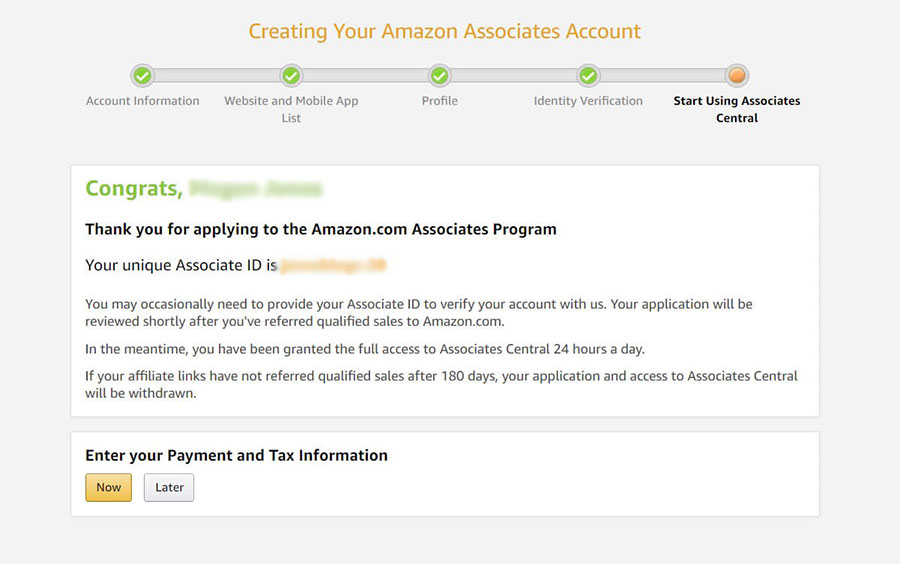
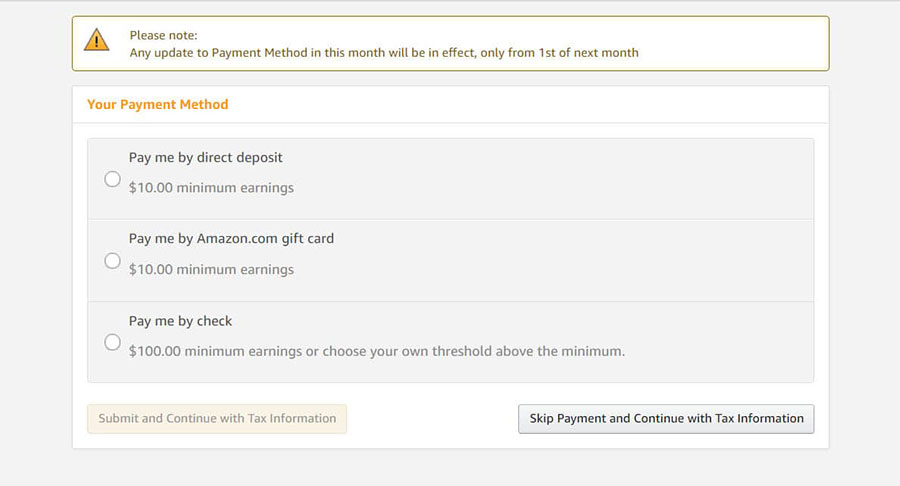
5. Start Using Associates Central (Add Your Payment and Tax Info)
Here is the last step that will ask you either to enter your payment and tax information now or prefer to insert it later and then you can proceed to your dashboard.
6. Create Your Amazon Affiliate Links
When your account creation process is complete, you’ll be sent to your personal Amazon dashboard. Here you’ll be able to see your monthly earnings, total clicks, and more information.
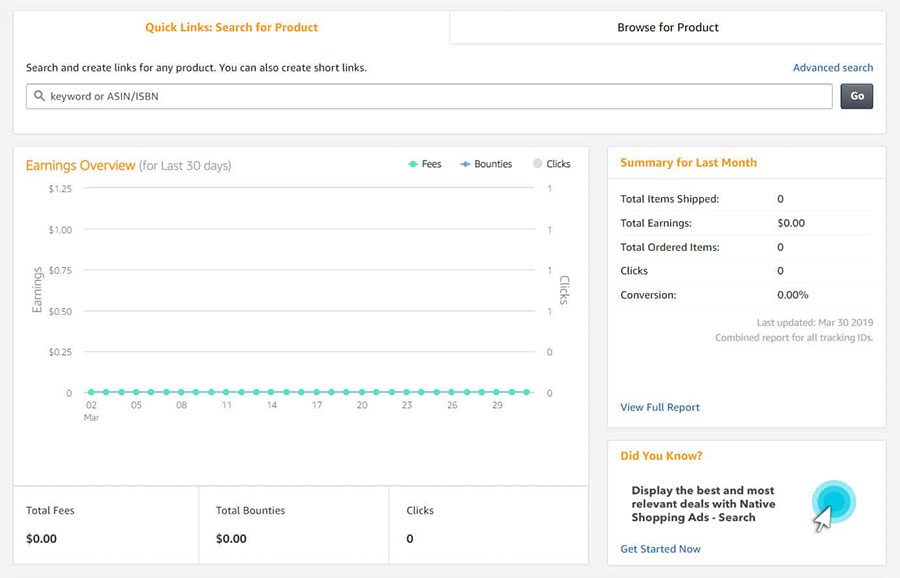
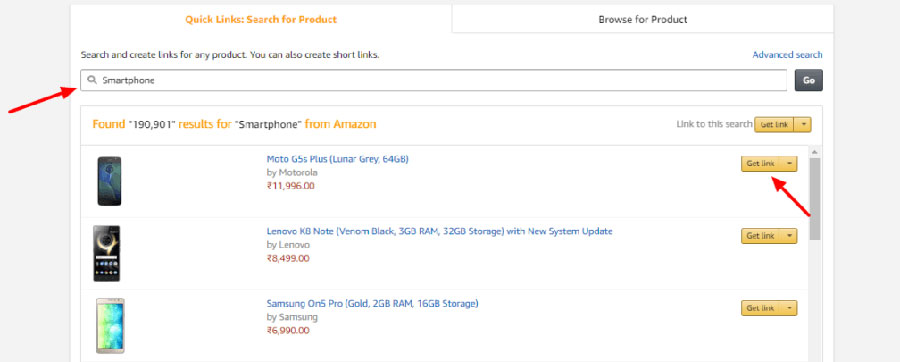
To start creating your affiliate links you can select any of two options which include either ‘Quick Links: Search for Product’ where you can find a specific product by a keyword or
‘Browse for Product” where you can examine a number of categories to find the products that meet your needs the best.
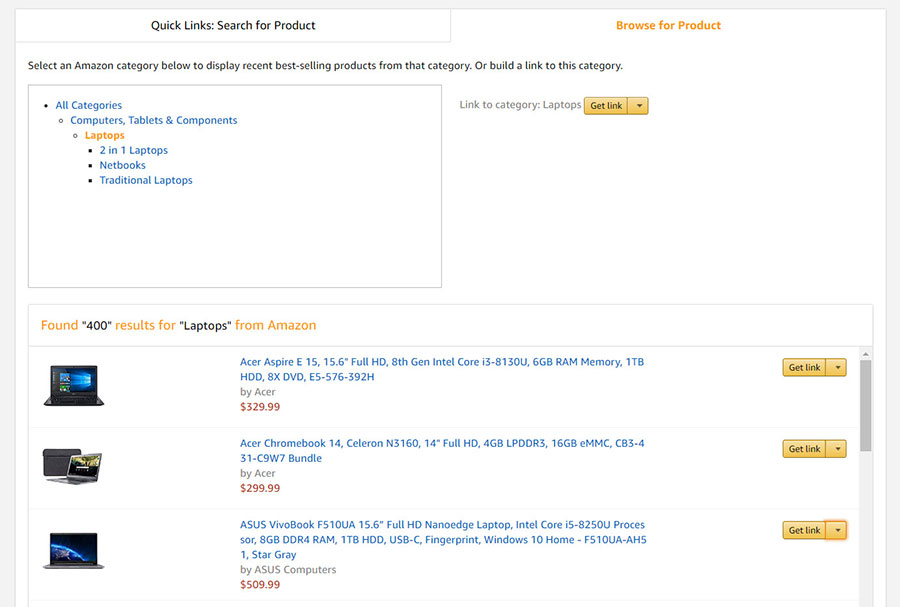
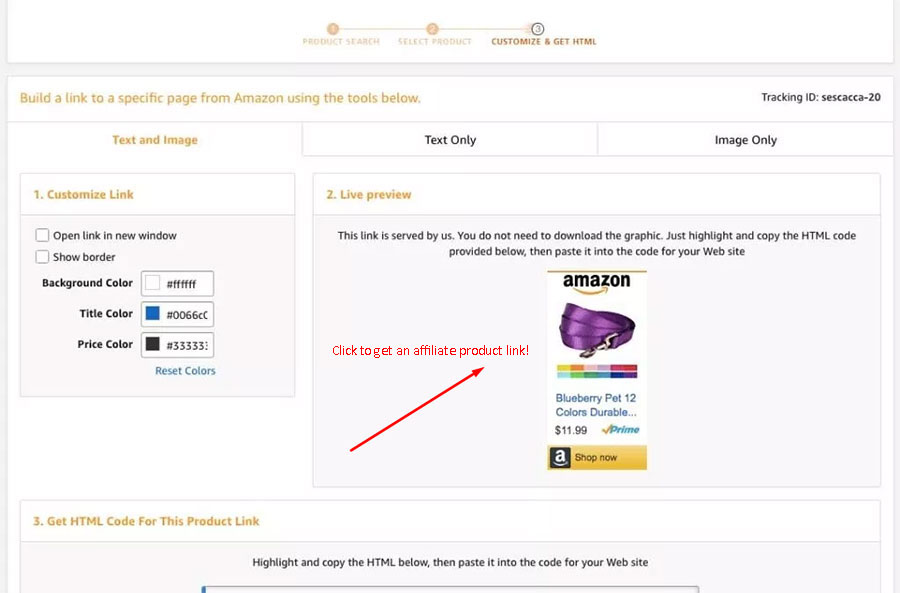
Once you’ve found the required product you want to promote on your website, click the ‘Get Link’ button and now you will get the 3 options to select from:
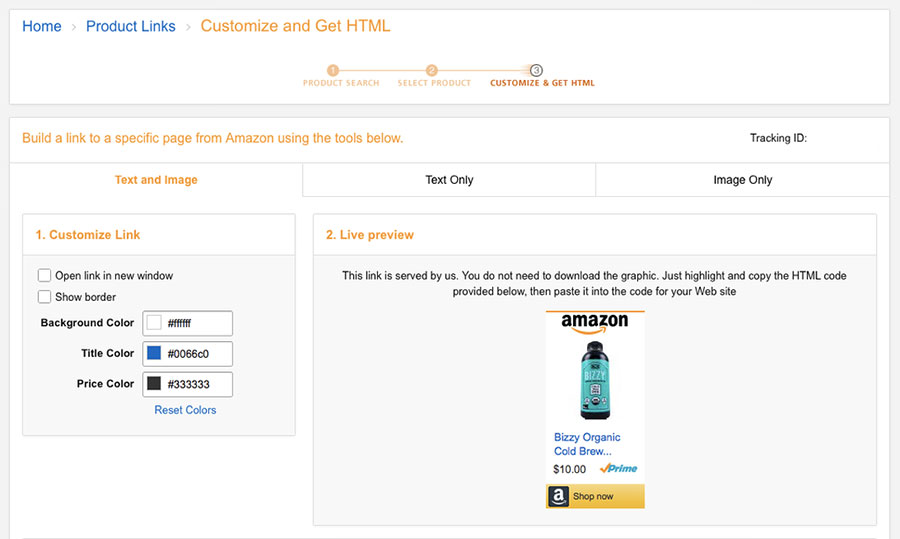
- Text and Image;
- Text Only;
- Image Only;
Text and Image option will allow you to display an image, text and button provided by Amazon.
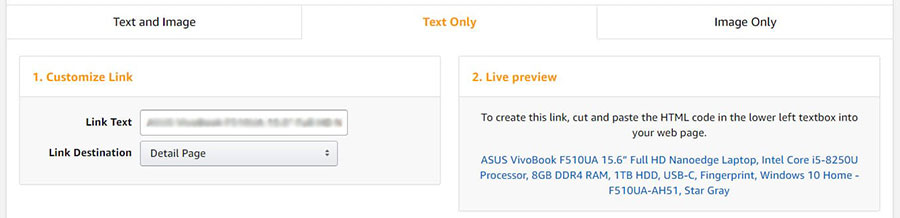
Text Only means that you can add a product link to the text of any post or page on your website.
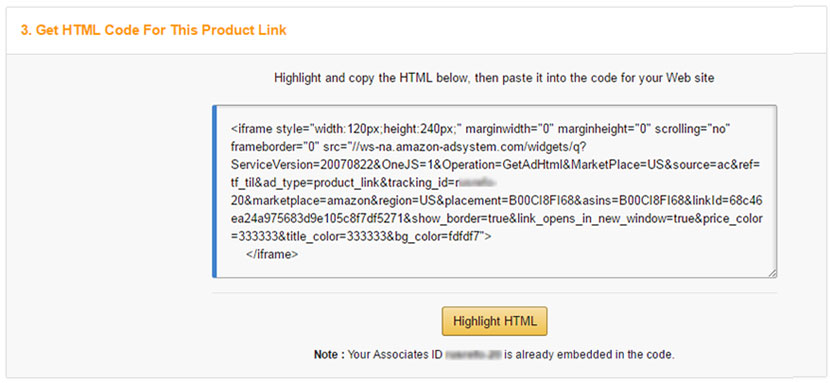
And Image Only option supposes that you can display the product image by copying the HTML code of the product and then adding it to your WP website text editor in any post or page you prefer.
Depending on the link type, you can customize the colors of background and title as well as change the image size.
To learn how to find the affiliate product link and how to add an affiliate product on your WordPress WooCommerce website, read further.
How to Add Amazon Affiliate Products to WooCommerce?
After your Amazon Associates account is created and you’ve selected the products to sell, it’s time to add them to your store. Please see how to install and activate WooCommerce plugin in your WordPress dashboard and let’s start.
So, to get a relevant affiliate product link from Amazon, choose Text and Image section and click the selected product to get to its official product page on Amazon.
The affiliate link is located in the address bar of the product page.
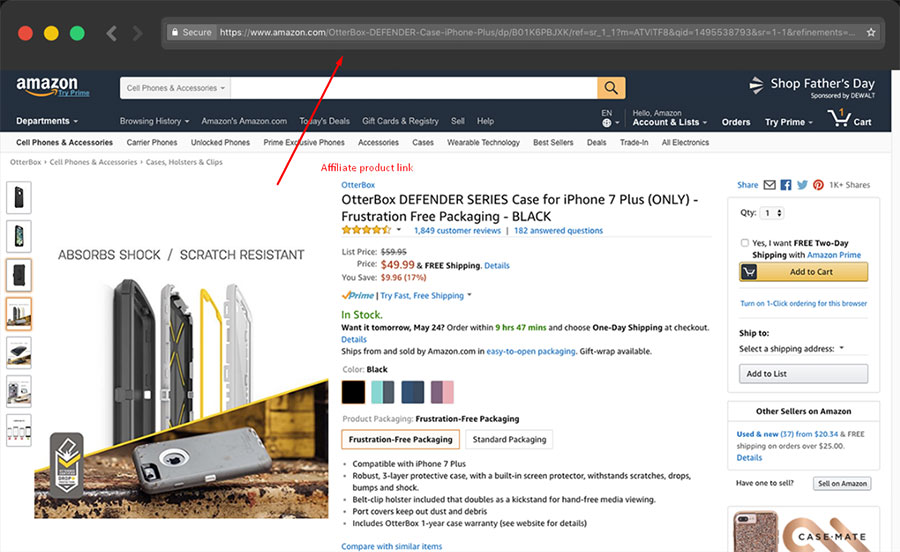
Now you can add this product to your WooCommerce-based online store.
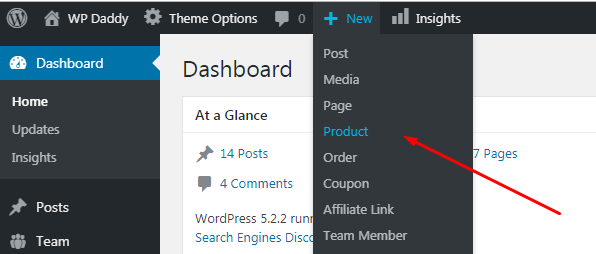
Go to your WordPress dashboard and click New -> Product drop-down menu to open a WooCommerce product editor.
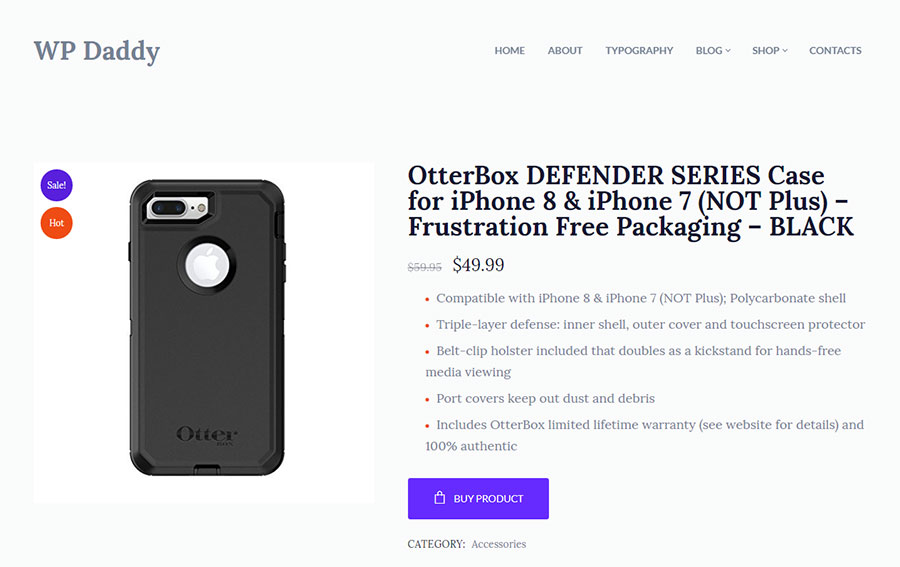
Here you should add a title, product description and select a category for your product.

Scroll down and choose the External/Affiliate product type in the Product data drop-down menu, add a short description of your product, insert a featured image and add the product gallery images, indicate its regular and sale price and of course add an affiliate product URL.

Images in the product gallery should include a product visible from different angles to make it easy for a customer to examine it in detail. You can also select some appropriate product tags that define your product.
Publish your product and go live to see how it looks.
The product is now available with your referral link, so when the customer clicks the Buy button and goes to the official product page to process the order and pay for the purchase, you are going to get your commission.
eBay Partner Network – What’s it about and how to get started?
eBay Partner Network is based on sharing the ready eBay listings with potential buyers and earning the commissions when customers purchase a product by clicking the listing you’ve shared.
For a seller, creating a listing is a very first thing to do to start offering their items on eBay. So a seller should start right here to get their product in front of potential buyers.
If you want to get started with the partner network, the algorithm is as follows:
- you find listings on eBay;
- share them with your friends and social followers;
- use the eBay’s turnkey tools to drive traffic to the listings from your website;
- your visitors or followers click the listing, make the purchase and you get your commission;
- you can get a monthly commission when people from your community of referrals also sell their products.
Let’s see how to join eBay step by step:
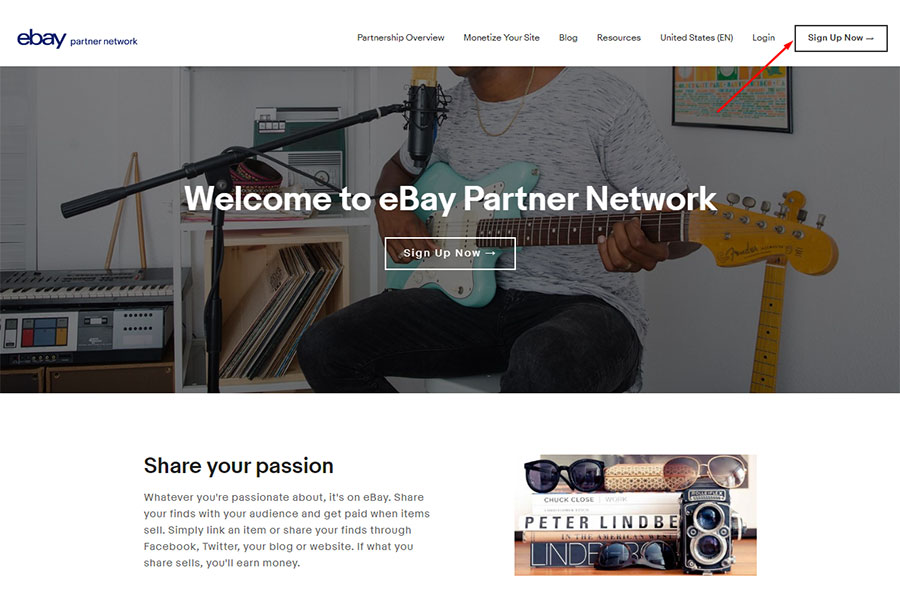
Go to the official eBay Partner Network homepage and click the ‘Sign Up Now’ button to start the registration.
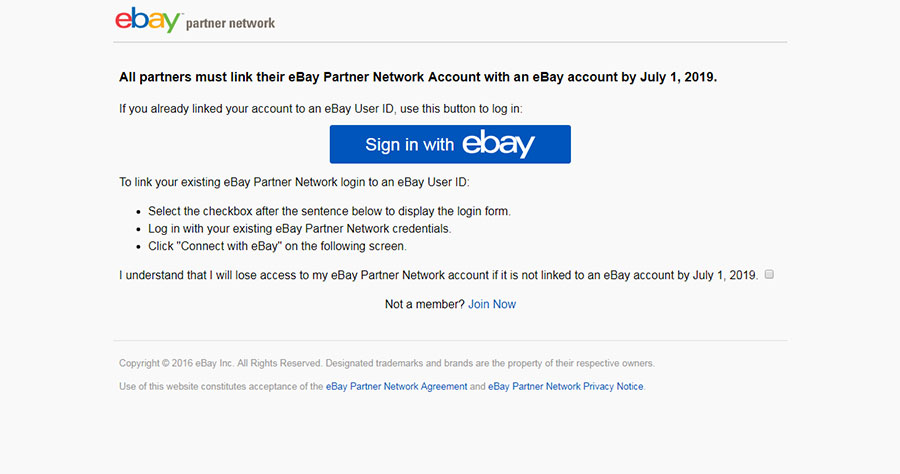
You will be redirected to a page with the following disclaimer, so please click the Join Now link to go further.
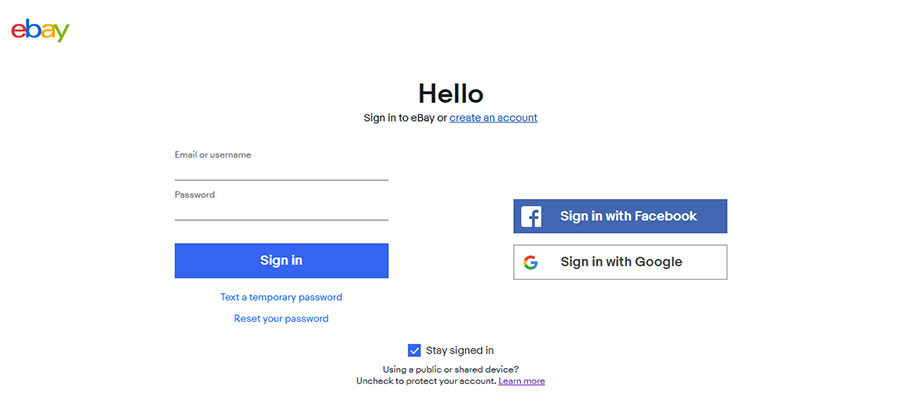
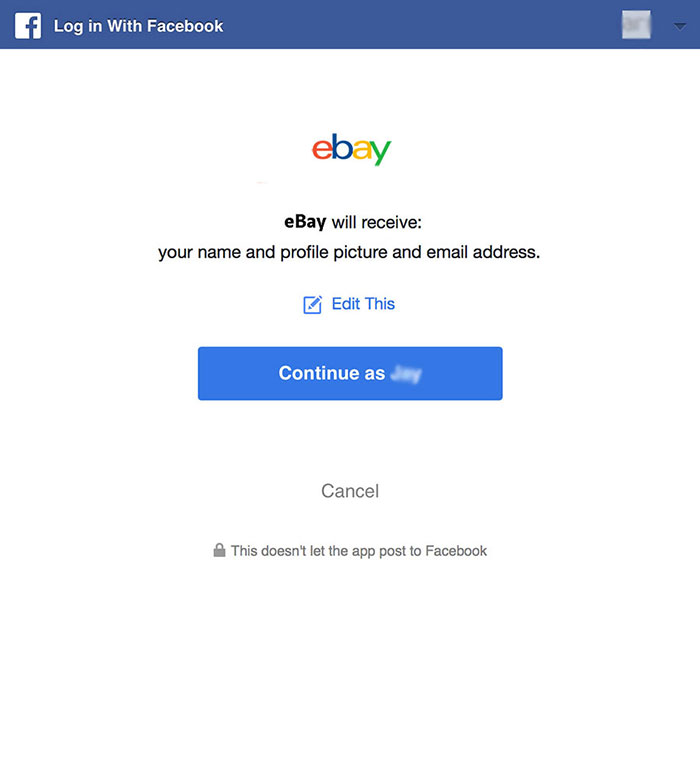
You will be offered either to create your account using your email or sign in with Facebook or Google. I choose Facebook,
allow this app to use my data and go further.
Here it’s required to enter your name, surname and email and then click the ‘Create Account’ button.

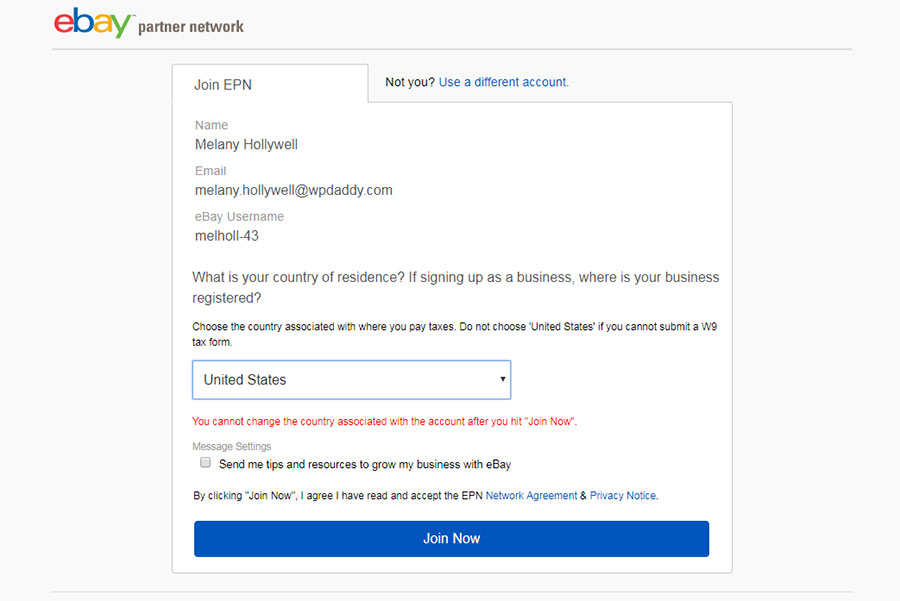
The next step will offer you select the country associated with your account and click the ‘Join Now’ button.
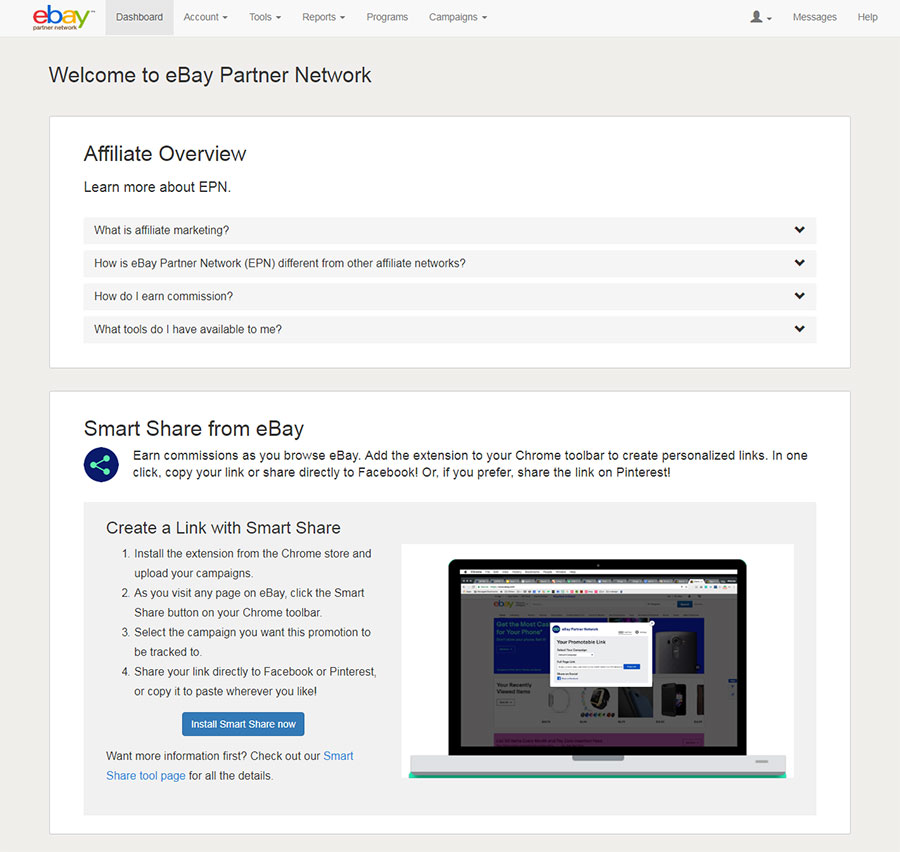
After that, you will be welcome to start participating in eBay Partner Network, so you can learn some useful information here.
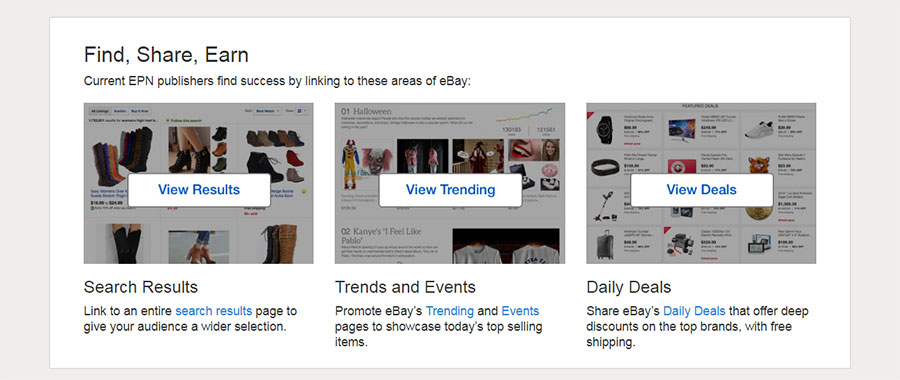
Learn more about EPN by reading the FAQ, create a link with Smart Share,
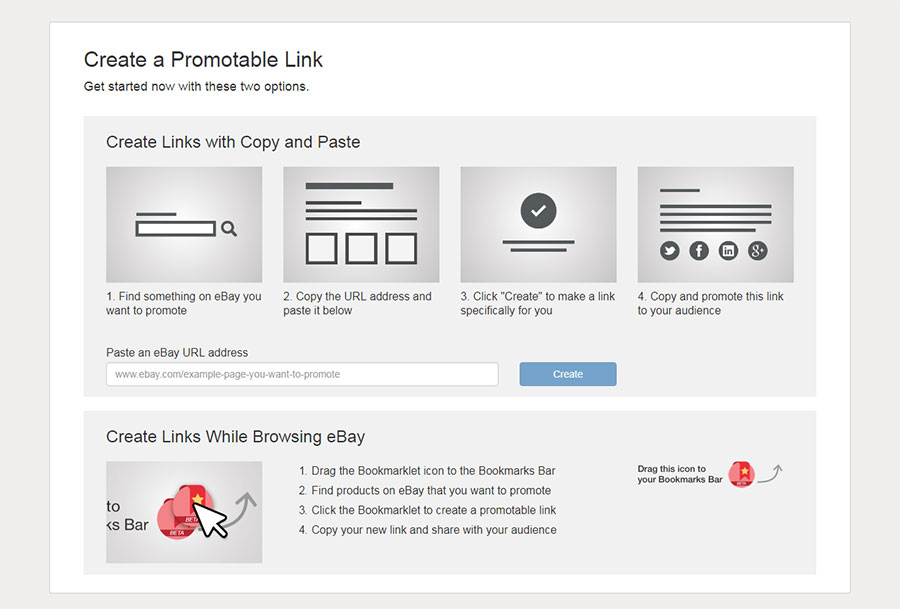
easily create promotable links,
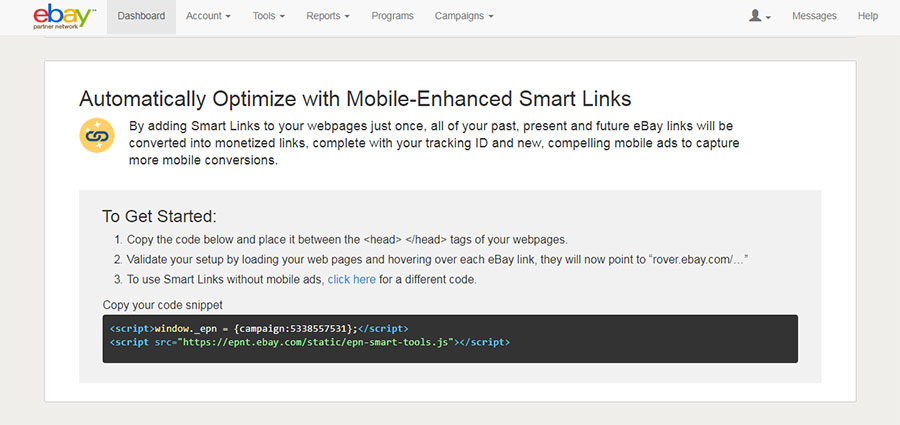
automatically optimize with mobile-enhanced smart links,
and learn how to start earning.
Now you should fill out your account with all the required information:
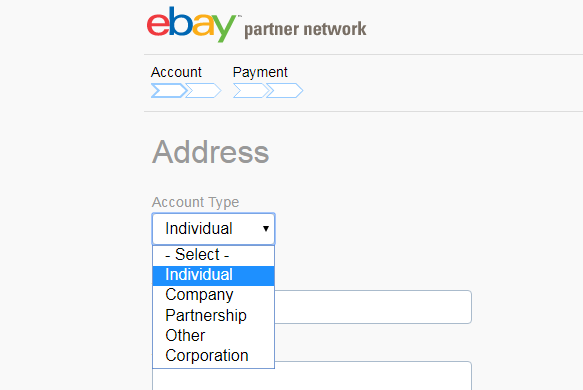
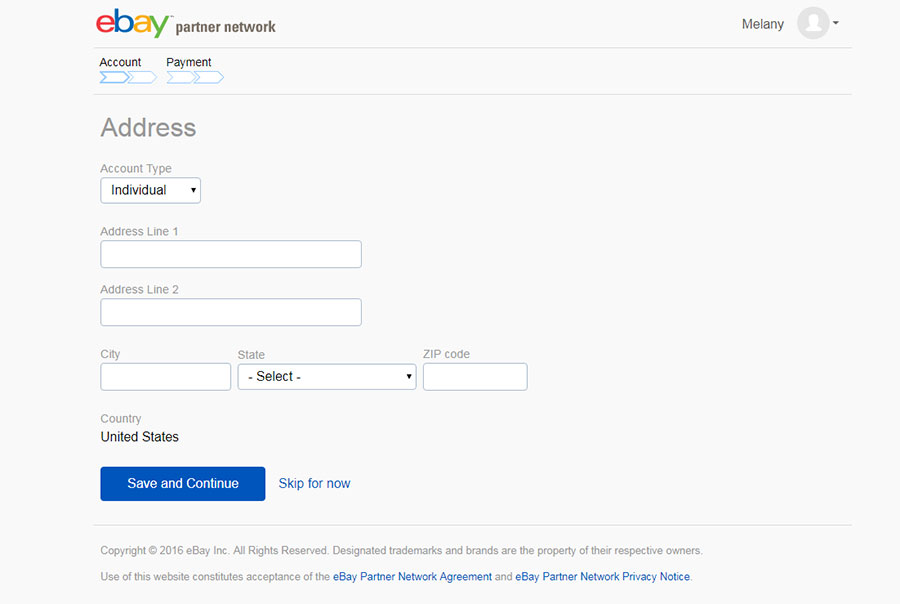
1. Account Type and Address
Select the account type from the variants like individual, company, partnership, corporation or other.
Include your address and then click the ‘Save and Continue’ button.
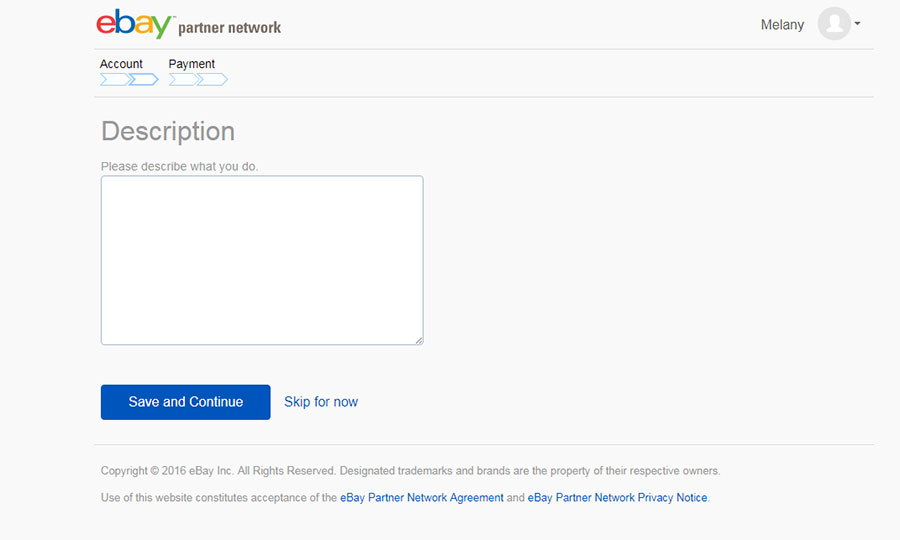
2. Description
Describe your scope of activities and also click the ‘Save and Continue’ button.
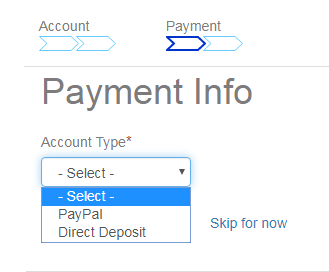
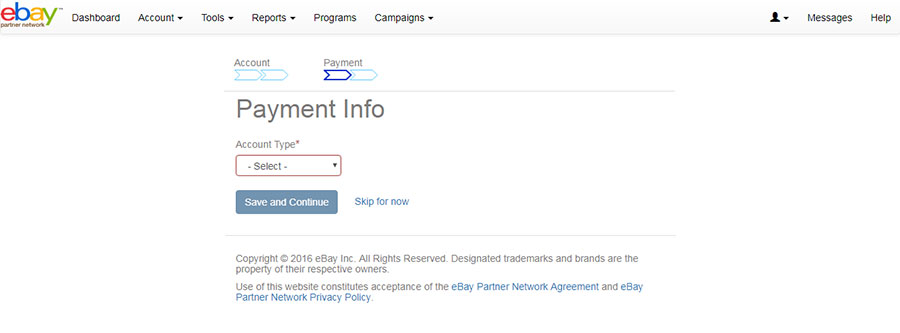
3. Payment Info
Now select the payment account type from PayPal and Direct Deposit variants and click the ‘Save and Continue’ button.
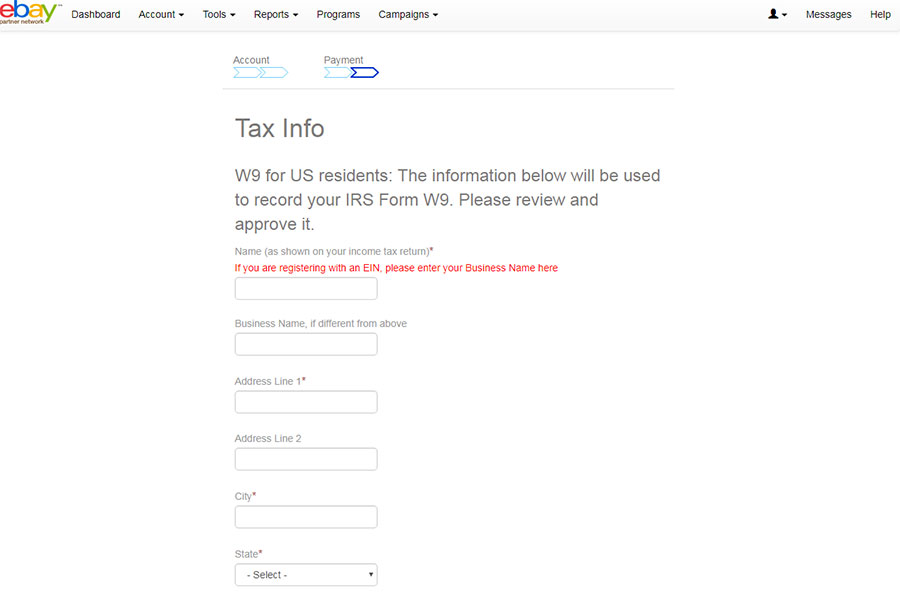
4. Tax Info
Enter the tax info to finish the account creation.
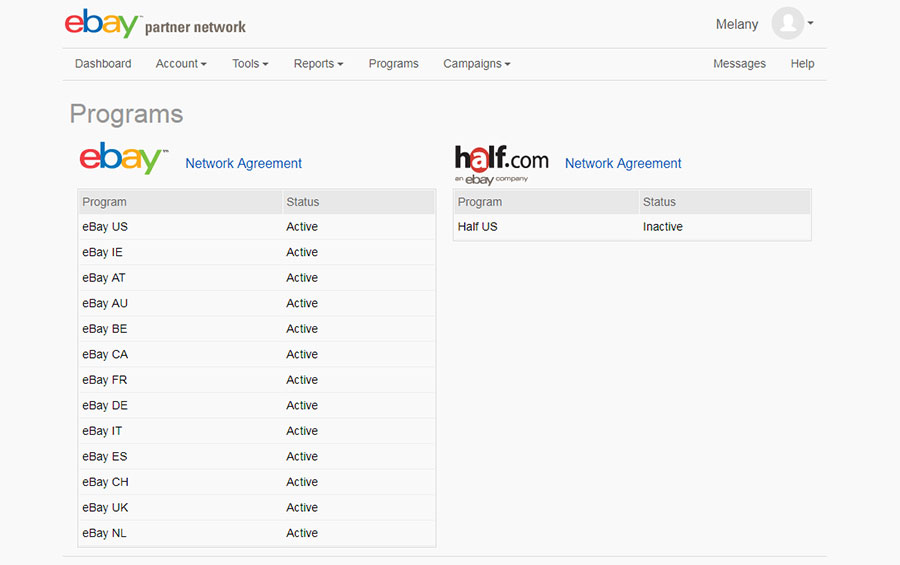
Your Partner Network dashboard offers you different programs, tools, campaigns and many more possibilities to earn.
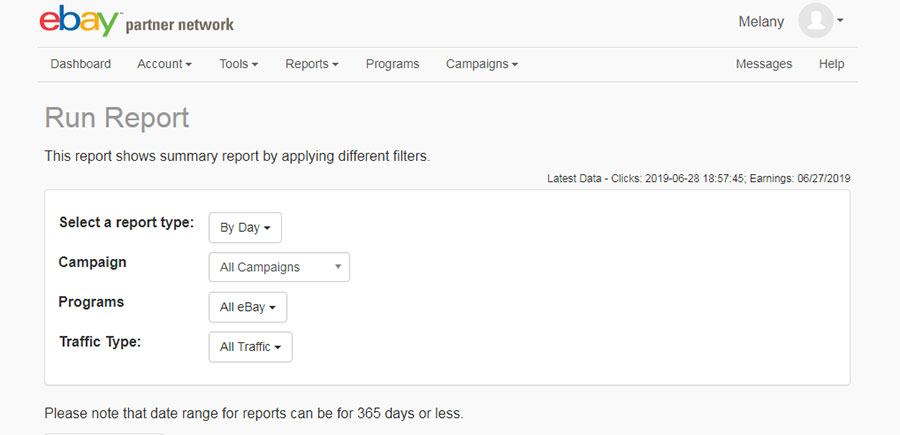
Here you can also see the reports of clicks and earnings.
Good luck!
Conclusion:
If you‘ve made up your mind to start earning with one of the affiliate programs, it’s the right decision but it requires some efforts at the very start to have good income in the future. Not just Amazon or eBay offer good commissions to their affiliates and partners, it’s up to you to find any other affiliate programs to participate in and sell affiliate products to earn.
A great thing in this drop-shipping method of sales is that you don’t have to store any products in the warehouses or bother with delivery. You just give them the exposure on your website and get your money with ease.