Do you run a blog in WordPress? If yes, then, of course, you hope to get as many subscribers as possible. Once you’ve collected subscribers, it would be great to notify them of new content publishing and keep them updated. Keeping your readers up to date is great because it allows them to receive current news instantly after being published on your web page.
Web push notifications are a cool way to instantly notify a user on post publish or post-update. This encourages them to go to your web page and stay there to review the new content.
So how to enable web push notifications in WordPress?
For my purpose, I will use OneSignal free service which allows to easily set up such types of messages on any WP website.
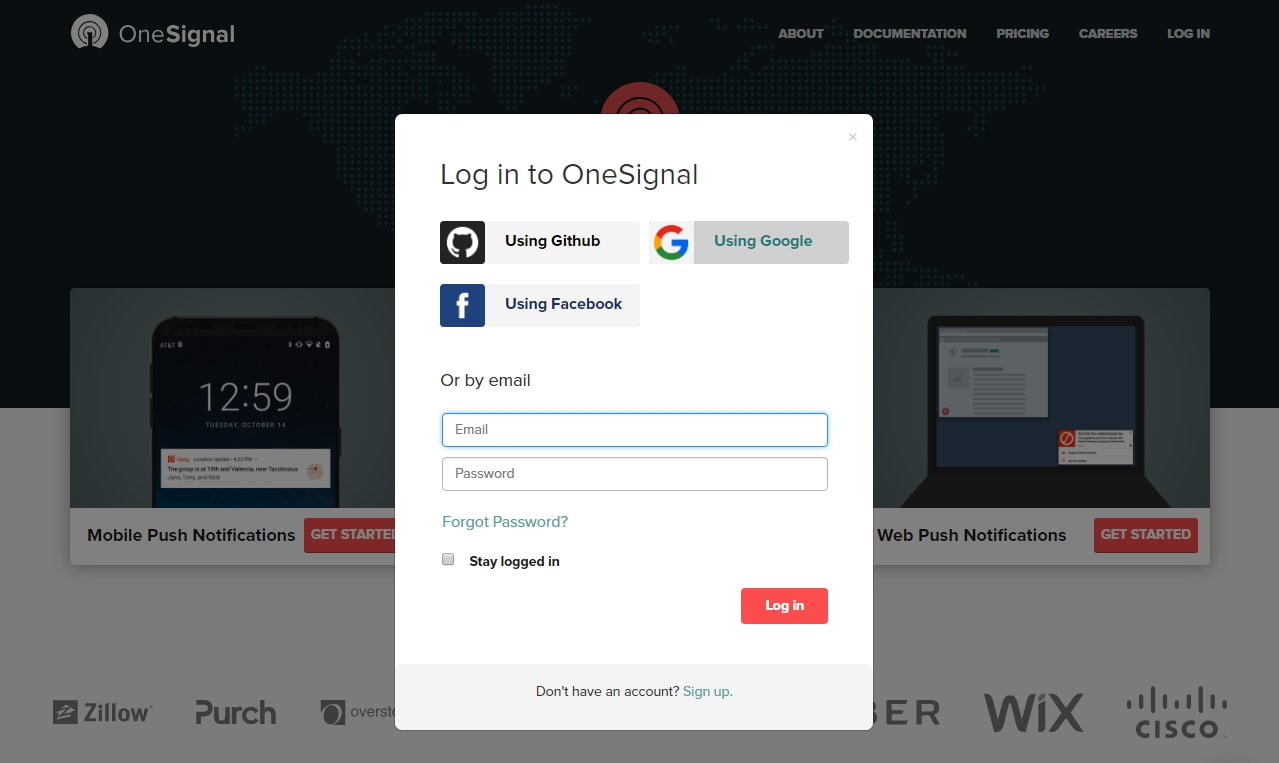
First of all, you need to register or log in to your account at OneSignal to start using it for your purpose. The service allows you to log in through different resources including Facebook, Github, and Google.
When you are signed in, you will see the welcoming message, so you can click the next button to go further and read a step-by-step guide on what to do with the service and how to use it.
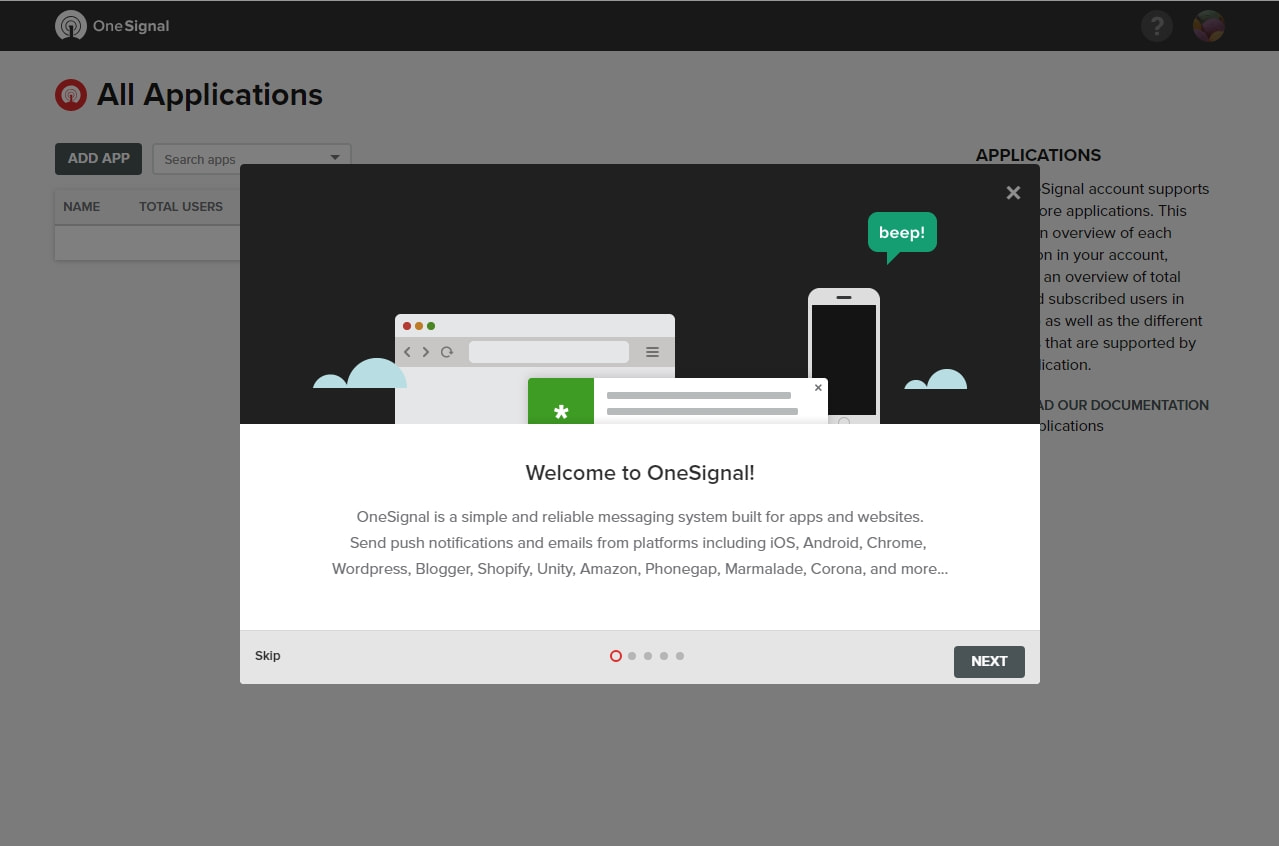
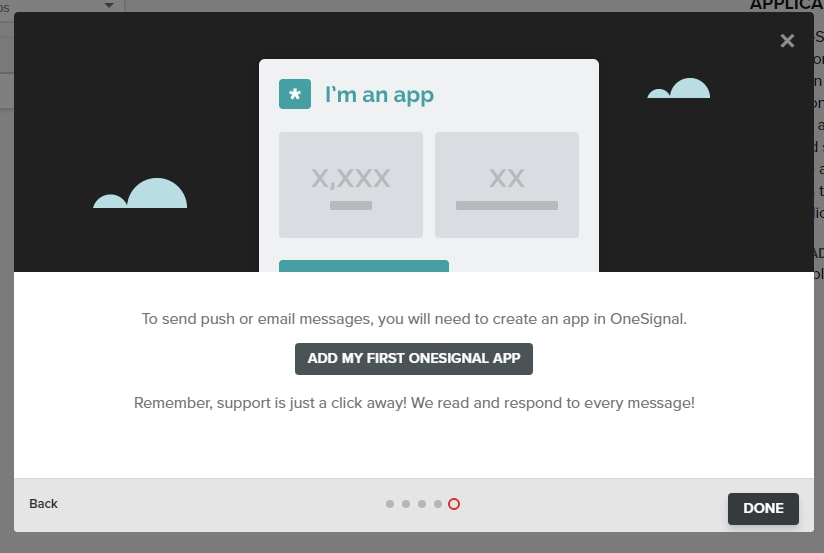
The last step will ask you to add your first app, so click the ‘Add My First OneSignal App’ button and click Done to go next.
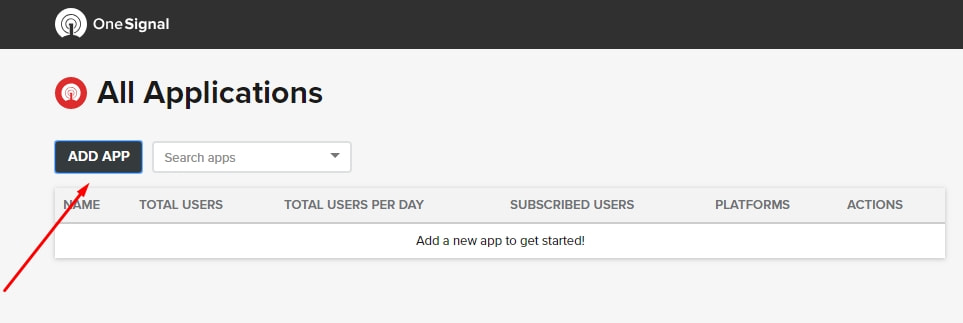
Add and name your app and click the Add App button to continue.

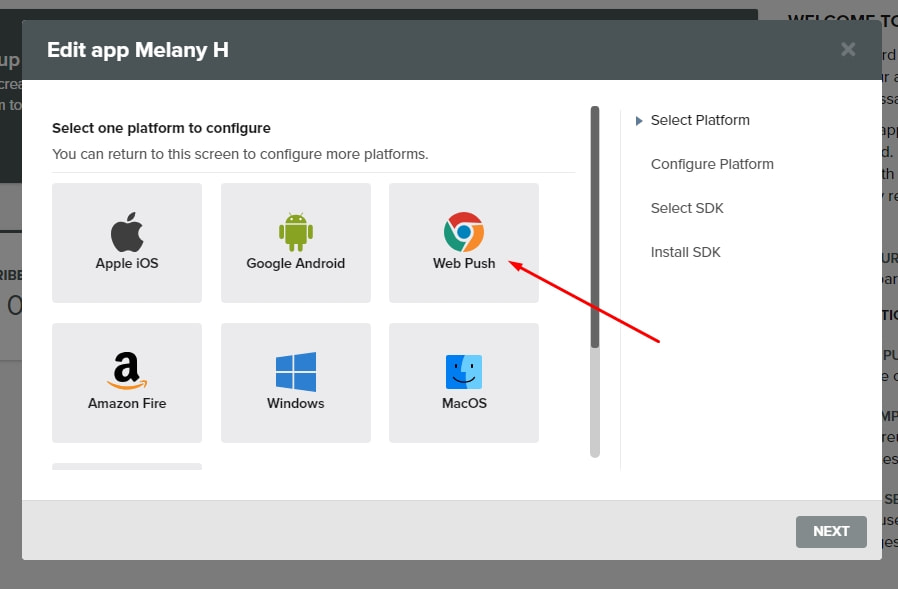
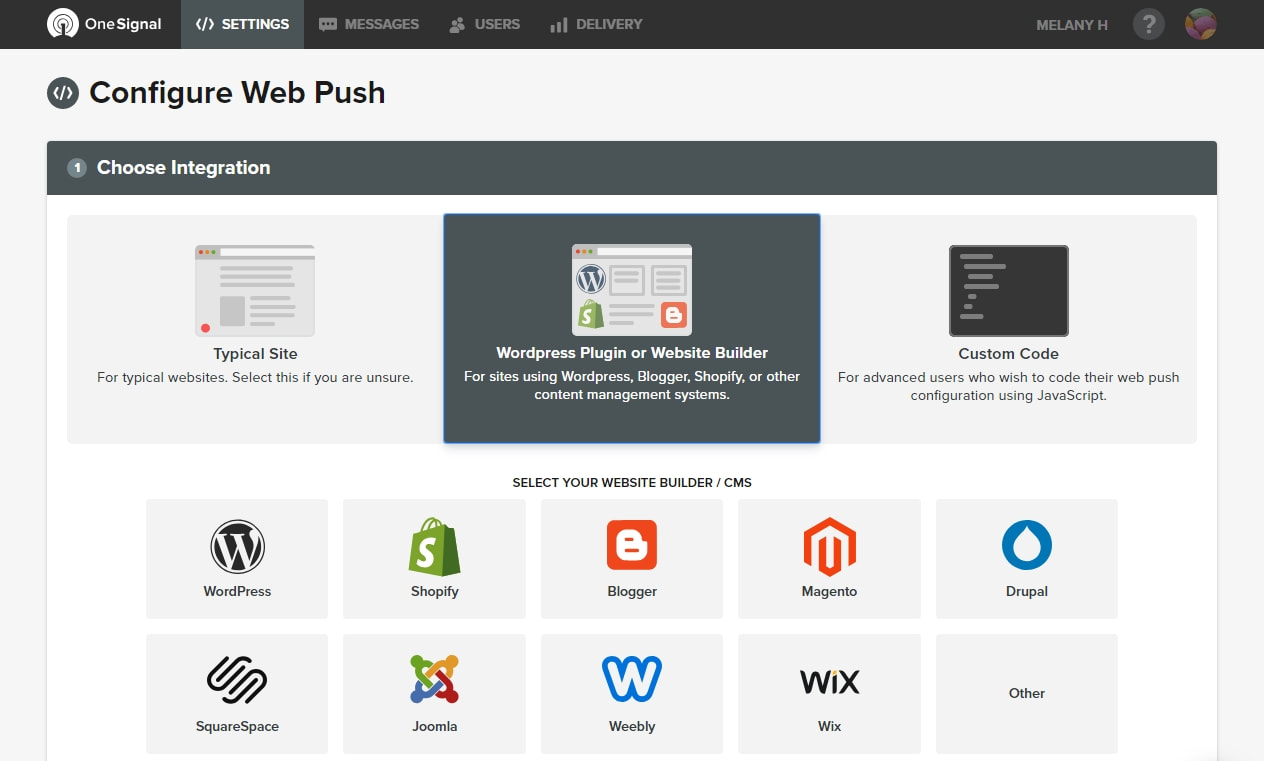
Select ‘Web Push’ in the platform list and click Next to go on.
In the Web Push Editor select the ‘WordPress Plugin or Website Builder’ option and choose WordPress in the ‘Website builder/CMS’ list.
Scroll down to set up your WordPress website.
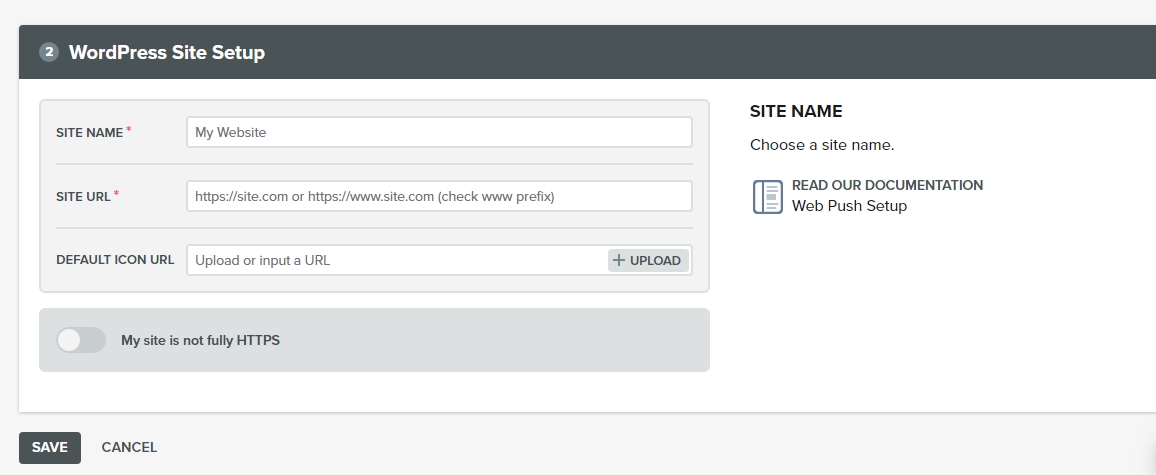
Here you should enter your website name and its URL as well as upload your icon or insert its URL into the required field. When hovering over each field, read the instructions on the right: here you will learn what extension of your icon file is required, how exactly your domain name should look, and what to do if your website is not fully HTTPS one.
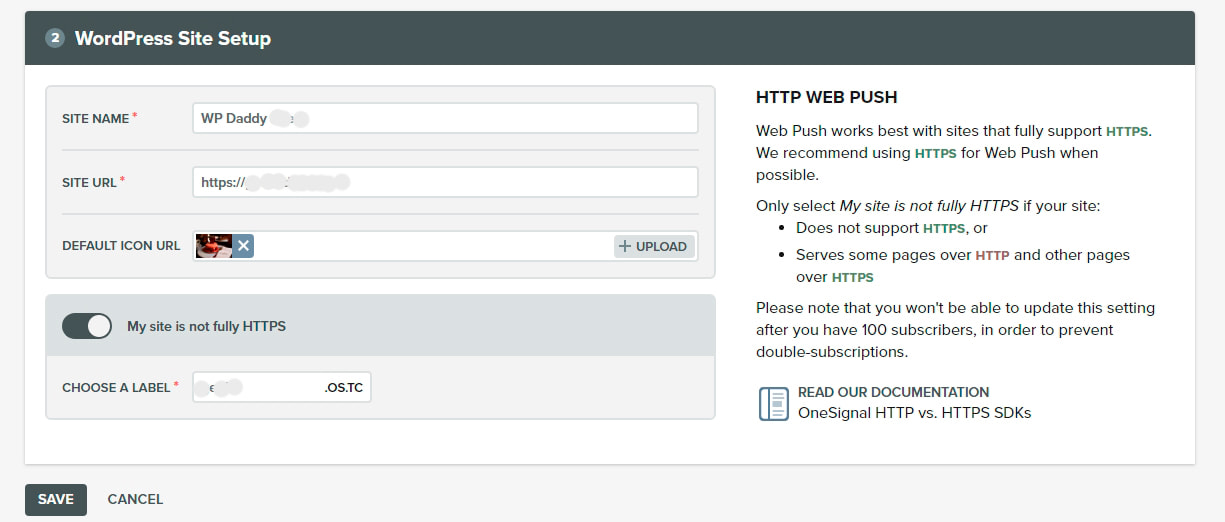
When you are done, click the Save button to continue.
Now go to your WordPress dashboard and install a OneSignal plugin via Plugins -> Add New menu. Please read this breakdown post to learn how to install a plugin in WordPress. When the plugin is installed, go to one OneSignal Push menu in your admin panel and you will see the Settings page which includes Setup and Configuration tabs.
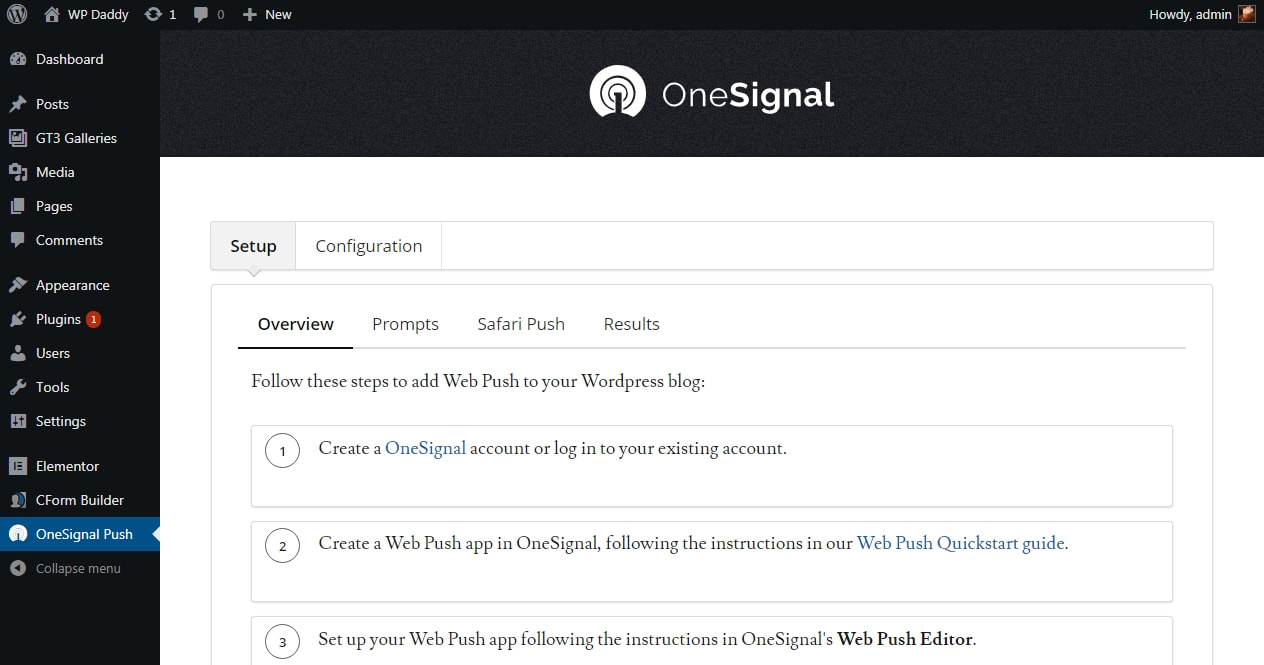
You can read the instructions in the Setup tab, and then go to the Configuration tab which includes all the required settings including App ID and Rest API Key settings.
So, after you’ve set up your website in your OneSignal account, copy your App ID and API Key from the ‘Configure WordPress Plugin Section’
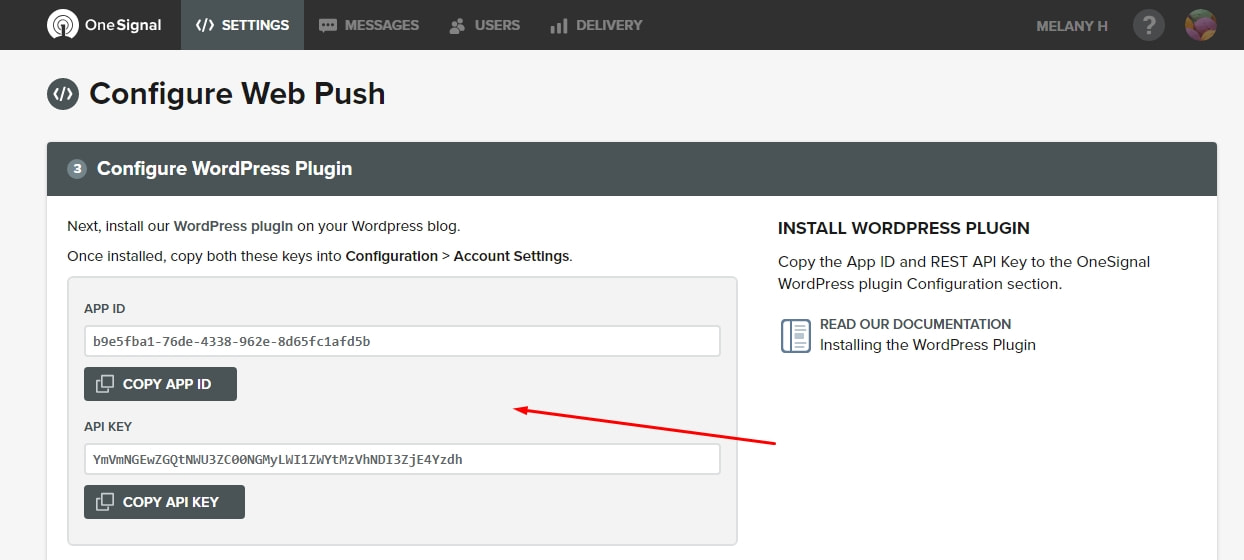
and put them into the corresponding fields in the Configuration tab of OneSignal plugin settings in your WordPress dashboard.
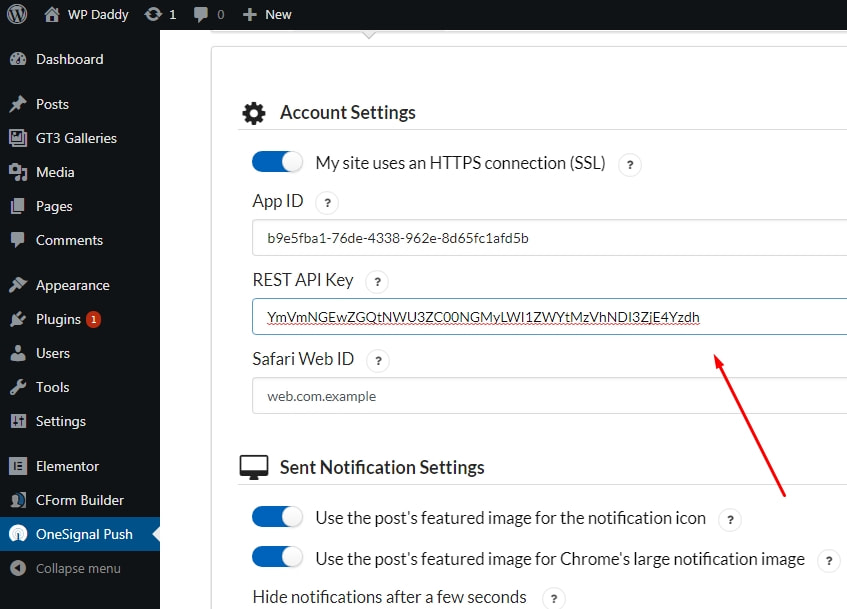
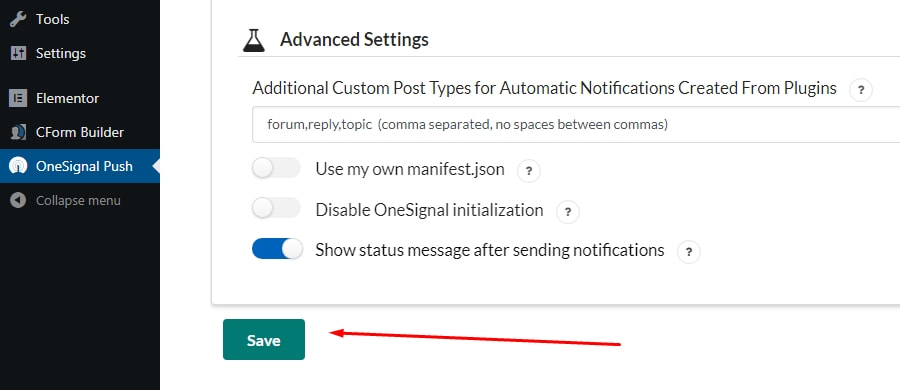
Scroll down and click the Save button to keep the settings.
Right here in the Configuration tab, you’ll be able to add your Subscription bell and other prompts.
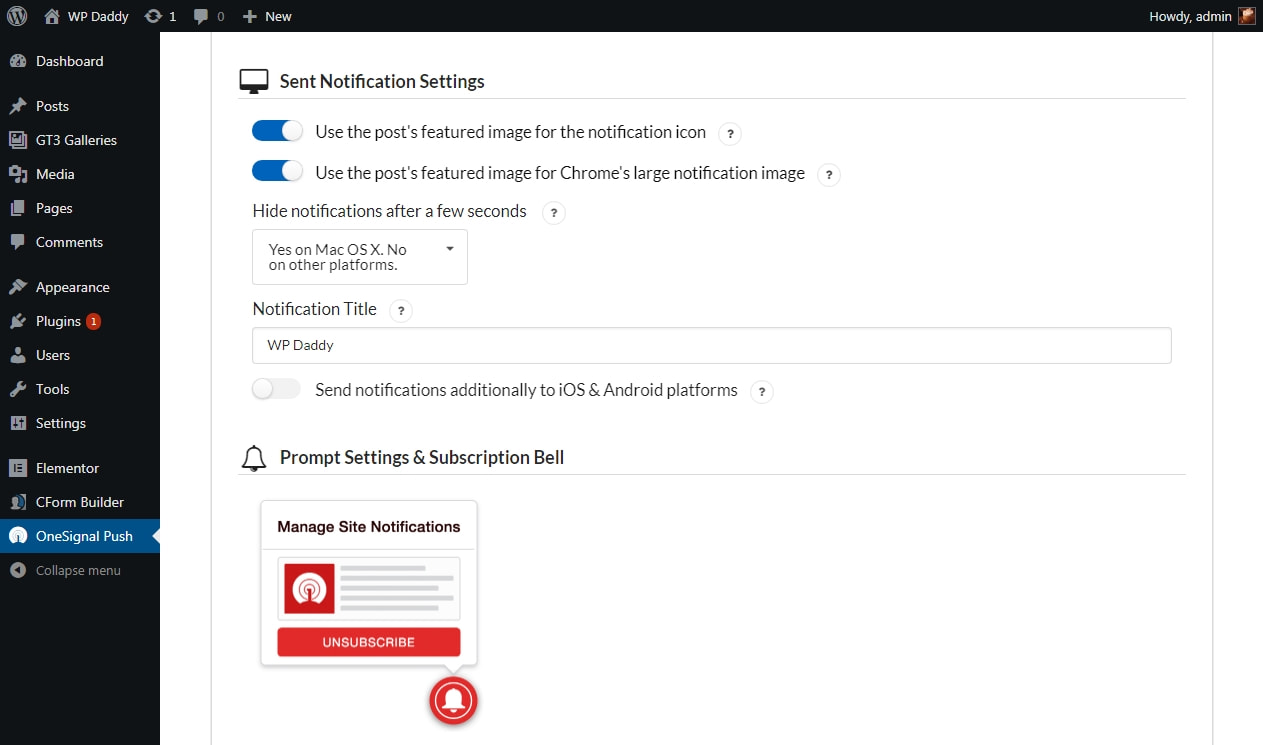
Your Subscription bell will be visible on your website encouraging users to subscribe to notifications.
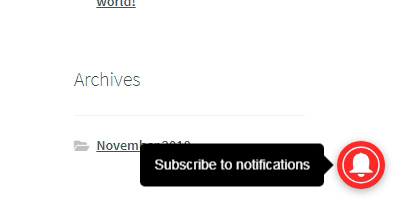
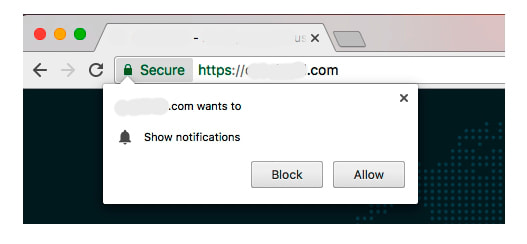
When a user clicks the bell they will see the popup window offering to subscribe for receiving push notifications from your WordPress website. When a user clicks ‘Allow’, they will start receiving notifications from your website every time when new content is published or updated.
In WordPress, it’s easy to manage the behavior of your push notifications right in the post editing area. Here you can either check or uncheck the Send notification on the post update option, so your users will either receive the push messages only after the post is published or both after it is published and updated. It’s up to you!

Please read this guide on how to send a push notification to test it.
If your device runs on Apple iOS, then please read these instructions on how to set up OneSignal for Safari.
That’s all, see you!
Melany H.