You probably know that WordPress allows to add a number of users and arrange roles for every registered user. Roles suppose different permissions provided to a particular user to access the WordPress website. Only admin can allot roles to the users. So what are the roles available for users in WordPress? They are as follows:
- Administrator (Admin) has all the rights necessary to manage the website’s structure.
- Editor has access to all the pages, posts, comments, categories, tags and links.
- Author can add and publish new posts, upload images, edit and delete their own posts.
- Contributor can add and edit posts but isn’t allowed to publish them.
- Follower can read the posts and comment on them.
- Viewer can view and comment on the posts.
In this tut, we’d like to speak on how to add a user, allot a role to them and edit a user’s profile. When any new user is added, the admin gets an email notification, so they can log in into the dashboard and edit a user’s role.
There are a few simple steps to add a user in WordPress:
Go to Users -> Add New in the admin panel.
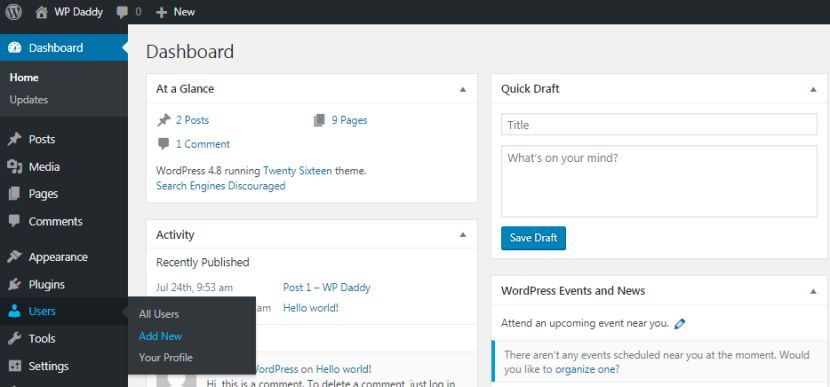
After that you can fill in the details of a current user:
- a unique username to be displayed on a website;
- an email for sending notifications;
- first and last name of a user;
- an URL of a user’s website;
- a password for a user to enter your website;
- and a particular role assigned to a user.
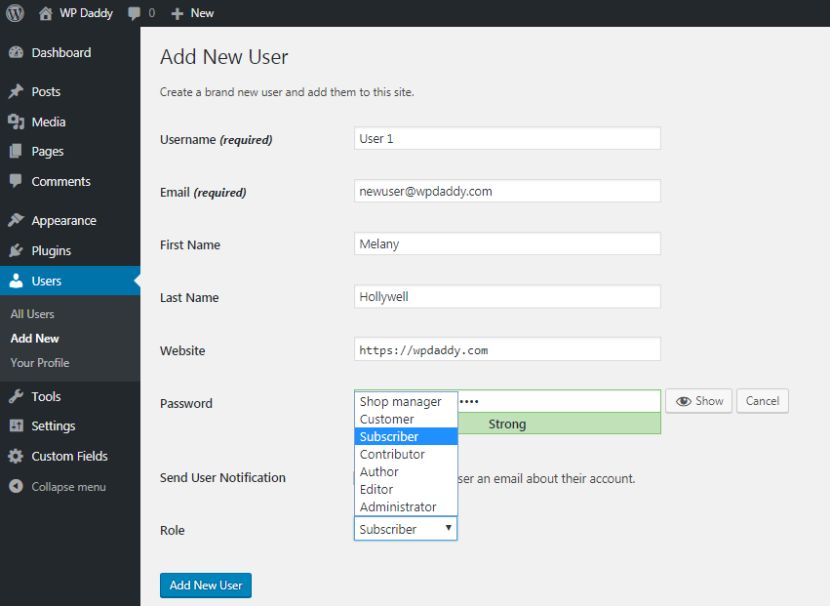
After all fields are filled with information, click the Add New User button to create a new user’s profile.
You will see the new user in your users’ list. Now the admin can change the user’s role and user’s profile can be edited or deleted very easily if required. See the snapshots below.


A user can edit their profiles, upload a gravatar, add a nickname, fill in a biographical info, and edit much more data.

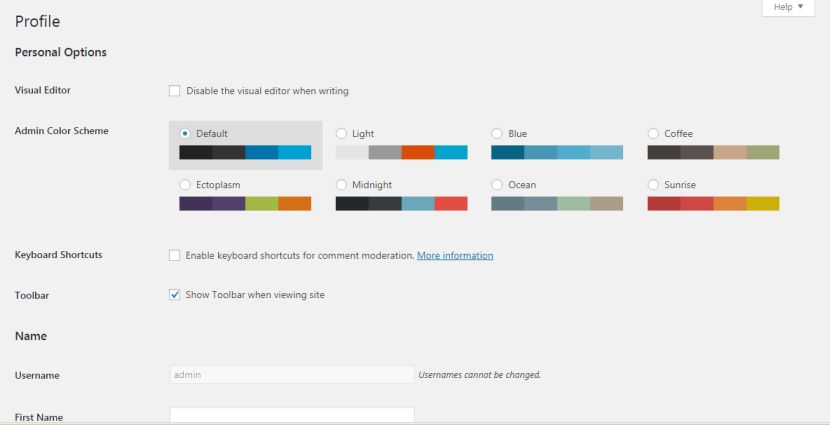
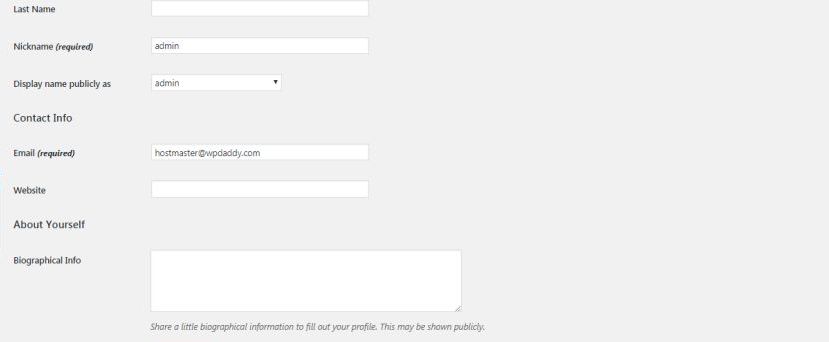
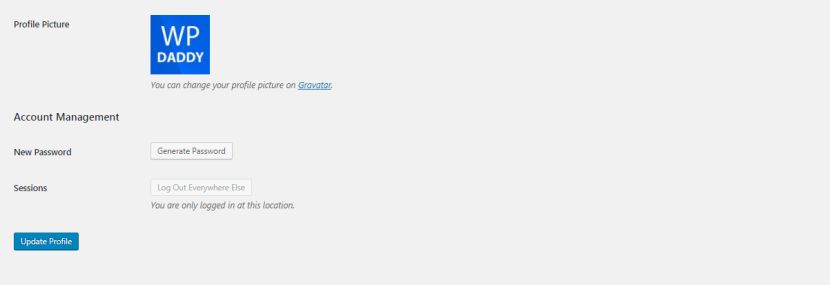
After all changes are made, click the Update Profile button to save the changes.
As you see, it is very easy to add, edit, delete users, assign a user’s roles and manage their profiles through the WP dashboard.
