As you probably know, by default WordPress supposes several different user roles where every user has different permissions which define what parts of content they are able to access and what ones they have no access to. So the user roles include:
- Administrator – who can add new posts, edit posts created by any users, and delete those posts.
- Editor – who can add, edit, publish and delete any posts including the ones written by others.
- Author – who can write, edit, and publish their own posts.
- Contributor – who can add new posts and edit any other posts without the permission to publish any of them.
- Subscriber – who can log in to the WP website and update their profile details.
Admin, editor, and author are allowed to publish the posts they’ve created, so they can create a private post not visible for users with other user roles.
You can allow those users to edit this post, fill it out with media, make any amendments, insert shortcodes with URLs, etc. While you’re creating a private post, no other users like contributors or subscribers are able to see it even after publishing. Of course, it won’t be visible to the website visitors either.
Why creating a private post?
Private posts come in handy in the following cases:
1. A Product Launch
Any new post in WordPress is invisible on the website until being published. So if you want someone to get access to the unpublished post, you should give them access to the dashboard. But what if you don’t want to provide this access to a certain user?
In this case, you can publish the post with a private status to make it live but only visible to definite users. Other ones won’t be able to see it neither in the dashboard nor on the web-page. For instance, you can show the post only to your business partners involved in the project (promotion of the product you launch, etc.) and hide it from the site guests.
2. Content Tweaking
When a developer creates the structure of a page with a post, they can use the live preview to see how the results of their work will look live. Instead, they can publish a readymade page or post with a private status and see how the content appears in the published form.
3. Specialized Content
Some membership websites create content accessible only for premium users who bought the subscription. So if you want to create an exclusive content visible only to members, make your post a private or a password protected one. For more information on creating a membership website please see our step-by-step guide.
4. Internal Guides and Reference Pages
Sometimes a customer needs a support after buying a definite product or service. So you can provide them with the URL to a page with detailed documentation or FAQ where they can find the answers for their questions. Such information can also be private, so it will be only seen by customers, but not the website visitors.
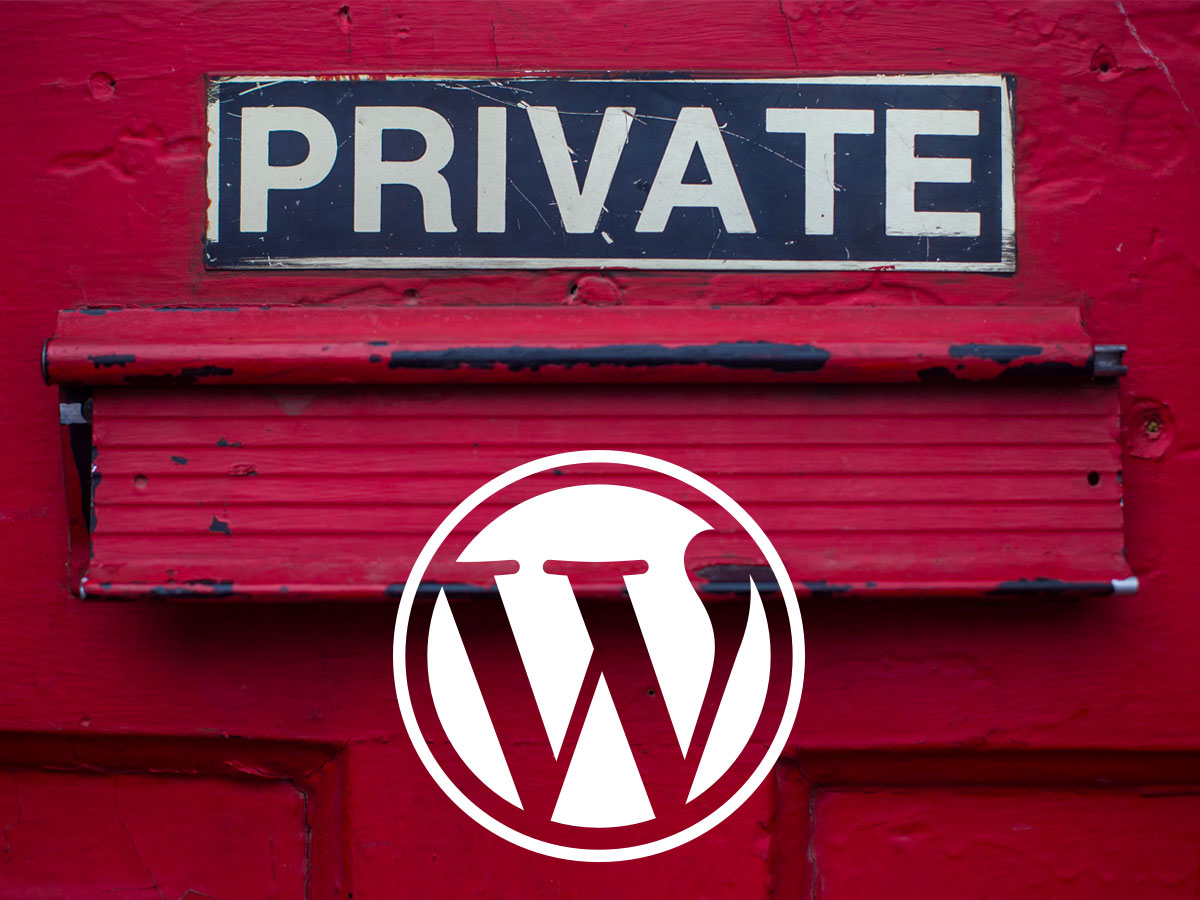
So how to make your post a private one?
Go to Posts -> Add New, then go to the Publish meta box and click the Edit link near the Visibility option there.
You will be able to choose whether you want your post to be public, private or a password protected one.

After that you can either continue editing, save the post as a draft or just publish it. If you go live, you will see your post marked as a private one.
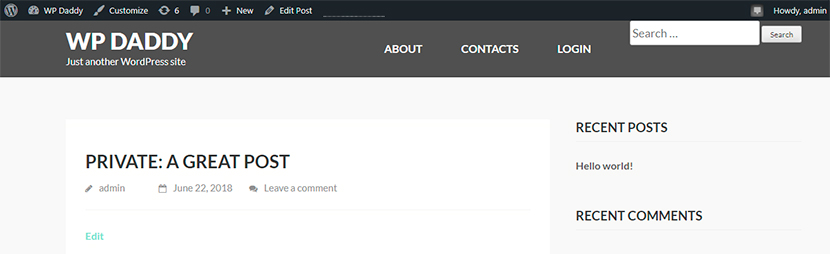
This way of making a post private is great if you want to show the posts to users that have no access to your dashboard and only can view your live content. However, other authors of your website (that can access the dashboard) will be able to see the images you upload to the private post; all of them will be available in the media library.
There are also some additional solutions that allow to lock the content to make it private. We’ve been talking of them a lot and we will speak of them in our next posts. Stay tuned!