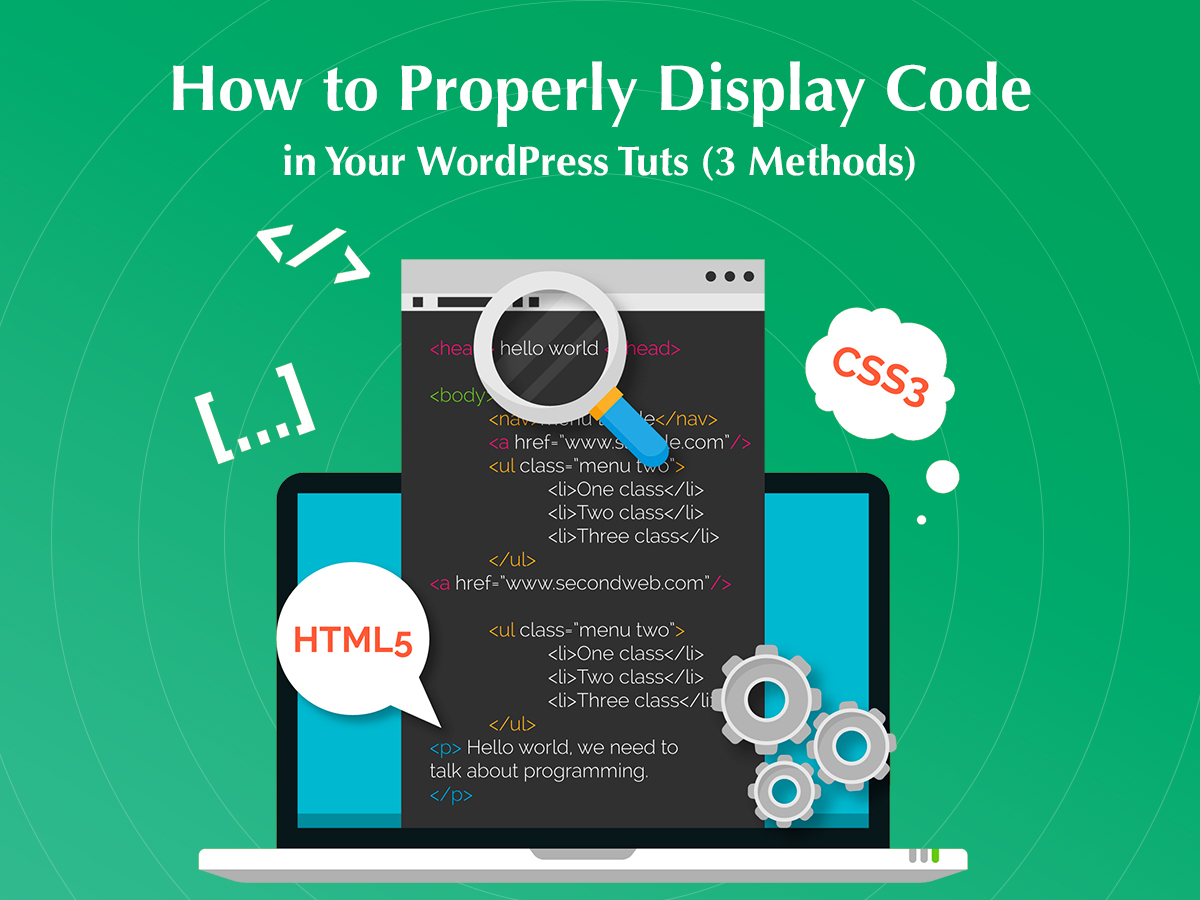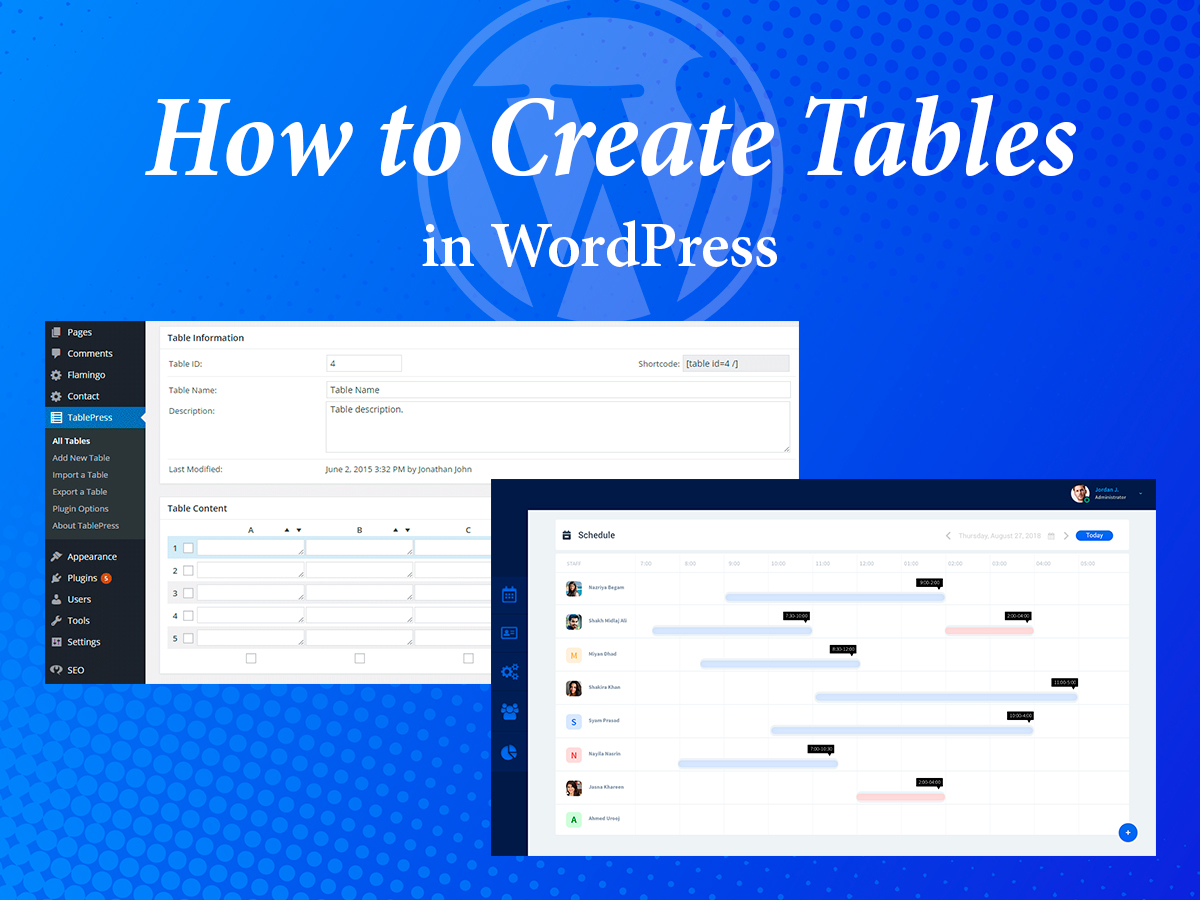
As we know, WordPress is utilized for a multitude of different websites including blogs, online stores, business cards, corporate sites, and many more types. When creating content for a certain website, you sometimes need to use tables, for instance, to show the inventory of products, to share a schedule, disclose statistics, announce the upcoming events, etc.
In this post, I will show you how to easily create tables in WordPress and put them in your posts and pages. Let’s start!
Insert a Table with a Plugin
For my purpose, I use TablePress free plugin available in the official WordPress repository. I like this plugin and sometimes use it for inserting tables into my posts.
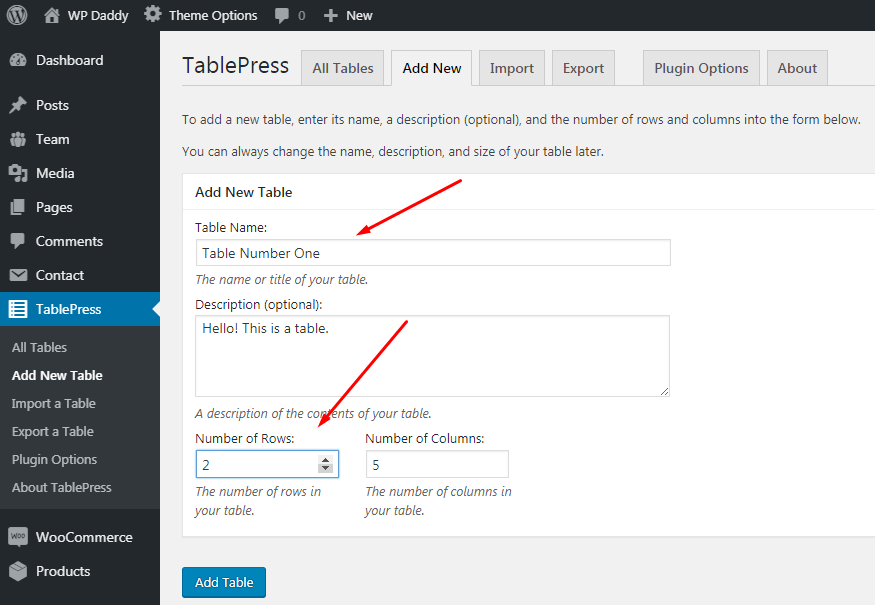
It’s really easy to create a table with a plugin. First please install and activate it, it’s easy. Then just go to TablePress -> Add New Table and edit a new table within a few minutes.
Add your table’s title, insert a small description, select a number of rows and a number of columns and then click the Add Table button to keep your changes.
You will see your table created, so now you can add a content into it and save your changes. Your new table will be indicated by a shortcode with its particular number.
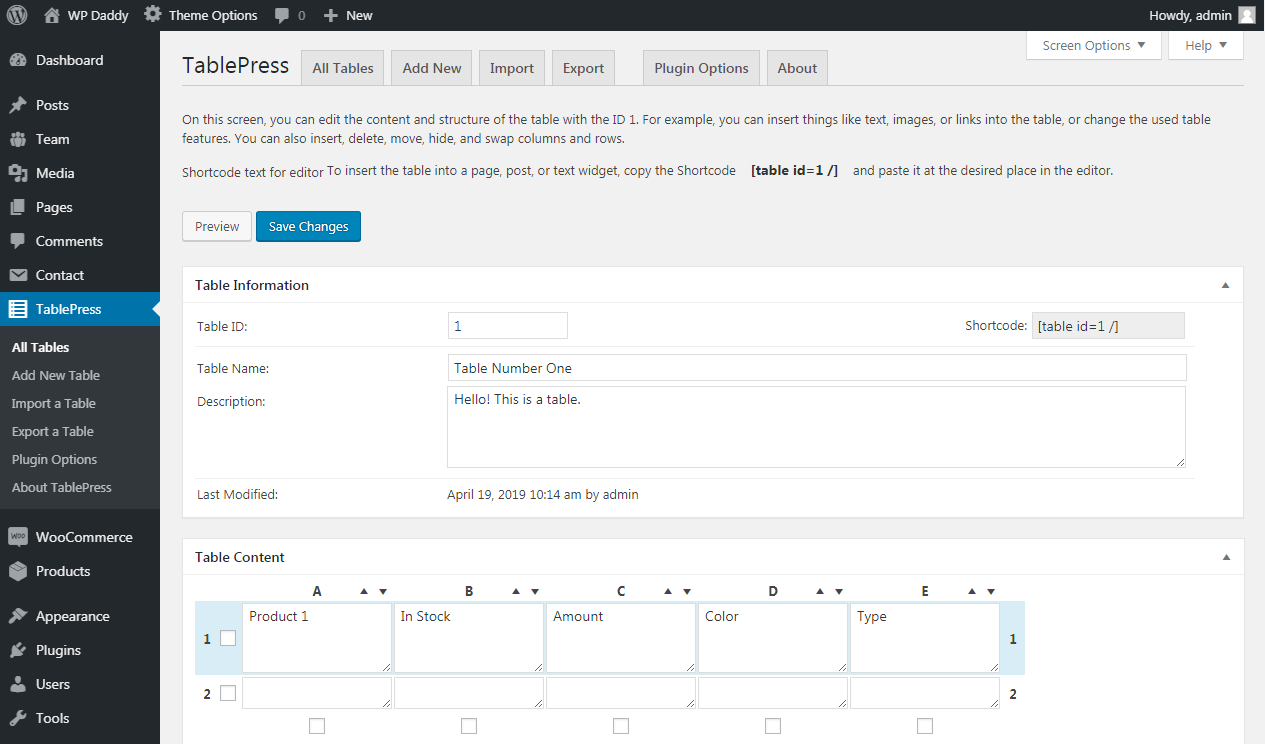
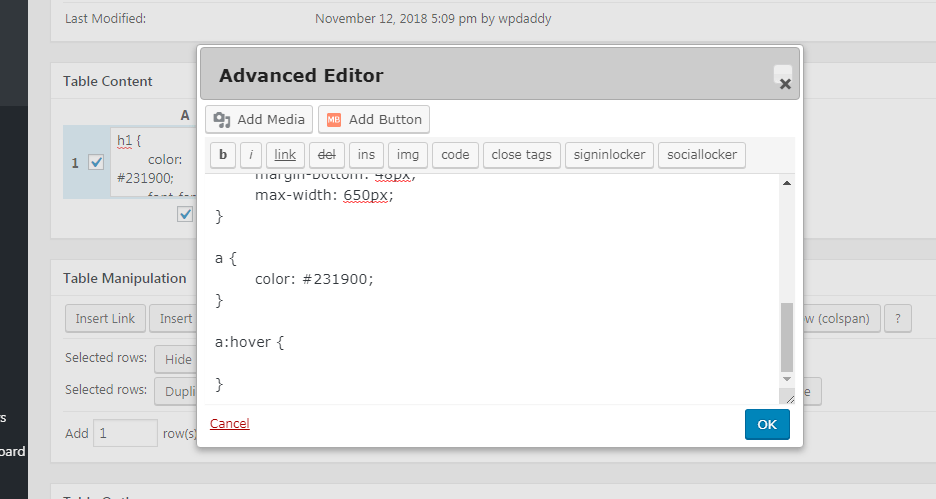
Scroll down to find the options for manipulating your table. Here you’ll be able to insert link or image; hide, show or duplicate selected rows or columns; select a cell to edit with advanced editor, combine cells, etc.

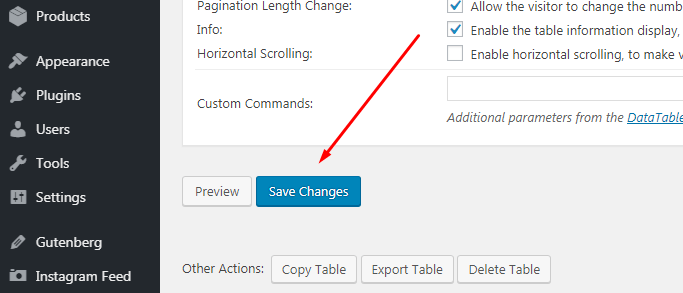
In addition, you’ll be able to manage different table options and change features of the DataTables JavaScript library. After all of your changes are made, don’t forget to save them.
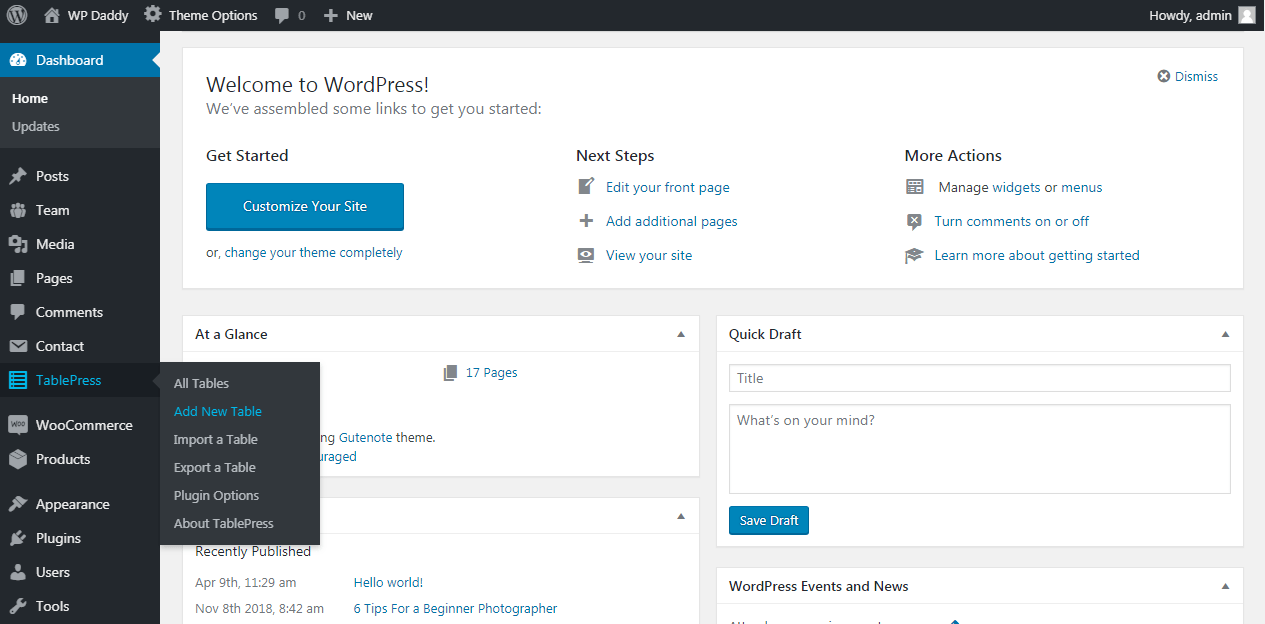
Now go to your posts or pages list and select a post or page you want to edit. Here is the example with a classic editor.
You’ll find a TablePress icon in the main toolbar of the visual editor.
![]()
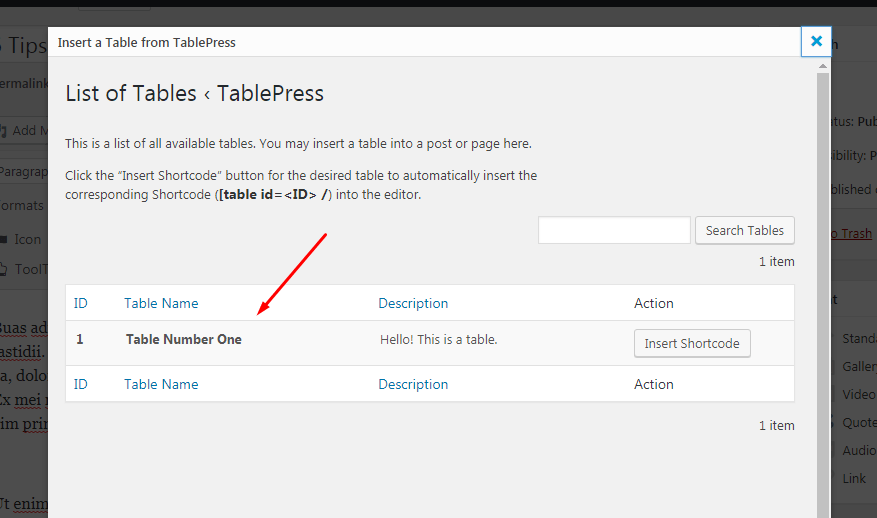
So select a place in your post or on your page where you want a table to be inserted and click the required icon in the toolbar of your editor. You’ll see the List of Tables open, so find the required table and click the ‘Insert Shortcode’ button located under the Action column in the list.
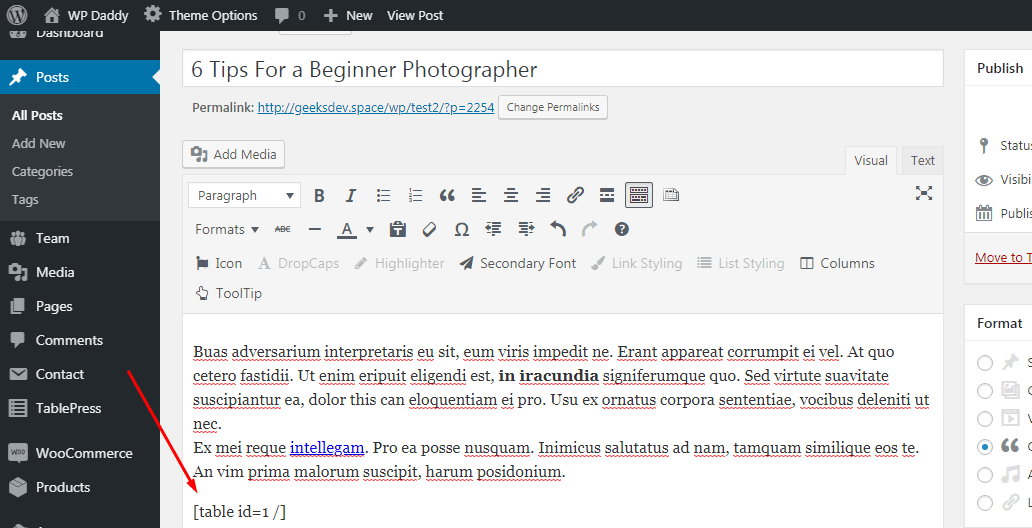
Now your shortcode is inserted and you can publish or update your post or page to see the changes.
You can observe your table live and edit it if required. When you are logged out from your WP dashboard, the Edit button won’t be seen under the table on the front-end. It is available only for you as you are an admin of your site.
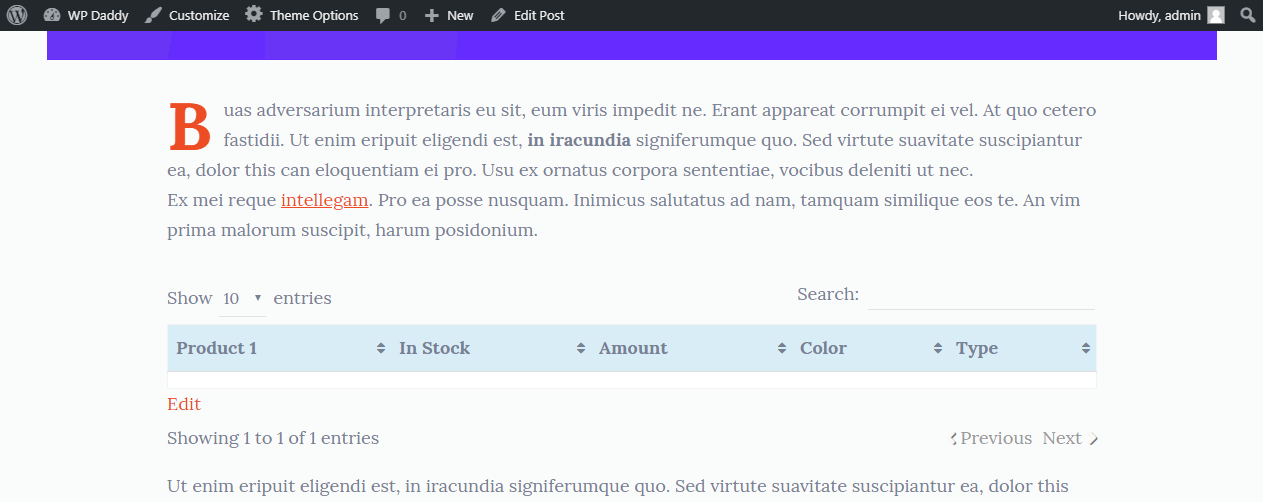
A great feature is that there is a search field available for a table on the front-end, so your users will be able to quickly find the required data in your table if it is a large one and contains plenty of information. This plugin also allows to import of export your ready-made tables whenever you wish.
Insert a Table with Gutenberg Block
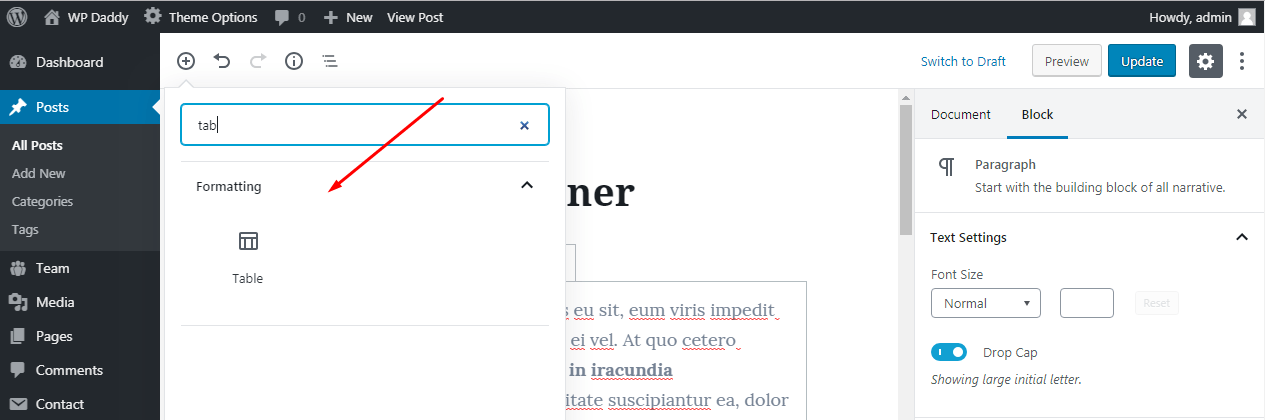
If you use Gutenberg content editor for editing your posts and pages, then you can just use a Table block available in the Gutenberg’s set of blocks.
Search for a block in the block list.
Insert a block into your content area and select a table block style.
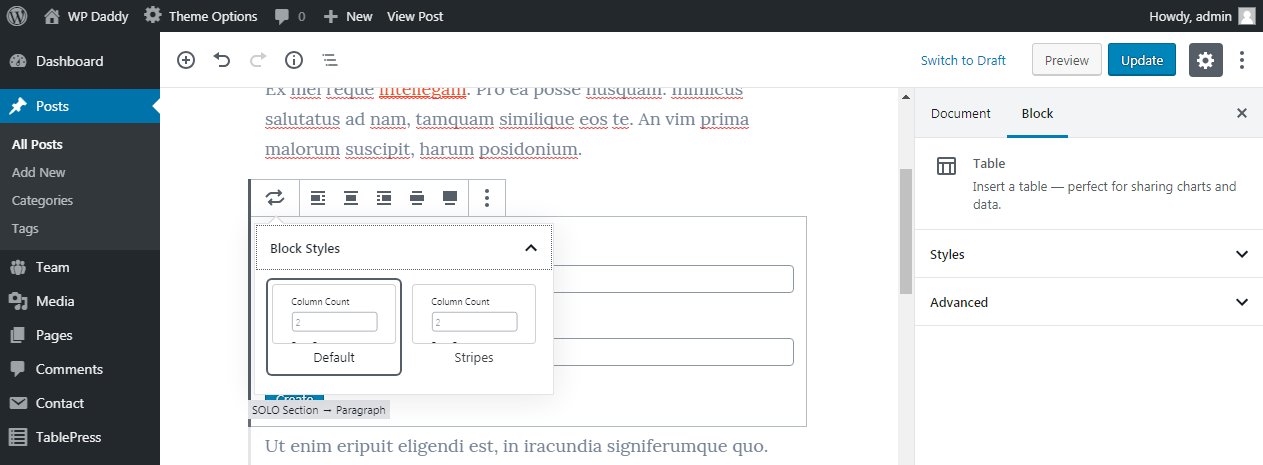
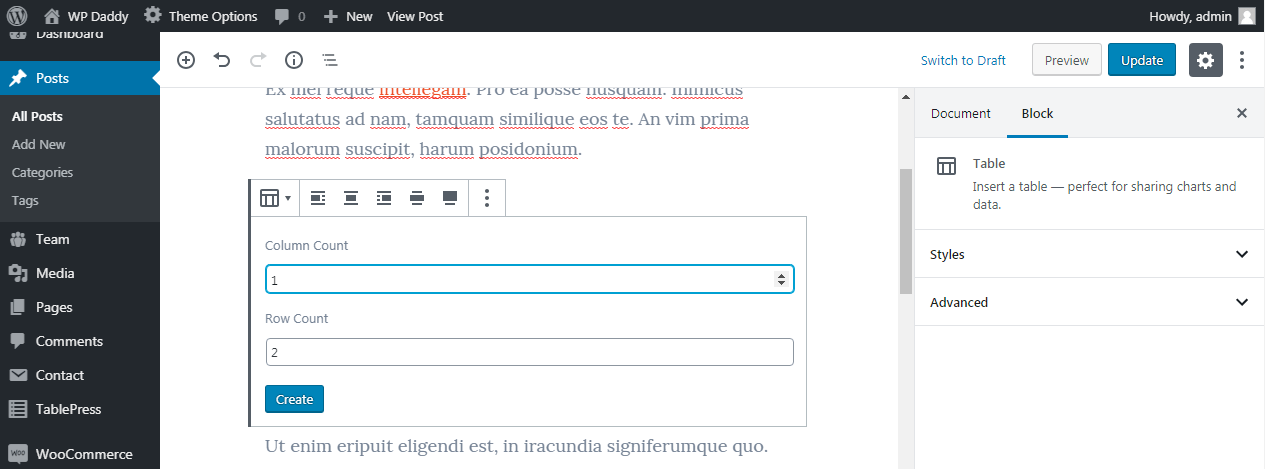
Choose a number of rows and columns.
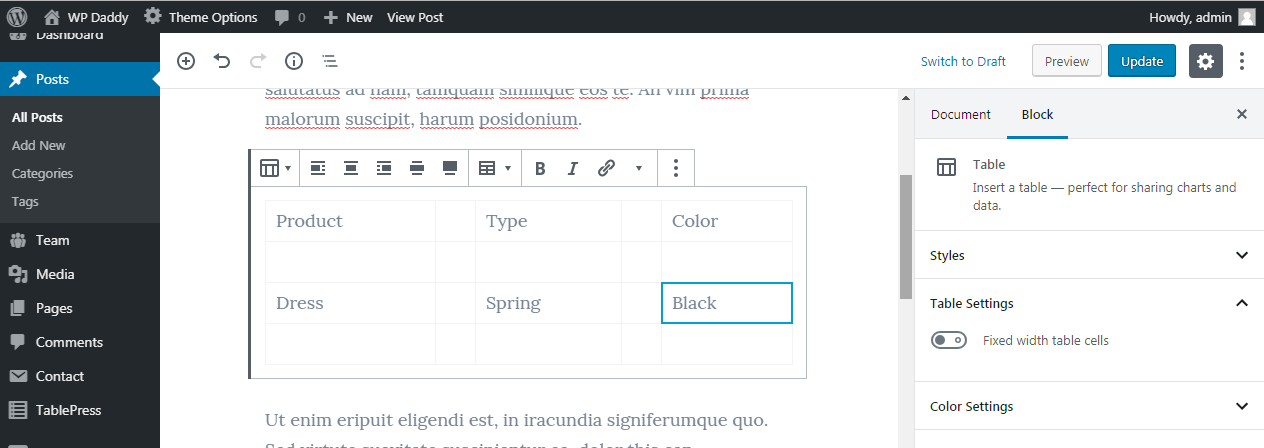
Insert your table content.
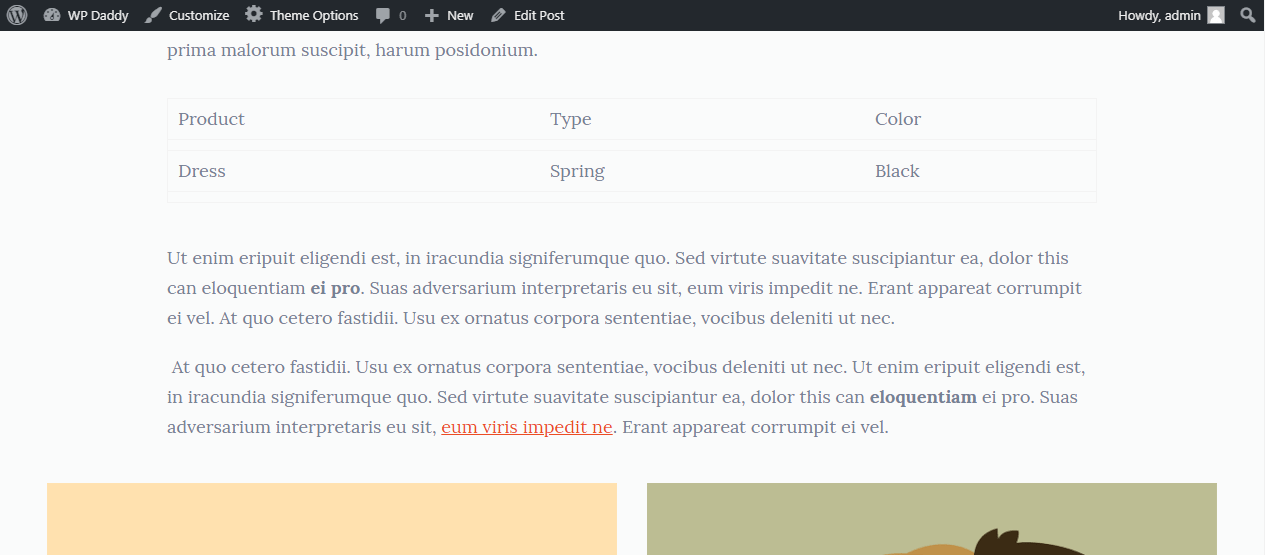
And preview the table live.
As you see, all is pretty easy.
So I hope this tut was a bit helpful, and now you know which plugin is the easiest one to use for creating tables in WordPress; and of course you can make sure that Gutenberg content editor is quite an easy tool to use if you want to get more functions within your posts and pages editor.
Yours,
Melany H.