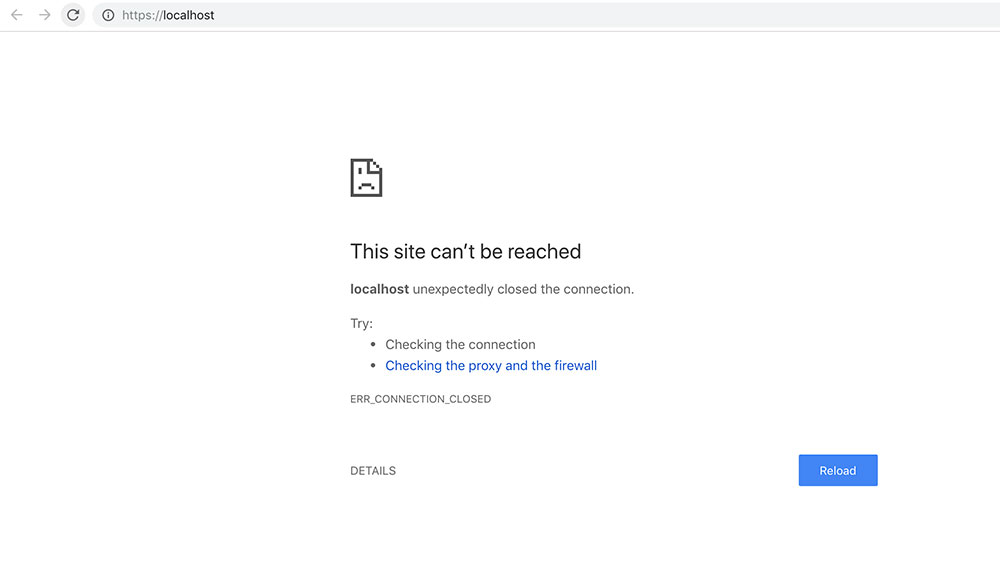
Hi, guys! Several times this week my internet connection was interrupted, so I had to restart my router to fix the problem. After the restart, I tried to open my website once more; I updated the page but faced ‘This Site Can’t Be Reached’ error displayed in my browser. The same problem occurred with some other sites that were open before the interruption.
When searching for that issue in Google, I’ve understood it’s been a very common one. So I’ve resolved to share a few ways of fixing this error with you, dear readers!
I will share some of the most possible methods of fixing this issue if you use Windows operating system and Google Chrome browser, so you can try any of them which will work for you. If one of them doesn’t work, try another one until you fix the problem.
Let’s see what you can do.
1. Restart DNS Client
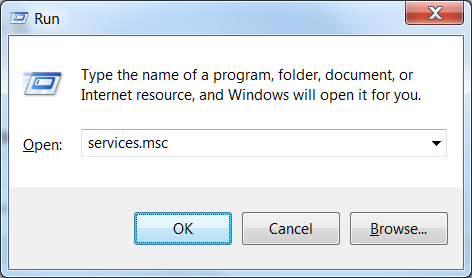
Click the Windows + R keys to open the ‘Run’ box. After that, type the services.msc command in the box and press Enter.
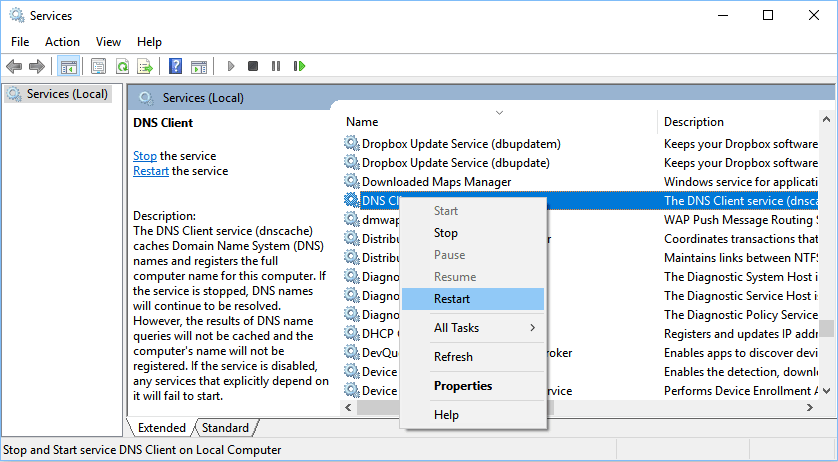
You will see the list of services open in a new window, so find DNS Client, select it and click the ‘Restart the service’ option in the left side of the window (or right-click the service and choose the Restart option in the short cut menu bar).
Now open your Chrome browser and try to enter the required website to check if the fix has worked.
2. Reset Chrome Settings
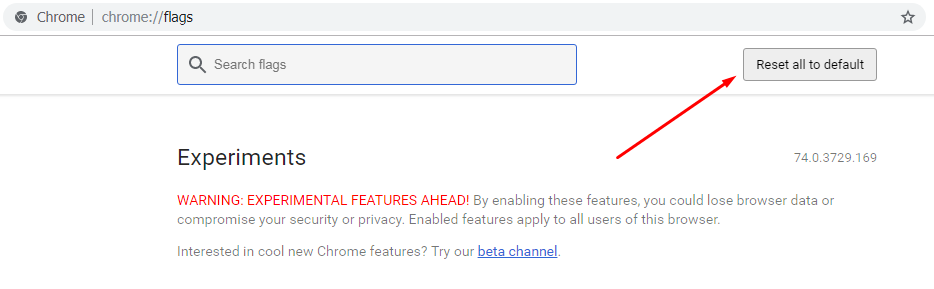
Type the chrome://flags/ command in the Chrome’s address bar and press Enter. Find the ‘Reset all to default’ option on top of the page and click it to reset all Chrome settings.
Check if this action has managed to fix the required error.
3. Reset TCP/IP
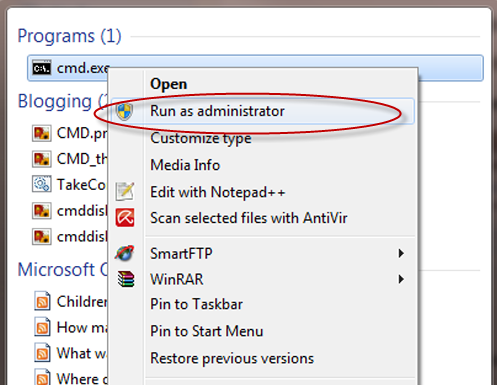
Press the ‘Start’ button on your PC, and type cmd in the Start search box, this will open a Command Prompt (use the Admin mode). Right click on the Command Prompt option to select the Run as administrator one. Click ‘Yes’ when being prompted by User Account Control if you want to proceed with this operation.
Run these commands in the Command Prompt, pressing Enter after each command:
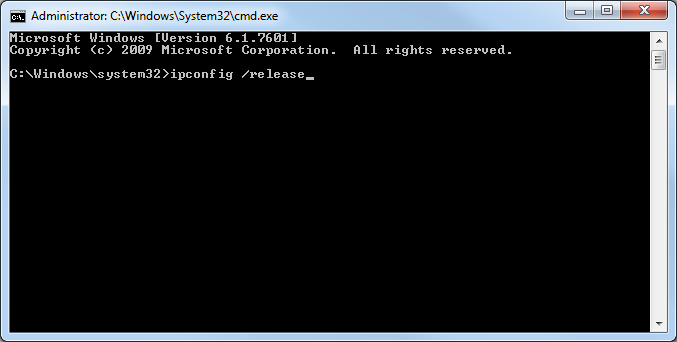
ipconfig /release
ipconfig /all
ipconfig /flushdns
ipconfig /renew
netsh int ip set dns
netsh winsock reset
After all commands are made, restart your PC and check if your website is accessible now.
4. Make Sure the ‘Automatically Detect Settings’ Option is Checked
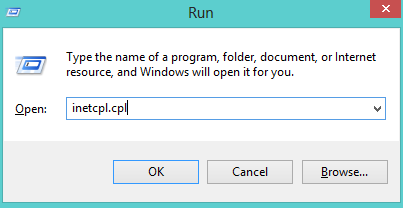
Open the ‘Run’ box just as it’s described in part 1 of this article. Insert the inetcpl.cpl command in the Run box and press Enter.
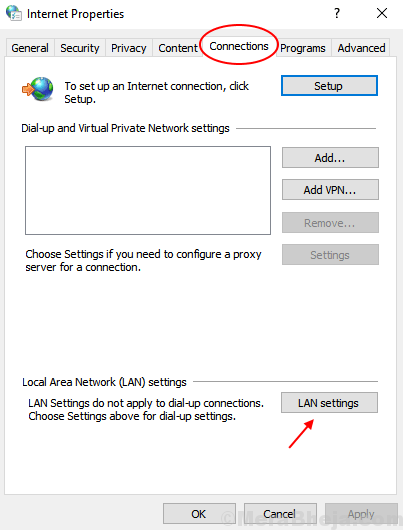
In a new window open the ‘Connections’ tab and find the ‘LAN settings’ button.
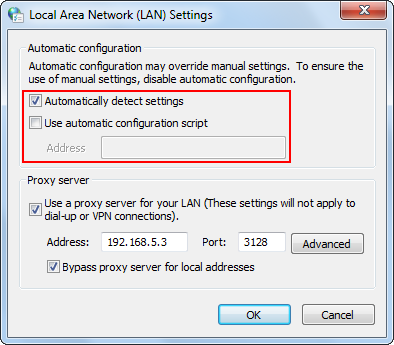
See if the ‘Automatically detect settings’ option is checked. If it is not, check it and click the ‘Ok’ button to keep the changes.
5. Change the IPv4 DNS Address
Open the ‘Run’ box, insert the ncpa.cpl command and press ‘Ok’.

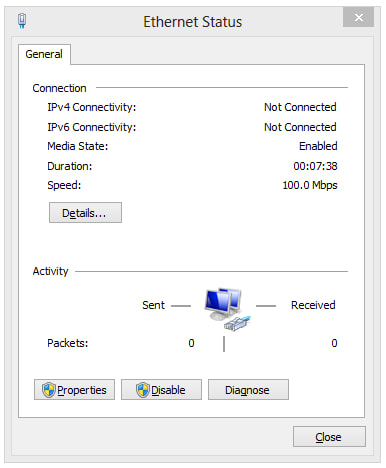
Open the ‘Internet Connection Status’ by double-clicking on it and click the ‘Properties’ button.
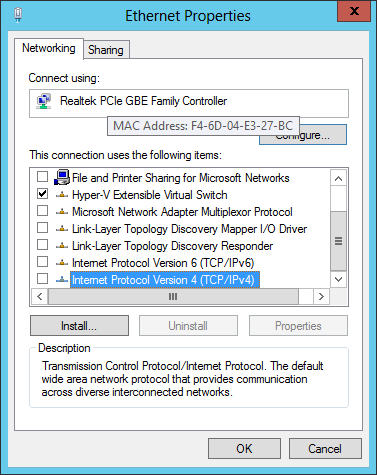
Find the ‘Internet Protocol Version 4 (TCP/IPv4)’ option and double-click it to open the next window.
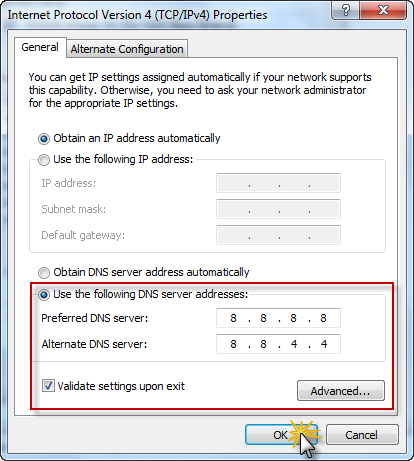
Here you can manually set the DNS server address, so you can use this ‘8.8.8.8, 8.8.4.4’ one as an alternative. Check the ‘Validate settings upon exit’ option before you click ‘Ok’ and then click the ‘Ok’ button.
Now check if this has helped to get rid of ‘This site can’t be reached’ error in your browser.
6. Allow DNS Prefetech
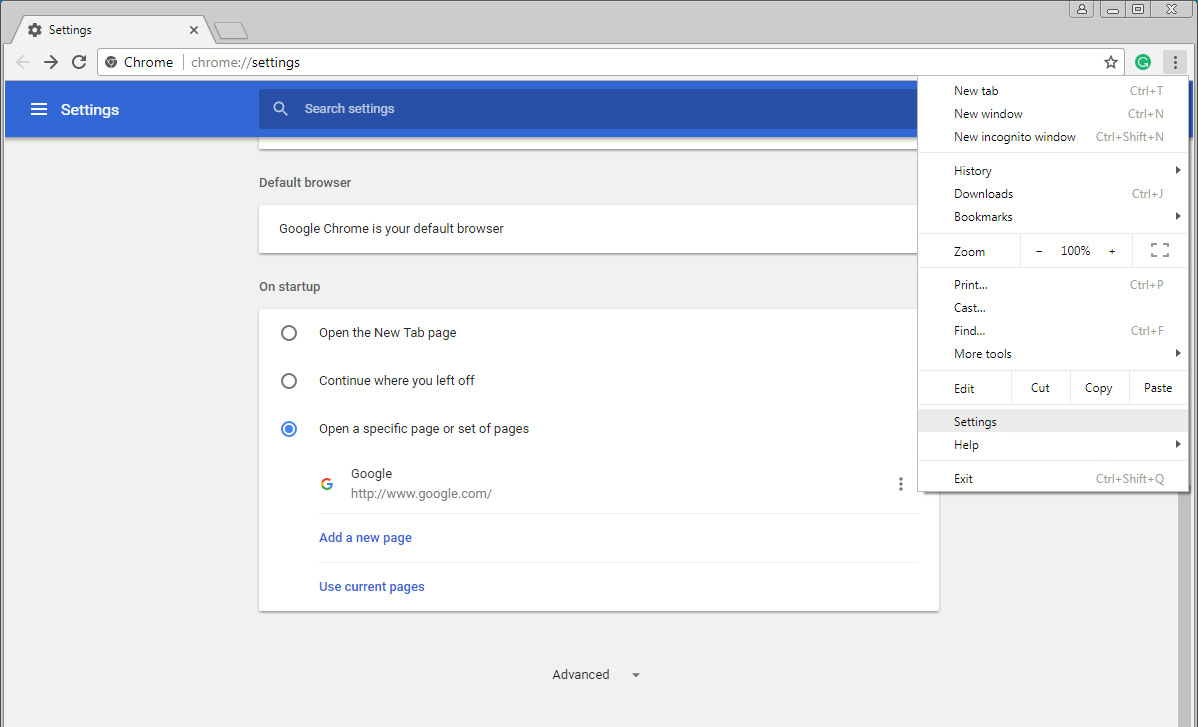
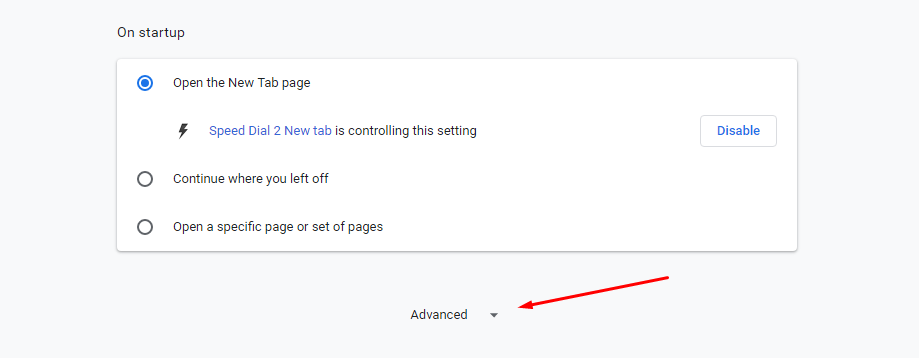
Go to Chrome Settings as shown on the snapshot below,
scroll down and expand the ‘Advanced’ settings option.
Find the ‘Privacy’ section and check the ‘Use a prediction service to load pages more quickly’ option to enable DNS prefeteching.
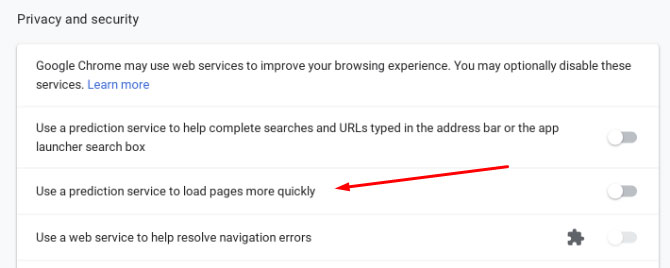
If you don’t find this option, please update your Chrome to its latest version.
This should help to fix the issue.
7. Disable Experimental QUIC Protocol in Chrome
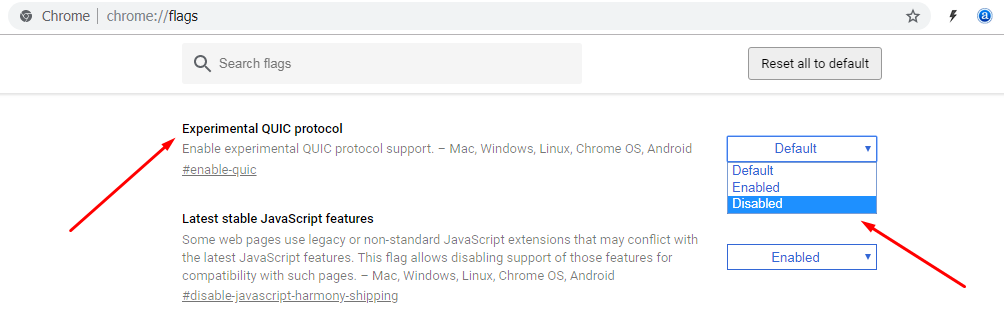
Type the chrome://flags/ command in the address bar of Chrome and press Enter.
Here you should find the ‘Experimental QUIC protocol’ flag (use the Ctrl+F find box). Its value is set as Default but you should Change it to Disabled and restart Chrome.
Now check if the error is fixed.
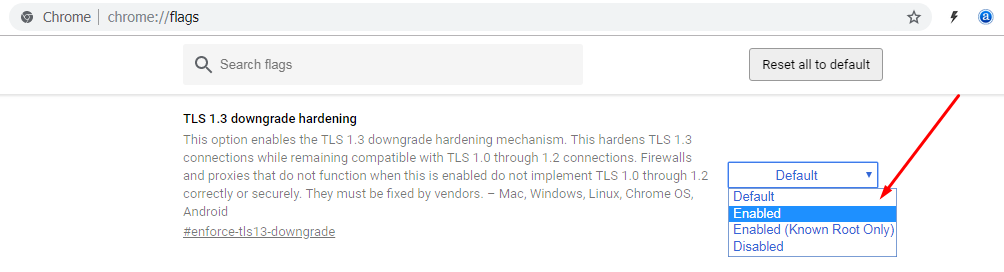
8. Change the Maximum TLS Version Enabled Value
Make the same step as mentioned above in part 7 of this article to go to the flags. Use Ctrl+F to find the ‘Maximum TLS Version’ option. Open the drop-down menu and select TLS 1.3 value instead of Default.
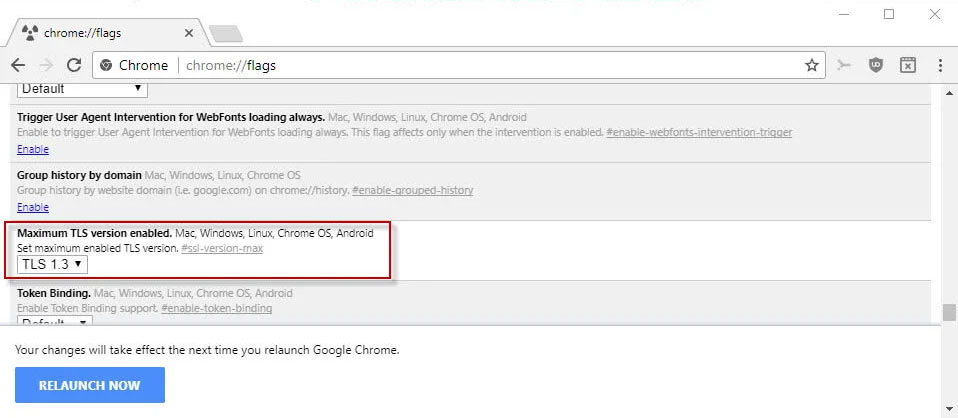
Or find the ‘TLS 1.3 downgrade hardening‘ option and make it Enabled as shown on the snapshot.
Now your website should work.
You can also try to reinstall the wireless adapter driver, turn on and turn off your router to restart it, reinstall your network driver, run Windows network diagnostics or even reinstall Chrome itself.
However, all of these actions are required only if the previous ones didn’t work.
I’m sure the mentioned above actions will help you to fix ‘This site can’t be reached’ error without much effort or unnecessary reinstalls. If not, check your Internet connection; maybe the problem is with your hardware.
You can find the easy guide on how to uninstall and install the browser on Google Chrome Help official support website, but if you are a confident user I’m sure it will be easy for you to make the installation by yourself without a problem.
Hope this was helpful,
Melany H.