If you’ve got a personal blog, you’ve created a portfolio or you run a business website, the ability to get in touch with you is one of the most essential ones for your visitors and future customers. It’s important to leave your contacts to your visitors to allow them to ask for partnership or collaboration, leave feedback, apply for a job, ask for support, etc.
Leaving your email on your contact page is not always a good idea, because it’s the direct risk to receive a lot of spam. That’s why it would be more convenient to create a contact form and collect submissions and make your business connections with ease.
Online forms include such as:
• contact form;
• sign in/sign up form;
• newsletter sign up form;
• job application form;
and more.
Let’s see how to create a form on your website in a few simple clicks and without using a single line of code.
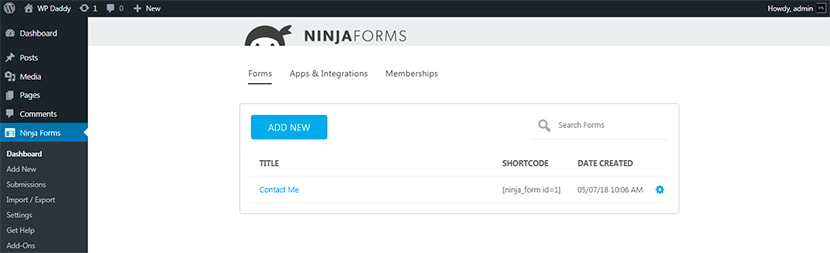
For this purpose, we use Ninja Forms – The Easy and Powerful Forms Builder.
Just install and activate the plugin to learn all of the purposes it provides. Go to Ninja Forms -> Dashboard to see what types of forms you can create with the help of this plugin. Here you can create a blank form, contact us form, a MailChimp signup form, event registration, leave feedback, and some other types of forms.

Select a form type you want to build and click the Add New button.
You will see the default form fields available for a certain form type. For instance, we choose a Contact Us form, so here we can see the fields like Name, Email and Message as well as the submit button. You can also create additional fields if necessary. Just click the Plus icon in the right corner and go ahead.
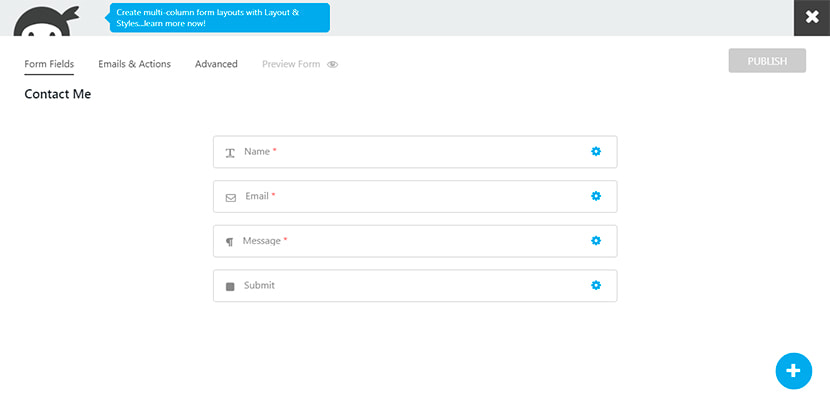
Each field is possible to duplicate, delete or edit.
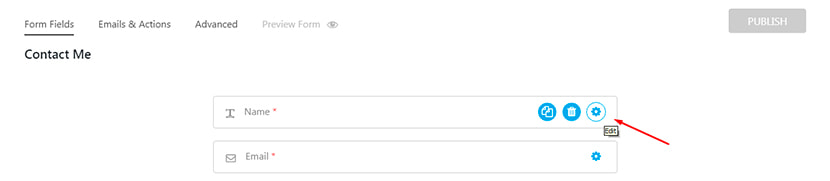
If we click the edit button, we will be able to insert a label and select a label position from the drop-down list which includes the Form Default, Above Element, Below Element, and some other positions.
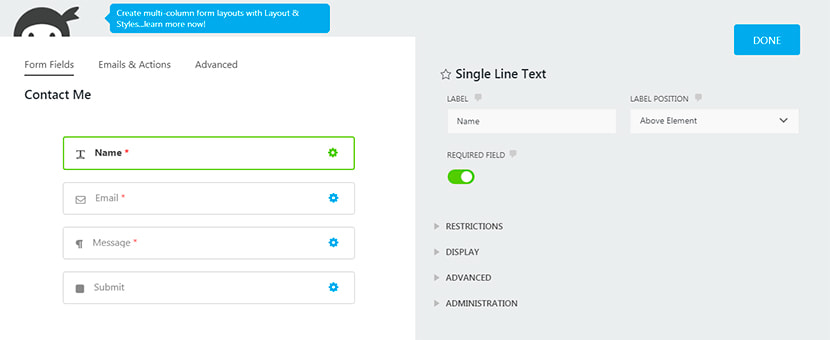
Here you can also switch on or switch off the option of making a certain field a required one. The field you want to be required will be marked with a red snowflake on the page.
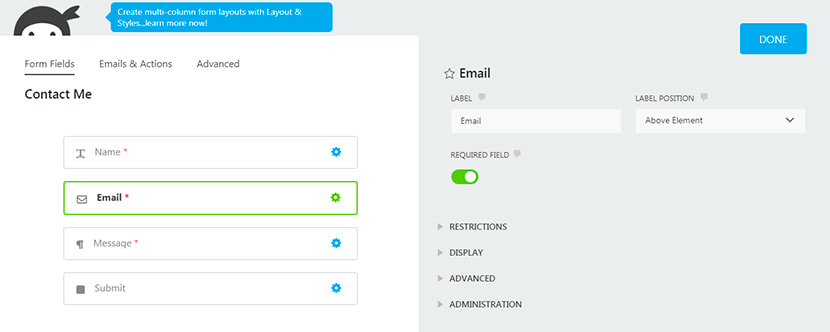
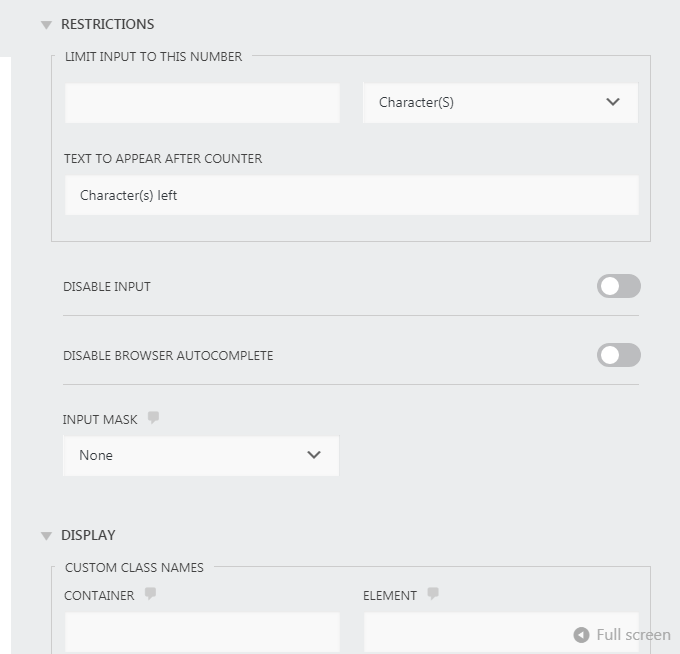
You will be also able to manage the restrictions, display, advanced and administration options for every particular field here.
After all editing is complete, click the Done button and publish your form.
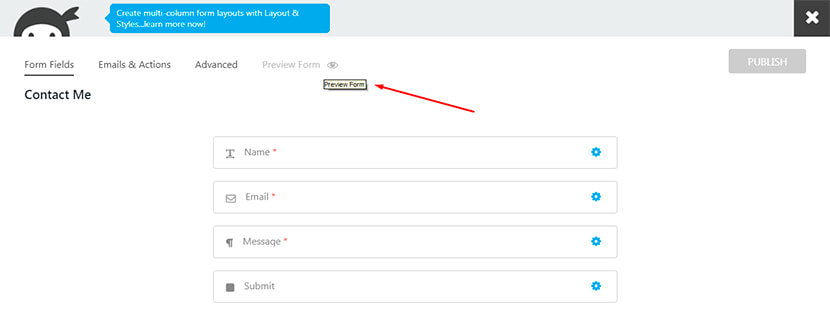
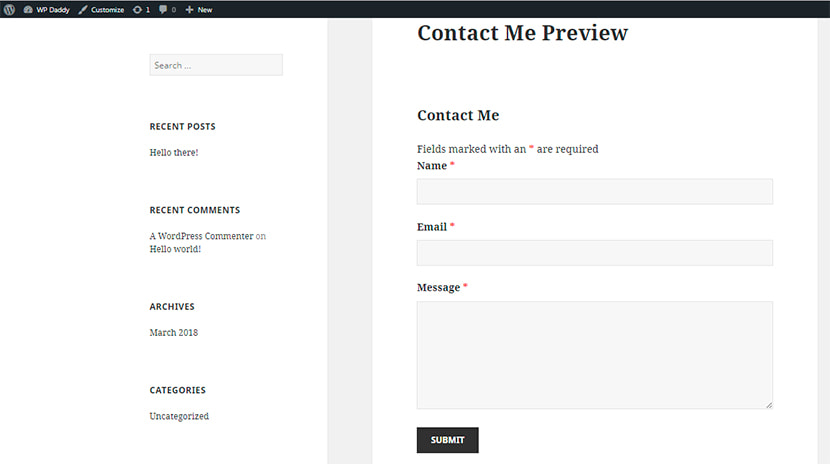
Now you can preview the form live on your website.
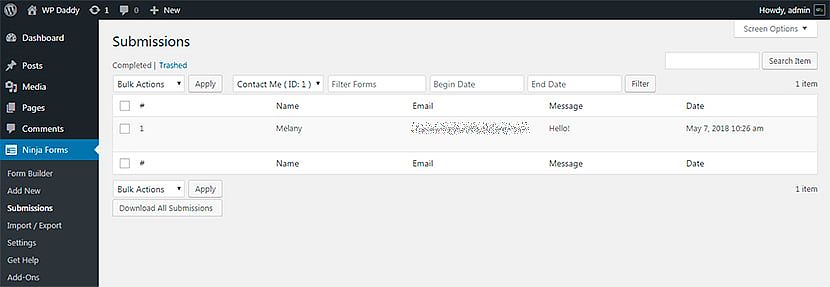
When someone fills out the form you’ve created, their request appears in the submissions menu in your dashboard. So go to Ninja Forms -> Submissions to see what requests you have got.
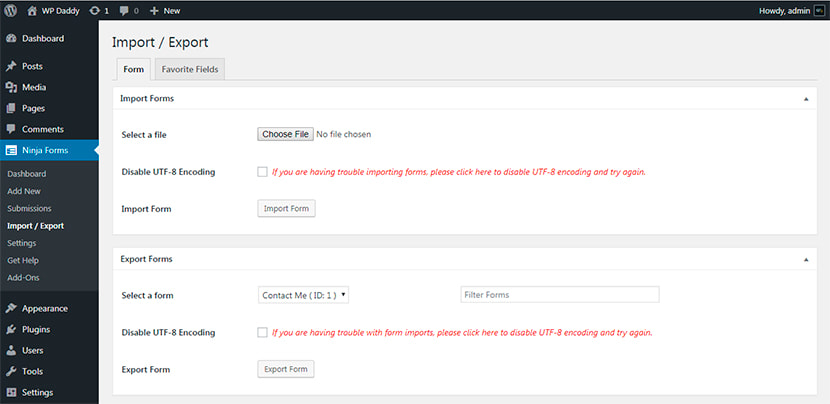
The plugin also allows to import and export ready forms in a few simple clicks. It comes with a number of additional apps and integrations like Layout and Styles, File Uploads, and more.
Please feel free to suggest more solutions for quick and simple form creation. We’d be happy to discuss.