There was a Gutenberg call out in WordPress 4.9.8 Maintenance Release, so all users were able to see the following notification in their dashboards.
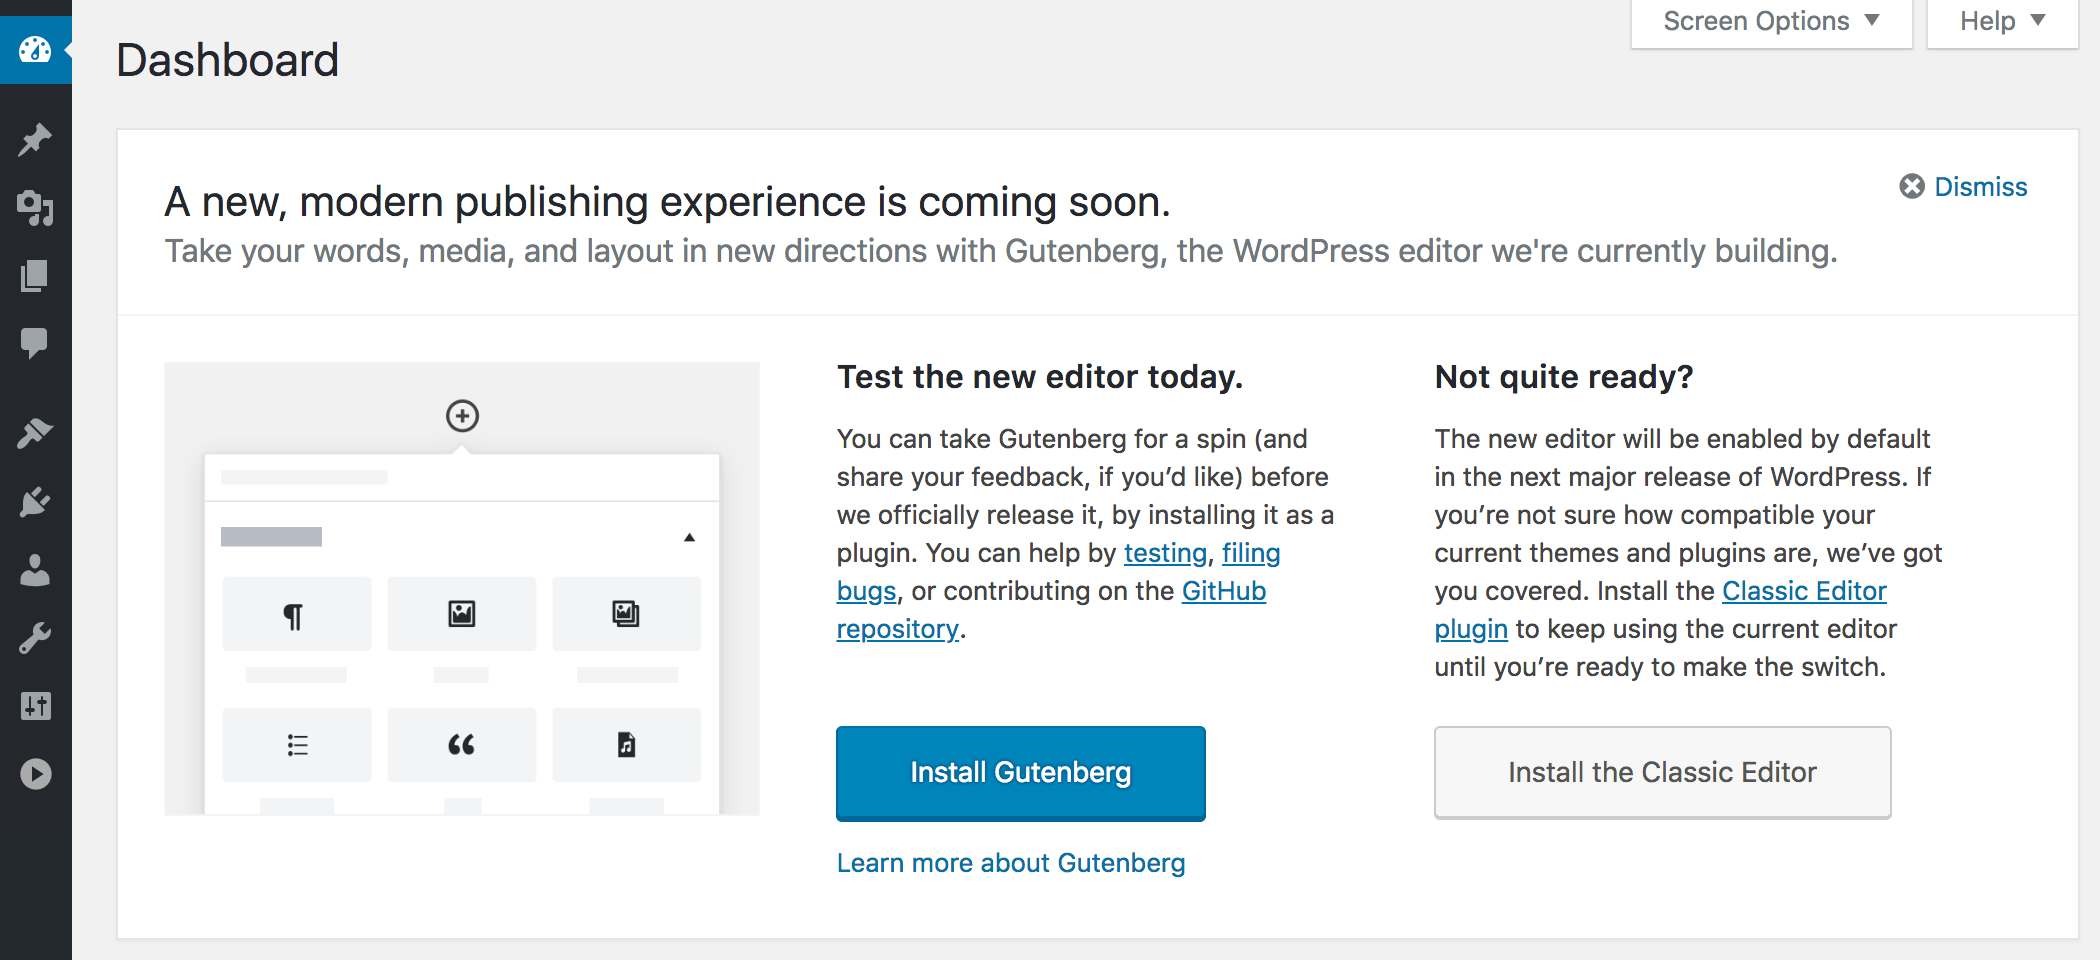
This says that Gutenberg editor will be enabled by default in WordPress 5.0 – Major Release. So now you can either install Gutenberg as a plugin and learn all of its possibilities to get ready to using it for your posts creation or install a classic editor instead and use only this one until you make your theme and plugins compatible with Gutenberg to be able to use it in future.
Almost a year ago we’ve reviewed a beta version of Gutenberg and made a conclusion it is a cool editor with extensive possibilities that can significantly improve the blogging experience.
Today Gutenberg is a full-fledged WordPress visual editor that comes with a bunch of default blocks and a tremendous selection of additional possibilities provided by a number of plugins that developers from all across the globe especially create to extend its functionality.
I’m a writer and in this post I’d like to try the unlimited editing opportunities of Gutenberg in practice as well as make a brief review. So let’s start!
Major Features of Gutenberg – Blocks and Word Count
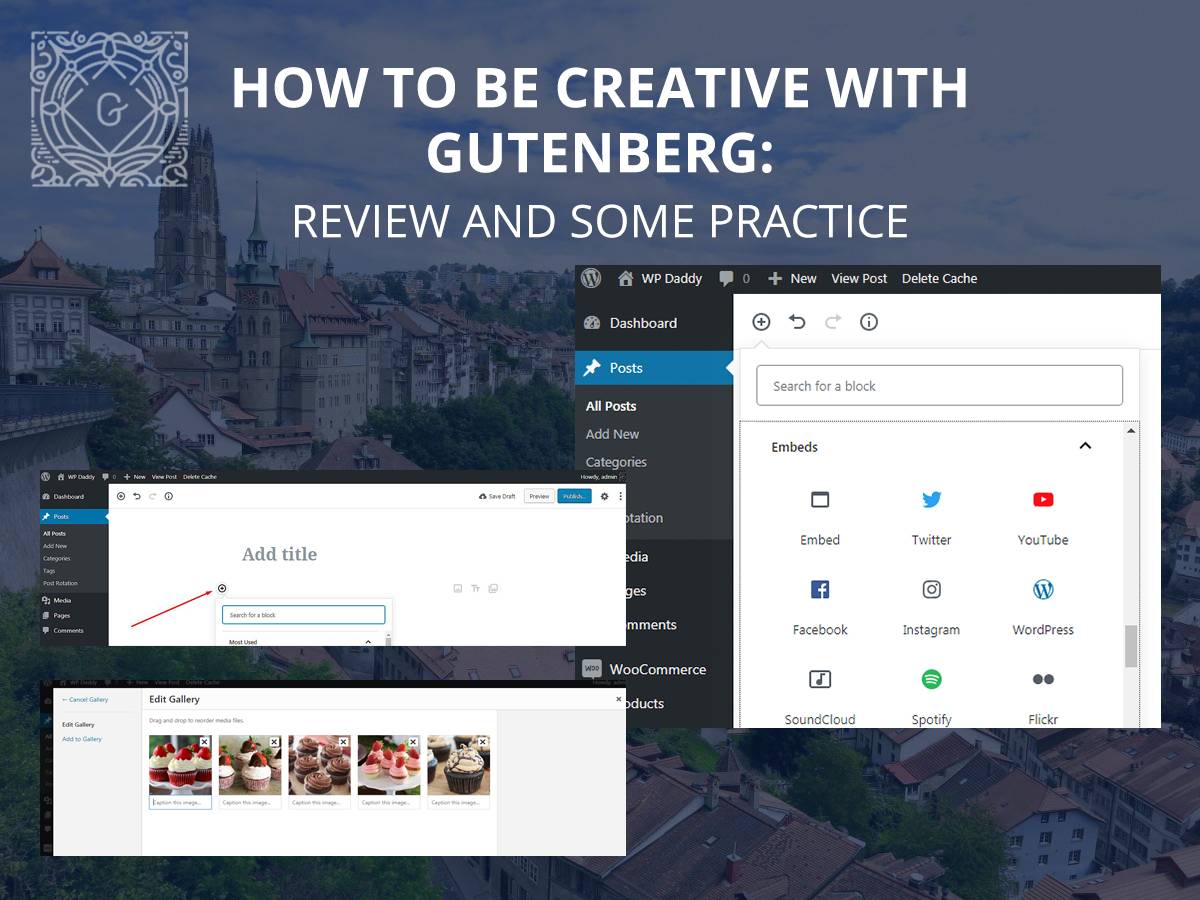
First let’s check out the default Gutenberg blocks and overall functionality available for writers.
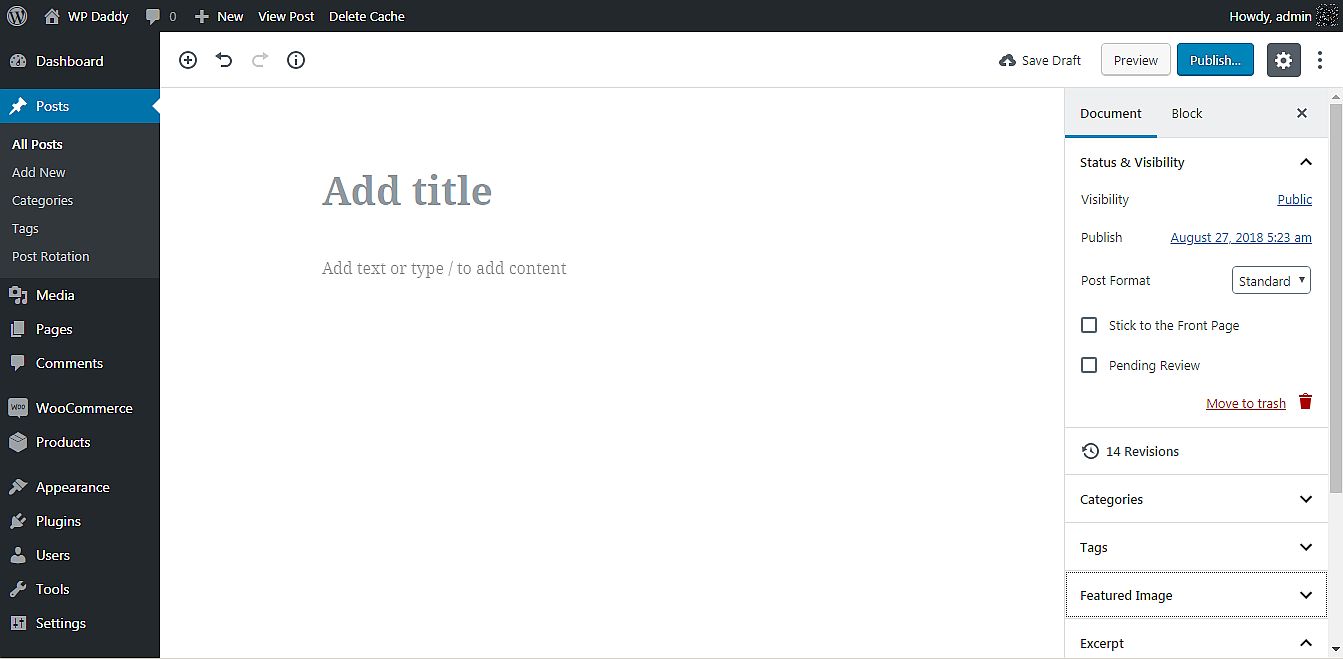
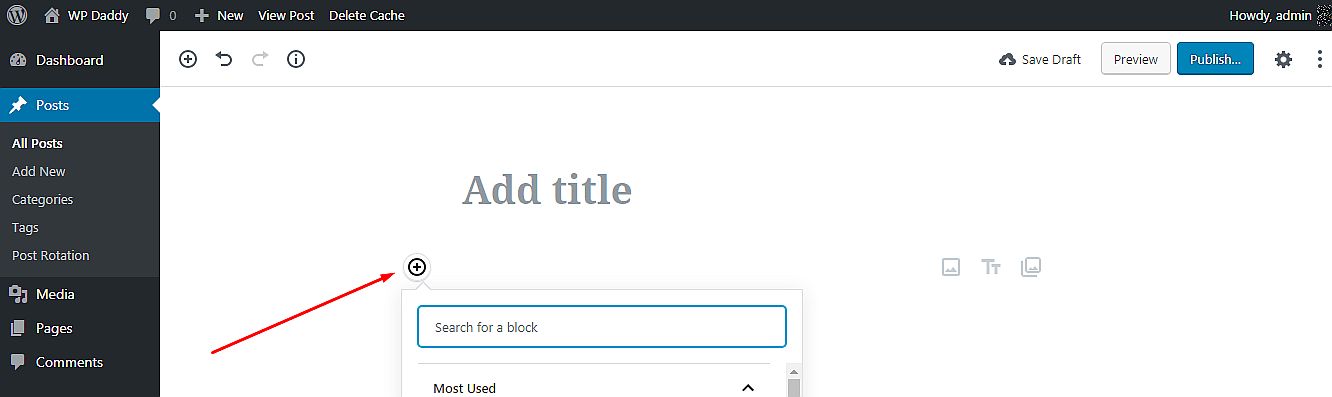
After your Gutenberg is installed and activated, Go to Posts -> Add New and look above the text area. On the left side you’ll see:
- a plus icon;
- undo and redo buttons;
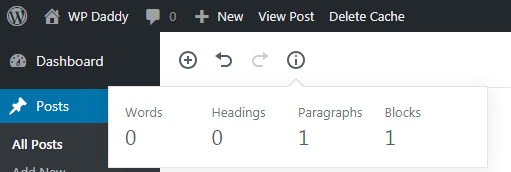
- a word count button.
If you’ve ever used Microsoft Word for Windows, Open Office for Ubuntu Linux, or you’ve just made your posts in Google Docs, then you know how convenient the word count function is. In Gutenberg you can now count words, paragraphs, blocks and headings. Try this!
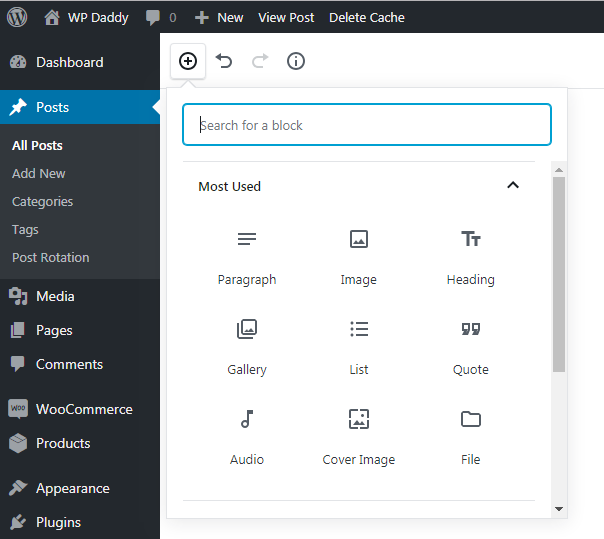
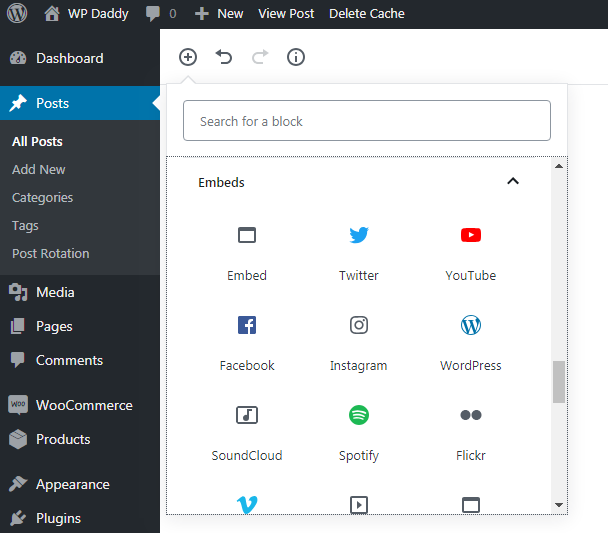
A plus icon will open the lists of blocks divided into different sections depending on their purpose. Well, the first set of blocks is called the “Most Used” ones. They include such blocks as Paragraph, Image, Heading, Gallery, and more.
The Inline Elements of Gutenberg contain only the Inline Image block.

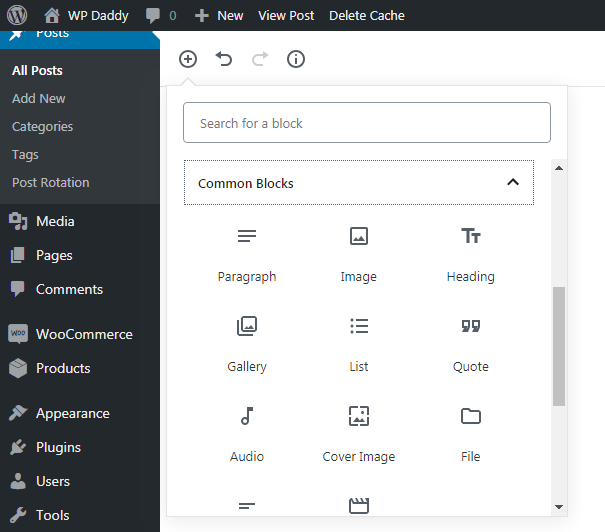
Expand the next tab to check out the Common Blocks. Here you will find the same blocks as you’ve seen in the Most Used section plus you’ll find additional ones like Quote, Audio, Cover Image, File, Gallery, and more.
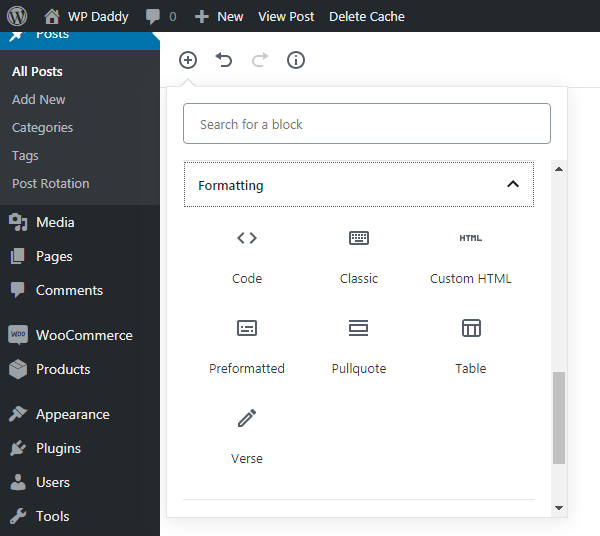
Formatting blocks include Code, Classic, Custom HTML, Preformatted, and more options.
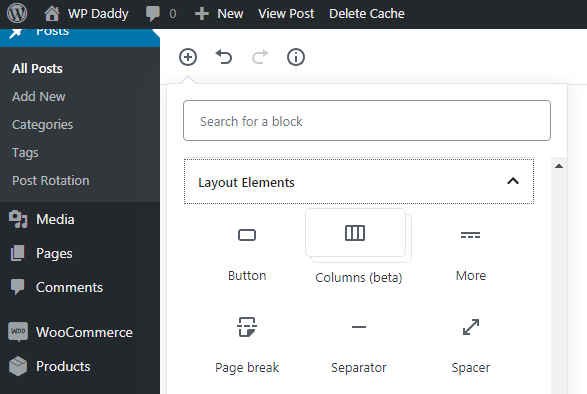
Then you can browse the Layout Elements which include Button, “More” divider, Page Break, and some more blocks available.
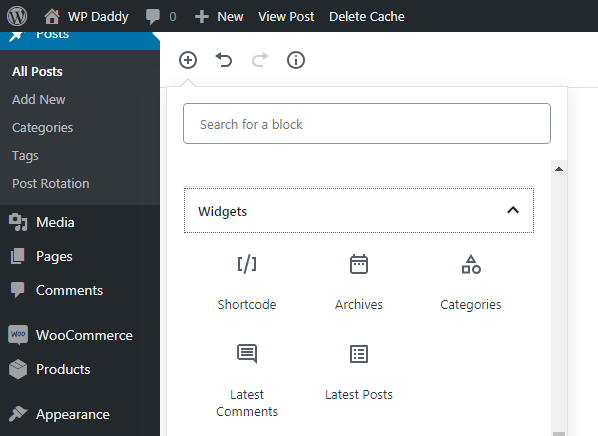
Expand the Widgets section to learn it includes Shortcode, Archives, Categories, Latest Comments, and more blocks.
And finally the Embeds section contains the possibilities to embed videos from such resources as Vimeo, Spotify, Dailymotion, SoundCloud, YouTube, Twitter, and many more.
Preview and Publish Section
Preview and Publish section has something the same as it was in the Classic editor and something new that you’ll only find in Gutenberg.
The habitual options:
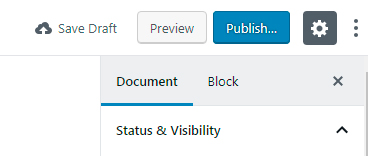
As always you get the Save Draft, Preview, and Publish buttons when the post isn’t yet ready, and the Update button if you want to change the published post.
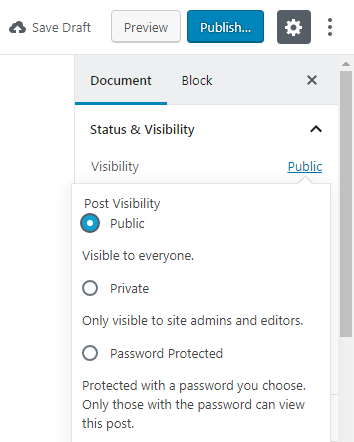
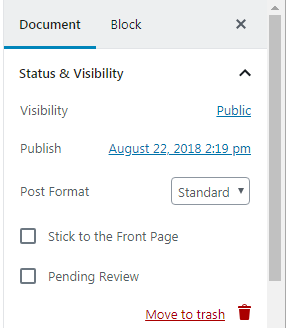
You can shift the visibility selecting from Public, Private and Password Protected posts.
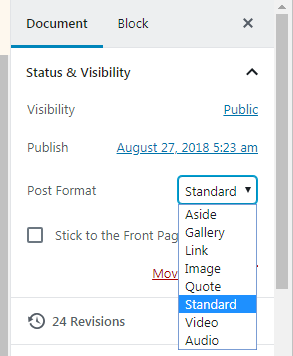
And you can choose a post format form the drop-down list depending on your theme.
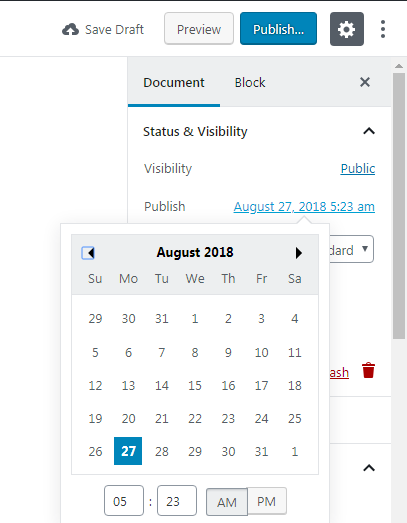
Now you can also select a Publish date in the calendar.
The new options:
Now the Stick to the Front Page and the Pending Review options are available right in the Document section together with Status and Visibility, Publish date and Post Format options.
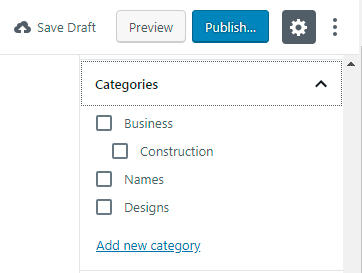
Here you can also select Categories your post is suitable for,
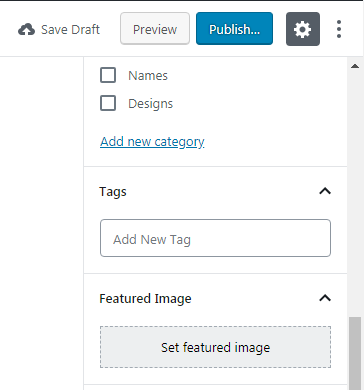
add Tags, set a Featured Image,
write an Excerpt, and either allow or disable comments as well as allow or disallow pings and trackbacks.

Visual and Text Editors – Hidden Now
If you’re a newbie, it won’t be probably predictable for you where exactly it is possible to switch between a visual and a text editor. Look at your Publish button above: hamburger menu near the gear icon includes the possibility to select either Visual or Code editor as well as manage the settings and tools. By the way, you can click the gear icon either to hide or show the sidebar with the options.
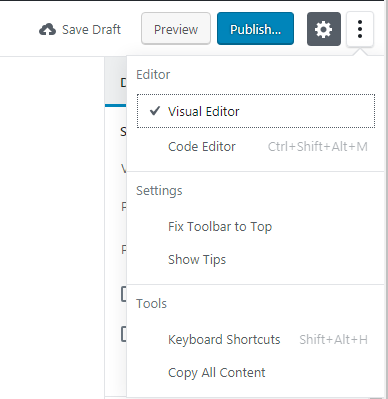
Why do you think is the switching hidden under the menu now? I guess this is made to improve the UX, unclutter the editing area and leave more space for creation. An experienced user will easily find this switching option at once and the newbie, most of the times, has nothing to do in the code editor. However, a newbie can also easily find a switching if he/she has been using similar editors in any other CMS.
Block Options
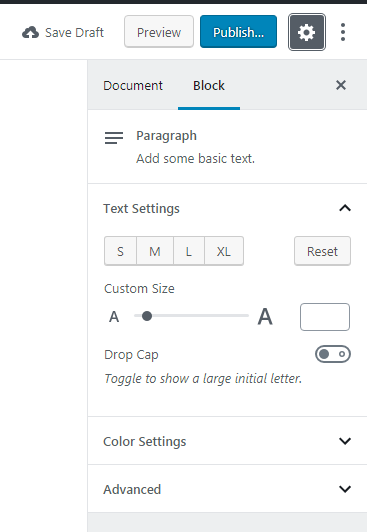
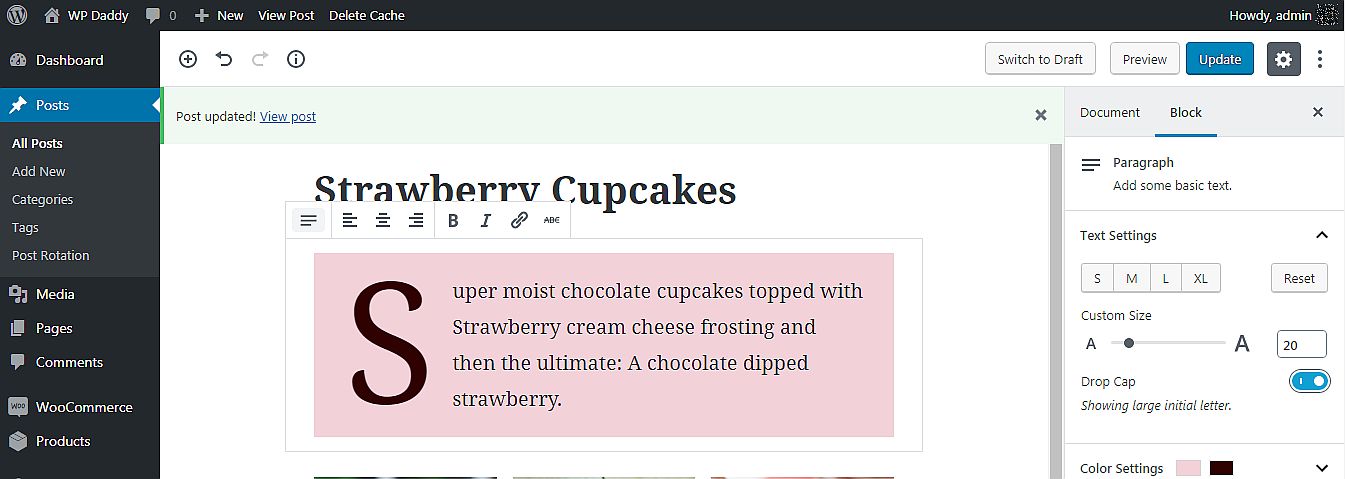
When a certain block is created, you can now click the Block section in the right sidebar and manage the options of this block. If this is a text block, then text settings include S, M, L and XL variants of size or you can choose a custom size if you require. Here you will also find a toggle to show a large initial letter, so you can either turn it on or off as per your needs.
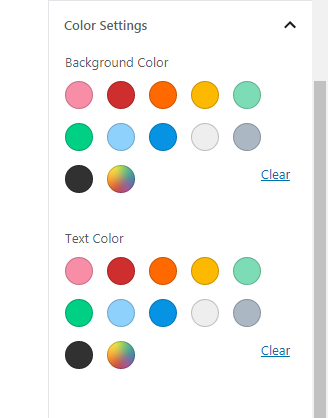
You can also choose the background and text colors of your post
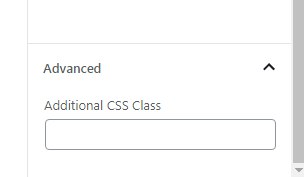
as well as add additional CSS class if required.
Let’s create a gallery post!
So I want to try creating a post with Gutenberg and I add a new block right now.
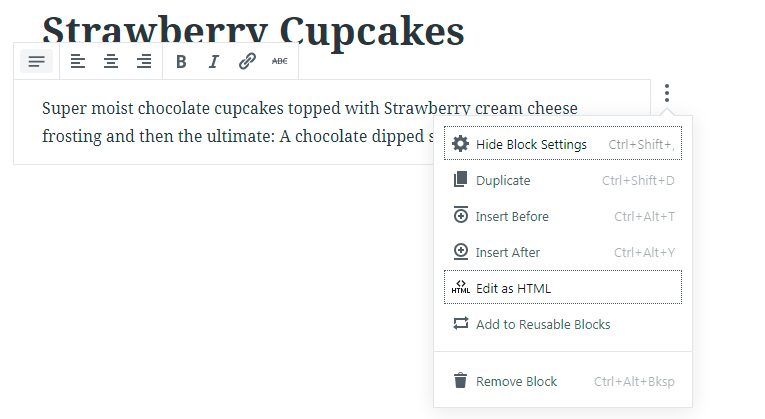
The menu near the new block now allows to duplicate it, remove it, add it to reusable blocks, or make much more manipulations.
I insert a title and add a small description into a text block. I also manage some settings like adding a drop cap, changing the background and text color.
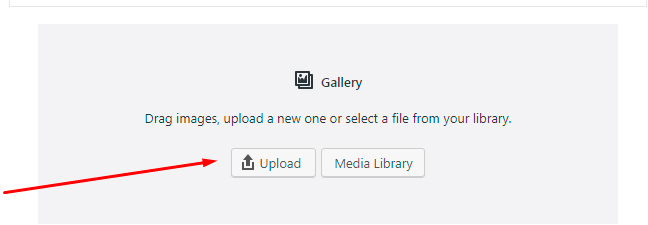
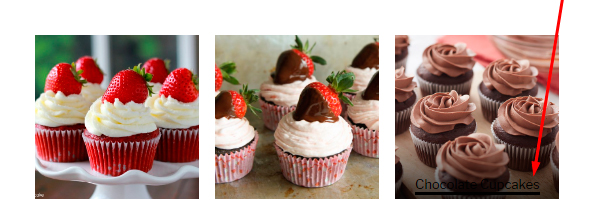
Then I add a gallery block and get the choice either to upload images from my PC or select them from media library.
I choose the media library and then select images from there; click the Create new gallery button and get to the Edit gallery section.
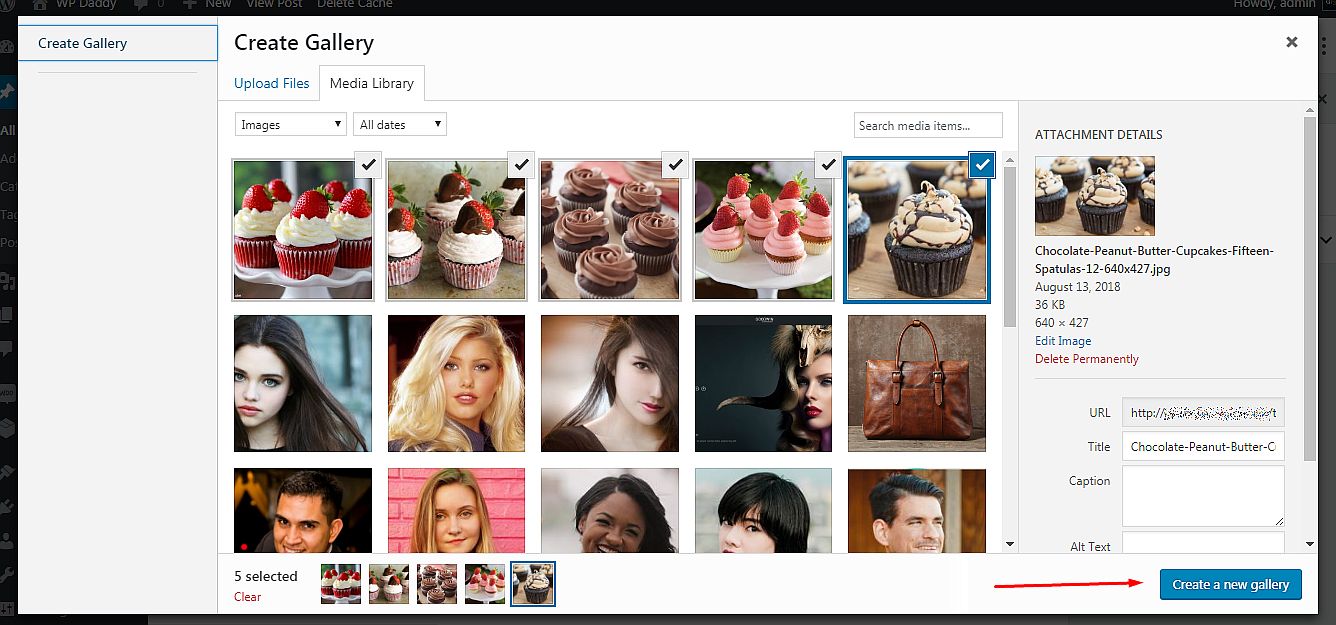
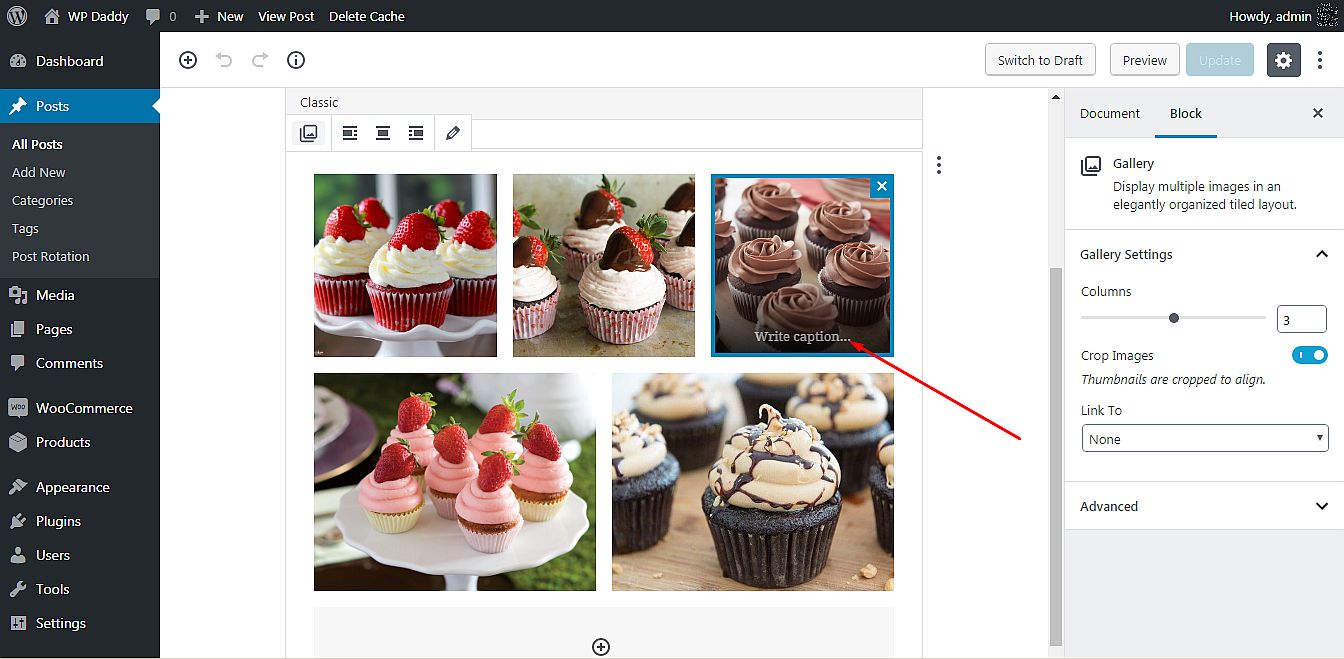
Now I can add a caption to each of my chosen images and then click the Insert gallery button.

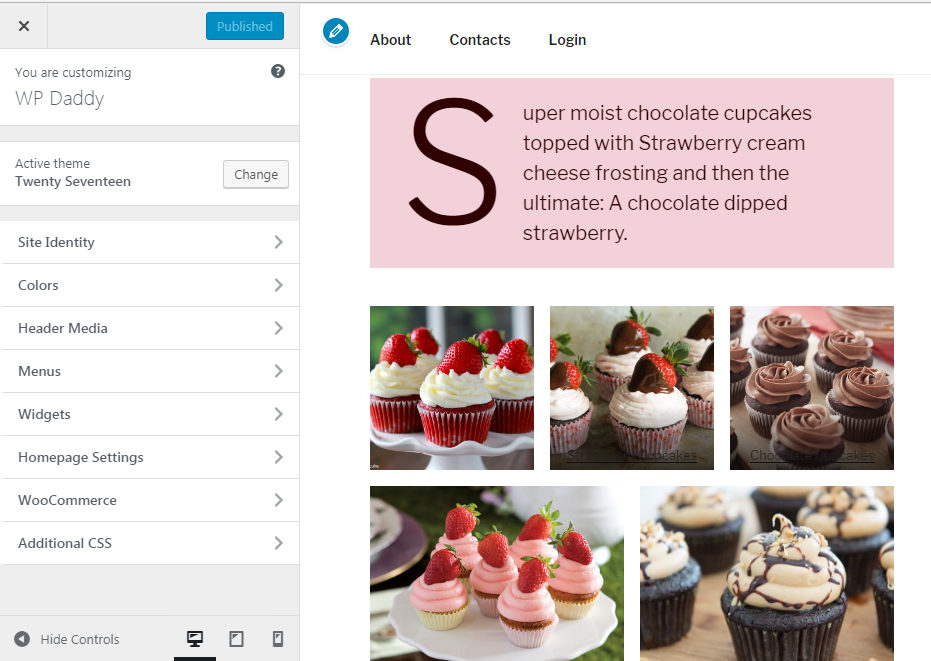
Now the gallery is ready.
You can instantly change the block type
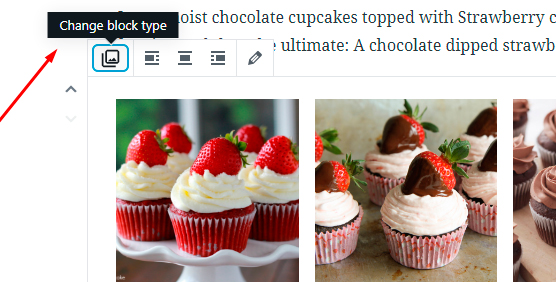
and transform gallery to image
![]()
as well as – image either to gallery or a file.
![]()
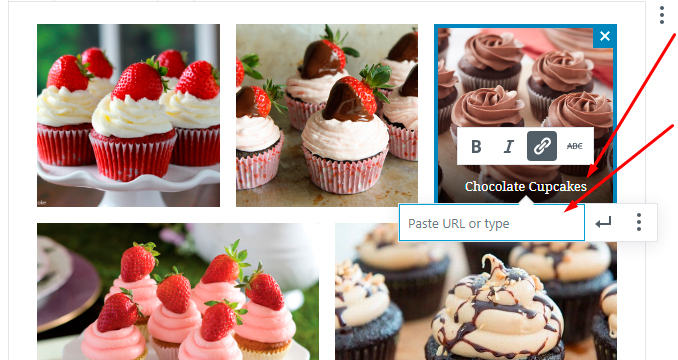
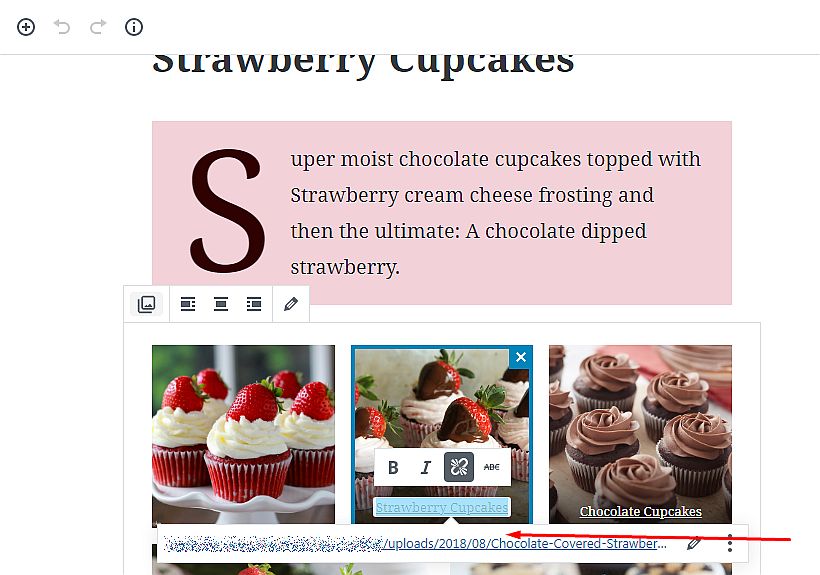
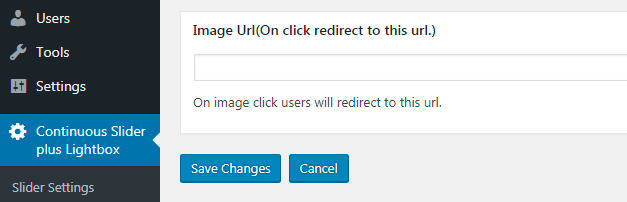
Except for the possibility to add caption to the image in a gallery, you can make this caption clickable by adding an URL to it. This means you can transform a caption into a hyperlink.
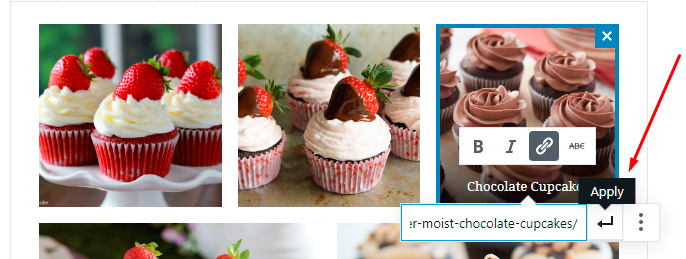
So just highlight a caption -> click the hyperlink option in the popup toolbar -> add a link to the correspondent field -> click the Apply icon.
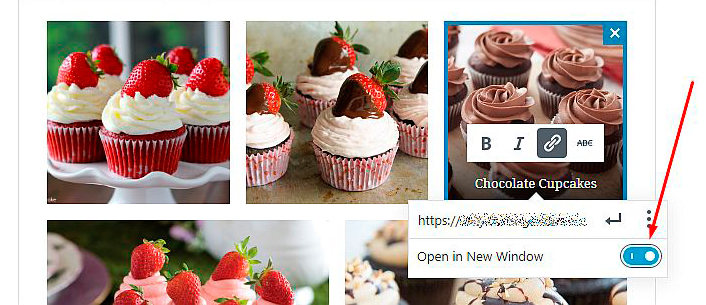
Now after you click this hyperlink, and in case that this link leads to a new page or a third-party website, it will be automatically open in a new tab. If you want your link to be open in a new window, click the hamburger menu near the Apply icon and switch the ‘Open in New Window’ option on.
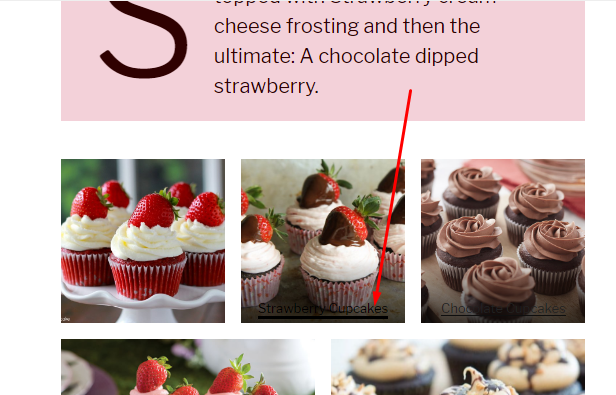
Now when you go live (click the View post button -> this will open the post in the same tab),
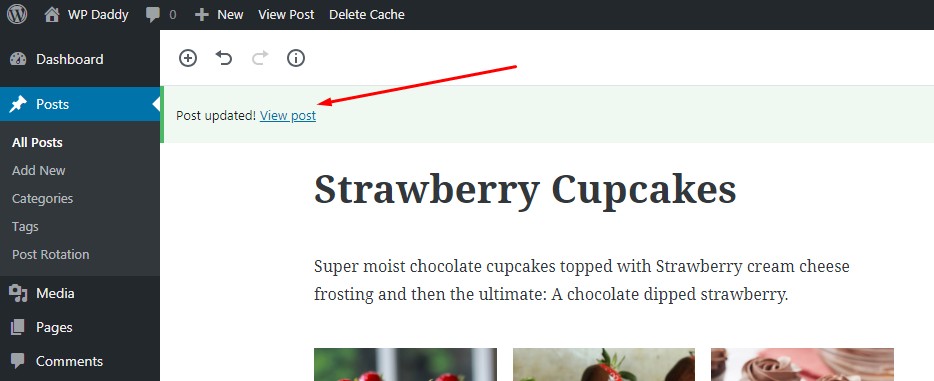
you’ll be able to click any image in the gallery and it will open a link you’ve added.
If you’ve linked your image to its own URL address in the media library, clicking the hyperlink will open an image in the same tab and in its full dimensions.
Enriching the Functionality
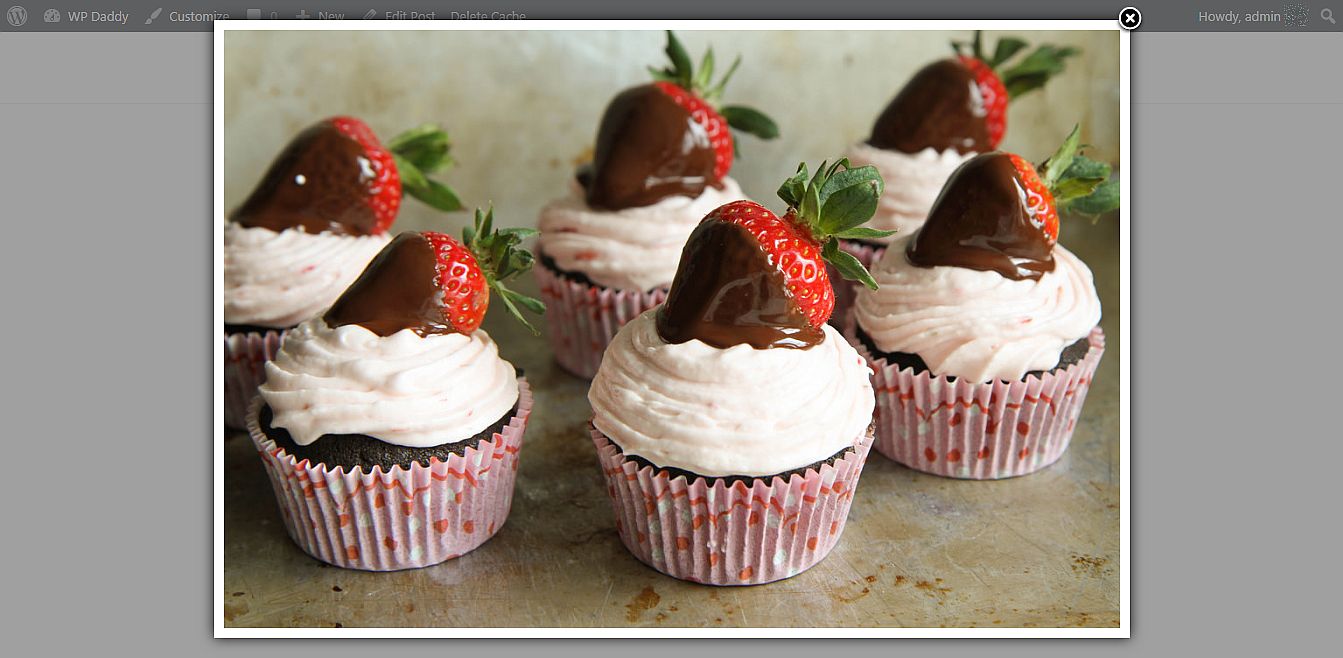
I haven’t seen the option to enlarge every image in the gallery when clicked; this is not available here so far. But I want my image to be open as a popup in the same tab to allow a user click any image in the gallery and open it in the large preview format.
For my purpose I use Easy FancyBox plugin which requires no specific configuration to start working. So I link my images to their own URLs in the media library and update my gallery post.
Now when the plugin is activated, I can click any image in my gallery
and it is open as a popup in the same tab.
And now I want my gallery to look like a slightly flowing carousel, so I will use Continuous Image Carousel With Lightbox plugin for fulfilling my purpose. After the plugin is activated, I go to Continuous Slider plus Lightbox -> Manage Images in my admin dashboard and add 5 images to my future carousel from the media library.
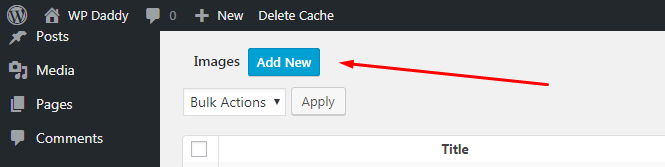
To add them one by one I click the Add New button ->
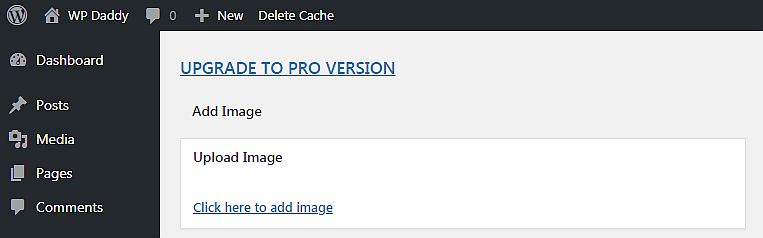
-> click the ‘Click here to add image’ link ->
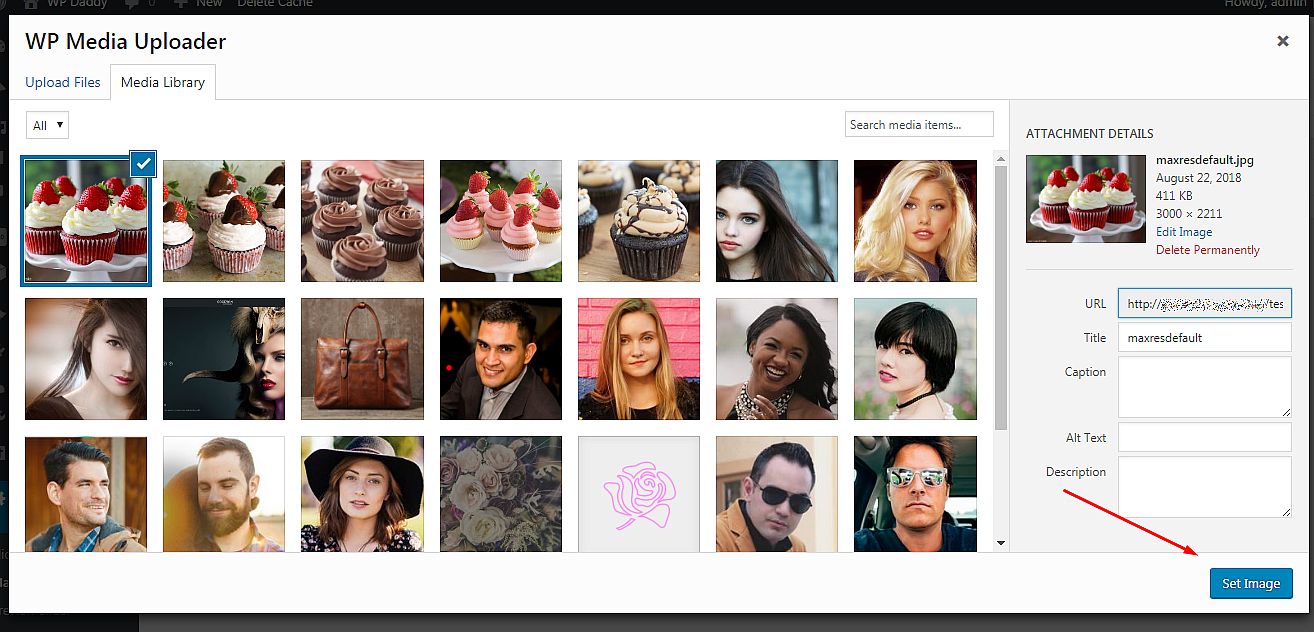
-> choose an image from the media library -> and click the Set Image button.
After that I save my changes and the image is saved.
When all the images are uploaded, I copy the shortcode of the carousel
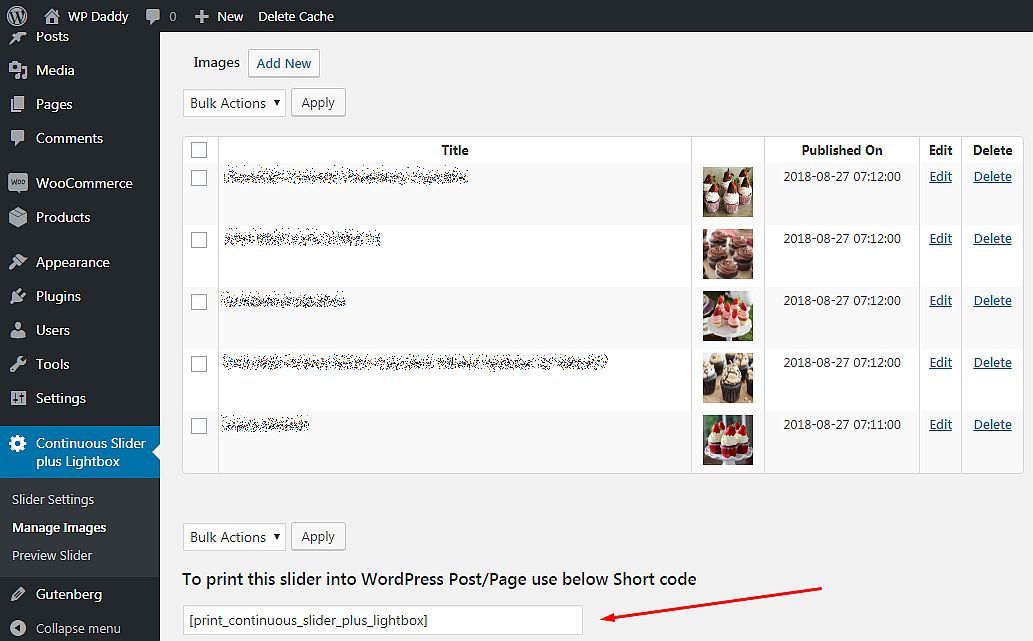
and insert it under the text block in the post created with Gutenberg editor.
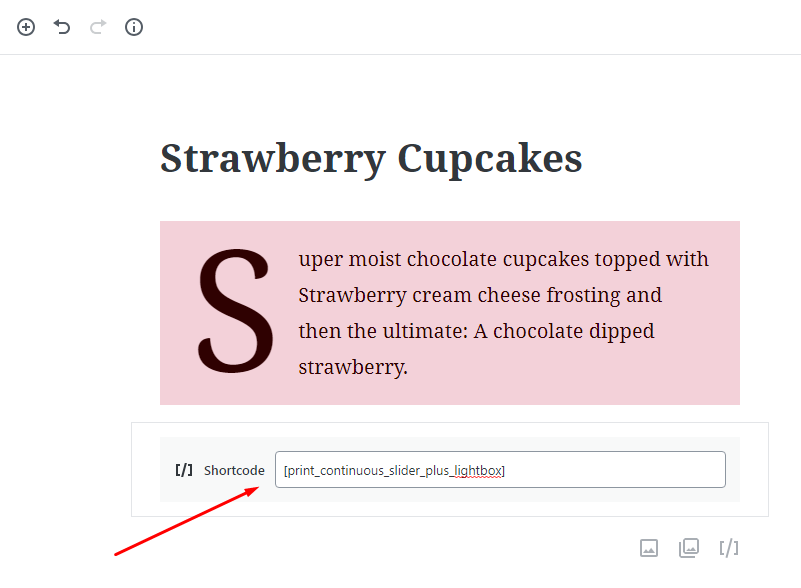
I update the post and preview it, so now I can see my images flow in the carousel slider.
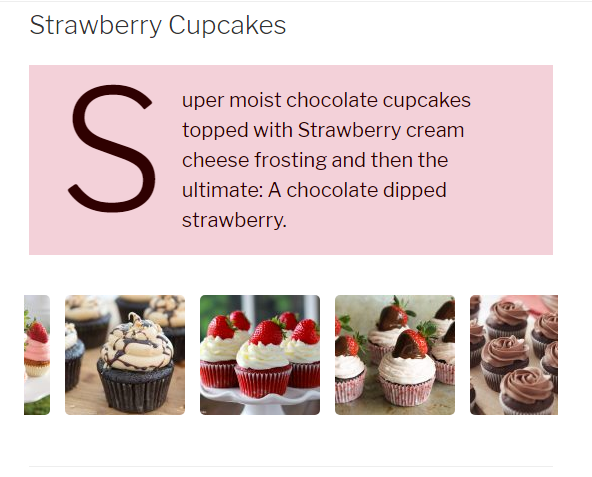
It looks really awesome.
This is not the end, I’d like to say “to be continued…” – ‘cause I’m going to test lots of additional Gutenberg blocks designed by lots of developers and available for extending the default functionality of Gutenberg. My next post will be devoted to eCommerce Gutenberg blocks, so see you soon.
Melany H.
P.S.
I hope you’ll be so kind to leave your thoughts and opinions as for what you’d like to read in the next posts on Gutenberg. Please say everything you’d love to in the comments below. Thanks in advance!