I’ve been recently speaking of the Gutenberg Solo Blocks photo gallery and its irresistible advantages for creating masonry and grid galleries on your photo websites. And now I’d love to share a brief review on the complete Solo Blocks set consisting of a number of modules that help you build the content structure of a web-page using Gutenberg. You can choose where and how to display your content as well as make it easily within a few seconds.
The whole set of Solo Blocks includes:
- Solo Blog;
- Solo Post;
- Solo Section;
- Solo List;
- Solo Button;
- Solo Icon Box;
- Solo Team;
- Solo Google Map;
- Solo Heading;
- Solo Spacer.
Let’s see what they are and how they work.
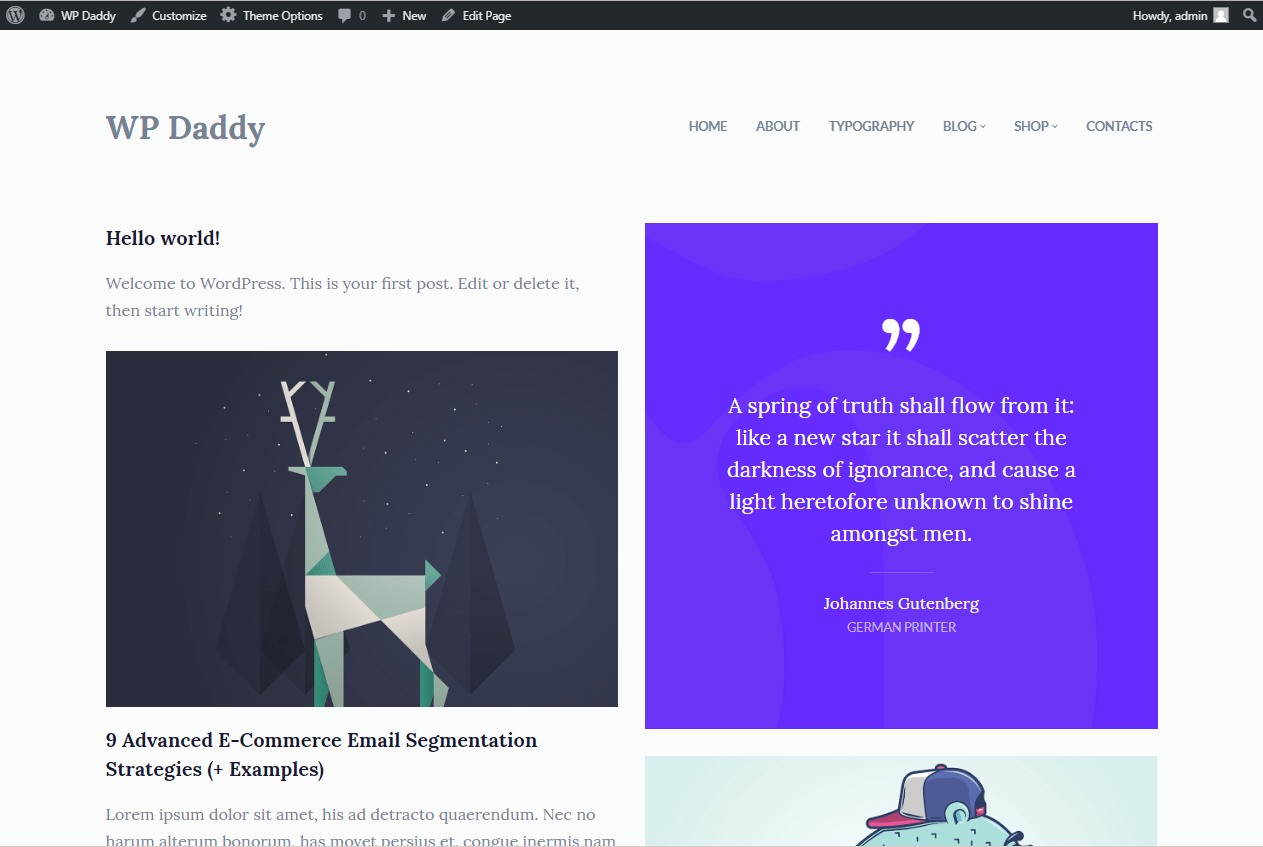
1. Solo Blog
Solo Blog is a block which allows to place your blog posts on any page you prefer with a few clicks.

Go to Pages -> Add New to create a new page or select an existing page from your pages list. Open a chosen page and click the Add Block button in your content editor to select Solo Blog from your Solo Blocks section. Now your blog with all of your content is going to be located on a chosen page.
The settings of the Blog block allow to define how many posts per line you want to display; either enable or disable the pagination; select the spacing between your posts on the page in pixels, and manage some more settings.
So I choose 2 items per line and preview the block live, now I can see the posts from the blog displayed on a page. These are the quote post and a regular blog post with a featured image and a title.
2. Solo Post
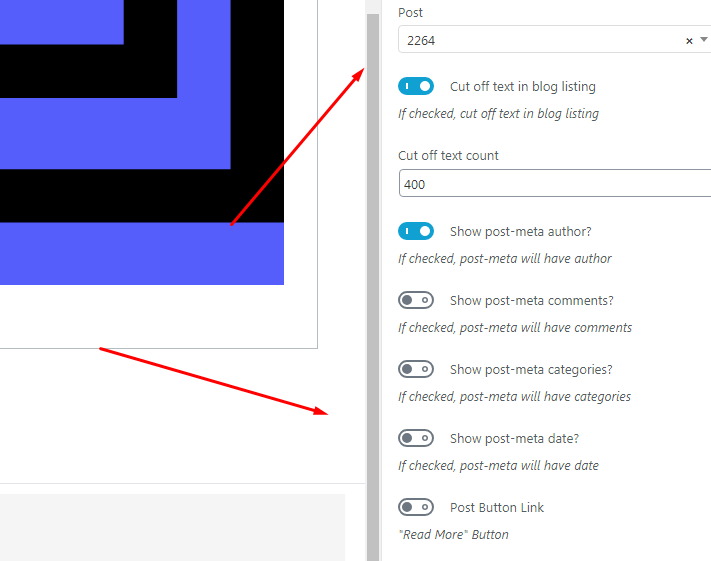
This block allows to place any chosen post on a definite page you prefer. The settings of the block allow to choose a post type, select a post from the list of existing ones, cut off text in blog listing, and manage many more options.
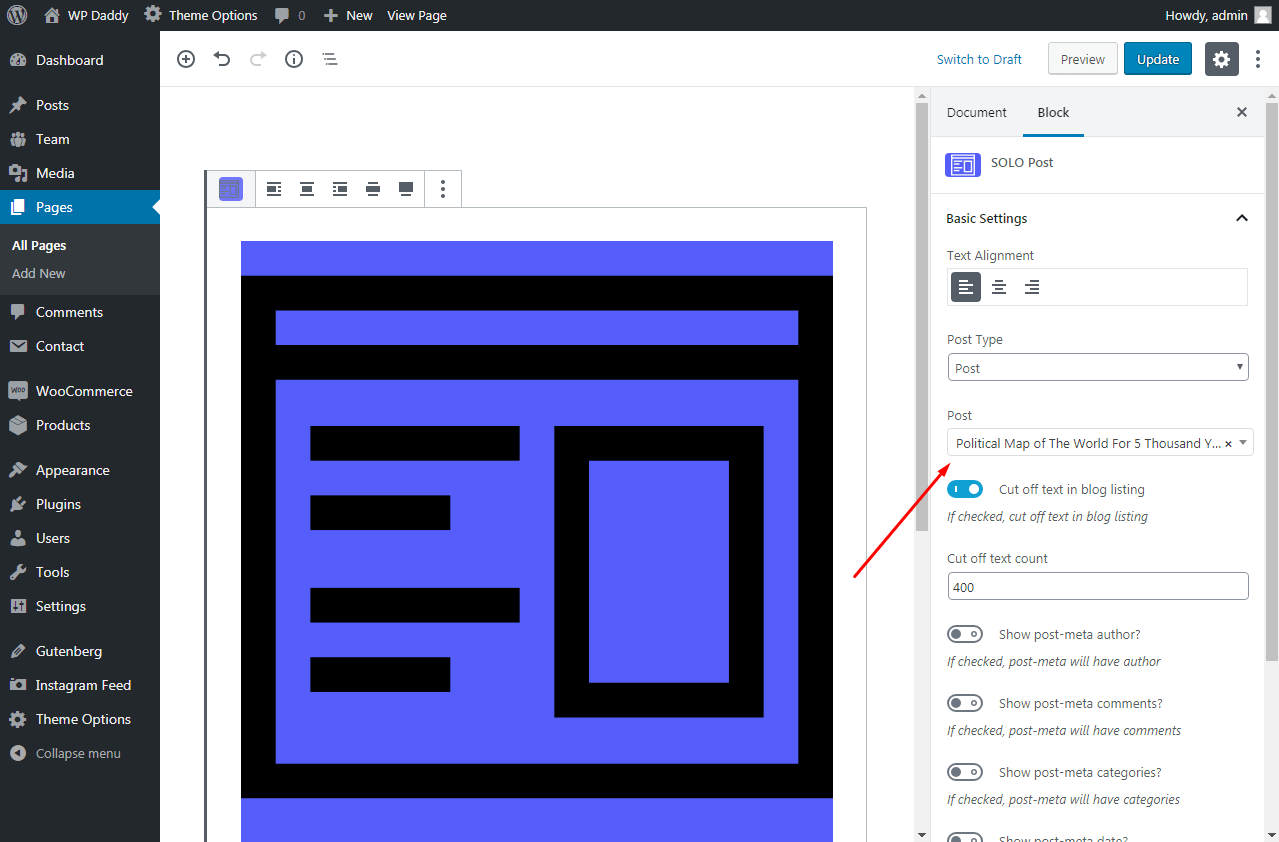
When you insert the post title, it will appear in the drop-down list, so you’ll be able just to select it and Save Draft or Publish your page at once. When the page is published you will see the chosen post ID displayed in the Post list.
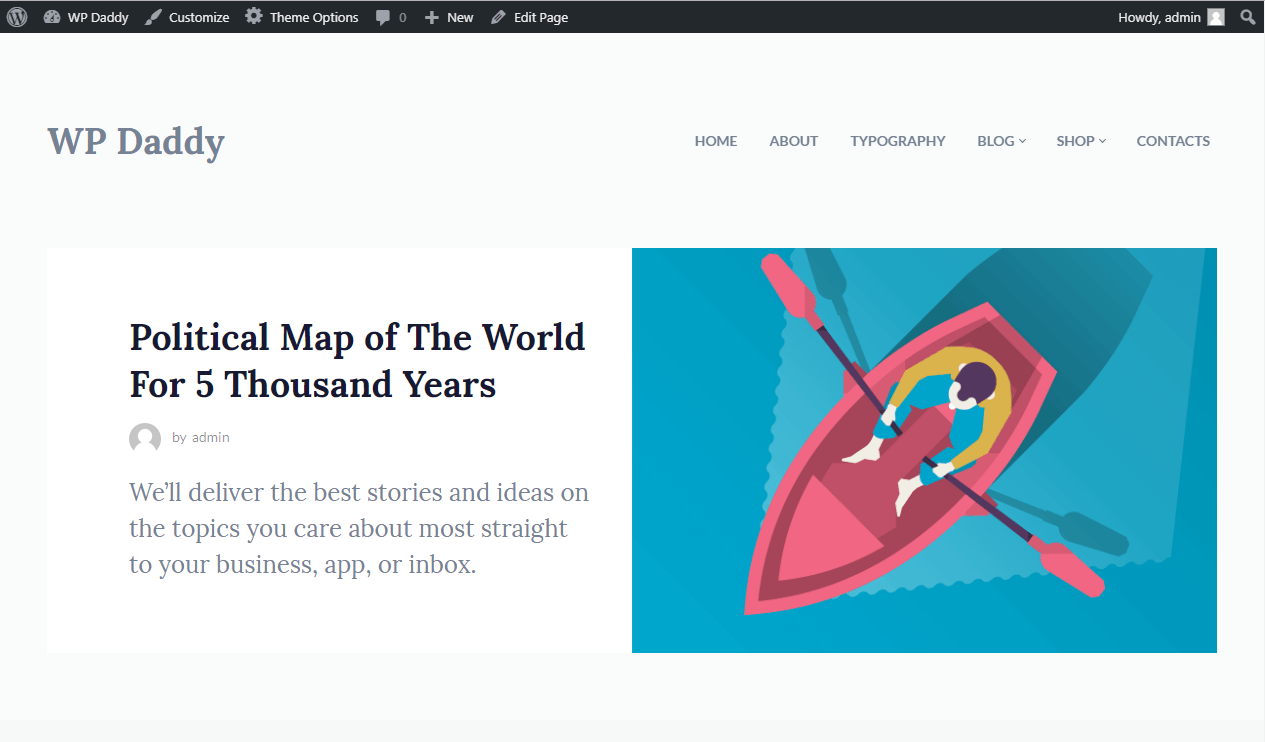
Now you can preview the look of your post on a new page.
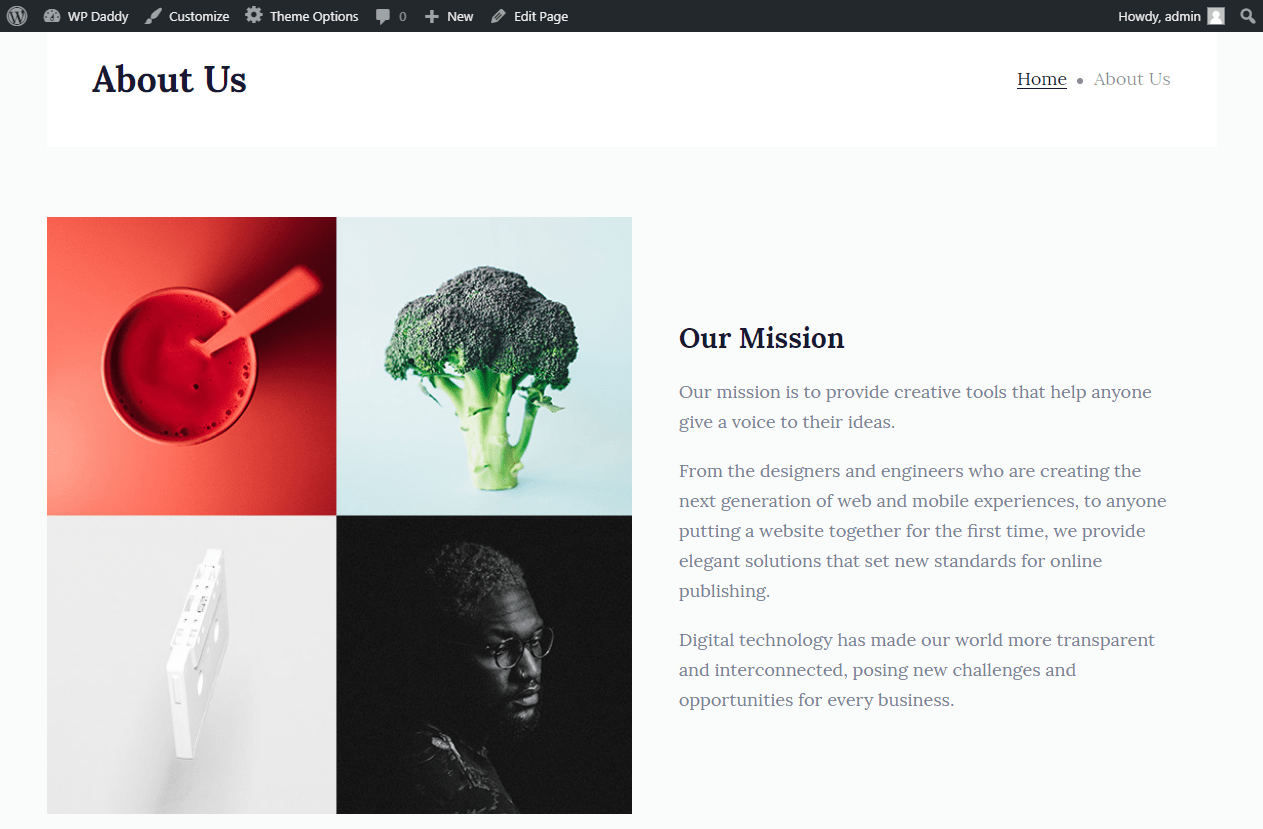
3. Solo Section
This block is made to help you easily create any section (For instance About Us or Services) on any chosen page. Just add this block, manage its settings and insert your any required content.
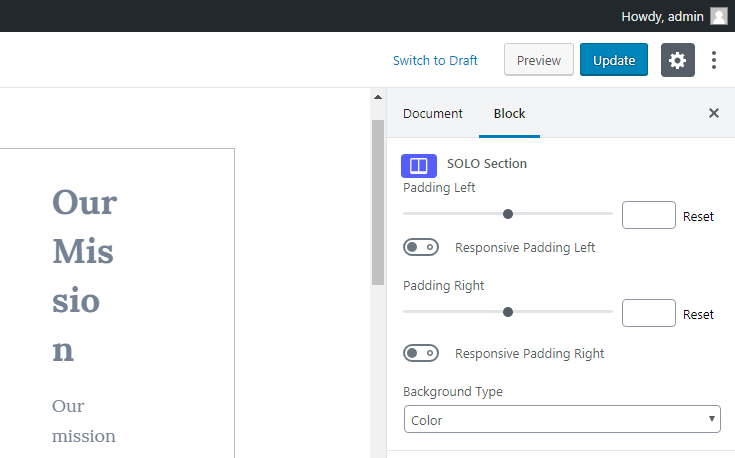
Preview the section.
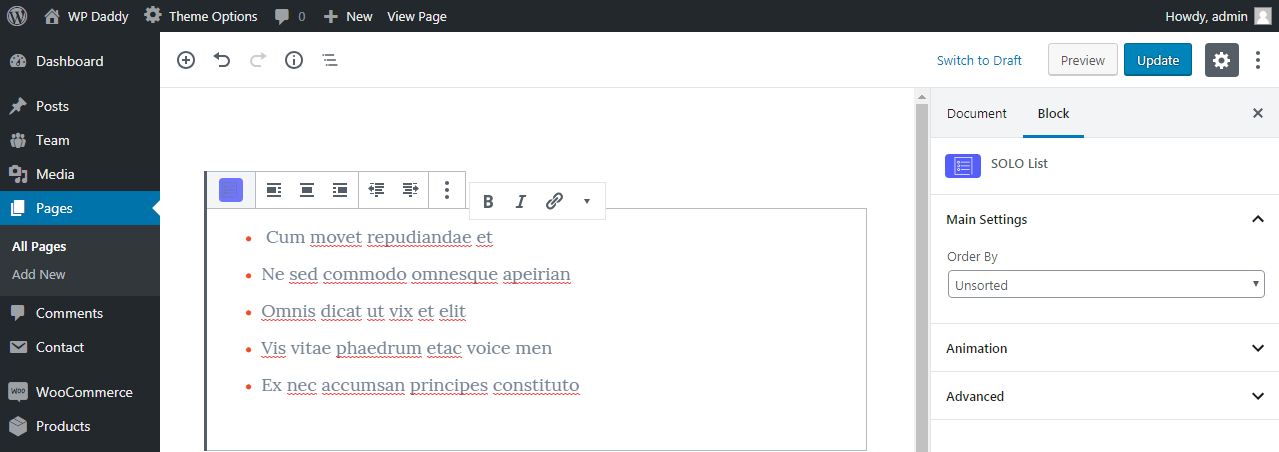
4. Solo List
This block allows to add a bullet, ordered or custom icon list on your any page.
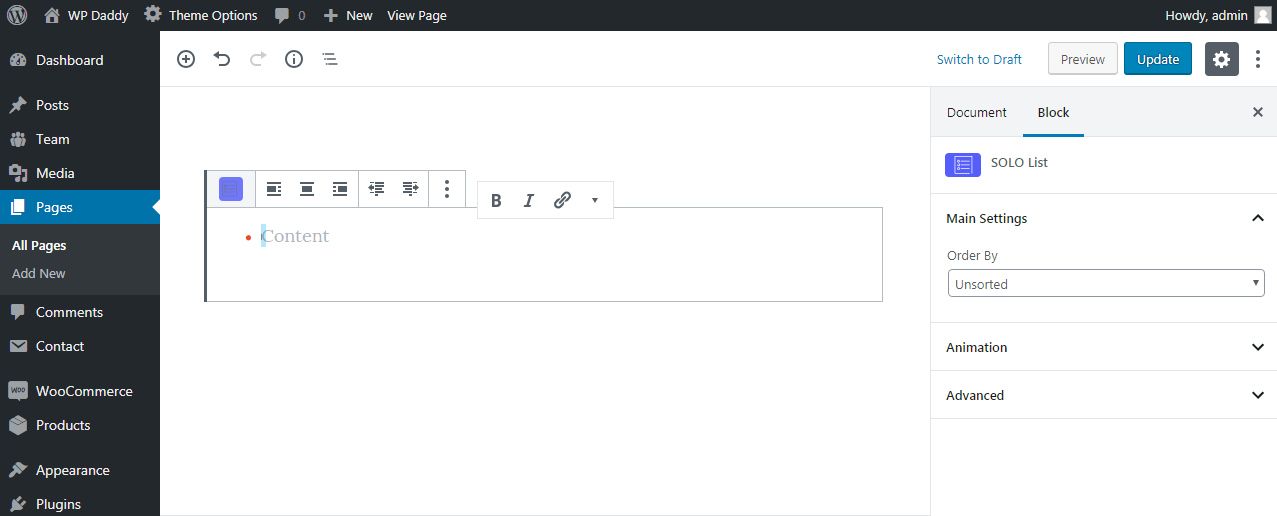
Of course you can add it on the same page where you’ve already added you post block or any other Solo block you use.
5. Solo Button
This block allows to create a clickable button with several clicks. Just put a block into the content area, insert the URL into the required field to redirect a user to a certain page when the button is clicked, and add the button text.
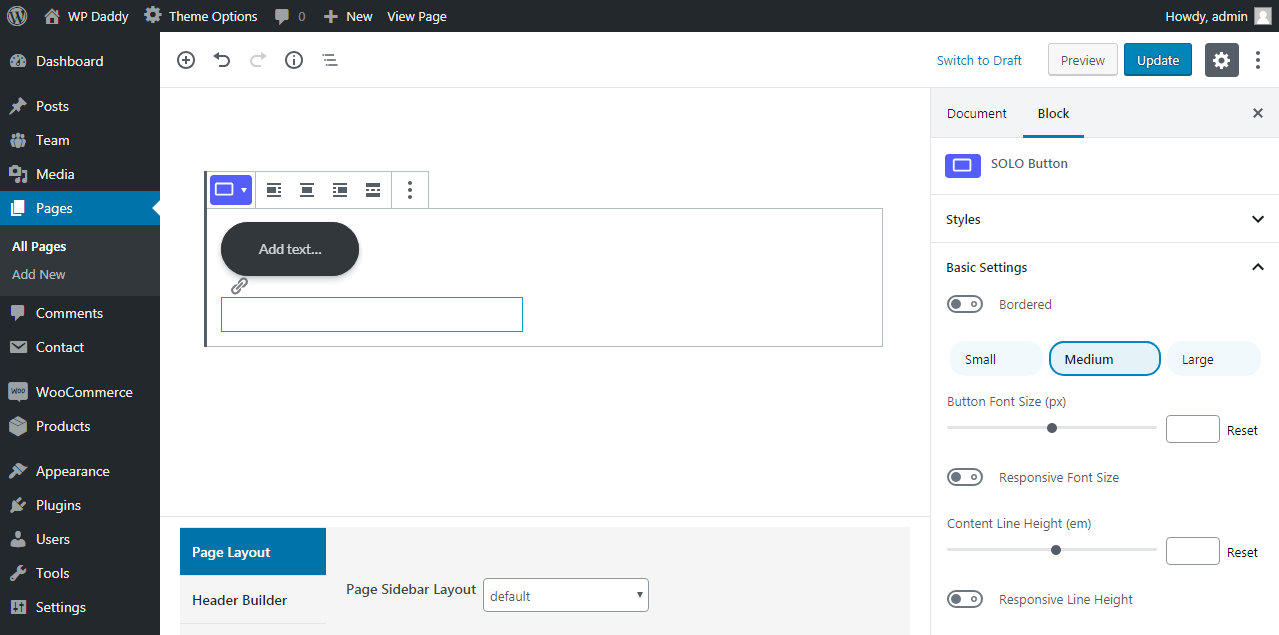
You can also easily select the size of a button in pixels, chose the responsive font size, responsive line height and change the color of a button.
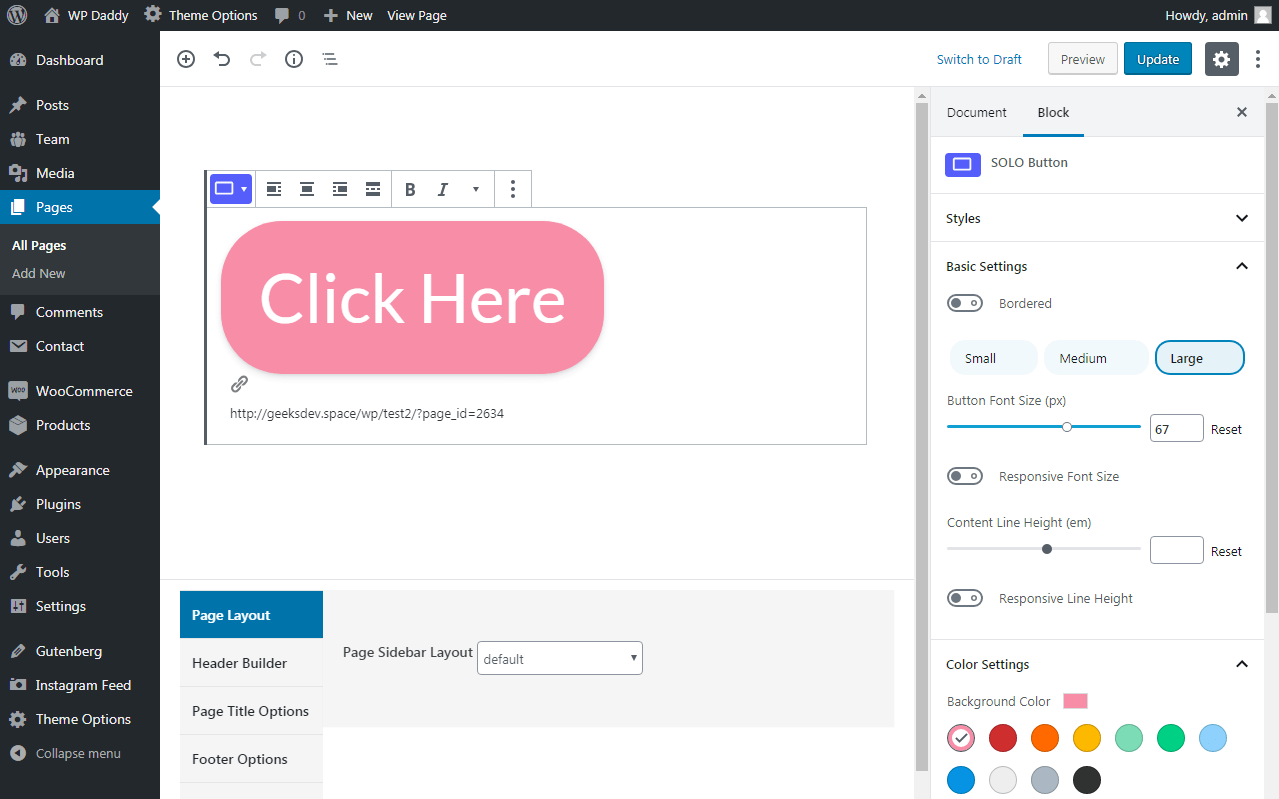
You can also either make your button bordered, rounded, round or square.
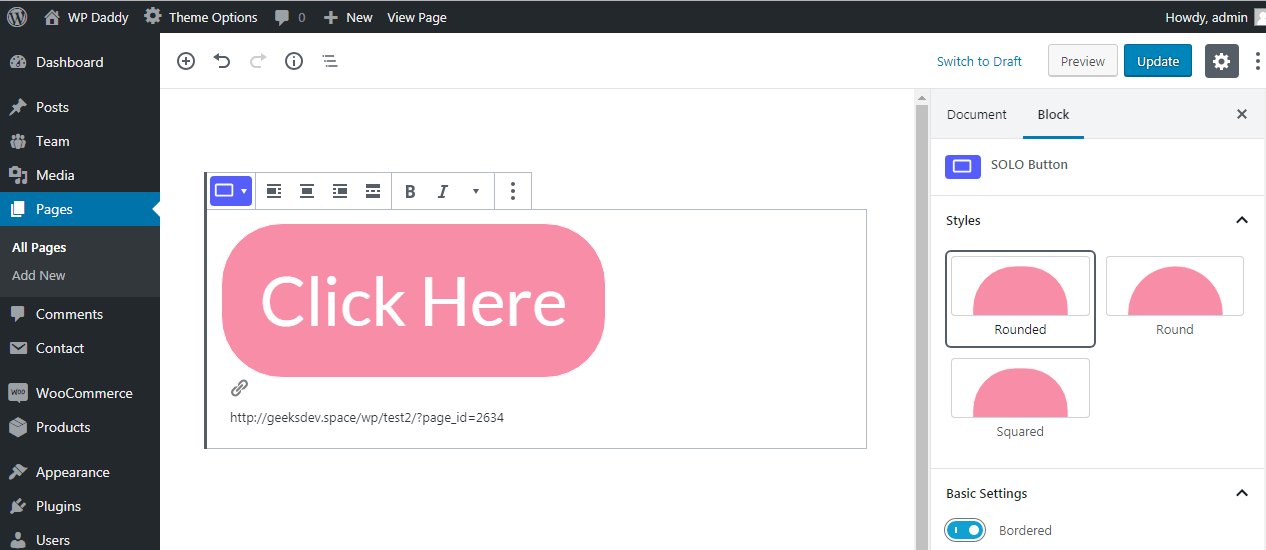
Put this button into your any content on a page.
6. Solo Icon Box
This block is designed to help you create icon boxes on your homepage just as you see below.
![]()
You can place your icon boxes on any page and just add the list of your services or any other content blocks – each one indicated by the icon.
![]()
The settings here help to define the icon size, add text, select tag like H1, H2 or div from the drop-down list of available tags, align text up to your needs, select the icon itself from the icons list, choose the color of your icon, and manage many more settings.
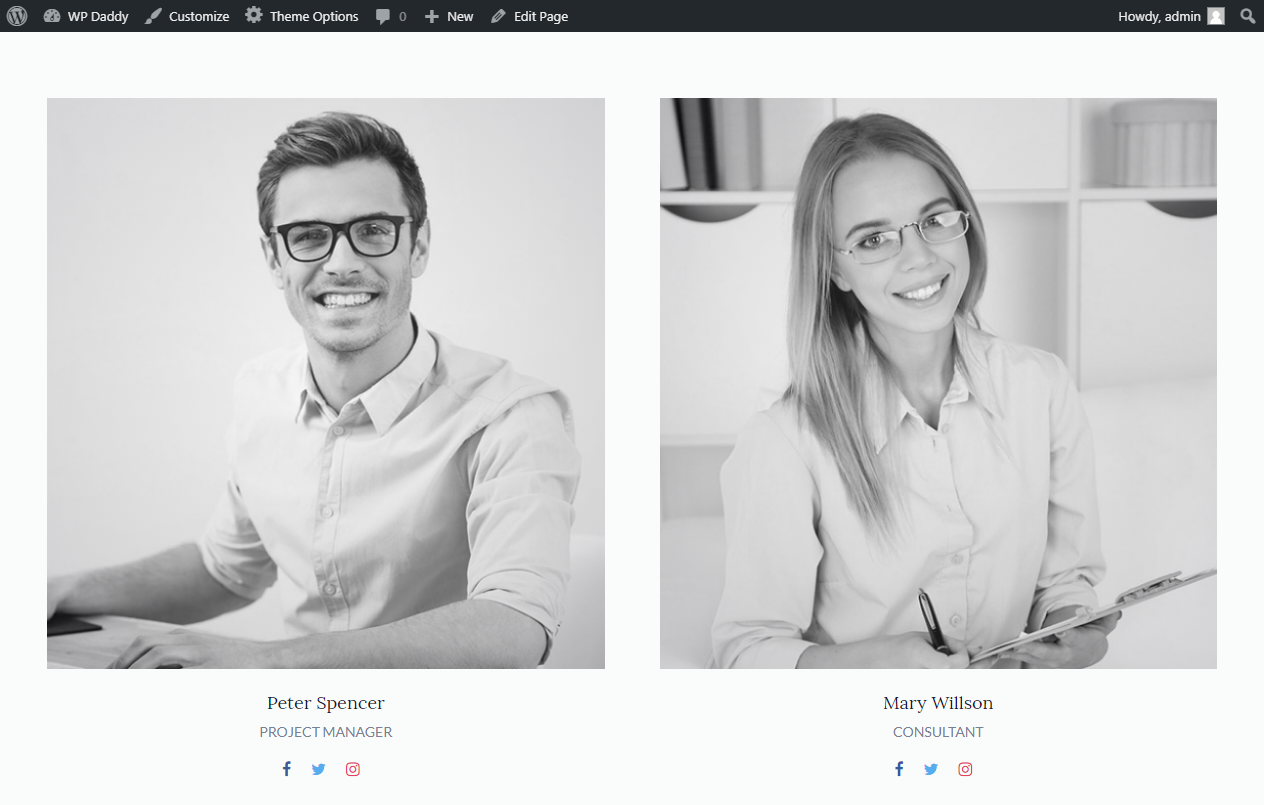
7. Solo Team
This block helps to easily introduce your team on any page of your website you prefer. To put the previously created profiles of your team members on a chosen page, just insert a team Solo block into your content area, select the team type, the number of items per page, the gap between the profiles in the list in pixels, and manage some more settings to get the result.
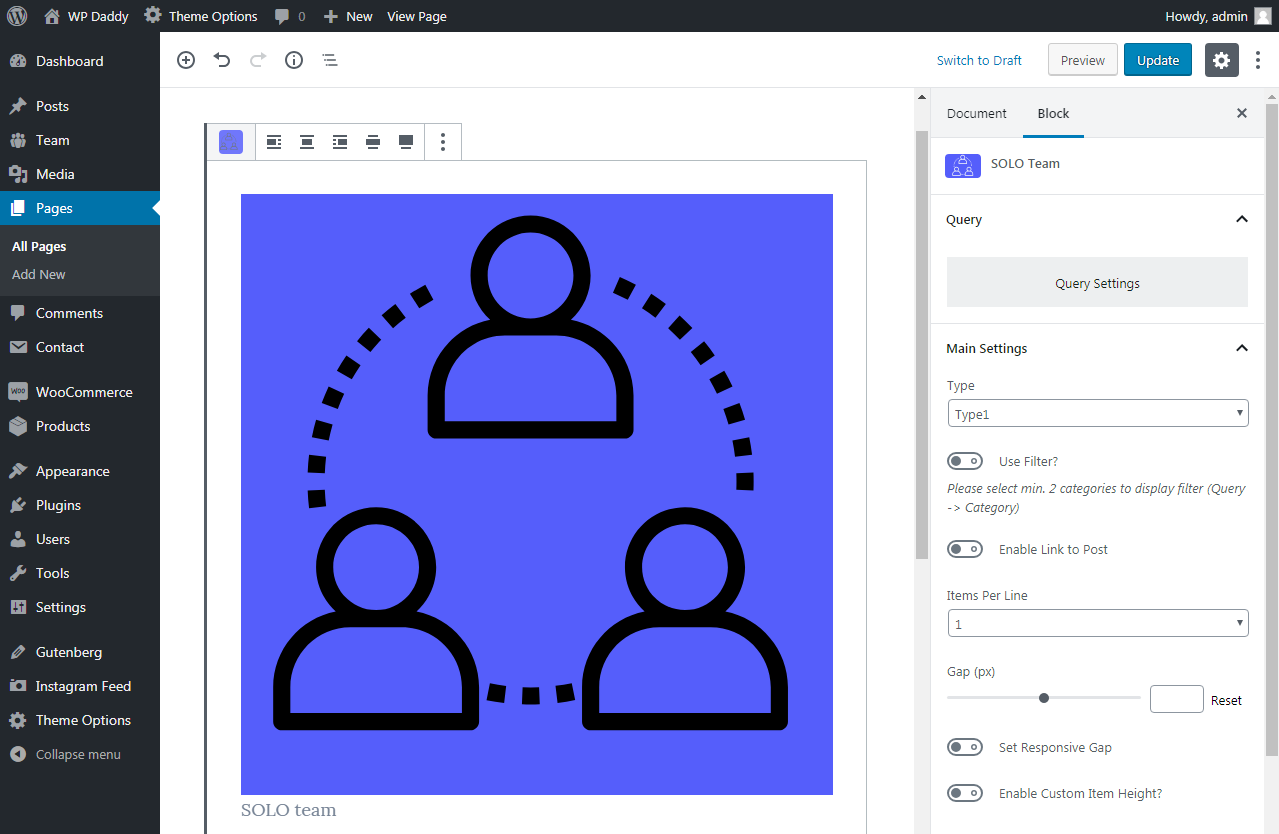
So I select the second type, 55 pixels gap and two items per page. This is how my team page looks like now.
8. Solo Google Map
This block is made to help you place Google map on any desired page of your website. Get your personal API Key through Google Maps Platform and connect it to display a Google map on your website.
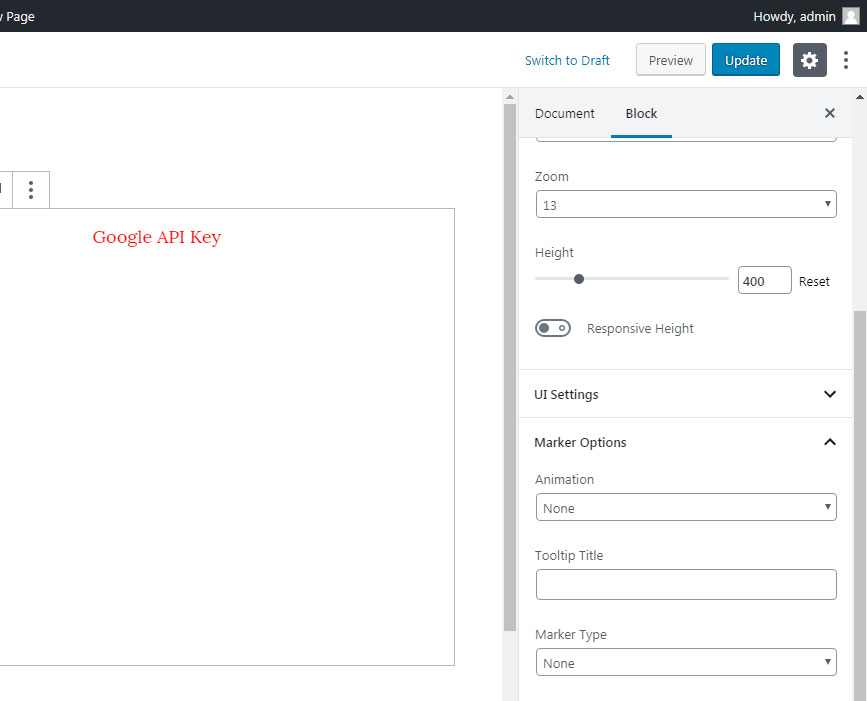
The settings of this block allow to zoom the map as required, choose the map height, manage the UI settings and marker options to help users easier find a certain place on a local map on your web-page.
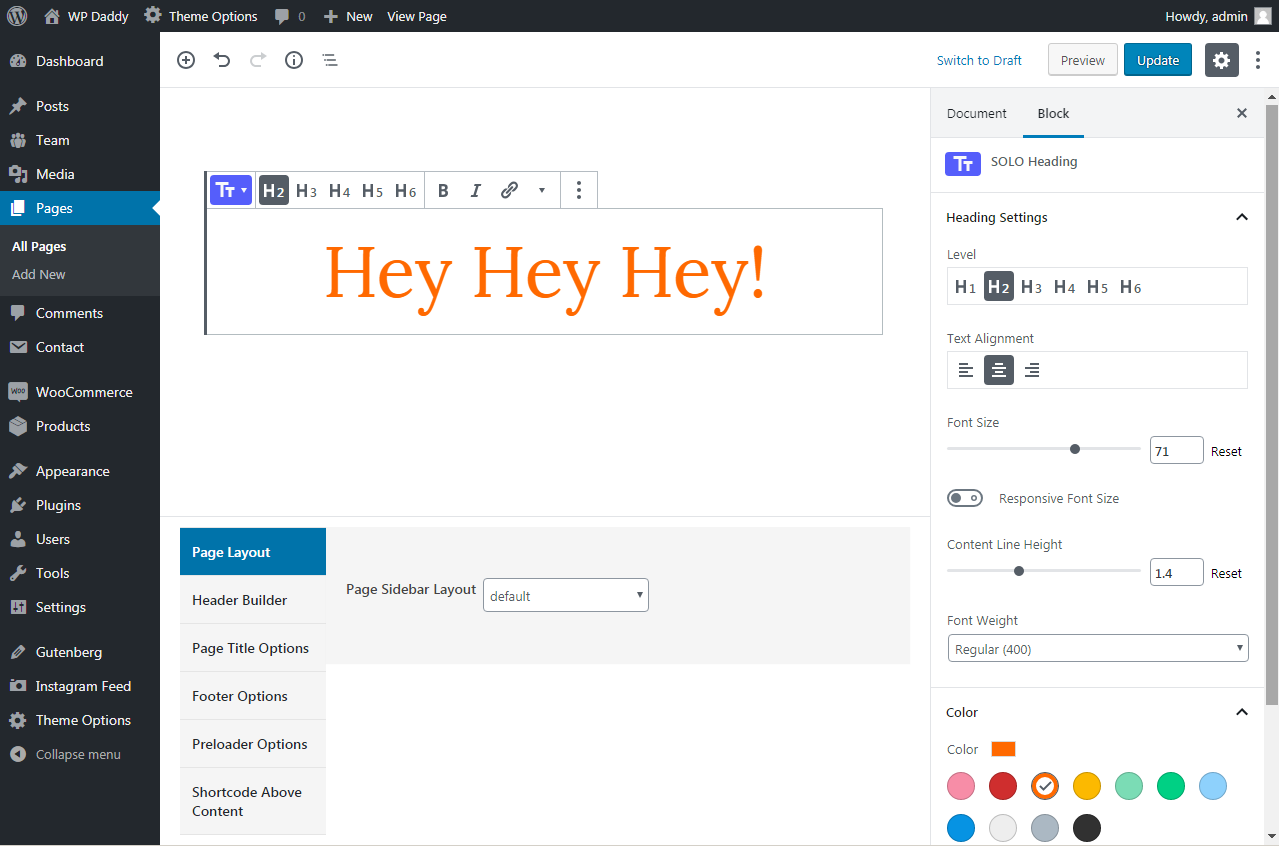
9. Solo Heading
This block allows to create any types of headings for your content on a page. Here you can set the heading level from H1 to H6, align your heading as required, select the font size, the content line height, the heading color, and manage some more settings to make your heading look as you want it to. Just try.
10. Solo Spacer
This block allows to divide your content into separate parts on your page. So you just put your text content blocks on your page and divide them with the help of a spacer block.
![]()
The settings of this block allow to select the spacer size both in responsive and regular formats as well as add custom CSS if required.
Solo Blocks come in the pack with Gutenote Blog WordPress Theme by Gt3 that I really like and recommend to all bloggers. Use Solo Blocks to easily build your website’s content structure in minutes.
Hope this was helpful,
Melany H.