Directory and listing websites are widely recognized as a simple way for a user to find a place for rest in any location, look for a product or service to buy or browse job offers and resumes in a definite niche. For business owners, these sites are a great way to promote their storefronts, goods, openings, or anything else they want to sell or present to their clients.
If you own a directory and listing website, this is also a perfect business for you. Your target customers include both business owners and their potential clients, employers and employees, etc. So you can earn money on paid listings which means you can charge a payment for adding a listing on your website. By the way, you can offer different sign-up plans to choose from, and the price for every plan will depend on the amount of options for each of them.
If you run a job board and you work for companies and job seekers, you can use the readymade solutions that are going to provide you with all necessary functionality to allow people submit openings and resumes using the intuitive interface.
WP Job Manager WC Paid Listings – What’s Its Purpose?
In this post we’d like to talk of WP Job Manager WC Paid Listings plugin which allows to add paid listing functionality via WooCommerce. You can create job packages as products with their own price, listing duration, listing limit, and job featured status, so your users will be able either to purchase them in your store or buy them during the job submission.
WooCommerce and WP Job Manager – The Required Plugins
Before you start working with the WC Paid Listings plugin, install and activate WooCommerce in your WordPress dashboard. (This is made as usually through Plugins -> Add New option). Make sure you use the theme which supports WooCommerce or you’ve got a specifically designed directory and listings WordPress theme with all required functionality.
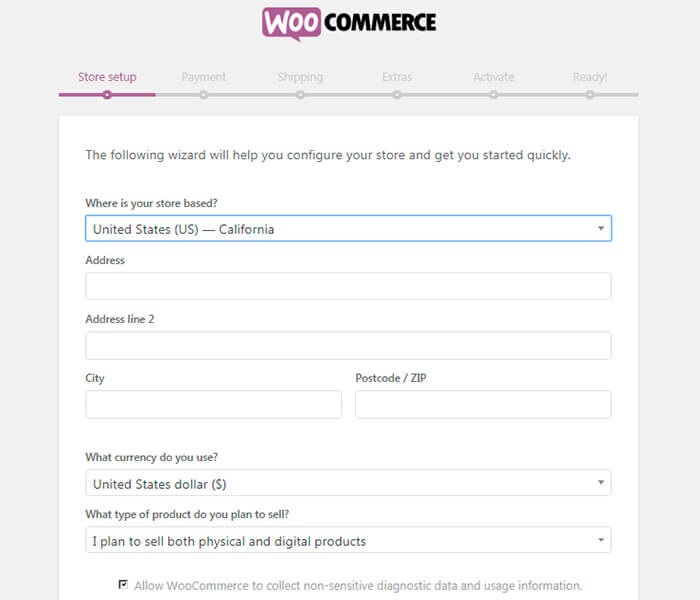
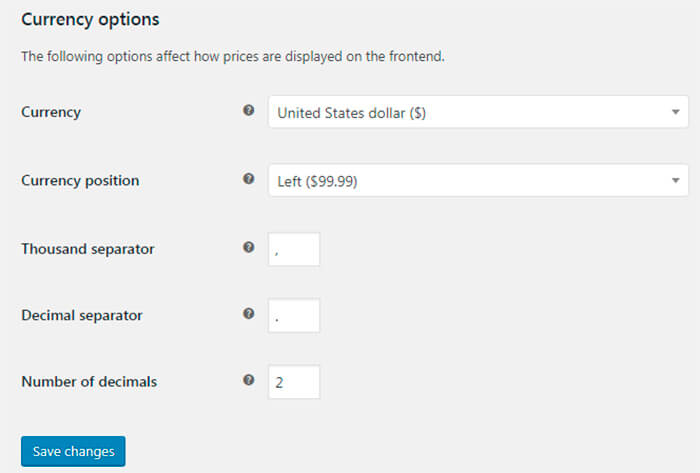
After the installation, you will be asked to submit your store address, choose currency and payment methods you’d like to use in your store, and fill in some other important data. This WooCommerce configuration is necessary to start adding and selling products at your store.
When you are done, you can go to WooCommerce -> Settings -> General and check out your entered data or make changes if required.
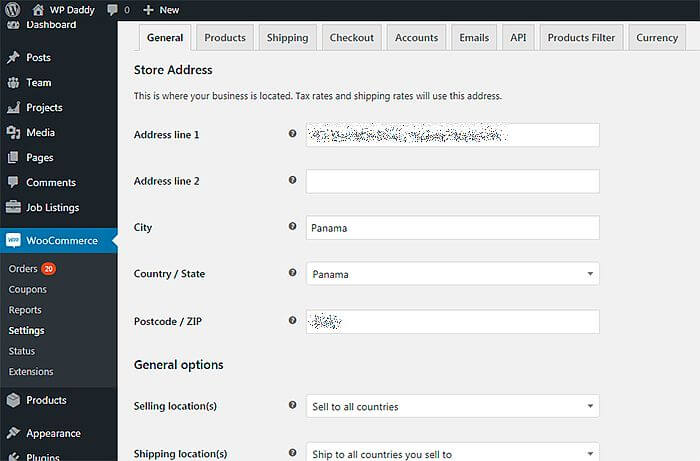
The next step is going to include the installation of WP Job Manager plugin. This is required for WC Paid Listings can work properly. You can easily install and activate Job Manager in your dashboard.
Installing and Using WP Job Manager WC Paid Listings
When it comes to installing WC Paid Listings itself, you can either make it through Plugins -> Add New option or just connect to your website through FTP, unzip the folder with the plugin and add the plugin folder into your wp-content/plugins directory.
Now you can start creating a job package to sell.
Choose Products –> Add New in your admin panel, enter a product name, and then scroll down and choose a job package from the Product data list.
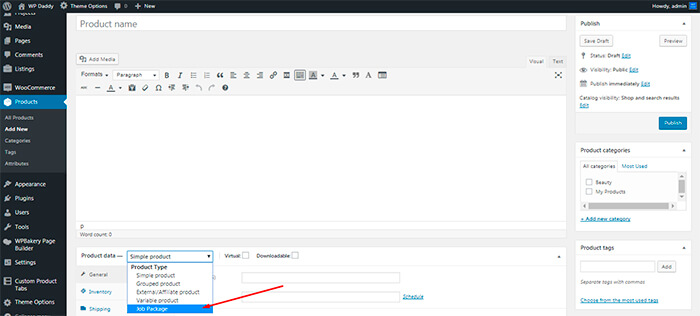
Here you can set the regular price and select the sale price for your package. The sale price should be a bit lower.
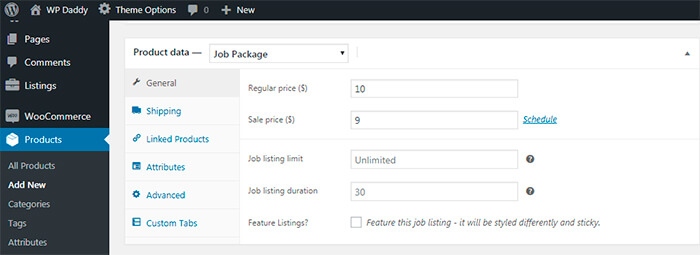
Now you can also set the listing limit to define the amount of job listings that a package allows to create. If you leave it blank, you allow for the unlimited posting. When setting the listing duration, you set the period during which the job listings can be used before expiring. You can also check the feature listings option to decide whether or not should be job listings featured when this package is used.
When you’ve finished to edit the new product, publish it and see it live.
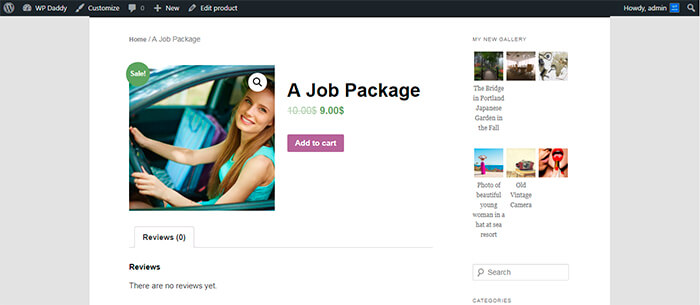
Except for selling job packages, you can also sell resume packages (which is possible after installing Resume Manager add-on), job package subscriptions (which requires the installation of WooCommerce Subscriptions), and offer resume package subscriptions.
Try it out by yourself!
