Would you like to create a multi-vendor online marketplace with the help of WordPress? Do you think it’s time to conquer Amazon and eBay? Then read this guide to learn how to accomplish it very easily!
What is a marketplace and what’s the difference between a marketplace and an online store?
An online store is a single-vendor website, so if you own it then only you are able to add products to this website and sell them to your customers. You set the price for every product and you receive the full revenue from every sale.
A marketplace, in its turn, provides your visitors with the possibility to become your vendors by creating their accounts on your website and adding their own products to sell them from your store and get their profit. You, as the owner, get the commission from every sale made by your vendors.
In addition, you are able to control the work of your marketplace and set your rules of selling. You can define the certain product types that are allowed to be sold from your website, set the currency and payment methods, select your custom business model, and more.
How to get started?
There are a few major steps you should make to launch an online marketplace with WordPress:
- Choose the hosting and the domain name.
- Install and setup WordPress as well as select, install and activate an eCommerce-ready WordPress theme.
- Customize your eCommerce WP theme.
- Install, activate and setup WC Vendors and WooCommerce plugins.
- Purchase and install the SSL certificate.
- Create a menu for your marketplace.
- Test your website when it goes live.
If you want to learn the details on choosing hosting and domain name, discover more on step-by-step WordPress installation, find out how to buy and install the SSL certificate, and see how to install a WP theme, please read this guide on creating an online store with WordPress.
The mentioned above guide includes a detailed description of the process of creating a store with all the tasks you should perform to launch it successfully. By the way, if you need to find some quick and easy ways to install and setup WordPress, you can also check this list of script auto-installers.
In my today’s tut, I will focus on installing and configuring WooCommerce and WC Vendors plugins as well as indicate some more subtle aspects on bringing your multi-vendor store to life.
Let’s start!
Install and Configure WooCommerce
I’ve been speaking on the step-by-step WooCommerce configuration in one of my recent guides, but since there are some slight changes in this process, I will disclose it once more here. You can either see my older guide or check my current one instead. You can also compare both guides to learn what has been updated.
Before you start to set up WooCommerce for your marketplace, install and activate the WooCommerce plugin in your WP dashboard. Please see this breakdown post to find the step-by-step tut on installing and activating a WordPress plugin.
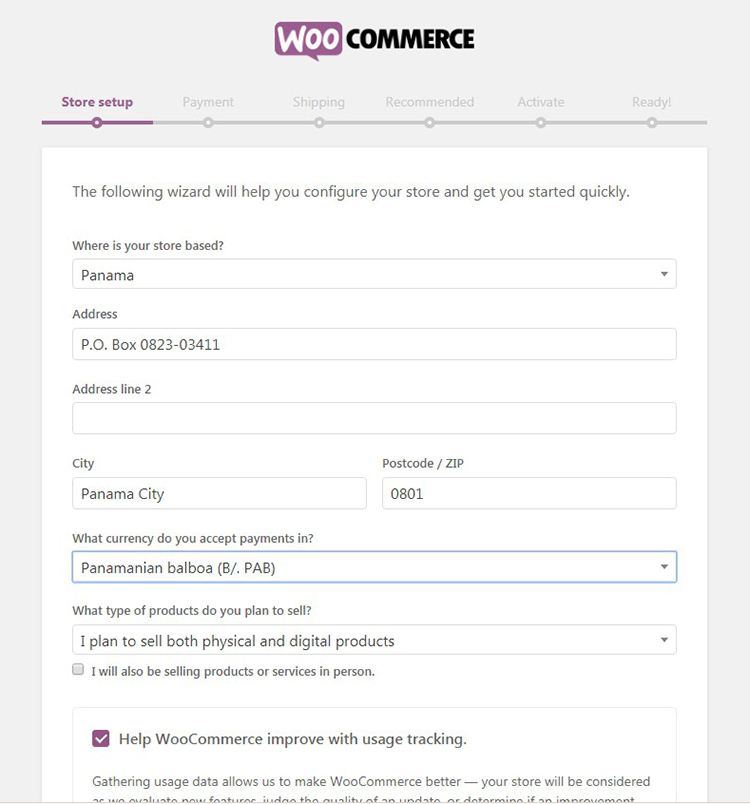
So, once you’ve activated WooCommerce, you’ll be automatically redirected to the setup page.
The first step will require adding your address, zip code, currency, country and city. Here you should also select the type of product you are going to sell. Choose either physical, digital or both types of products in the drop-down menu below the currency selection option.
The next step includes the Payment methods selection, please see the snapshot below. In my older guide, I showed it was possible to select either PayPal or Stripe payment systems as well as automatically create a Stripe account. Now it just offers you to install the additional payment methods later.
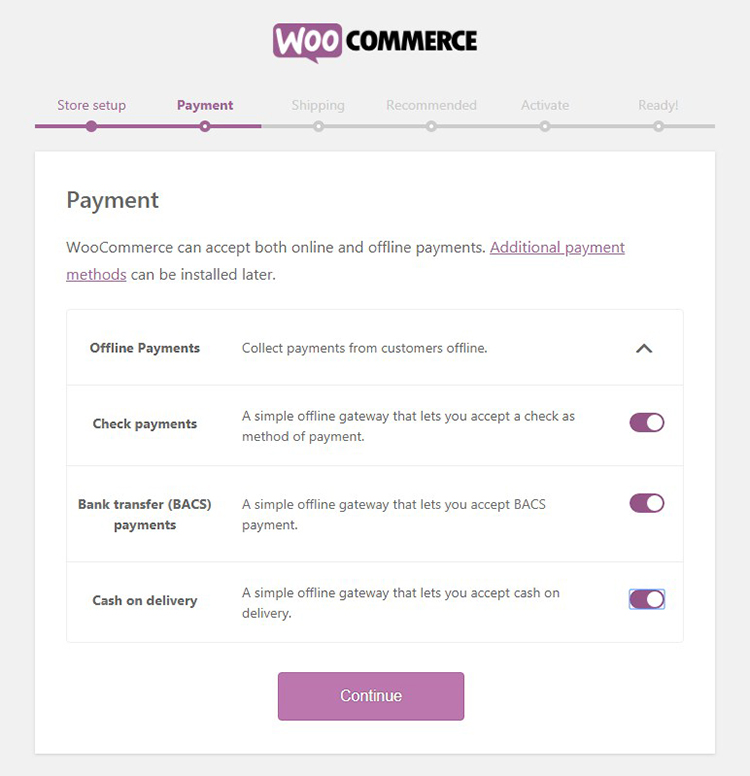
I will speak on installing the additional payment techniques for WooCommerce in detail in one of my next tuts, but now you can check this list of popular online payment systems to learn more.
The third step will require choosing the shipping method. You can pick either Flat Rate (Live Rates) or the Free Shipping as well as choose the weight and dimension units.
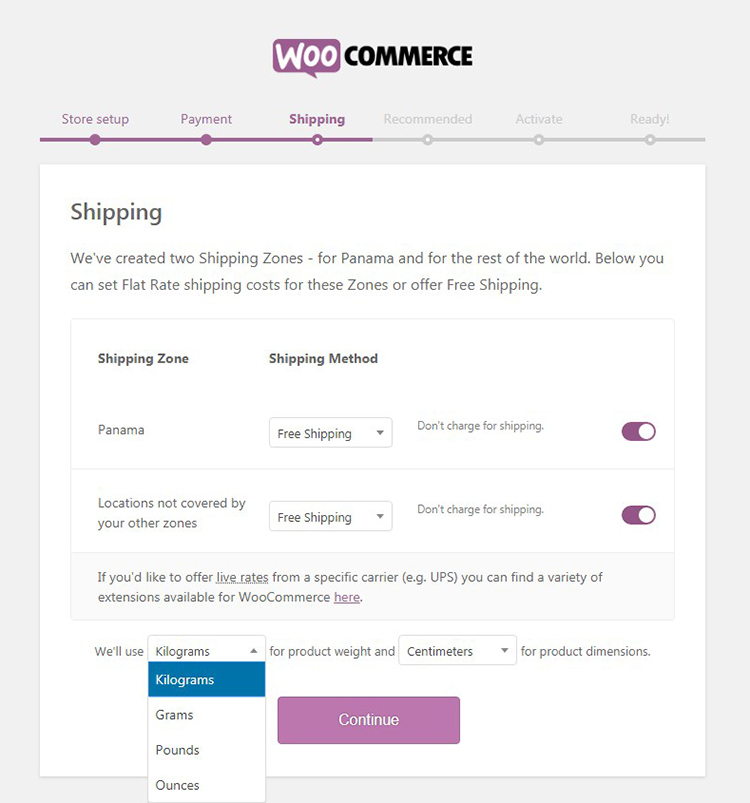
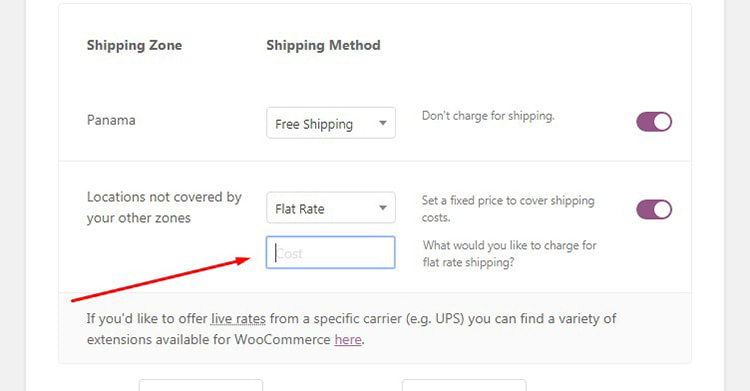
If you select the Flat Rate, then you should also indicate its cost.
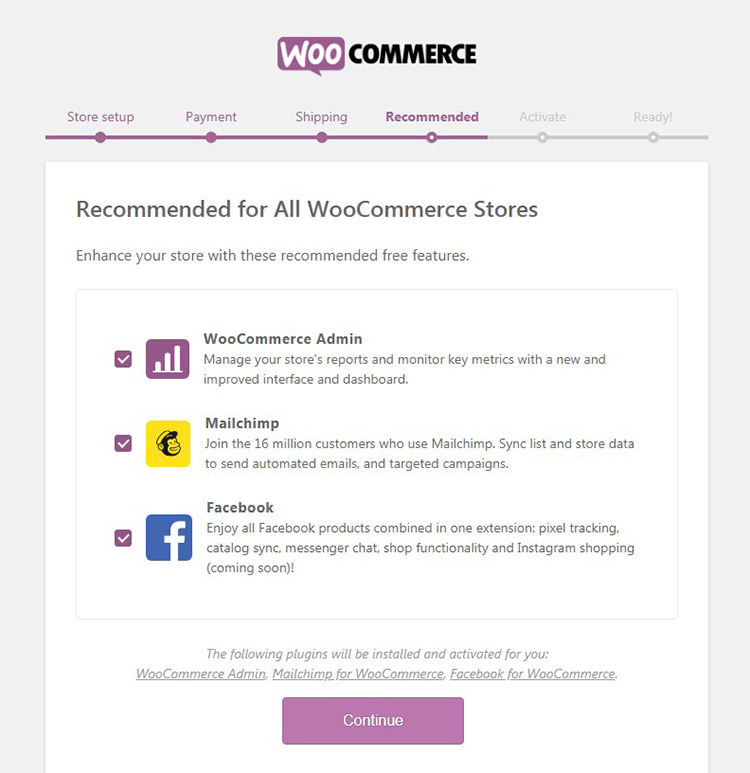
The current recommendations of WooCommerce include MailChimp and Facebook. These tools are going to help you promote your marketplace, so select what you want to be installed and click the ‘Continue’ button.
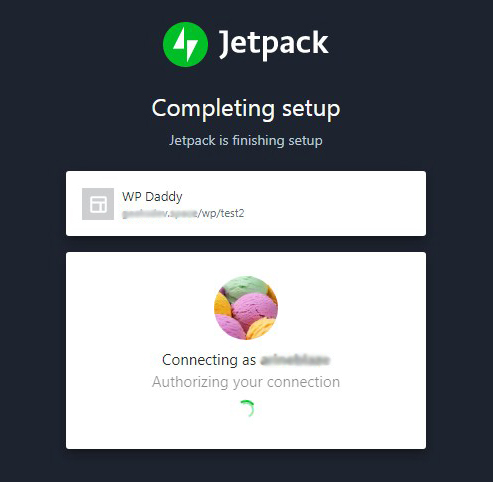
The activation step supposes that you go on setting up WooCommerce with the help of Jetpack. If you haven’t got the Jetpack account yet and you’ve got no idea on what this service is about, please see this comparison post to learn more of this WordPress.com related solution or go to its official site to create an account and start using it.
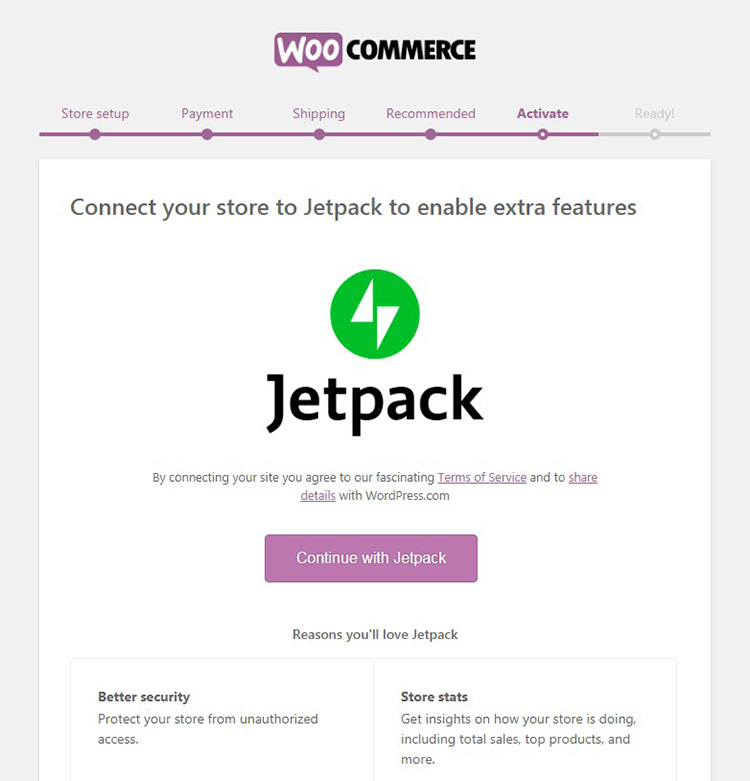
As I’ve already got the Jetpack account created,

I just click the ‘Continue with Jetpack’ button and wait until my connection is authorized.
Now you are ready and you can sign up for updates as well as add your first product as I’ve described in this guide.
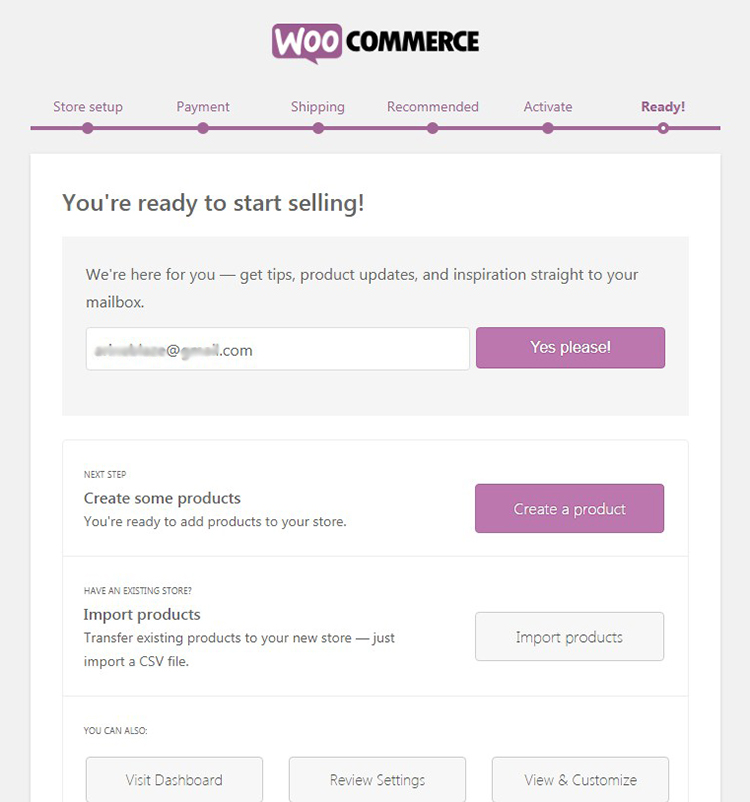
But our today’s task is creating a multi-vendor marketplace, so I should install and activate WC Vendors plugin first.
Install and Set Up WC Vendors
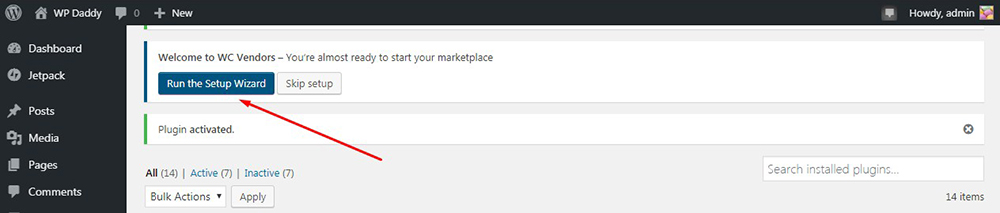
Well, now it’s time to transform your standard WooCommerce store into a multi-vendor one. For this purpose, I will use WC Vendors plugin which is defined as a marketplace solution for WooCommerce which makes it easy to add required functionality to your single-vendor shop to convert it into a multi-vendor marketplace.
So once you’ve installed and activated the plugin, you’ll be offered to run the setup wizard.
The ‘Start’ step of setting up the WC Vendors plugin supposes that you allow users to apply and become vendors. Here you can decide whether to approve their applications manually or leave them to be approved automatically; whether give any taxes and shipping costs to vendors or pay them by yourself.

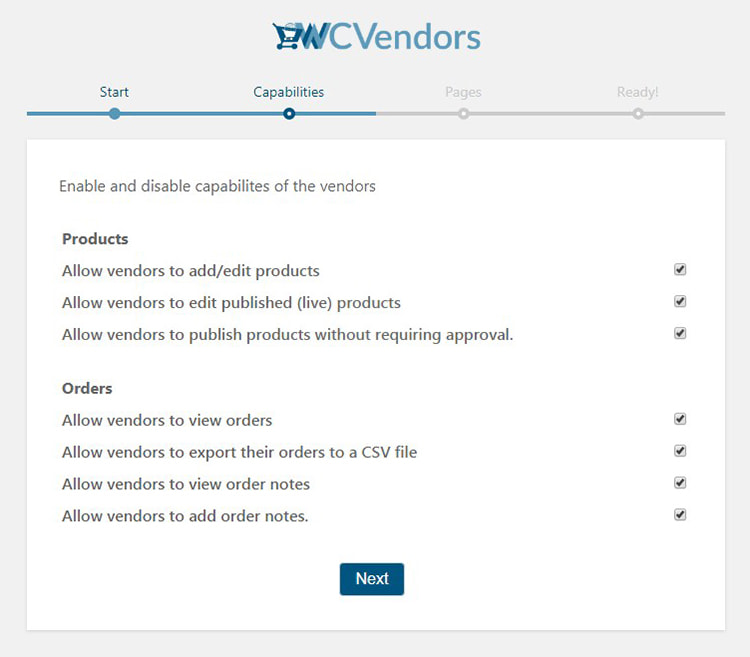
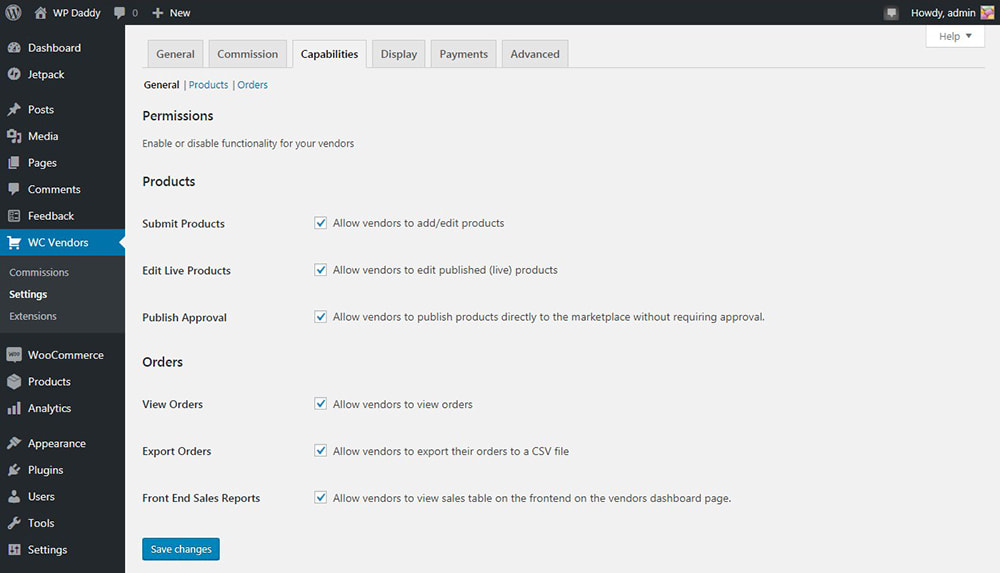
The ‘Capabilities’ step includes a number of options to check to define the behavior and permissions of vendors. Thus you can either allow or restrict your vendors to view orders, export their orders to a CSV file, view and add order notes, edit the published products, etc.
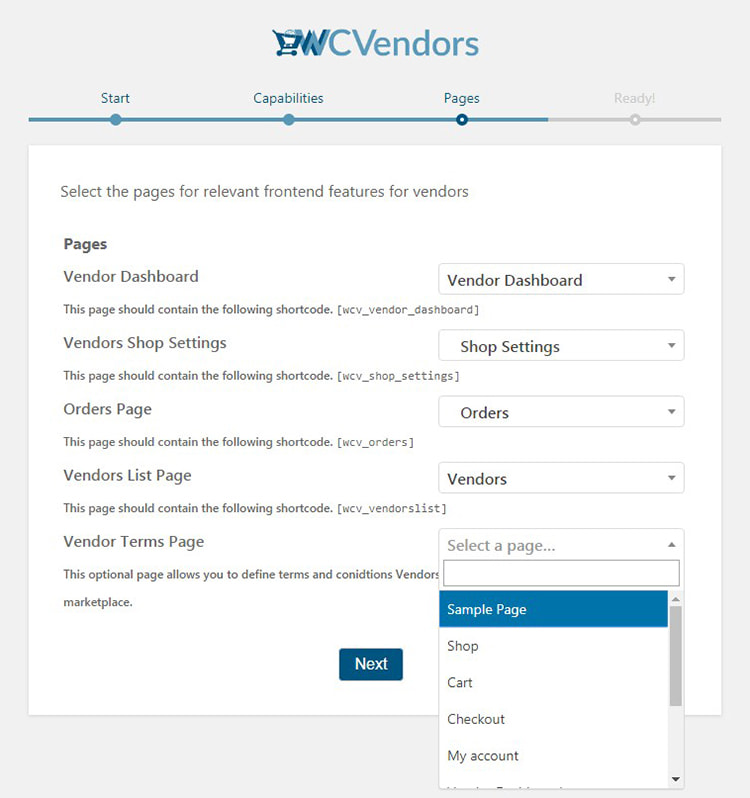
The ‘Pages’ step supposes that you choose the names for pages with vendor shop settings, orders, lists, terms, etc.
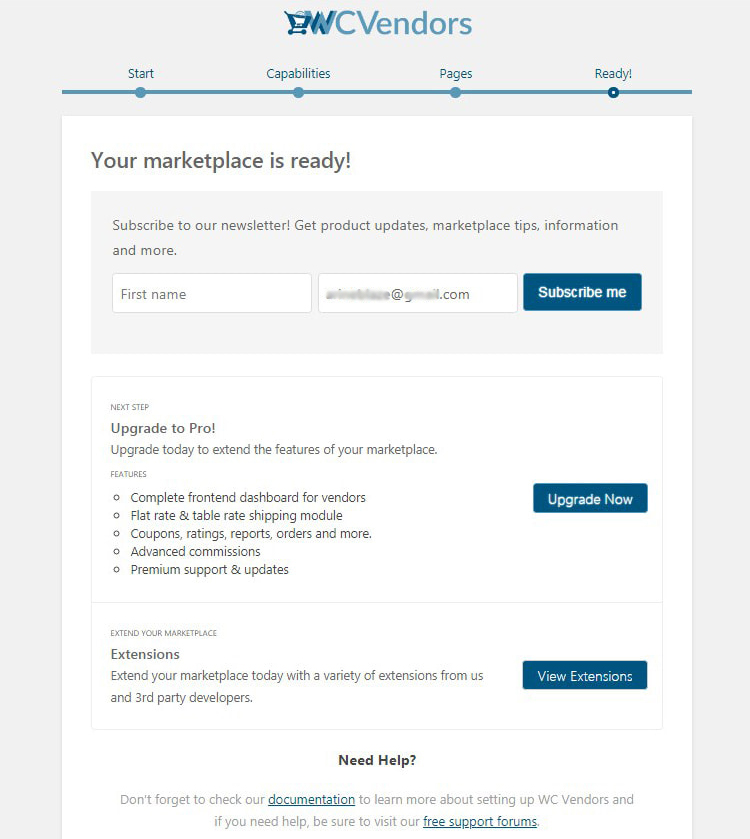
Now you are ready and you can subscribe for updates, upgrade to a premium plan, view the available extensions to get more possibilities or just exit the wizard and go to your dashboard.
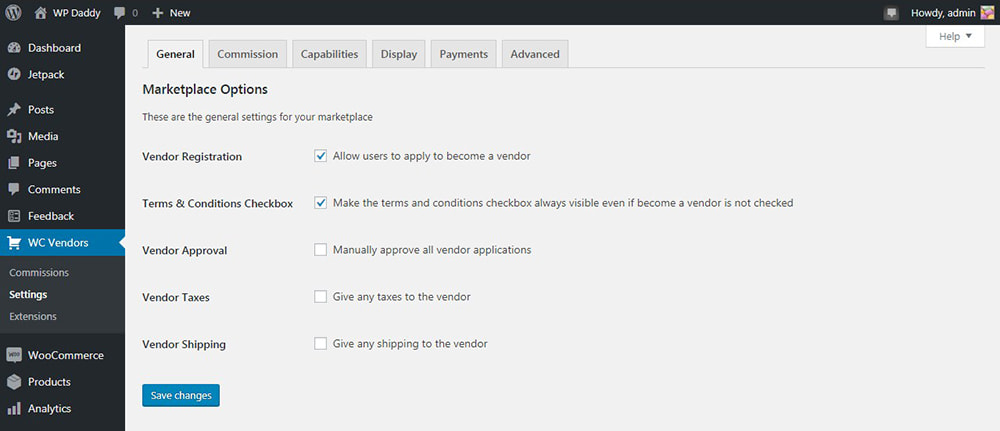
When you are done, go to WC Vendors -> Settings in your WP dashboard and you’ll get to the ‘General’ tab where you should make sure that the ‘Vendor Registration’ box is checked. This is required to allow your vendors to sign up and create an account on your store to be able to sell their products.
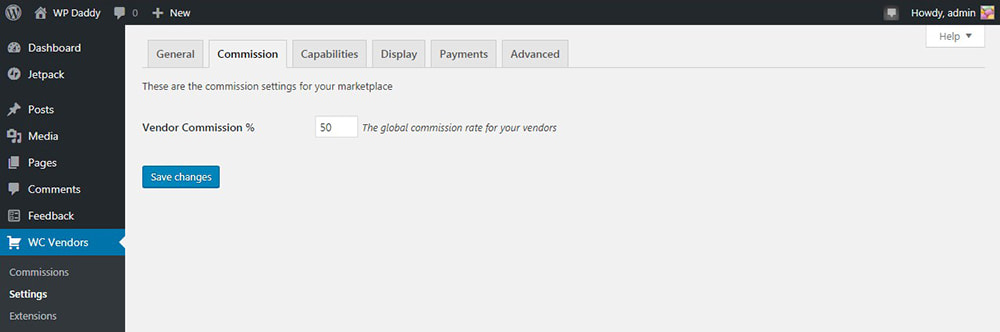
Now shift to the ‘Commission’ tab and set the commission rate you will pay to a vendor for every sale.
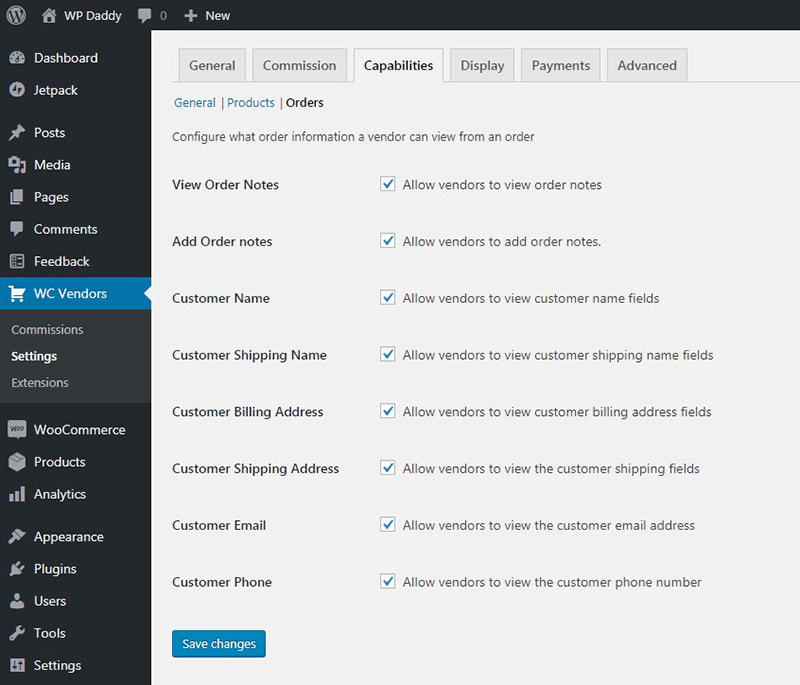
The ‘Capabilities General’ and ‘Capabilities Orders’ sections include all the rules you’ve chosen when setting up the product, but here you can change them if required.
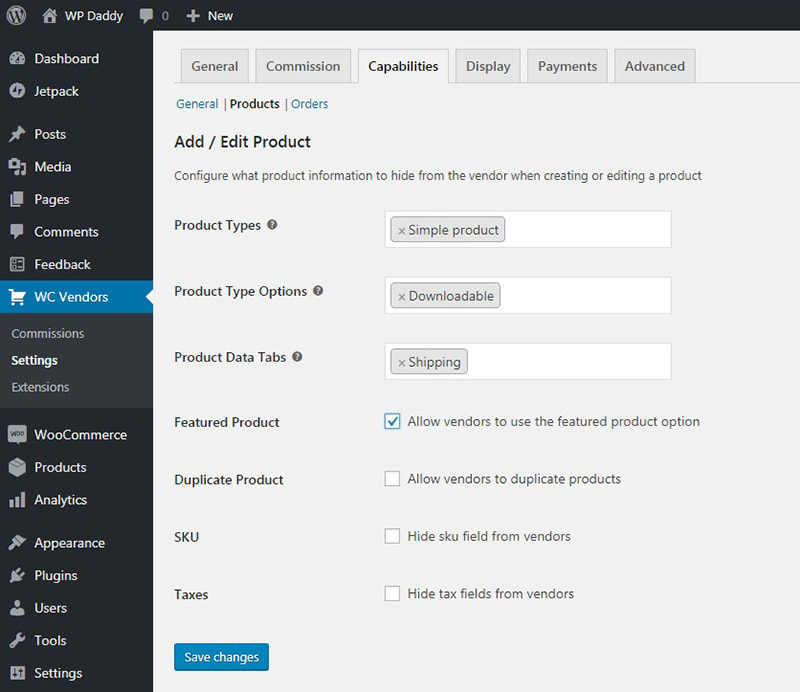
The ‘Capabilities Product’ section will allow you to resolve what types of product your vendors will be allowed to add, define the product data types, and more.
The ‘Display’ tab here includes the same options you’ve seen during the ‘Pages’ step when setting up the plugin, here you can make any changes.
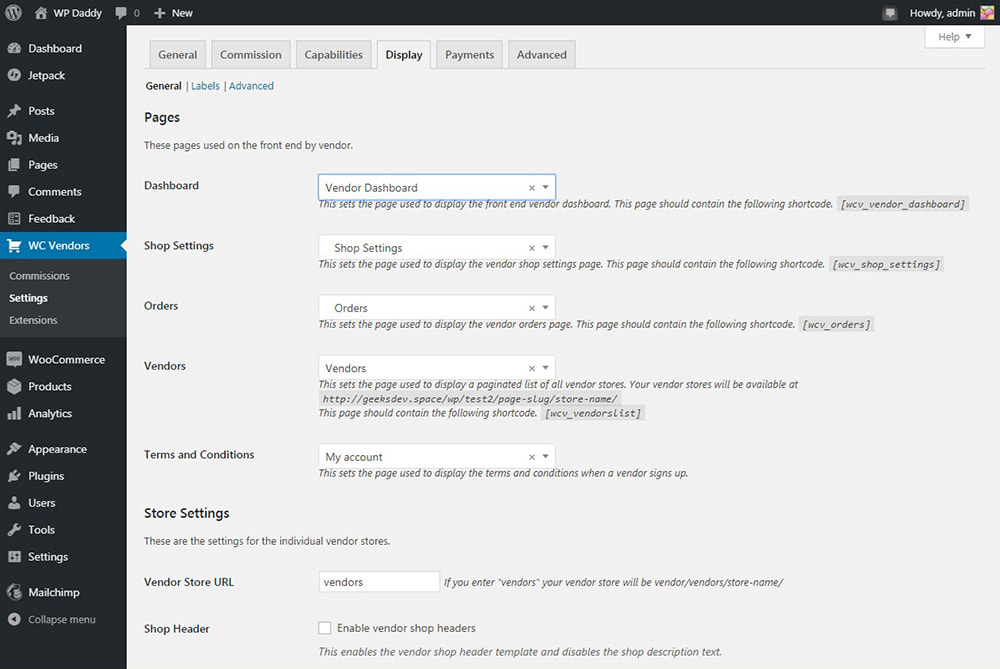
Scroll down the ‘Display’ tab and find the ‘Store Settings’ section. Here you can choose a prefix that will be used in vendor shop URLs; either allow or disallow your vendors to set custom headers for their shop pages, etc.
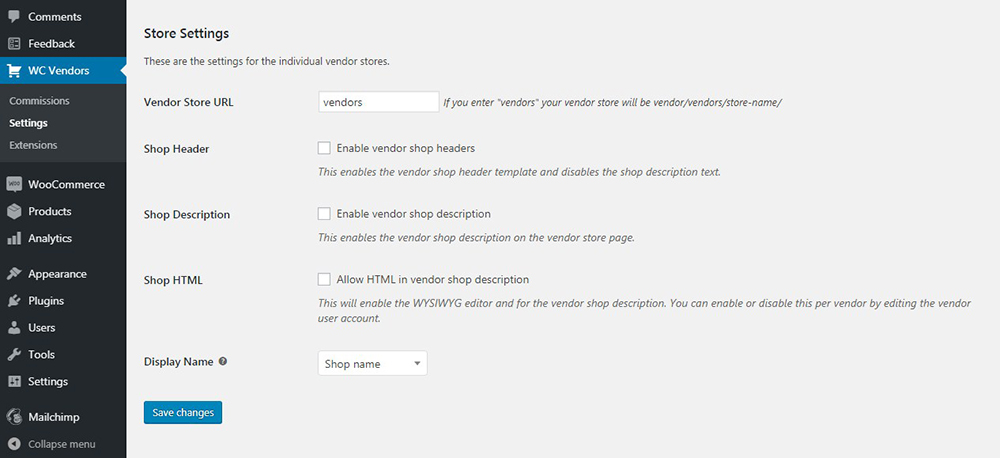
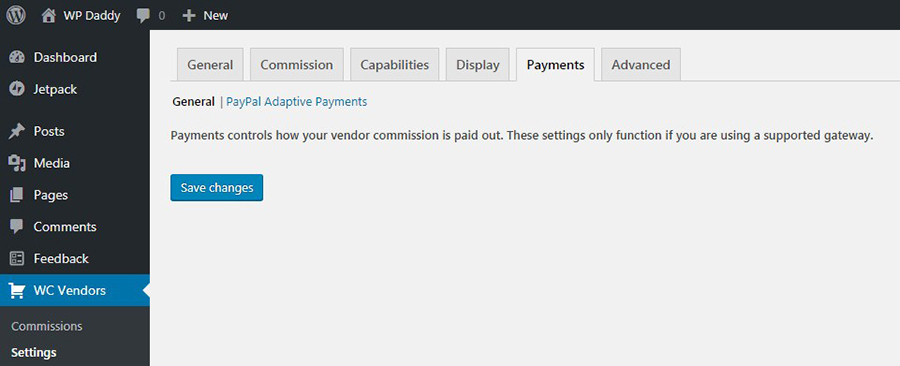
The ‘Payments’ tab allows setting up the payment rules. Once you install a payment gateway, you’ll be able to set the minimum threshold your vendors should reach to be paid either monthly or weekly. You can also set the automatic payouts or allow your vendors to withdraw money manually.
Save your changes and go further.
Enable Account Management in WooCommerce and Create Navigation Menus
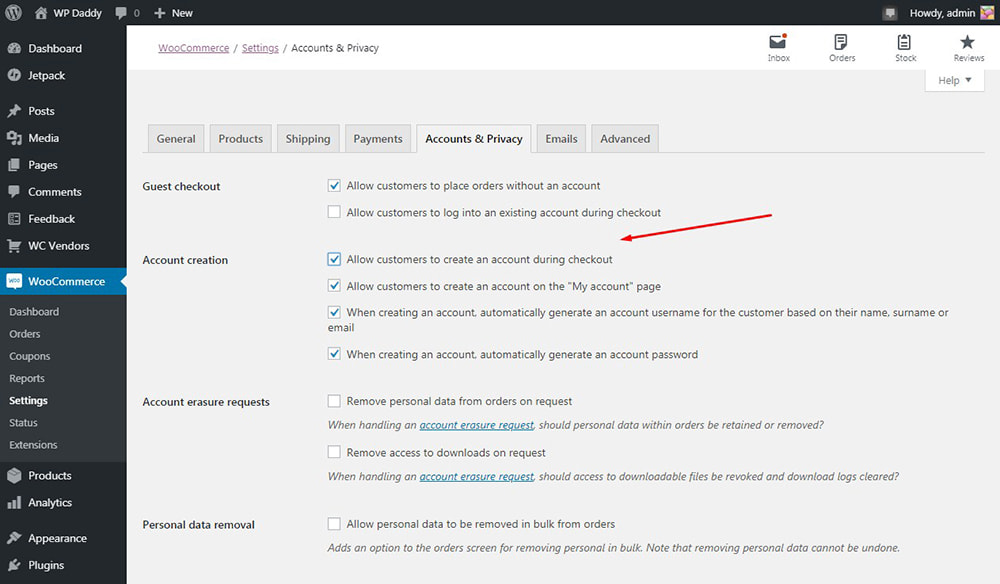
Go to WooCommerce -> Settings and click the ‘Accounts and Privacy’ tab to check all the boxes next to the ‘Account creation’ option. This will enable the account management functionality.
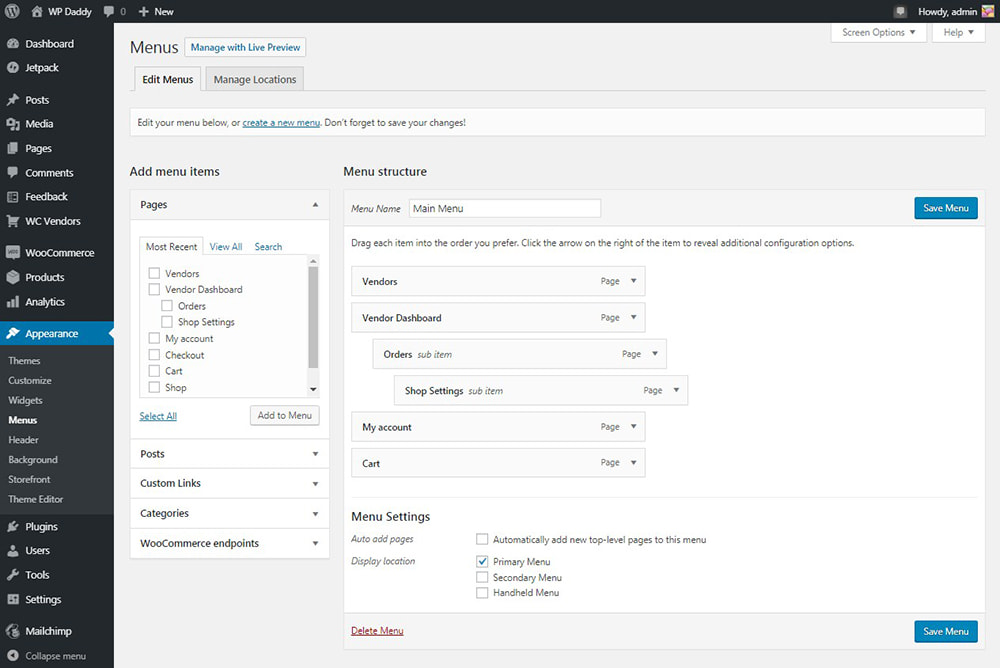
Now go to Appearance -> Menus section in your WordPress admin dashboard and create a navigation menu for your store. For more details, please see this guide on how to add new topics in WordPress navigation menus.
Register as a Vendor to Test Your Marketplace
When your marketplace functionality is set up and your multi-vendor store is ready, log out from your admin dashboard and go to your website as a visitor to test how your vendor registration works.
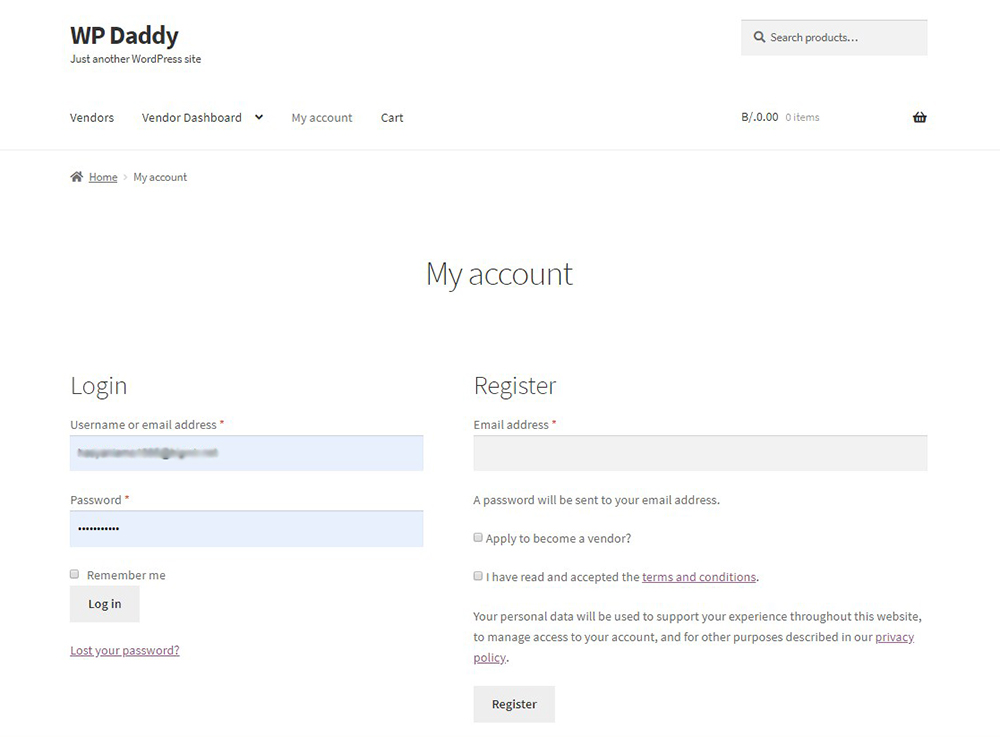
Select the Page you’ve set up to be a Registration one and click it in the navigation menu. In my case, this is the ‘My Account’ page.
Here you can enter your email address in the ‘Register’ section and check the ‘Apply to become a vendor?’ checkbox. After that, accept the terms and conditions and click the ‘Register’ button to sign up.
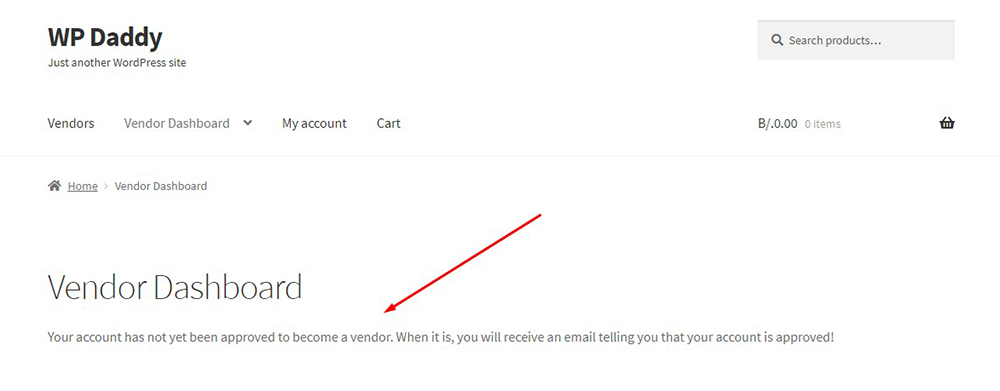
Until your application is approved, you will see the following notification in your Vendor Dashboard.
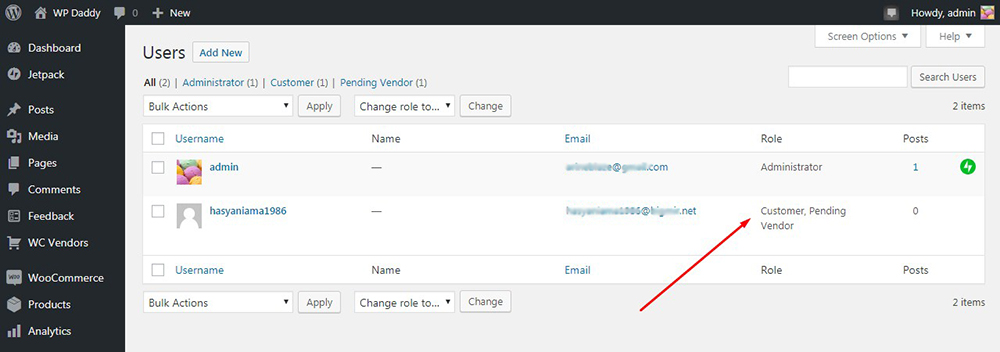
If your settings suppose that you approve the customer applications manually, then login as an admin again and approve the application in Users -> All Users menu of your admin dashboard.

You will see the pending status of a vendor before you approve them.
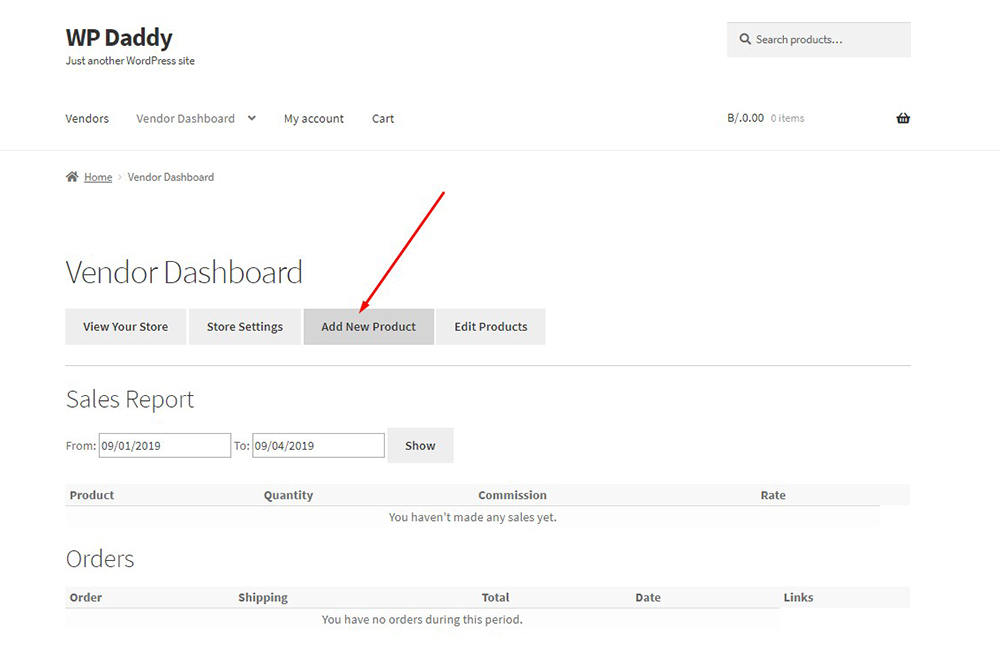
So now if you go to your vendor account again, you will have access to your Vendor Dashboard with all of its possibilities.
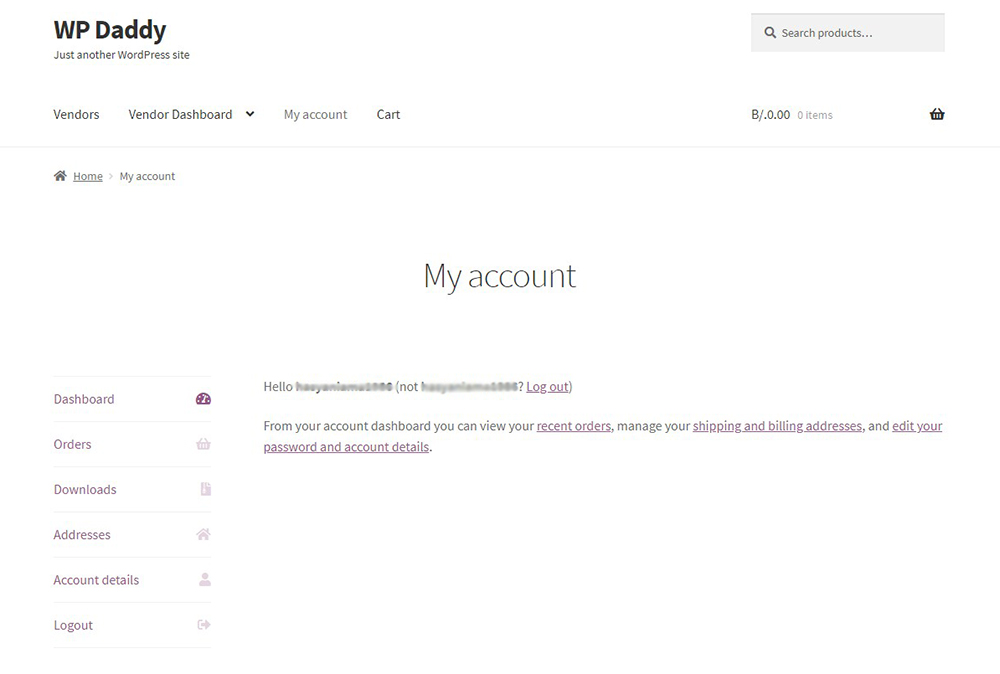
For instance, you can manage the shop settings as a vendor, enter your bank details, etc.

Your vendors will be able to add their products right from their Vendor Dashboard. Once they click the ‘Add New Product’ tab, they will be redirected to the WP WooCommerce product editor where they can easily add their products just as well as they usually do in a standard WordPress based online store.
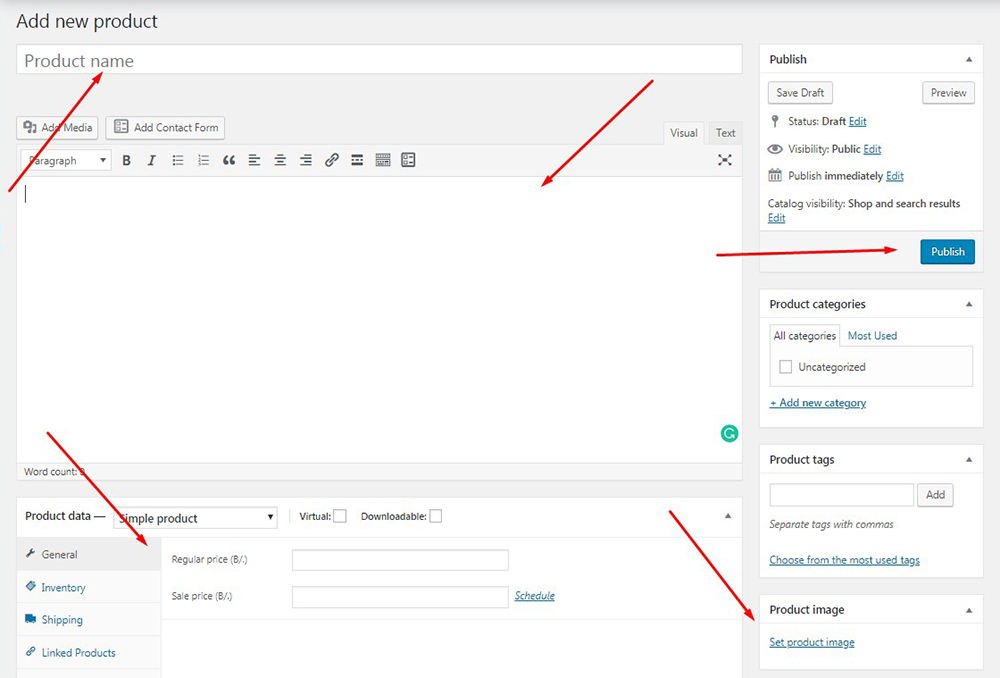
Please see the step-by-step guide on adding a product to WooCommerce here.
Well, now you should just promote your marketplace to get as many vendors as possible. Please see this collection of marketplace plugins and add-ons for WordPress.
Hope this tut was helpful.