Would you like to learn how to fix ‘Browser is Managed by Your Organization’ Chrome browser notice in Windows and Mac? Then the following tut is going to help you!
Sometimes when you install some apps on your Windows or Mac or when you download and install any extensions in your Chrome browser, they can bring changes to your browser (replace the starting page, set policies, etc.).
According to Chrome Enterprise release notes, starting from Chrome 73, if new policies are set in the Chrome browser, users are going to see the notice that their browser is managed. In this case, if you open your browser and click the hamburger ‘Customize and control Google Chrome’ menu, you will notice ‘Your browser is managed by your organization’ notification.
This notification can also appear when you are a member of a certain workgroup or network and you’ve got an administrator who manages the group of computers in the network. Organizations and companies use this Chrome policies management feature to set an address of a homepage, to prevent users (the company’s staff) from accessing certain websites, block them from installing any extensions, etc.
However, if you see the mentioned above notice on your personal computer at home, and you are sure that it has appeared after the installation of a certain app, you may want to remove it forever.
In this post I am going to show you how to remove the ‘Browser is managed by your organization’ notice both in Windows and Mac. So, let’s start!
The first steps to make when your browser is managed
When you click the ‘Your browser is managed…’ notification in the ‘More’ drop-down menu,
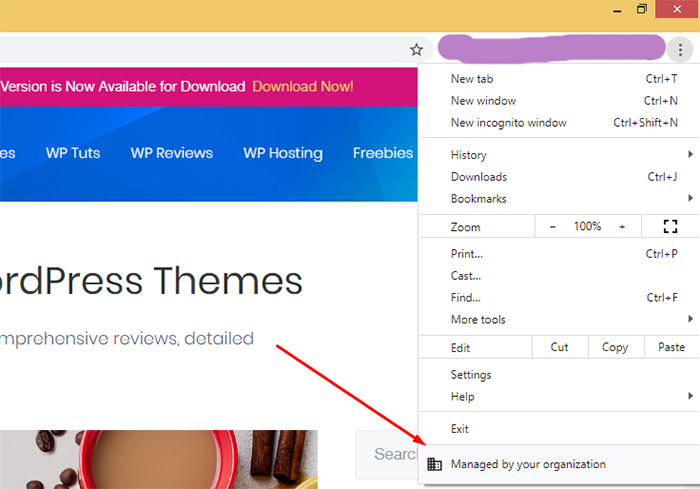
you are redirected to the page with the ‘Learn More’ link
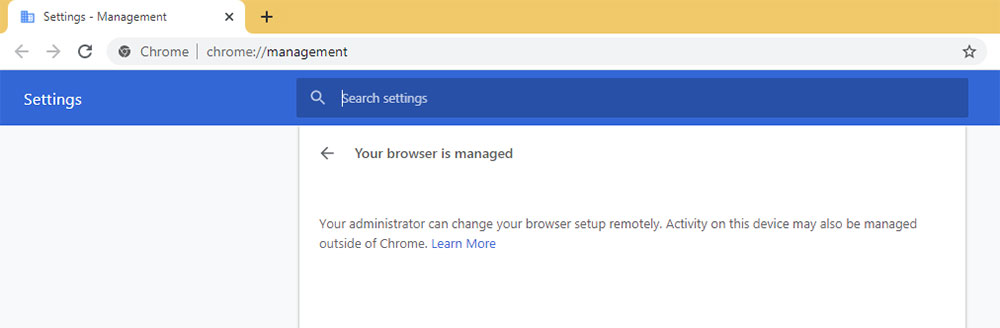
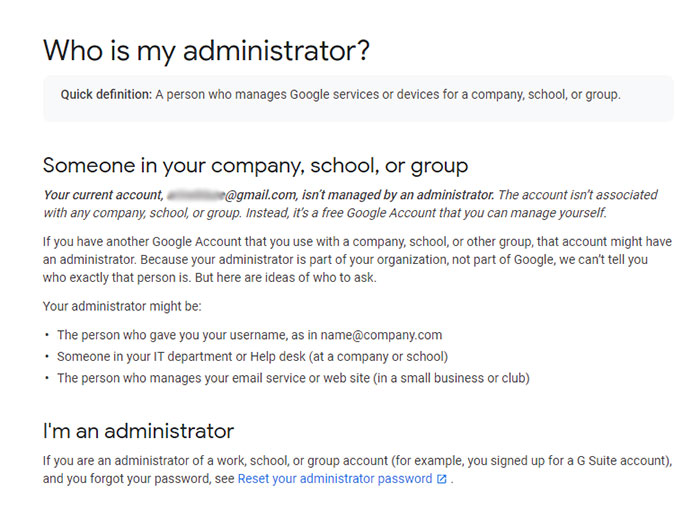
to get to the Google Chrome Help article. Here you’ll find the prompts on what to do to check if your browser is managed.
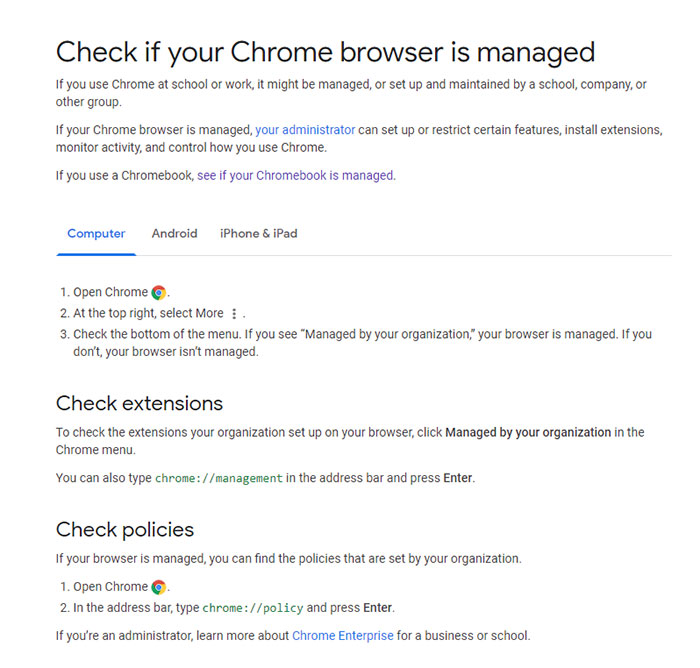
In the same article, you’ll find the links that are going to help you learn who your administrator potentially is
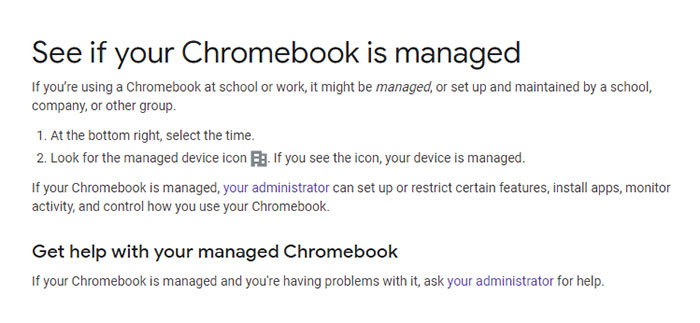
and see if your Chromebook is managed.
You are offered both to check your browser extensions to learn if there is something suspicious that should be removed and check your Chrome browser policies to see if some new ones have been set.
To monitor the list of your extensions, you should type chrome://management in the address bar and press Enter. To check the policies, type chrome://policies in the address bar, and press Enter.
What are the possible sources of policies?
When you go to chrome://policies, you’ll see the list of the applied policies for your browser as well as the corresponding source for every policy.
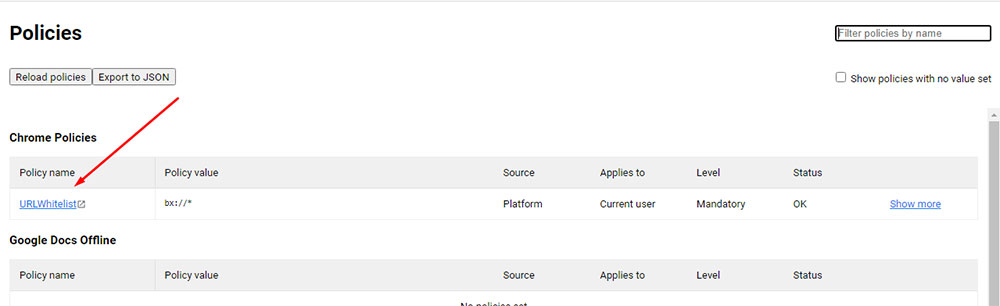
The sources for policies can be as follows:
- Platform ones. Such policies are pushed to users with the out-band management systems for Windows, Mac, or Linux. These policies appear in the list even if a user is not logged in to a managed Google account.
- Cloud ones. These policies are set through the Admin console and they are applied only to users logged in to a managed account.
- Enterprise default ones. Such policies are set by Chrome browser developers to enterprise customers. Their default value differs from the default value of non-enterprise customers.
Administrators are able to override the default values by setting the cloud policies in their console.
3 Methods to fix ‘Browser Managed by Your Organization’ in Windows
One of the most effective and quick ways to remove the mentioned above notice is to delete policies applied to your Chrome browser.
1. Go to the Windows folder on your Local Disk (C:) and find the regedit.exe registry editor (Ctrl + F).
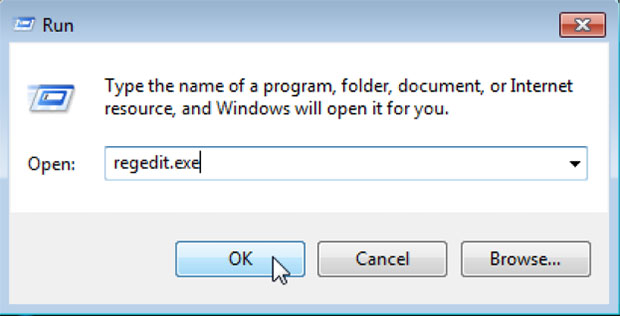
You can just click ‘Windows key + R’ to launch a run-dialog-box and type ‘regedit’ in the ‘Open’ field, and then press the Ok button to launch a registry editor.
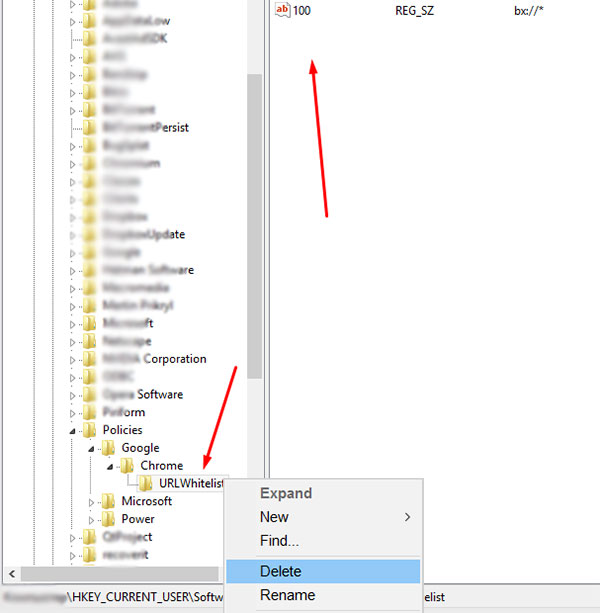
If you’ve, otherwise, found the registry editor in the Windows folder manually, double-click to open it and find HKEY_CURRENT_USER\SOFTWARE\Policies\Google\Chrome path. Here you’ll see the current policies set to your browser, so right-click the policy and select the ‘Delete’ option in the shortcut menu bar.
Now restart your Chrome browser to see if this has worked. Someone also suggests deleting the policies in the HKEY_LOCAL_MACHINE\SOFTWARE\Policies\Google\Chrome folder but most of the time, the deletion of policies for a current user is enough.
2. Another efficient way to remove the ‘browser is managed’ notice is to reset your Chrome settings to defaults.
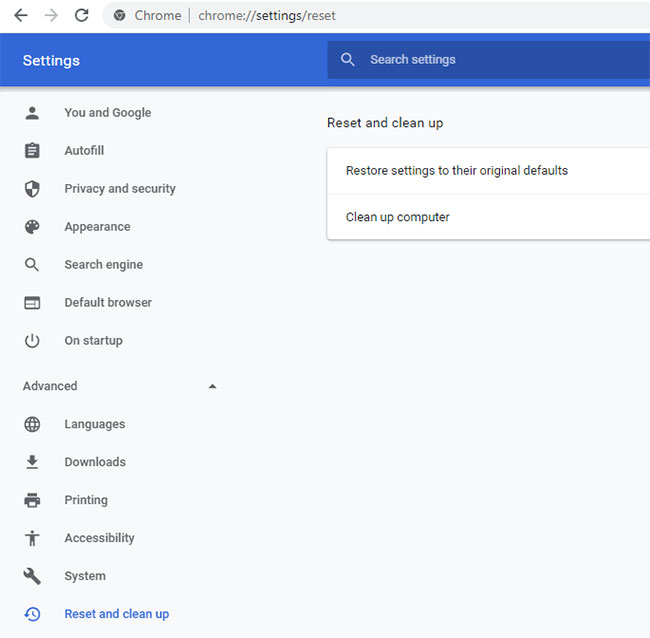
Go to Settings -> Reset and clean up -> and click the ‘Restore settings to their original defaults’ option.
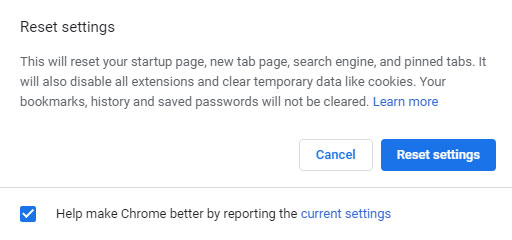
In the pop-up window click the ‘Reset settings’ button and the reset process will start.
When you are done, restart your browser and check the results.
3. Some experts also suggest using additional apps for this definite purpose in case if the previous 2 methods haven’t worked.
The suggested apps are such as AdwCleaner, HitmanPro, MalwareBytes, or even a specifically developed Chrome Policy Remover. Please see this article to learn more.
Personally I’ve never used any additional apps, the first method helped me at once.
3 Methods to fix ‘Browser Managed by Your Organization’ in Mac
Policies can be set to your browser not only by administrators but also by malicious programs. When such malware starts to manage the policies of your browser, they can change the address of your default search engine, new tab address, and the starting page address.
As a result, you may see unwanted popups and ads appearing in your browser, your Mac works slower, and you are sometimes redirected to undesirable websites.
Here are some of the methods that are going to help you remove the unwanted entry from your Mac:
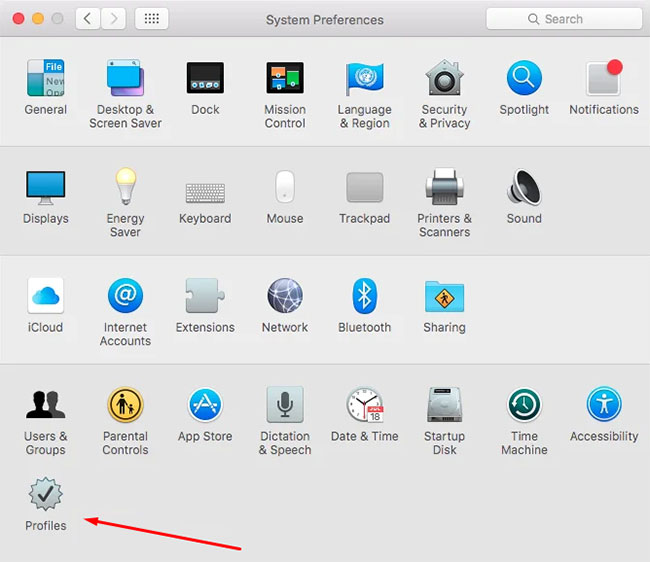
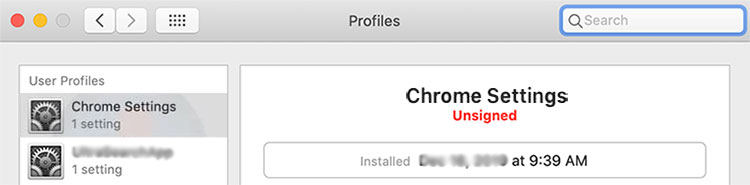
1. Remove all suspicious profiles from the system including the ones related to the Chrome browser and those that are not. For this, go to System Preferences by clicking the corresponding Preferences icon in the menu bar and find the Profiles icon.
In the profiles-list select the ‘Chrome settings’ profile and remove it together with the other currently existing profiles from the list.
Restart your browser to see if the method has worked.
2. The second method here is the same as the 2nd one for Windows, see point 2 in the previous section of this tut. This method supposes that you reset all Chrome browser settings to their original defaults.
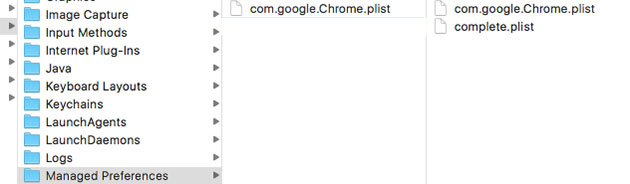
3. And the last method is as follows: Open the ‘Go to Directory’ window by clicking the Command + Shift + G and enter ‘/Library/Preferences’.

Find and delete the ‘com.google.Chrome.plist’ file from the list, and restart your browser.
You can also look for some software for automatic Mac malware removal. However, I’ve never used any because the mentioned above methods have been helpful. Experts suggest trying Malwarebytes for Mac as well.
So I hope this tut was helpful for you and I’ll be happy to see your any concerns in the comments.
Melany H.