Google Analytics is a free web analytics tool by Google which helps you analyze your website traffic. It allows tracking your website with regard to:
- actions that a user commits on your page (user tracking);
- every individual visit (session tracking);
- every single page visit (page-view tracking);
- and every button clicks or video views (events tracking).
Your website SEO is based on many aspects, and links are one of them. Inbound and outbound links are much important for your traffic and the trust of your target audience.
What’s the difference between inbound and outbound links?
Inbound links (also called the backlinks) are hyperlinks that lead to a third-party web-page pointing back to your website. Outbound links, in their turn, take a user anywhere away from your website, for instance, to the social media accounts, affiliate sites, products of your company available on some marketplaces, etc.
Inbound links are potentially a significant source of targeted traffic but the outbound ones are more important because the search engines consider their relevance and quality even more than their overall amount on the page.
This is why if you don’t want Google to associate your website with some sites that you are pointing to, use rel=”nofollow” for those links.
Today we will speak on how to track the outbound links of your WordPress website using Google Analytics. Let’s start!
Installing and Connecting Google Analytics
If you haven’t yet installed Google Analytics on your website, please see this tutorial to learn how to sign up for it with ease.
You can also use the Monsterinsights plugin to connect this Google tool to your website. As mentioned above tut was created in 2017, and now the process of connecting Google Analytics to your website with the help of the Monsterinsights plugin has been a bit changed, please check out our current guide further.
First of all, install and activate a plugin the same way as you always do in your dashboard. Please see this breakdown post to make sure you make it right.
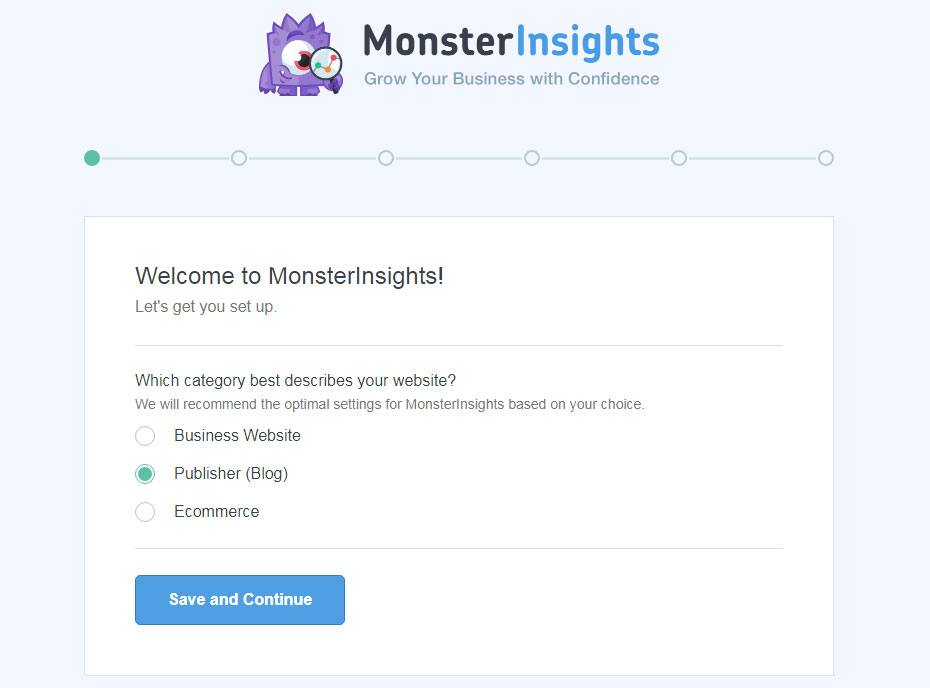
Now you will be automatically redirected to Monsterinsights setup wizard (to enter the wizard manually you will have to go to Insights -> Settings menu in your admin panel, scroll down and click the ‘Launch Setup Wizard’ button).
The first step will ask you to select the category that best describes your website. I select a Publisher (blog) one.
The next step will include your website profile number and a license key, so you will be able to check the data and click the ‘Connect Monsterinsights’ button.

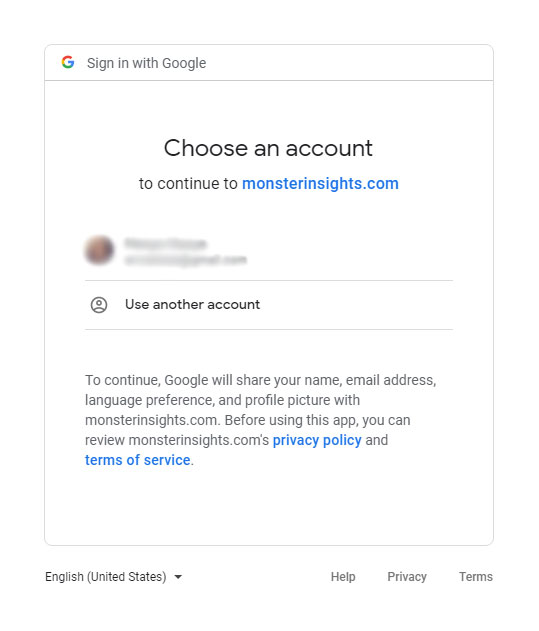
The third step will enable you to select the Google account you are already signed in into or choose another account and sign into it.
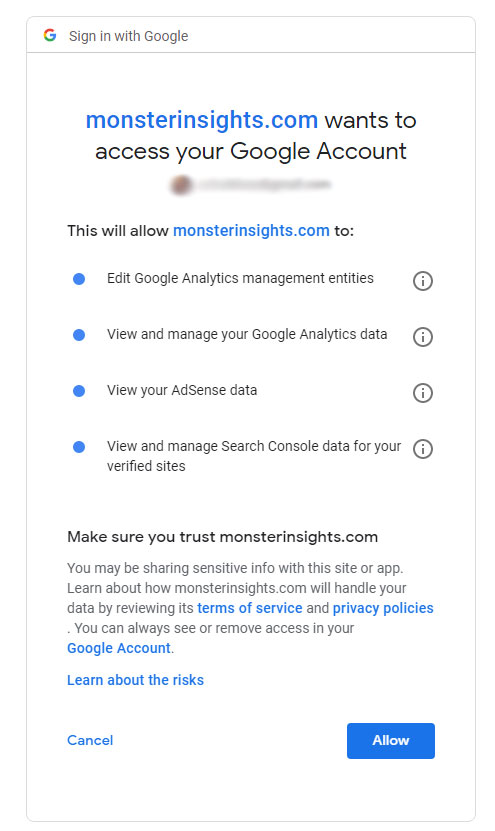
After that, the plugin will ask you to allow access to your Google account to make sure you trust it.
The fifth step will offer you to pick a profile for your website and then click the ‘Complete Connection’ button.

Then you will be offered to choose the recommended settings or just confirm the default ones,
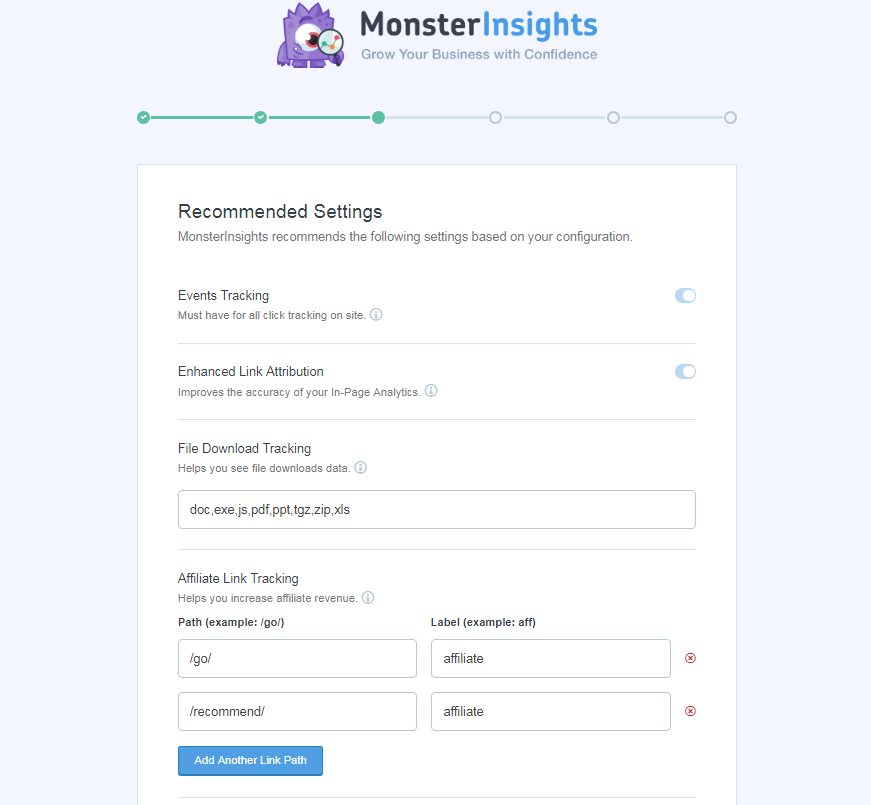
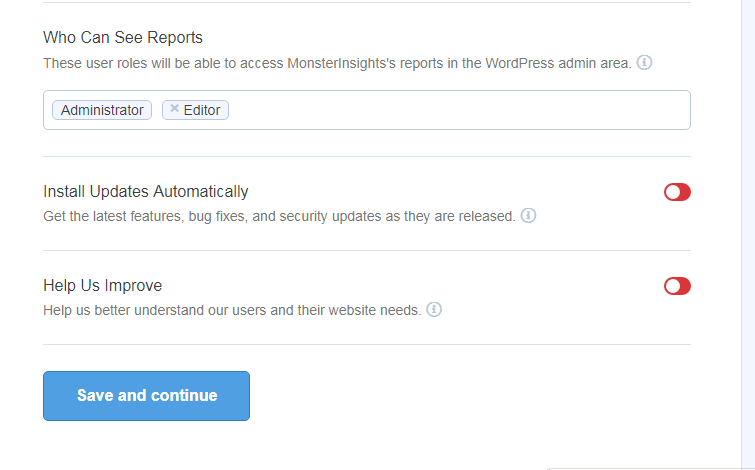
and then you will have to click the ‘Save and Continue’ button to go to the final stage of your setup process.
Here you can select the recommended add-ons and then
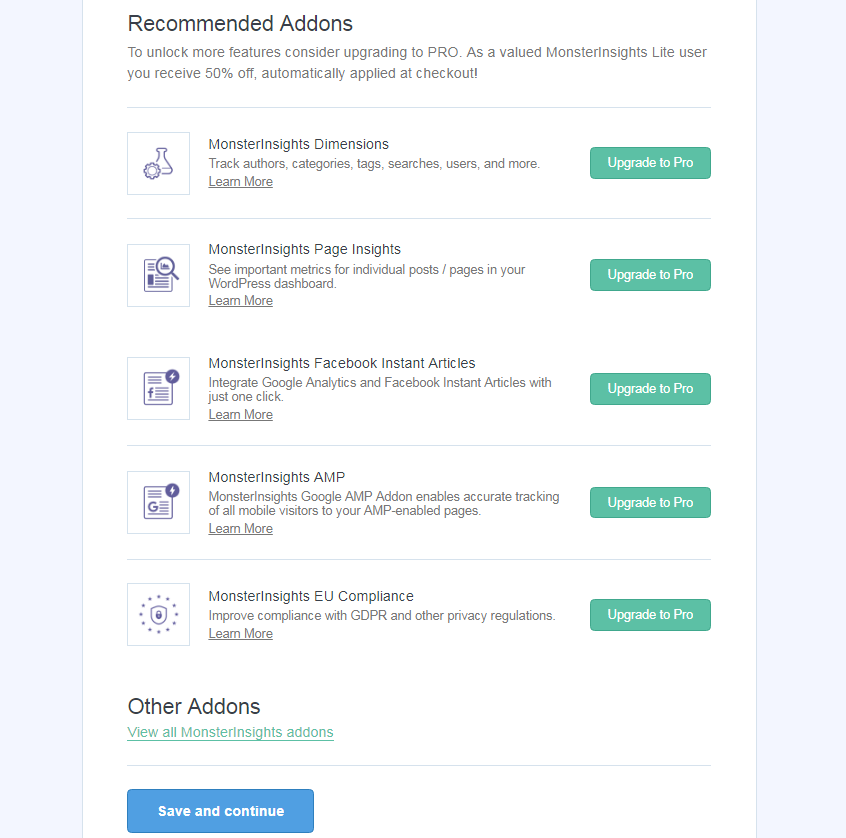
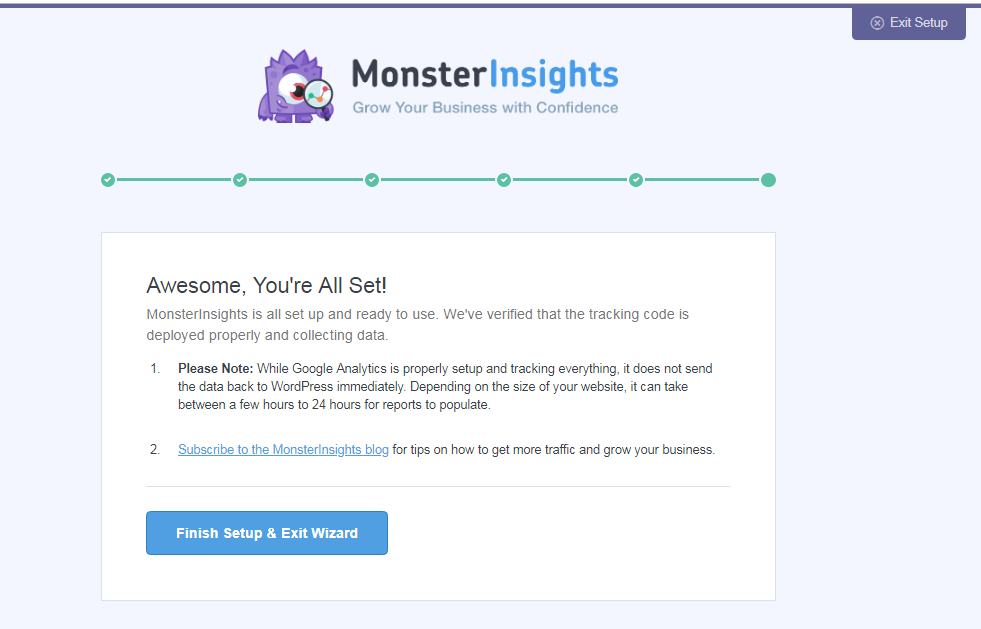
‘Finish Setup & Exit Wizard’. Now you are done.
Tracking Outbound Links – Today and Earlier
When Google Analytics has been already connected to your website, you can start tracking your outbound links.
When I was preparing this tut, I installed the Monsterinsights plugin and went to the Insights -> Settings menu of my admin panel to find where to enable the outbound links tracking option. There was no option like this available, so I started to browse the tuts of other WordPress experts to learn where exactly I should enable this tracking.

So, as I’ve understood, there were different interfaces of the Monsterinsights admin panel, and they were as follows:
In 2018 the interface of Monsterinsights allowed to switch on the outbound links tracking by checking the ‘Enable Monsterinsights events tracking’ option in the Engagement section under the Tracking tab.
![]()
At the beginning of 2019, we were able to enable the outbound links tracking by checking the ‘Track outbound clicks and download links’ option in the same section under the same tab.
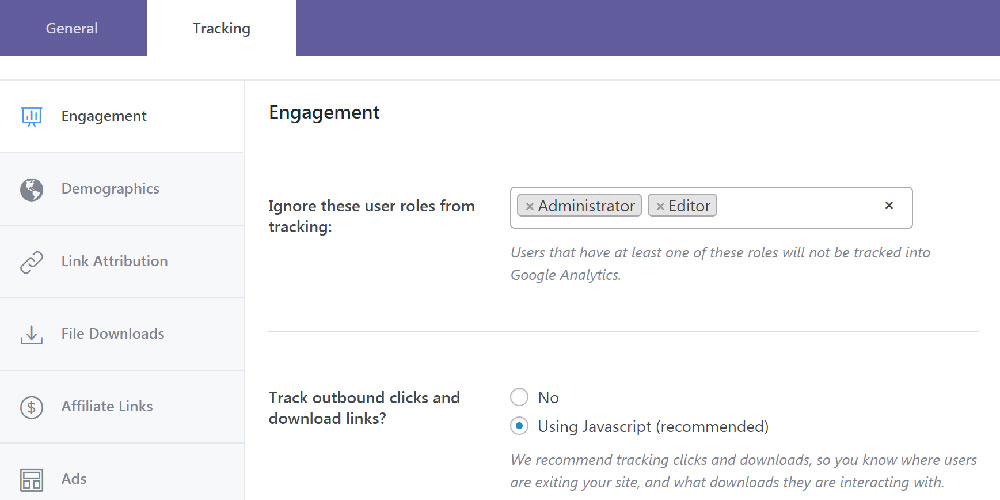
And now we are offered to switch on the ‘Events Tracking’ during the Monsterinsights setup process when we select the recommended settings.
![]()
Probably I am wrong or I’ve confused something, so please inform me in the comments, what changes were made? Does your interface look the same?
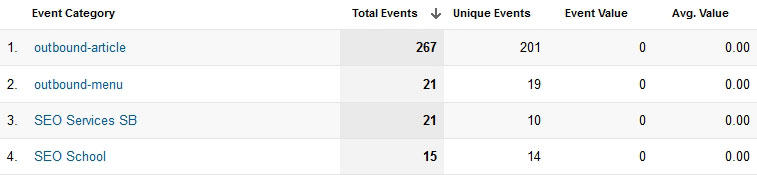
By the way, if you want to see the reports on your outbound links tracking, please go to the Google Analytics dashboard and click on Behavior -> Events -> Top Events page.
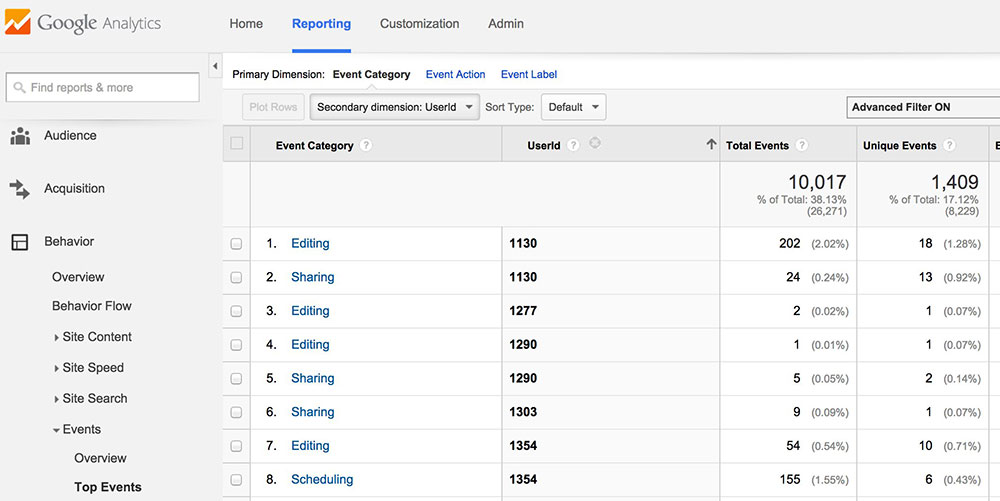
You will see your outbound links listed as ‘outbound-link’ event category.
For now, this is all, please leave your concerns and stay tuned! Thanks!