These days we often exchange sensitive information when interacting with websites: we insert our login and password to enter the personal area; we share our credit card details when making purchases, etc. All of this data should be properly protected not to come to the hand of malefactors.
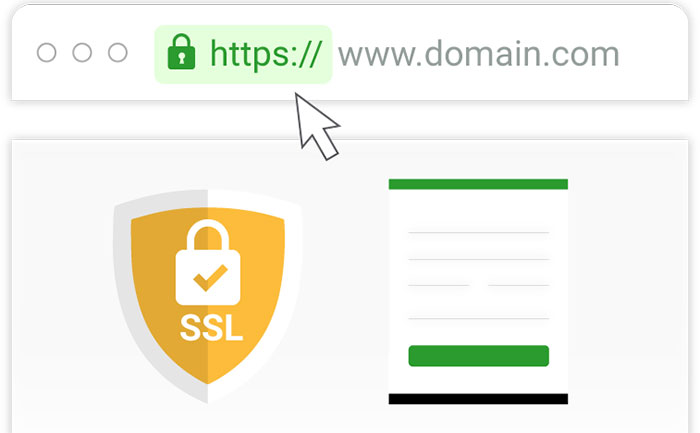
Modern online store owners try to provide a protected connection between a web server and a user’s browser to ensure their customers will have safe shopping. The protected connection is made with the help of an SSL certificate allowing you to use the HTTPS protocol on your website.
SSL is defined as Secure Sockets Layer which are little data files that connect your business details to a cryptographic key. When the SSL certificate is installed on a web server, the HTTPS protocol is activated and, as a result, secure connections become possible. Your website URL will start from HTTPS instead of HTTP, for instance, https://wp-expert.com.
And now let’s see how to get your HTTPS instead of HTTP.
1. Backup First
Every significant change or update you make with your website should be done only after your site’s backup. Download the backup file to your local PC to make sure you’ll be able to restore your previous website’s look if something goes wrong.
The process of moving from HTTP to HTTPS should better be tried on the test server first. If everything goes ok, you can repeat it on your live website.
2. Install Your SSL Certificate
Start from installing your SSL certificate. Today it’s possible to do through Let’s Encrypt Certificate Authority which is a free and automated way to get your SSL.
If your hosting supports Let’s Encrypt, you can follow these instructions on how to implement your SSL certificate with this service. To make sure your host supports this Certificate Authority, check out the list of hosting providers here and make sure your one is also included.
You can read our online store creation guide chapter 4 to learn the step-by-step process of installing an SSL certificate that you’ve purchased.
3. Add HTTPS Protocol to Your WordPress
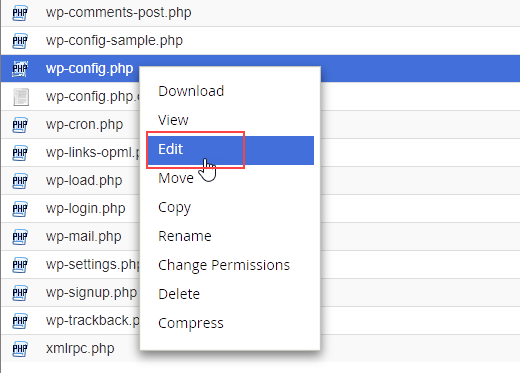
Now it’s time to access your website through FTP to find the wp-config.php file in your WordPress root folder. Open this file and add this line anywhere before (‘That’s all, stop editing!’) phrase in the document. Update the file when you are done.
define('FORCE_SSL_ADMIN', true);Now test if your SSL is installed properly and your website URL works with HTTPS protocol. Open a new tab in your browser and insert your website admin URL with HTTPS, for instance, https://wp-expert.com/wp-admin. If the URL works well and no errors occur, then your secure connection is now active.
4. Update Your Website Address
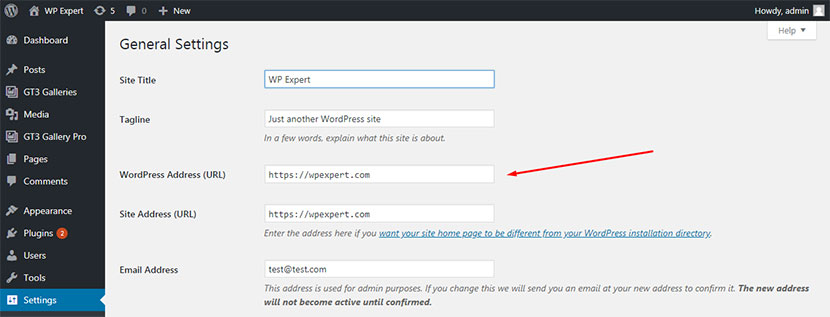
Now go to Settings -> General in your admin dashboard and update your website address there. Save your settings to keep the changes updated. After that login to your dashboard once more.
5. Change Your Content Links
If you’ve got any HTTP links in your content or database, now it’s time to replace them with HTTPS. The types of content that should be now available with proper URL are as follows:
- any images, videos or audio files hosted on your website;
- iframes;
- JavaScript and CSS files;
- internal links in your posts;
- any web fonts.
If you’ve got a lot of links like that it would be a bit time-consuming and difficult to find and change all of them manually.
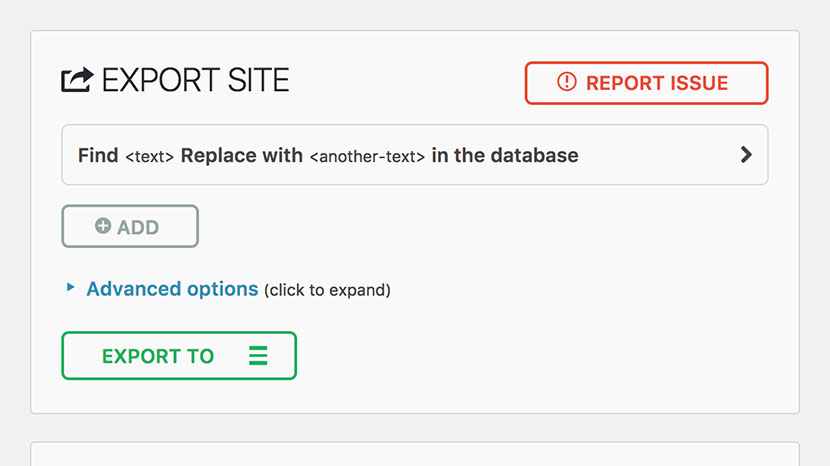
Plugins like All-in-One WP Migration can help to automatically and quickly replace the old links with the new ones in the database. In other words, it can help to change the location of your website with simplicity.
If you replace your links to // instead of https://, the required links will be generated themselves.
6. Set Up 301 Redirect

We’ve been already speaking of 301 redirect and its importance for SEO. In the case of SSL, redirection is required to automatically send your users over a secure version of your website.
Login to your website through FTP, allow your FTP client to show hidden files and find .htaccess file in your WordPress root folder. If there is no file with such a name, just create a plain text one and rename it to .htaccess.
Now just insert the following code into the file:
<IfModule mod_rewrite.c>
RewriteEngine On
RewriteCond %{HTTPS} off
RewriteRule ^(.*)$ https://%{HTTP_HOST}%{REQUEST_URI} [L,R=301]
RewriteCond %{HTTP_HOST} ^www\.(.+)$ [NC]
RewriteRule ^ https://%1%{REQUEST_URI} [R=301,L]
</IfModule>
Now your users will get to the HTTPS version of your website.
7. Test Your SSL
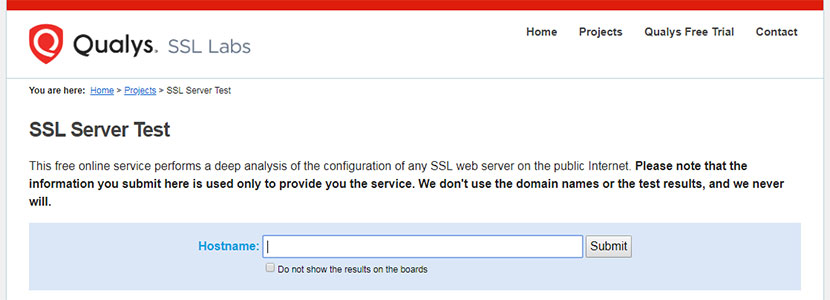
There is an SSL Test service that allows checking how well you have installed your SSL. Just insert your domain into the corresponding field and click the Submit button.
You will get an overall rating concerning the details of your SSL certificate installation as well as possible issues that should be fixed.
You can also use the SSL Check service to scan your website for insecure content and remove your issues.
8. Update Your Website Environment
- Update the Sitemap. If you use Yoast SEO plugin on your website, just deactivate it for a while to allow it automatically update the sitemap.
- Update your robots.txt file to define how crawlers will interact with your secure website.
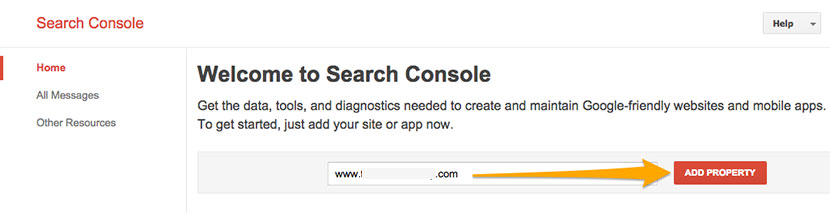
- Make changes in your analytics and webmaster tools. Login to your Google Search Console and click the Add a Property button. After that enter your new HTTPS website address into the corresponding field of the newly appeared popup window and click the Add button. Verify your website to prove the ownership of your website to get it done.
- Update your links in your social media profiles and email newsletter templates.
- Consider making some other changes depending on the tools and services you use for your website.
Conclusion:
As you see everything is pretty understandable and simple if you are familiar with WordPress. Lots of services and plugins are available to help you automate your HTTP to HTTPS migration process as well as make it easier and quicker than ever. If you find the process of moving from one to another protocol too technical or complicated, you can address an expert to get it done.