Hello guys! These days I’m busy customizing a WordPress website for a certain clinic, and now I’ve resolved to share some interesting and helpful tips on website customization with you.
Of course, I am not allowed to disclose the name of the clinic, so I’m going to blur and cross out its logo and some of the text on the snapshots in this post. Despite this, I am quite free to share useful things on how to create a homepage of a cool website using WordPress Customizer options, as well as unlimited possibilities brought by Slider Revolution and WPBakery page builder.
So, let’s start!
I’ve got a WP theme with 5 homepage variations, several types of layouts for About Us, and different product pages. As WooCommerce functionality is not required for this site, I’ve used just layouts for the home and about pages.
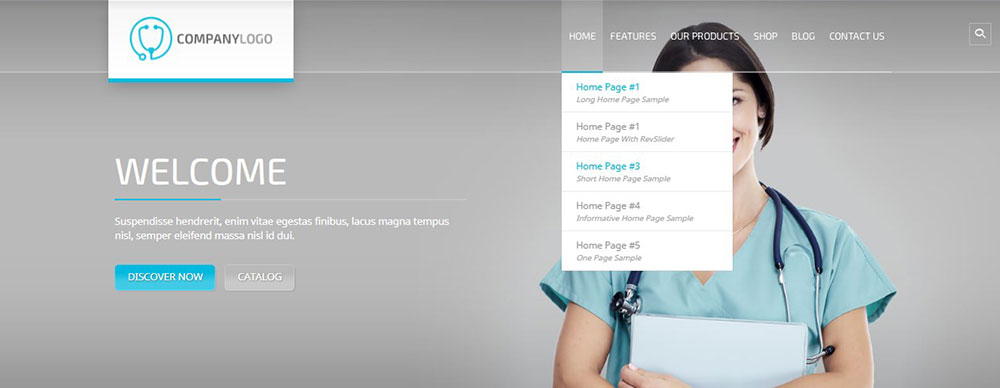
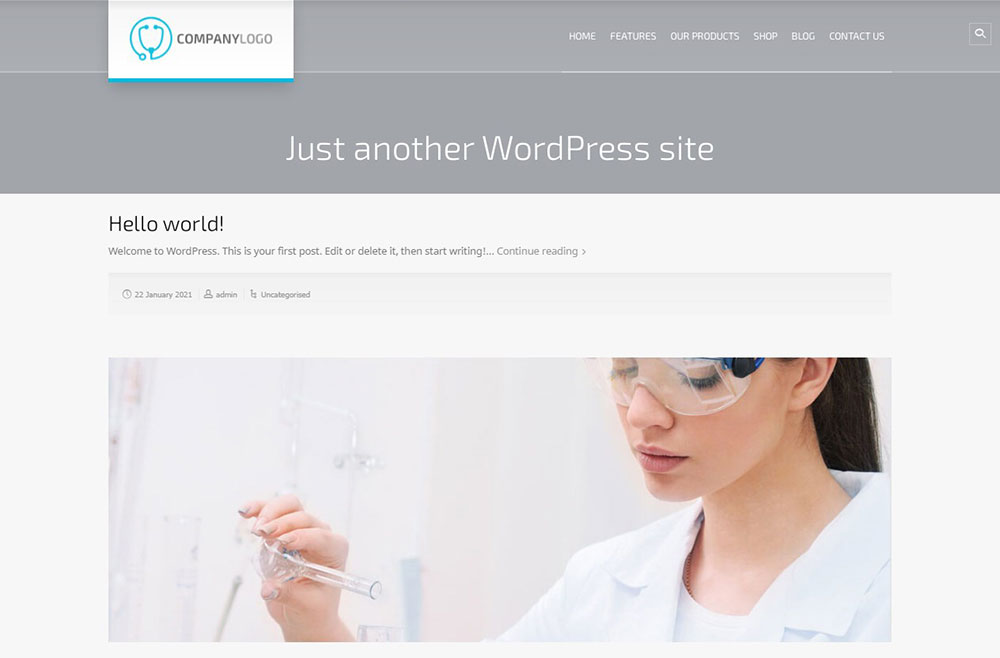
The very first thing to do is to choose what page is going to be displayed as a homepage. By default, the homepage of the theme showed the latest blog posts,
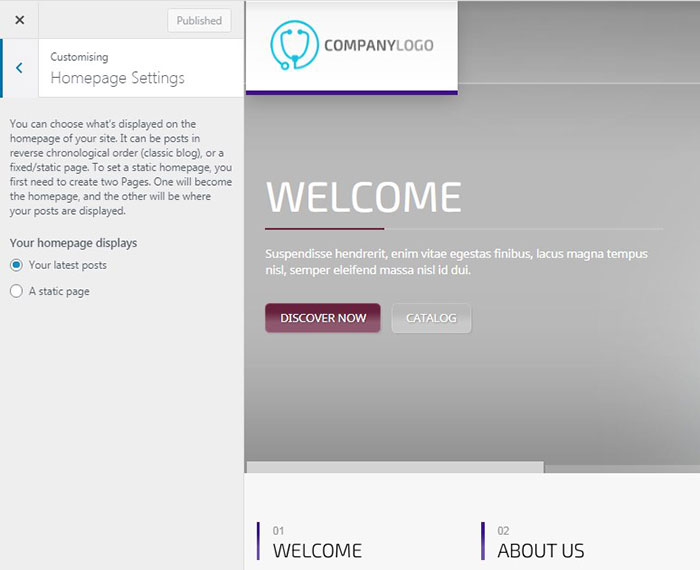
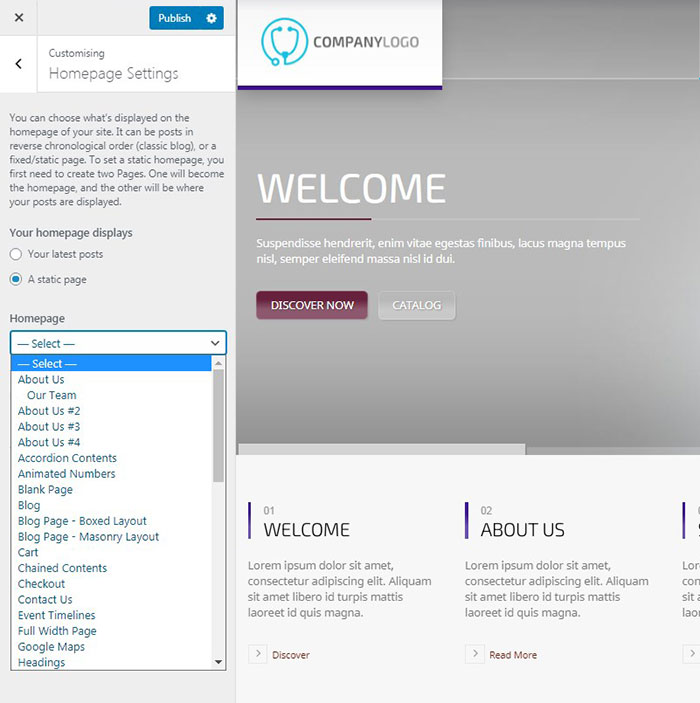
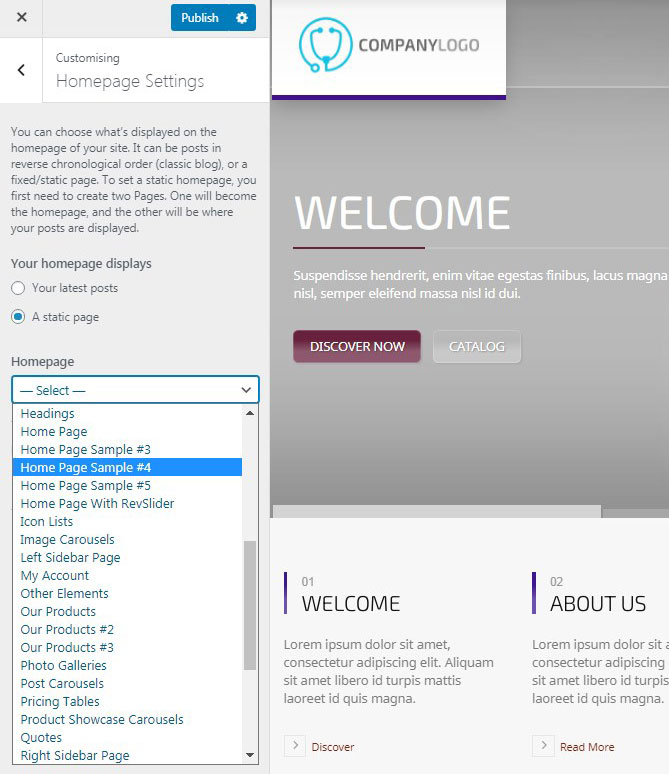
but if you want to replace it with something else, you should go to Homepage settings in your WP Customizer and choose a ‘Static Page’ instead of ‘Your Latest Posts’ one and then select the required page to be displayed from the drop-down menu.
The fact was that I like the slider from the 4th homepage with a girl sliding from the bottom and the caption sliding from left to center, but the structure of the page itself wasn’t as appropriate. So I’ve resolved to create a custom structure under the chosen slider.
So I went to WP Customizer and selected the Homepage Sample #4 from the drop-down list of the Static Page menu.
Now I can change the slider and build the structure of my homepage using the Composer’s blocks.
Slider Revolution Options
No matter what default slider you choose, you can change its animation effects and transitions, and change its color, background, text, images, and other features.
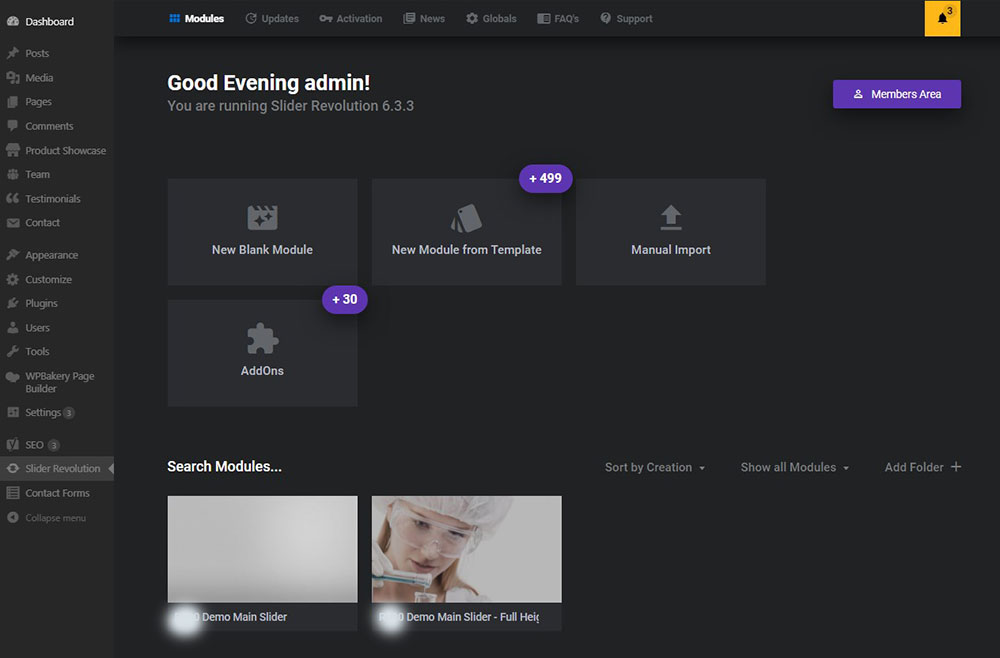
To edit the slider, go to the Slider Revolution menu in your WP dashboard and select the main slider in the Modules section. You can also create a new blank module instead of using the layers of a ready-made demo offered by your currently active WP theme.
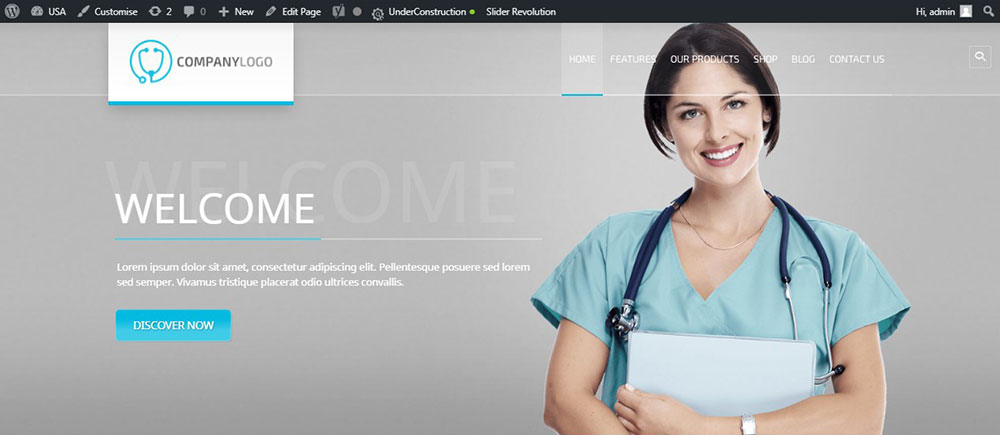
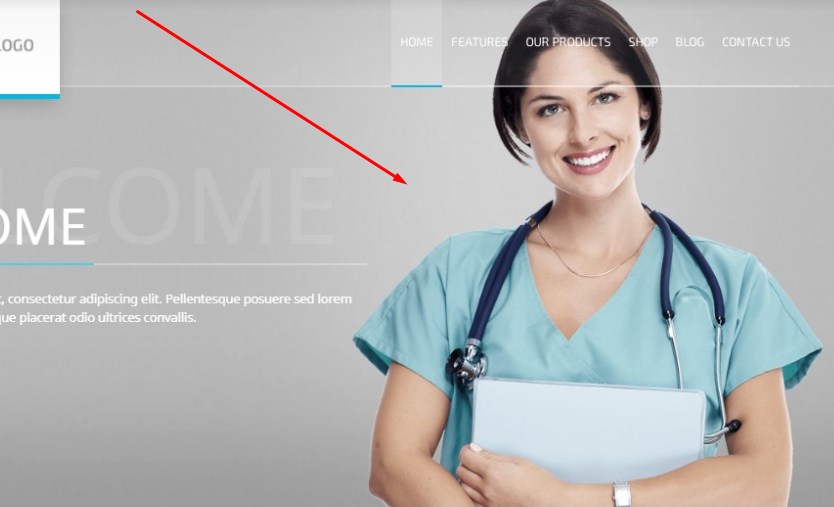
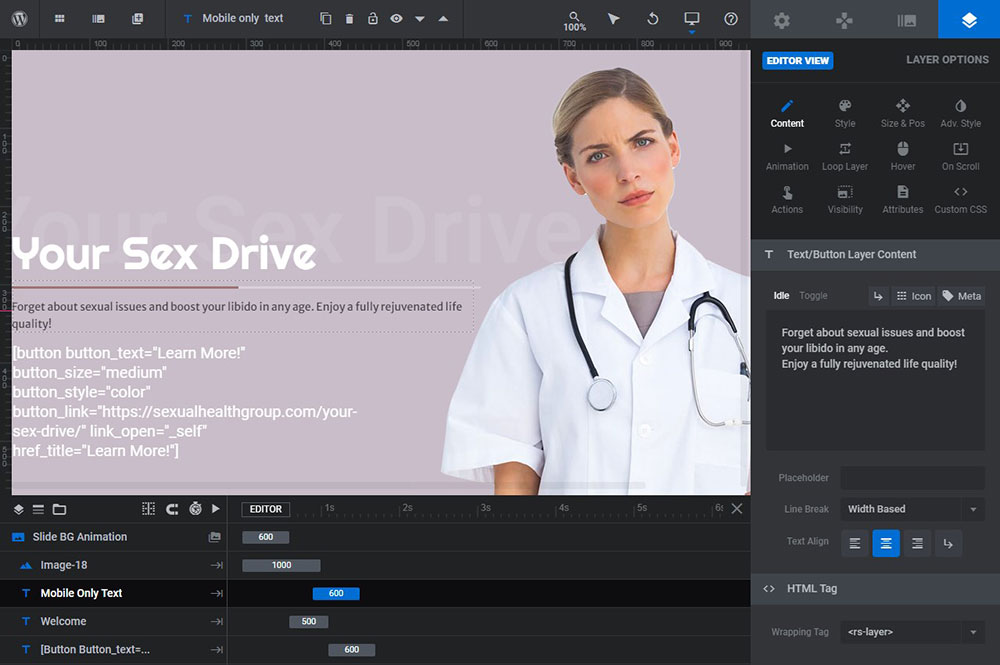
Here’s how the slider looked by default. It included a grey background, an image, an inscription, and its shadow as well as a clickable button.
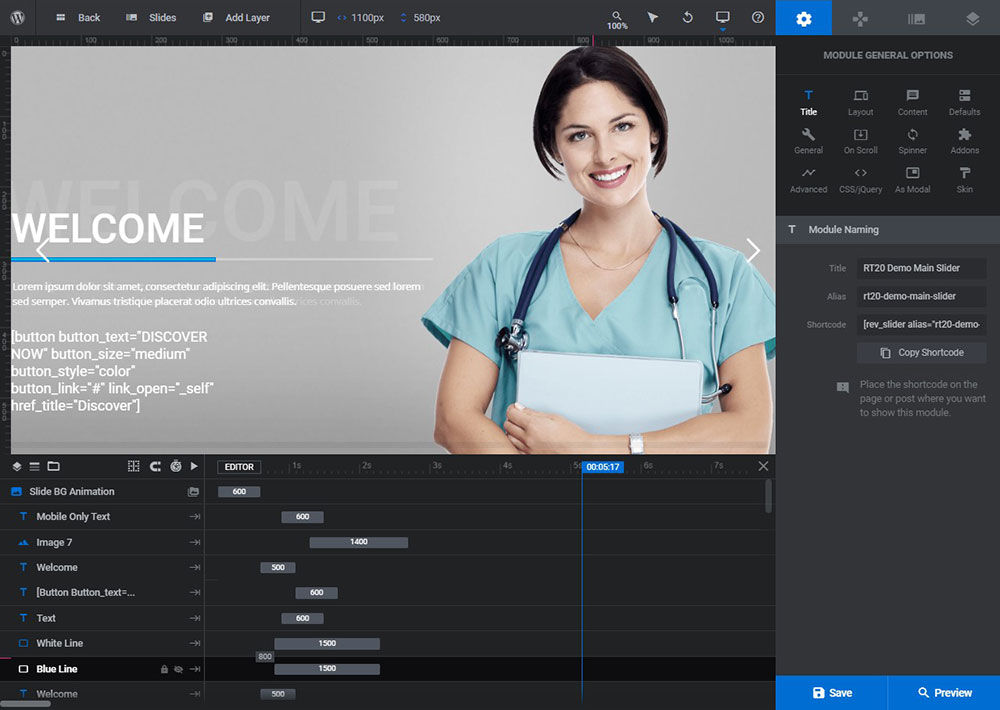
Here’s what is included in the Slider’s list: blue and white lines are the custom lines that can be moved, and replaced, you can change their color, width, and length. They are used to highlight and underline the caption’s text.
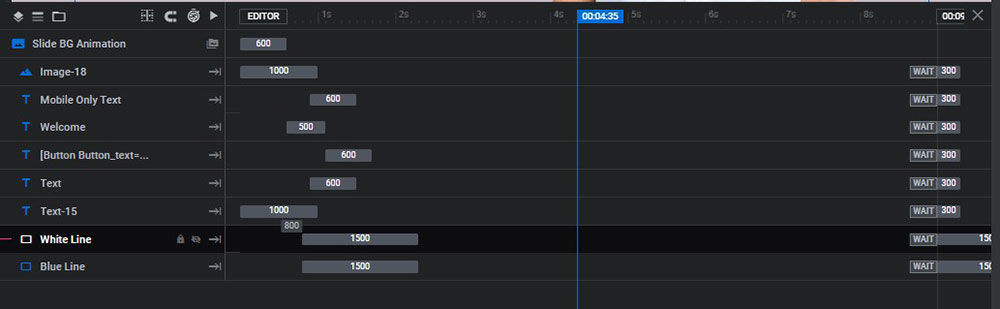
You can set the time for each element to make them appear one by one in a certain order, just move the scrubber near every layer and set it as you prefer.
The color is changed in Layer Options -> Style -> Background -> BG color. In the style section of the Layer Options editor of Revolution Slider, you can change the spacings, border, and other options.
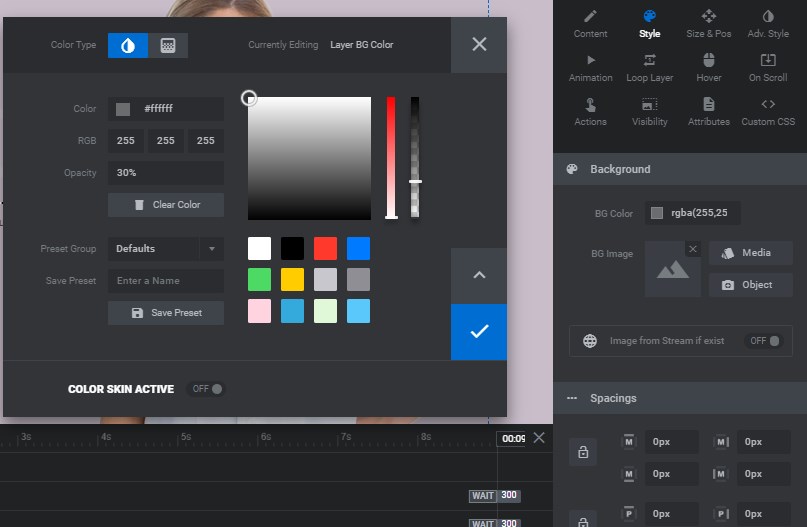
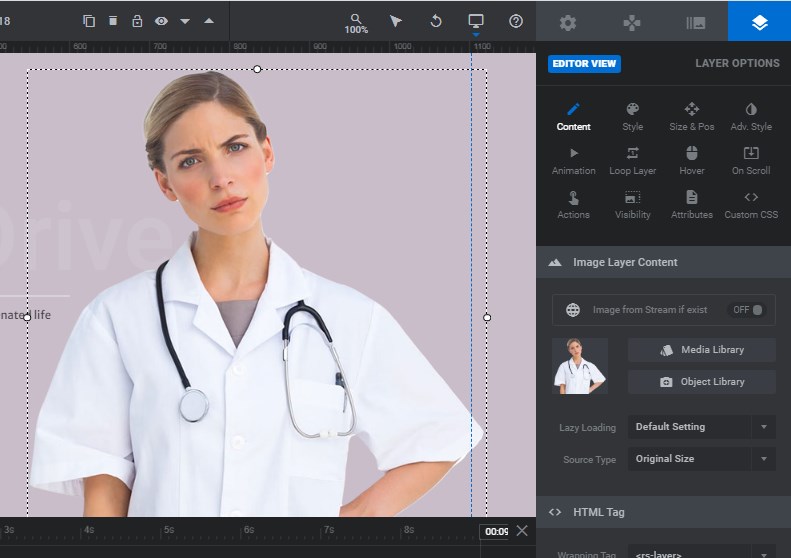
Layer Options are the main area that includes all options you can use when editing the slider. Here you can change the position and size of every slide’s layer, and change everything that I am going to talk about further.

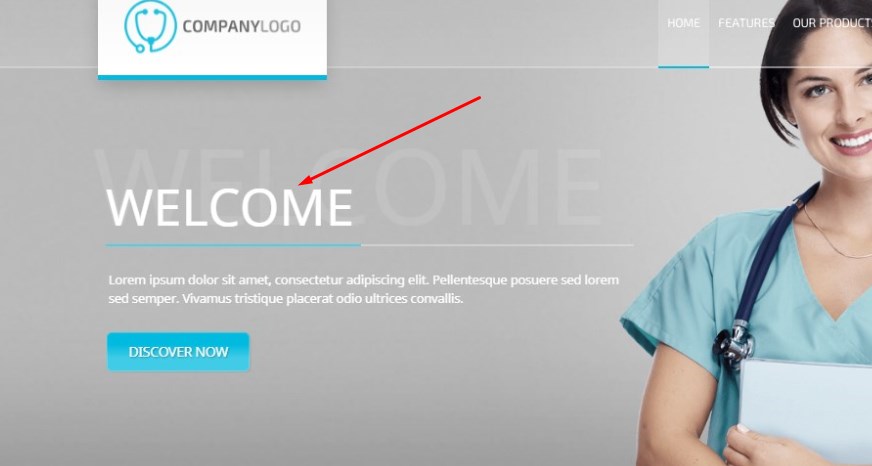
So, here you see the Welcome text which is the main caption (the title),
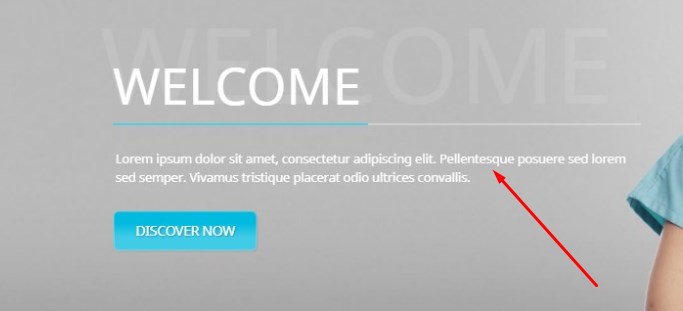
the Text – which is the smaller caption under the title,
the additional text which plays the role of the title’s shadow here,

and the image which is uploaded to the slider as a separate layer.
Of course, you can change the color of each text, the text itself, the font types of the text, and more. You can drag-and-drop and replace your texts, images, and any elements on the slider.
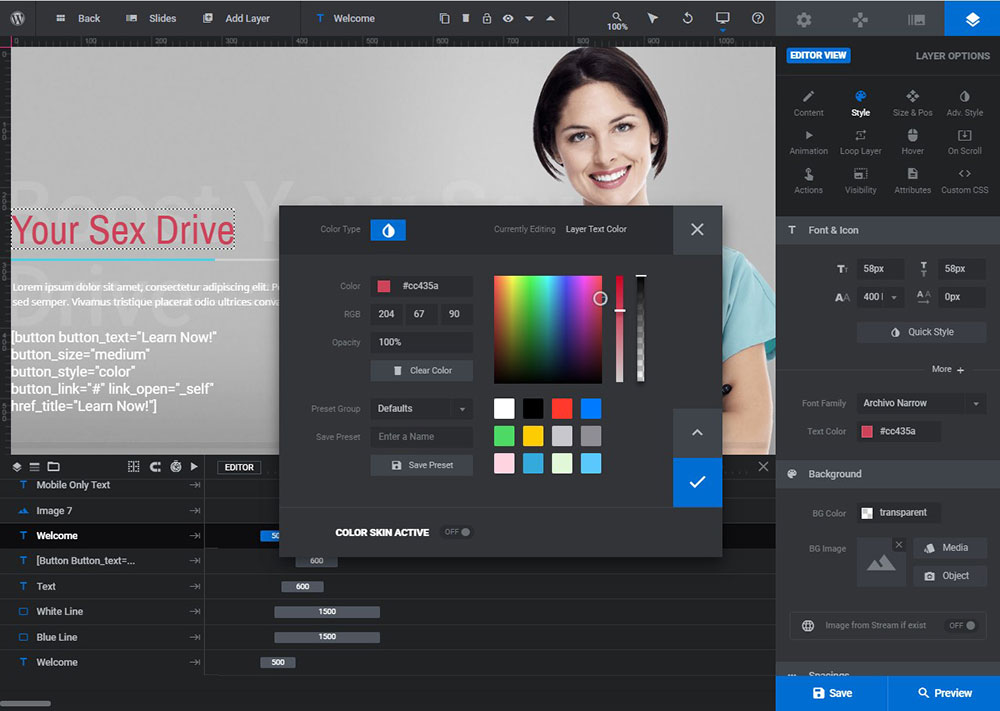
The styles are changed in the Layer Options -> Style tab of Slider Revolution.
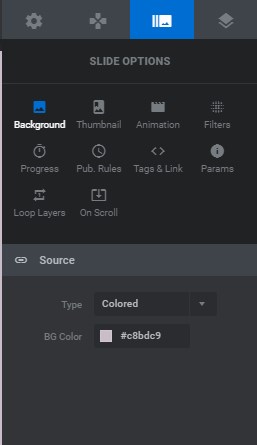
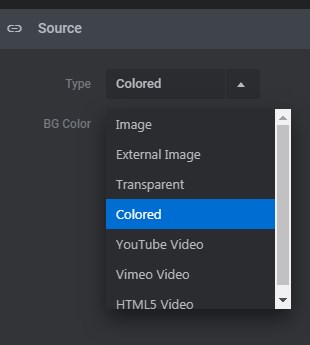
I’ve resolved to select the colored background for every slide separately. So, I’ve got three different slides with different images, captions, and backgrounds. The background for each slide should be selected in the Slide Options -> Background menu of Slider Revolution.
You can select the image background and upload any custom image from the media library to create the background in the form of texture, a standard photo, or any other image which is going to play the role of the backing board under your caption text.
Revslider allows selecting video backgrounds, transparent backgrounds, or any other ones as well.
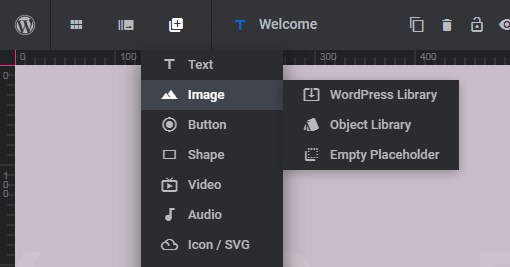
After choosing the colored background, I uploaded the new image instead of the default one. You just click the default image and press the ‘Delete’ button on your keyboard or select a required layer and click the recycle bin icon on the above panel of the slider’s dashboard.

After that, click the plus icon in the same panel and choose a new layer to be added.
![]()
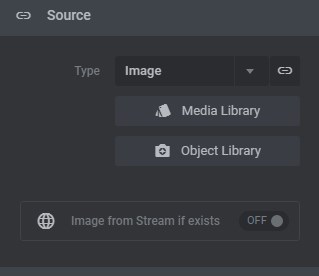
If this is an image, then select the source which you want it to be uploaded from. I’ve selected the media library and uploaded a new custom image with a transparent background instead of the default one.
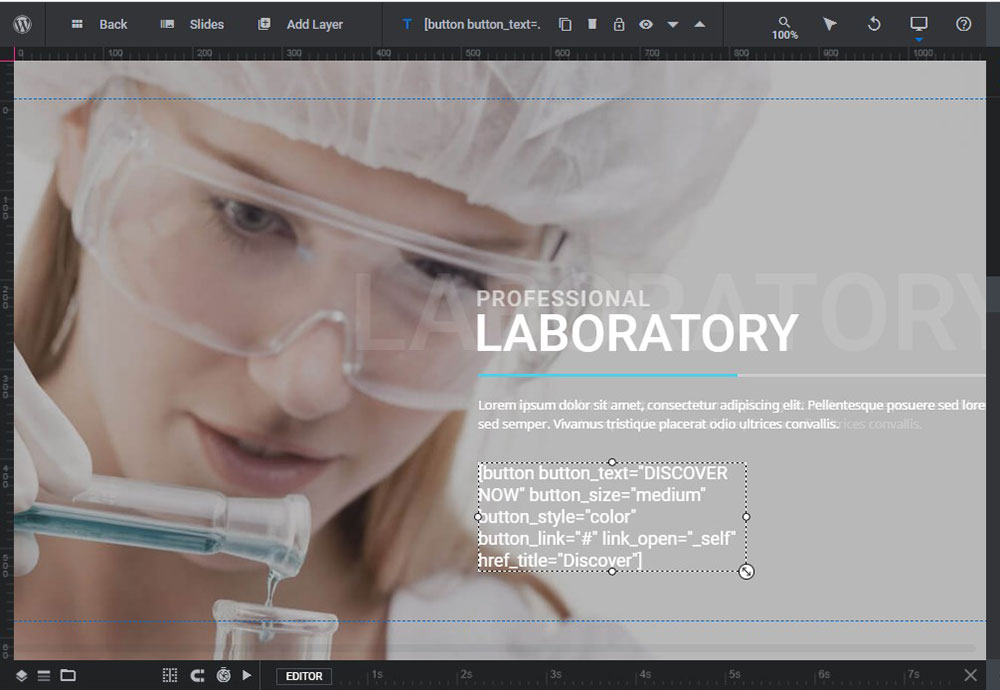
Of course, you can easily edit the button text in the corresponding layer and insert the link instead of ‘#’ sign to make the button clickable and to make it lead a user to a certain page. The button can be created separately with the help of a page builder and inserted in the form of a shortcode into the content section of the button layer.

Your shortcode can look different, for instance, like in the snapshot below. It depends on what button module from a list of your page builder blocks you choose and how you customize it.
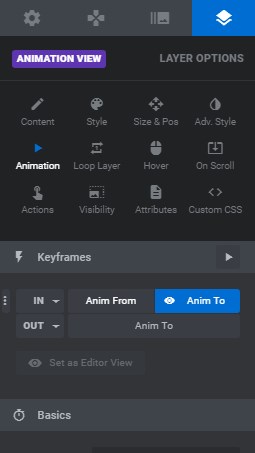
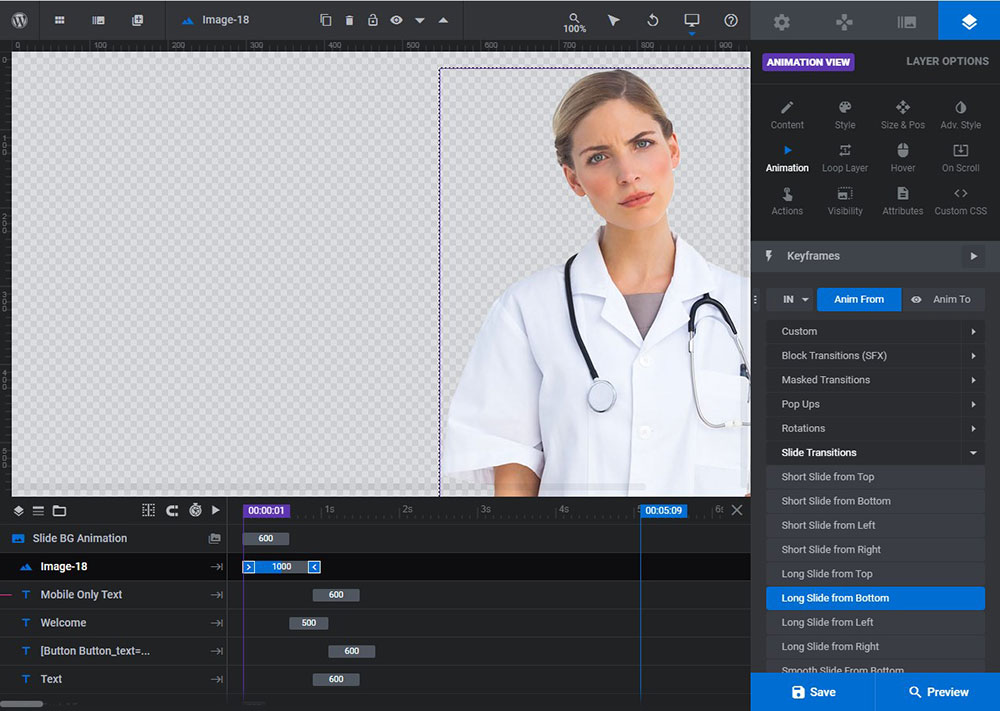
You can select any animation for every slider’s layer in the Layer Options -> Animation menu and then select the ‘Anim from’ or ‘Anim to’ tab to pick the animated effect.
I’ve selected the ‘long slide from bottom’ transition effect in my slider to make the image appear in the slide unexpectedly.
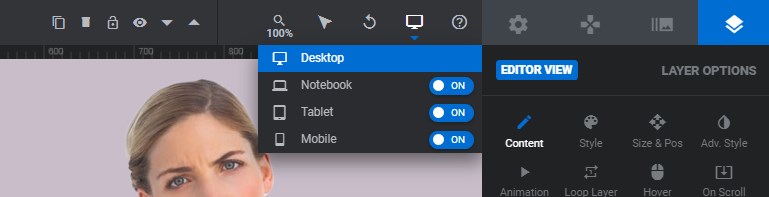
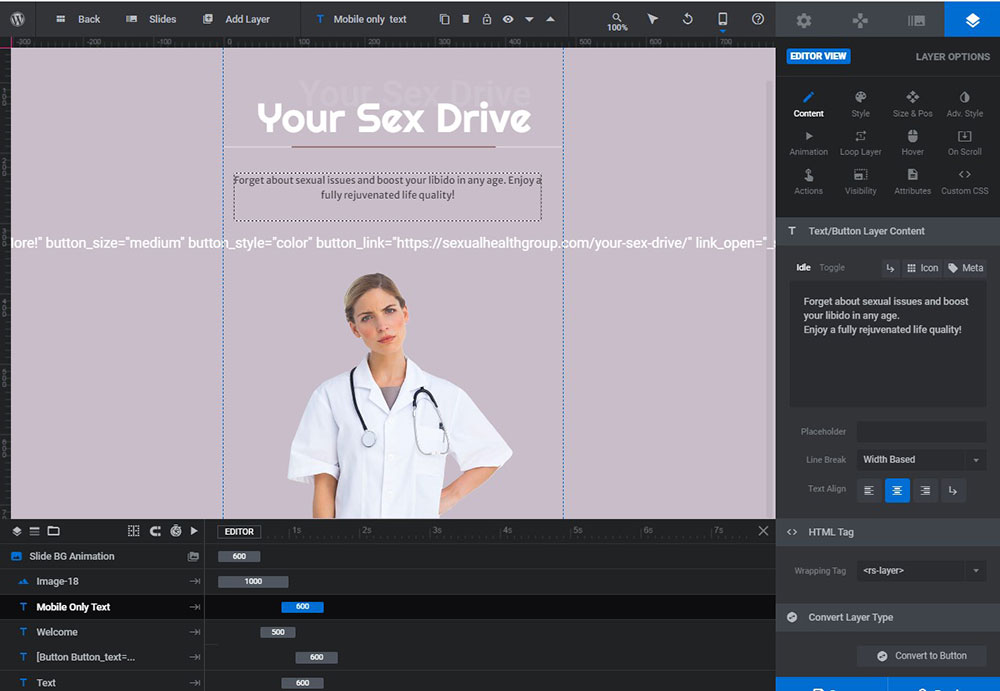
You should also check the responsiveness of your slider to make sure it looks good on all devices.
There is a mobile-only text that is edited separately and especially for the mobile view of your slider. You can create it by yourself or choose a readymade WP theme with mobile-only layers within the demo slider.
On the mobile view, you should rearrange your image to make it look good enough on the vertical and narrow screen.
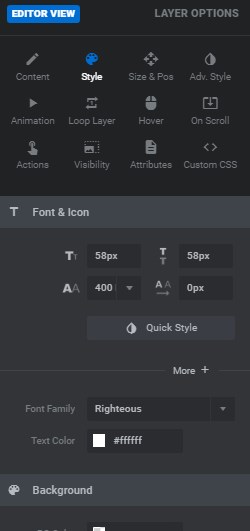
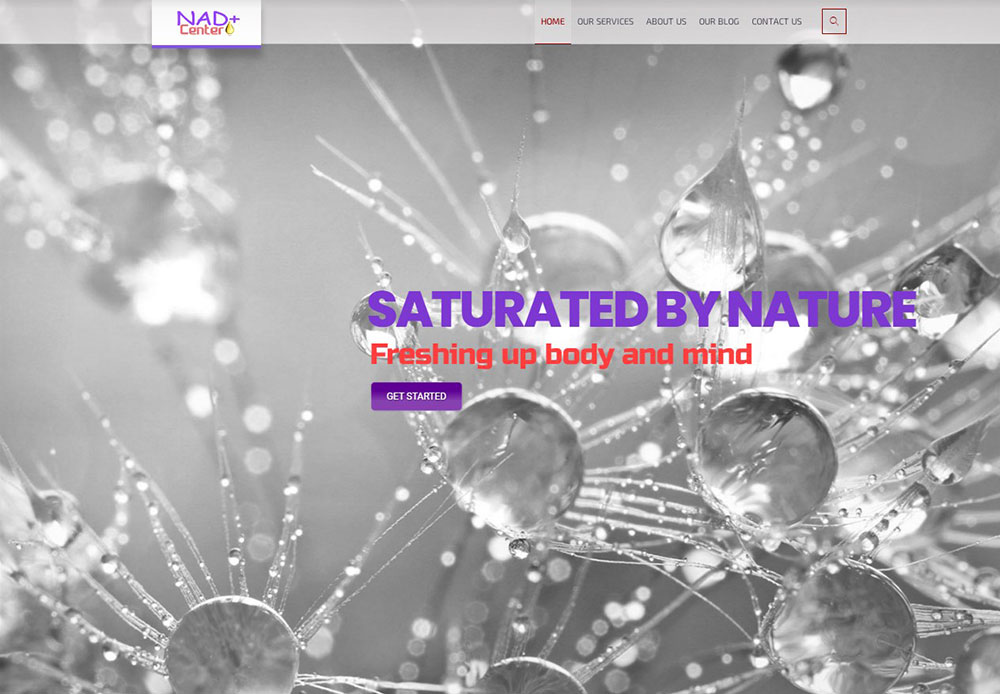
So I’ve changed the font of a welcome text, the text itself, and its shadow, as well as changed the caption text, its color, and style. I’ve changed the color of a blue line and made it a red line, changed the background color, and uploaded a custom image. I’ve selected the animation for my image and captions.
I’ve also changed some styling options in the WP Customizer (Appearance -> Customize) to replace the color scheme of the website which changed the color of all its buttons, fonts, and some other elements.
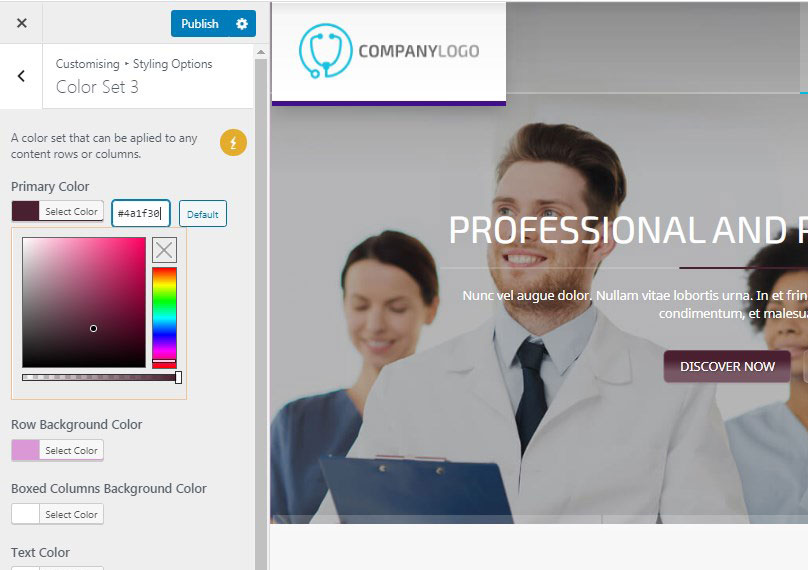
I’ve replaced the standard logo with a custom one as well (but it doesn’t matter ’cause I blur it here), so here is what I’ve got:
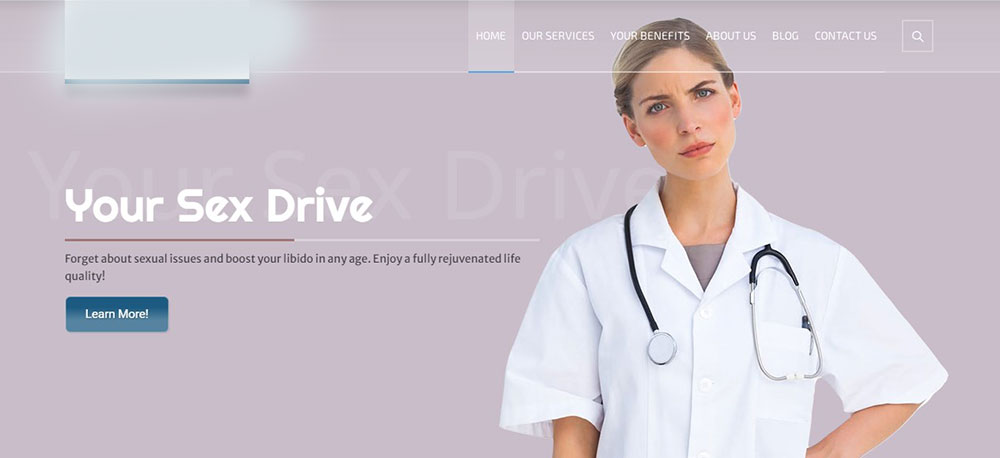
This is just the first slide because I can’t disclose the overall design and all slides I’ve created, but be sure they are great thanks to the possibilities gifted by Revolution Slider and especially the ‘slide transitions’ that helped me to create cool effects.
Update April 2021!
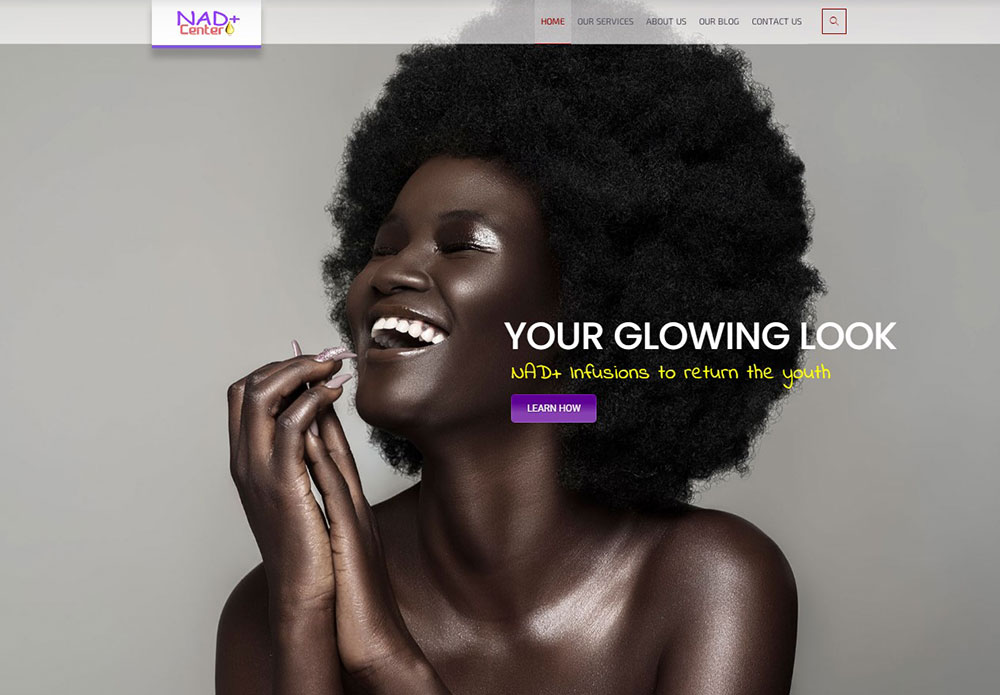
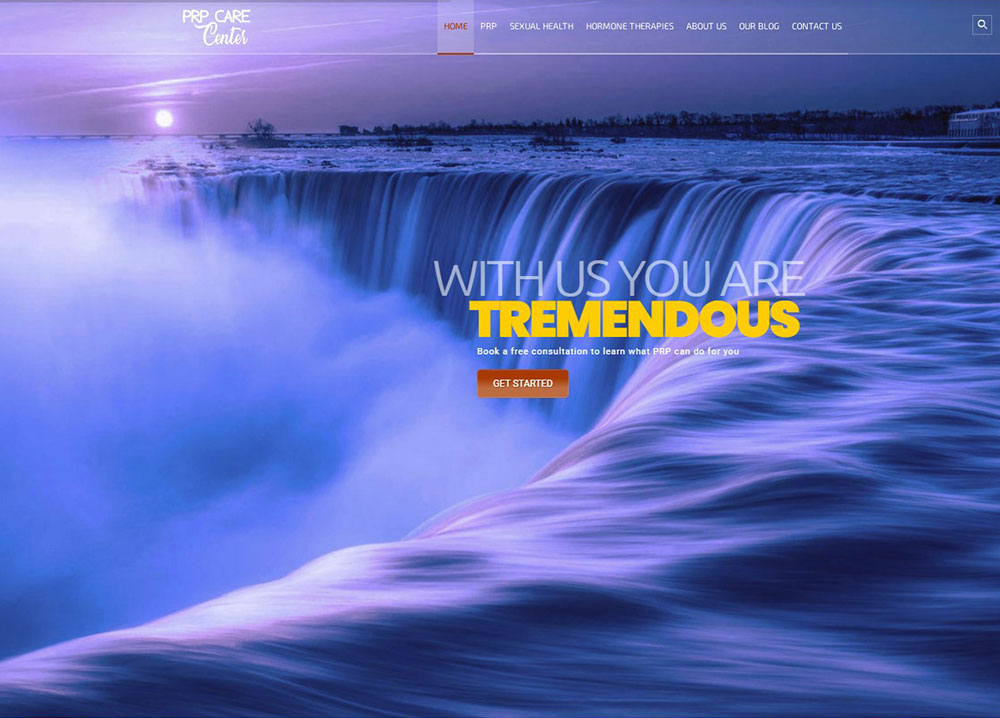
Now I am quite able to share some more slider examples I’ve made just to try the possibilities of Revolution Slider 6. Some of them are available on the live sites, some of them are removed or will be removed from the live sites soon as they play just the esthetic role while some website owners need more conversions and prefer to replace the slides in the header with some static images or contact forms. That is why I’ve just resolved to share my works with you here even if they won’t be available on any sites out there. Here they are:

Main Menu and Page Structure
As you see on the custom homepage slider, I’ve also rebuilt the standard menu and replaced it with a custom one. Here’s one of my older posts on WP menu creation. However, it explains how to add items to the menu from the list of pages.
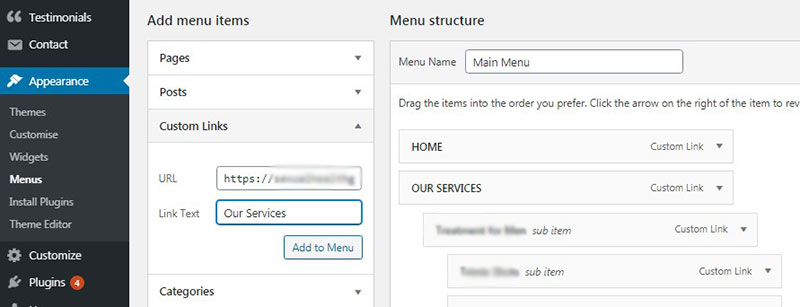
On that current website, I used the custom links for creating the main and footer menus. You just select the ‘Custom Links’ tab in the ‘Add menu items’ section, add an URL and link text and then click the ‘Add to Menu’ button. If you want to create sub-items, you just drag and drop your menu items and place them under the main items in the menu. All is easy!
Now I’ve resolved to change the initial page structure of the homepage demo #4 which I’ve chosen as my static page, and replace it with a custom structure.
Creating a structure of a page is pretty easy with the help of WPBakery page builder or Elementor front-end builder. This particular theme is based on the WPBakery one.
I guess you are probably aware of how to use and move the modules of this builder, so I am going to remind you in brief.
As you know, WPBakery page builder offers both front-end and back-end editing options. The following theme has just the backend but the newest ones also have front-end editing possibilities.
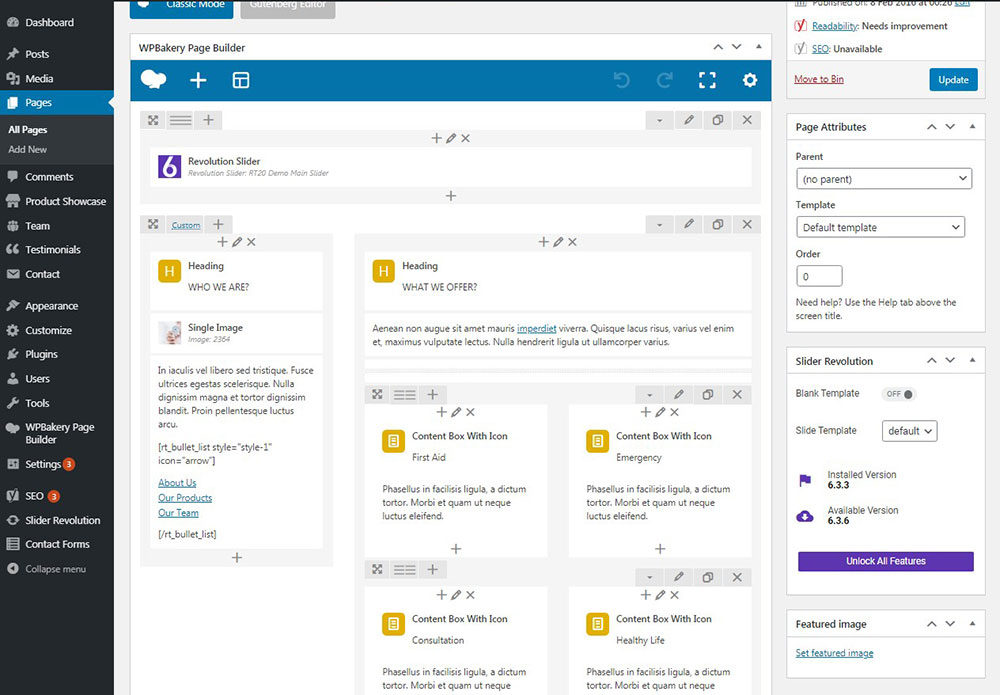
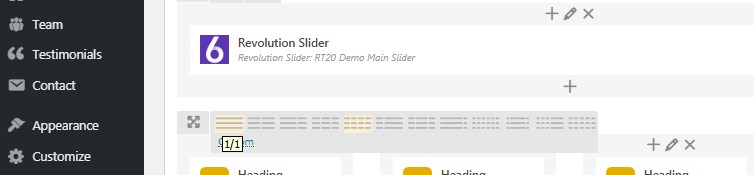
This is what the default structure of the homepage was:
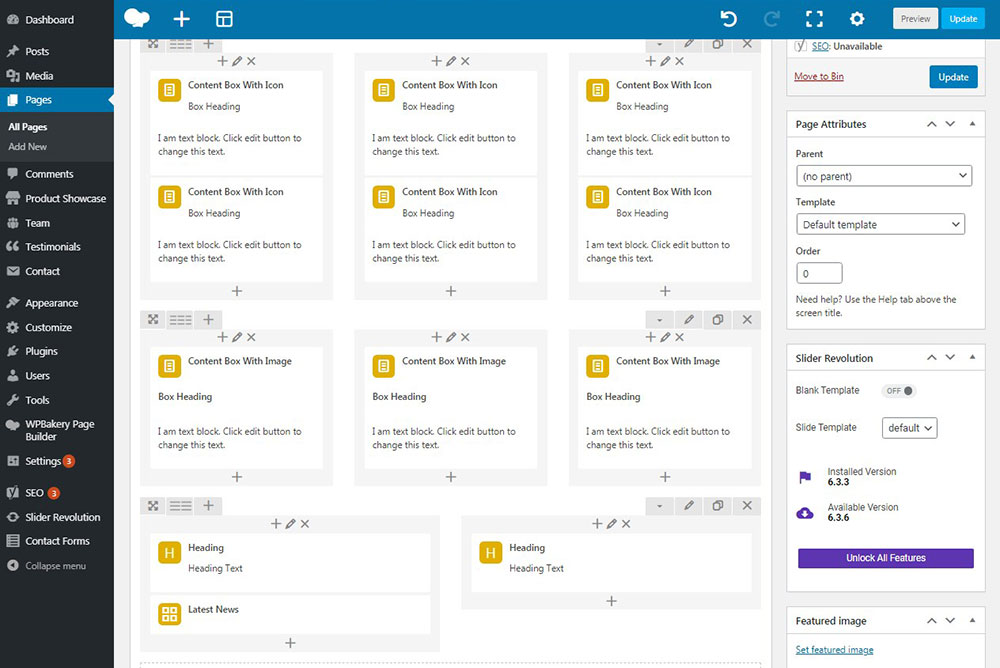
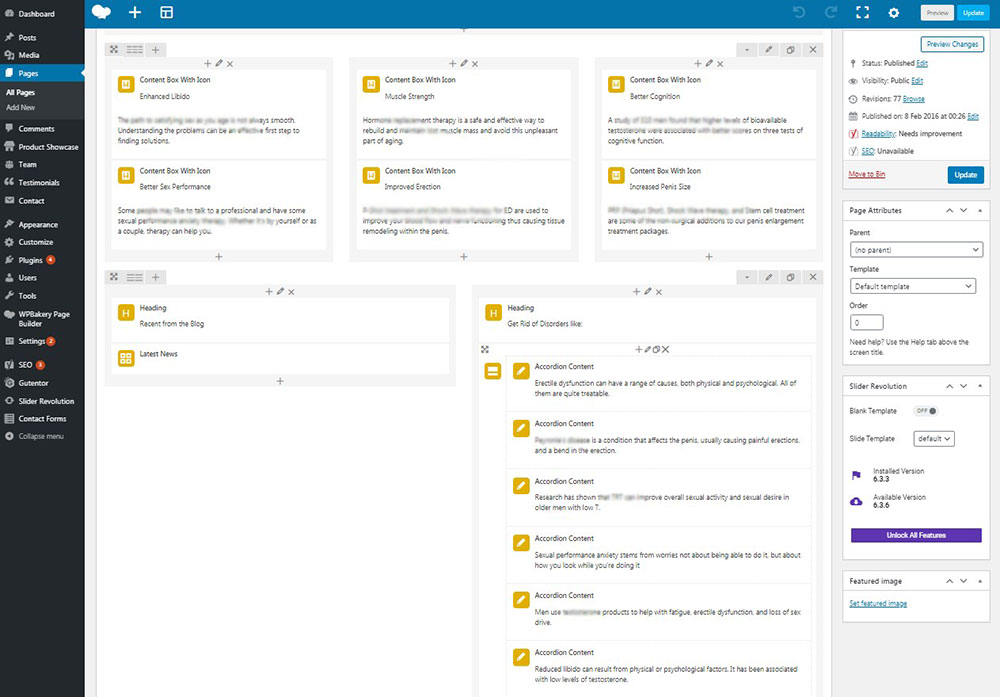
And I’ve selected different amounts of headers in a row, added content boxes with icons and content boxes with images as well as some accordion content and testimonials carousels to create a custom page structure.
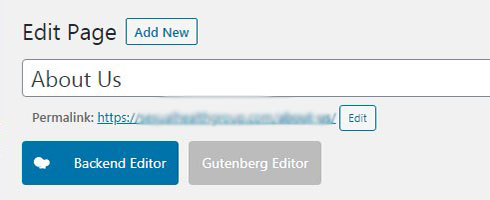
Adding a module, as you know, is quite an easy task: You just click the edit with the ‘Backend Editor’ button,
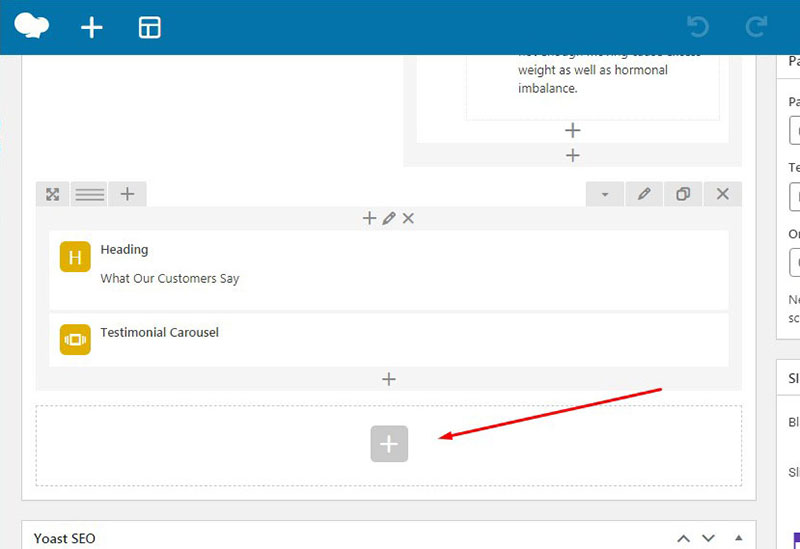
and then click the ‘+’ icon on the page to add a module from the list. After that, you can start to edit every module to create a structure for your page.
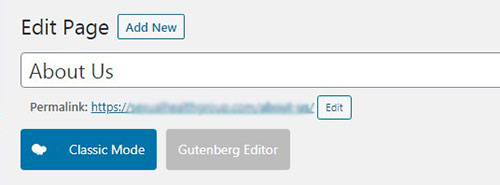
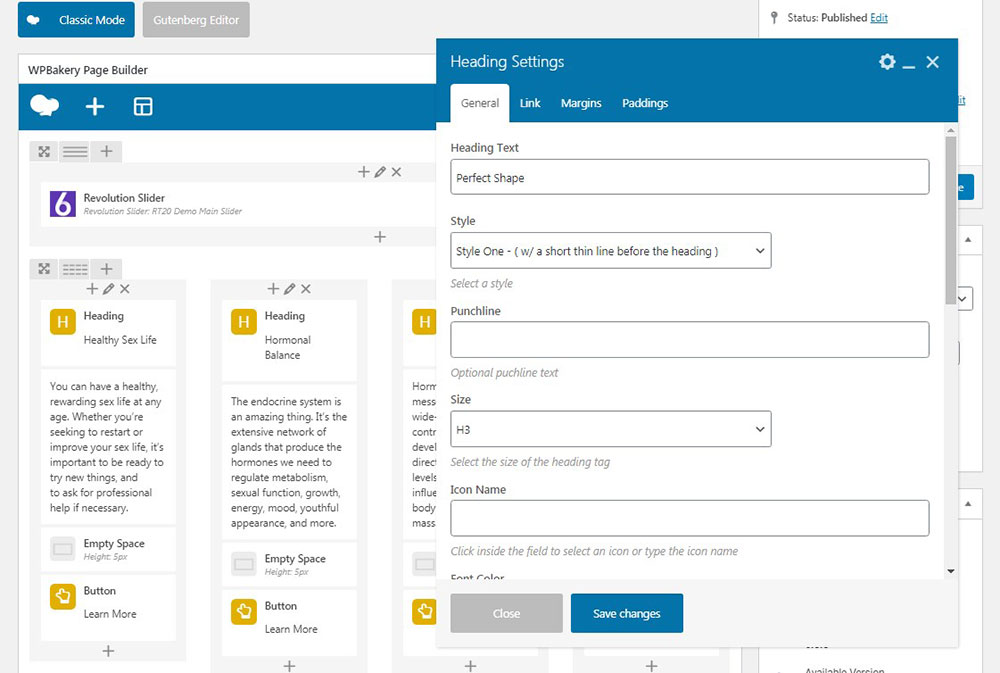
If you want to return to the WP editor, just switch to Classic mode.
Once you’ve added a module, you can select the number of modules to be located in a row by clicking the corresponding icon.
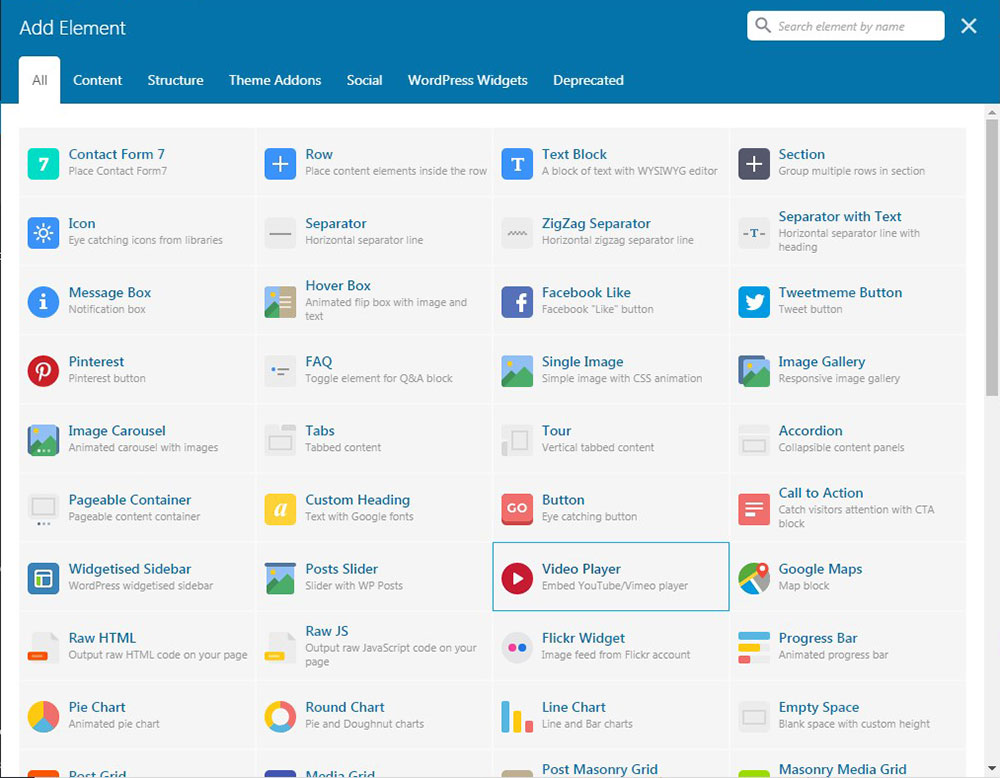
You can easily look for a required module in the list of modules and pick the necessary one to insert into the page.

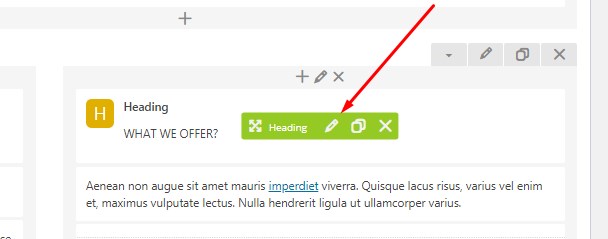
Once you add a block, you can edit it completely in the pop-up editor,
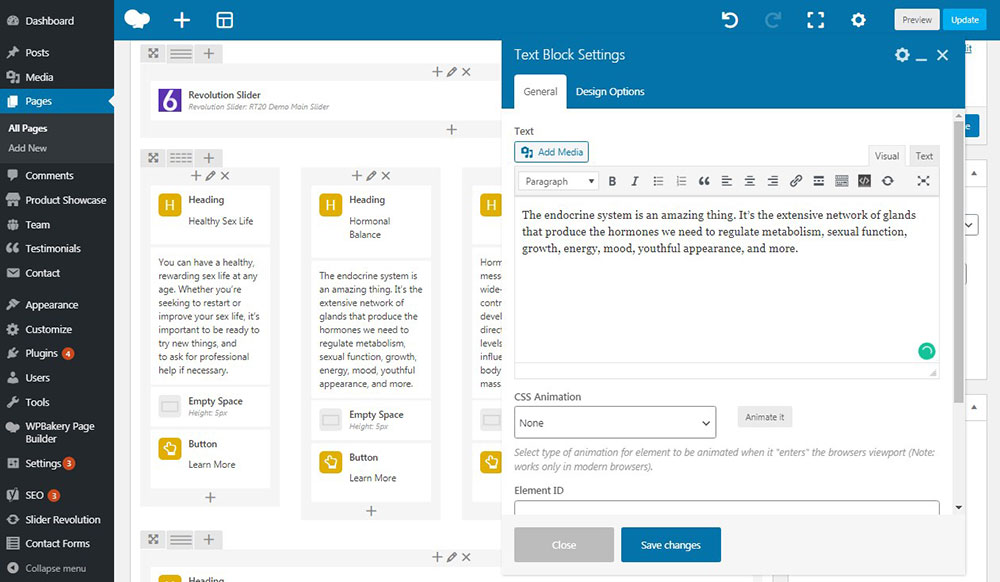
or you can hover over the desired module and click the pencil icon on the green panel of instruments to edit what you want to edit in your module, add some images, links, select the font size, etc.
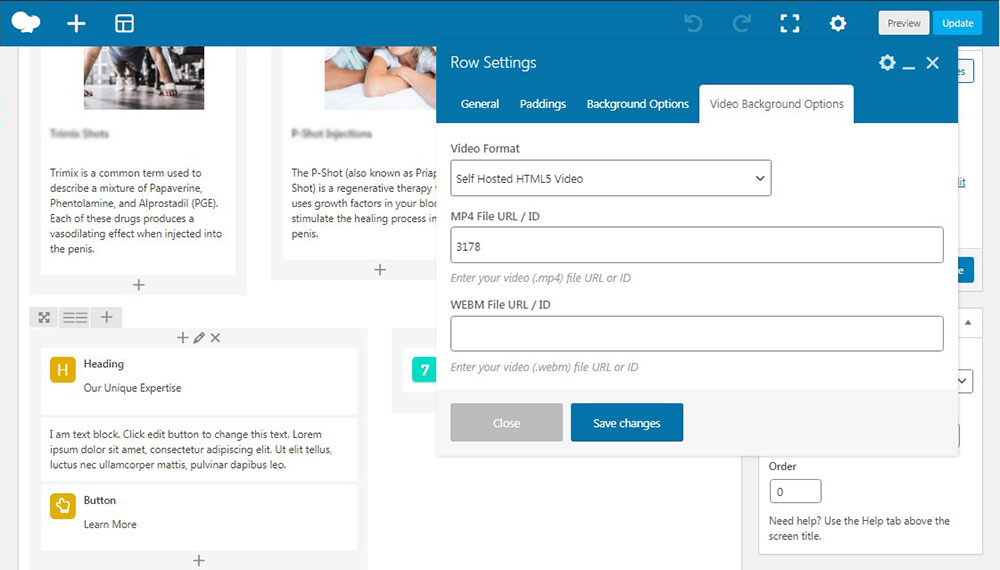
If you want to highlight some separate rows with modules on your page you can upload an image background or select an HTML5 video background in mp4 format. Just upload the video to your WordPress media library and then insert the video ID into the corresponding field in the Video Background Options tab of the Row Settings pop-up.
Just click the video in the media library and it is going to be opened as a separate page or post with its unique URL, you’ll find the post ID in the address bar. By the way, you can find the guide on how to find the post ID here.
Well, as you’ve understood customizing the web page with WPBakery page builder is an easy and pleasant process. I’ve told you more about customizing a site with the WPBakery page builder here.

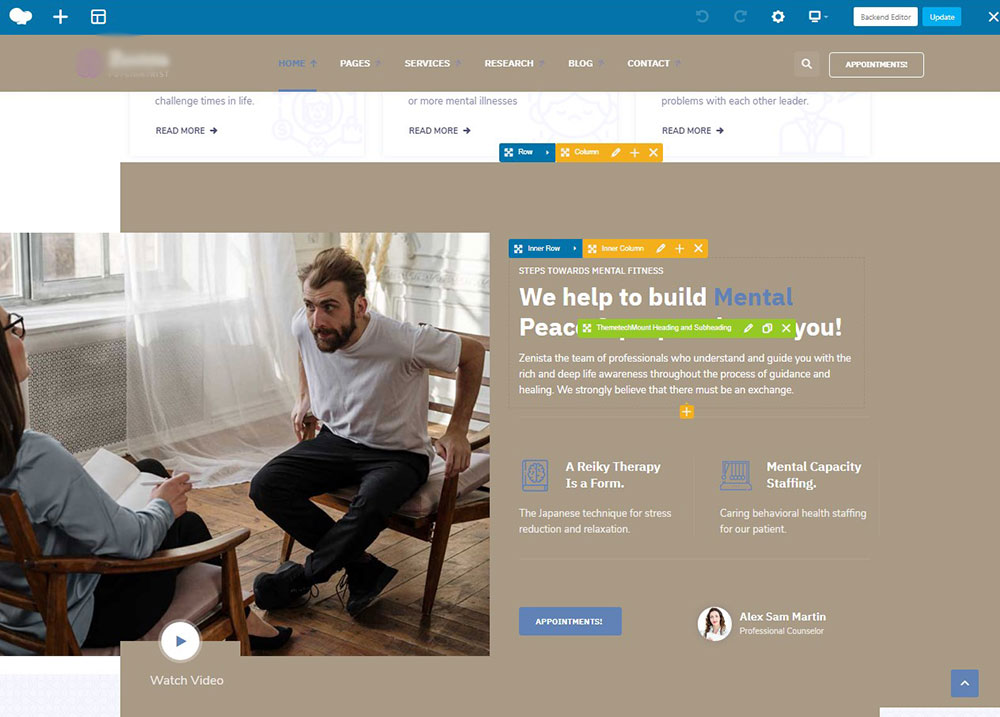
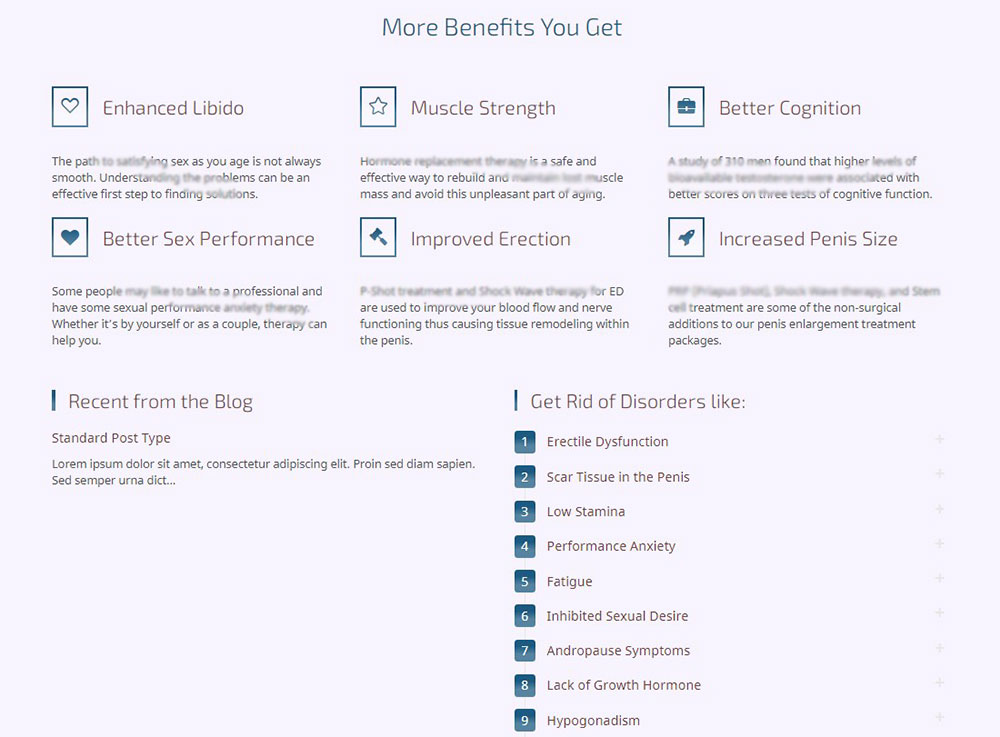
You just add the desired block, edit it and get the result:
Boxes with icons, headings, and accordion content.
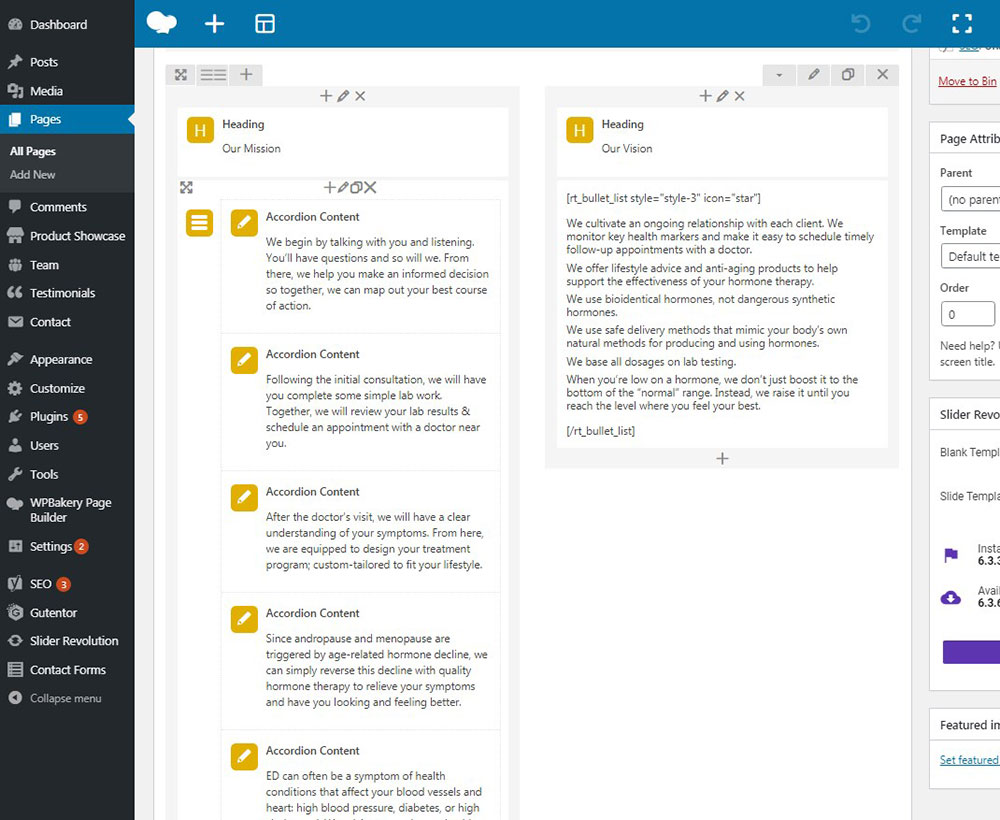
Accordion content.
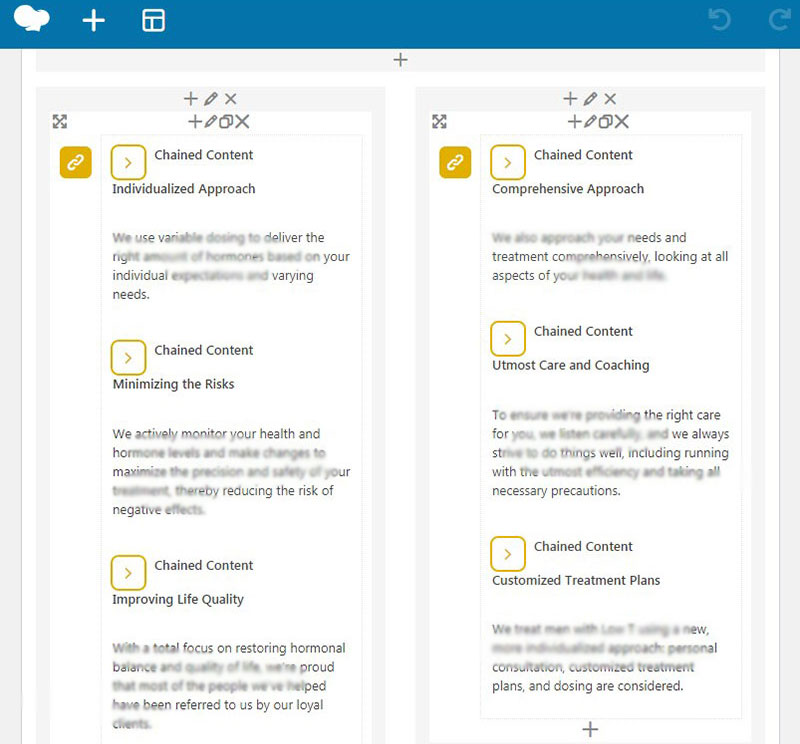
Chained content.
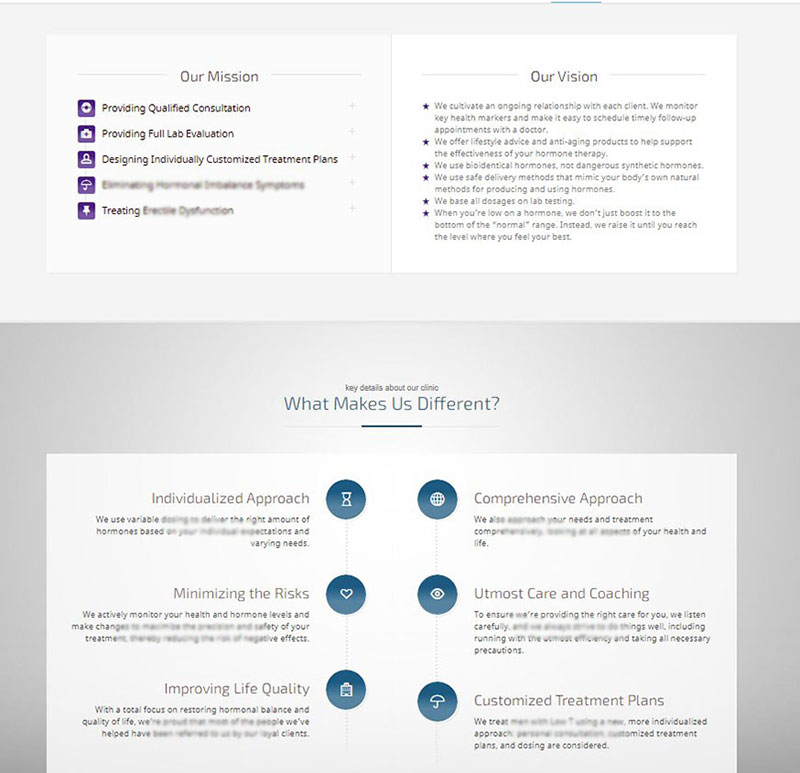
I’ve used a lot of additional modules like image carousels, testimonial carousels, and animated countdowns.
Depending on the chosen theme’s options and features you’ll be able to change your website’s styling, color scheme, logo, and favicon, add widgets and social media icons to the footer and sidebars as well as use many more customization options.
So now, please check the following detailed tuts I’ve created for you could better understand the possibilities of WordPress when it comes to customizing your website.
How to Create Animated Countdown Timer in WordPress
How to Easily Add Forms On Your WordPress Website

How to Add Testimonial Rotator in WordPress
How to Create an Appealing Event Timeline in WordPress

How to Manage and Customize a WordPress Theme
Hope this tut was helpful,
Melany H.